Regardless of how quick your race car is, your safety should be priority one. As much as we all love drag racing and want to be in the winner’s circle, it really is just a drag race, and going home safe and sound to your family at the end of the night supersedes any costs, comfort, or other factors that might deter you from preparing as you should. This is precisely why the SFI Foundation and the National Hot Rod Association exists — not just to conduct drag racing events, but to provide and enforce a set of safety standards carefully curated and tested to protect you. It is often said that the path to rules and regulations is paved in blood, and in the case of drag racing that’s exactly the case. Many of the standards which have been adopted over the years have come about because of an injury to a racer—or worse.
These standards, as you might expect, increase in scope as you introduce higher speeds, lower elapsed times, and the power adders and fuels that go along with achieving them. When you’re approaching 200 mph in the eighth-mile in less than four seconds –as we are with our Project BlownZ06 radial-tire Corvette–the requirements become ever more stringent, and for good reason.
BlownZ06, supercharged and burning methanol for fuel, is expected to traverse an eighth of a mile in around 3.8-seconds and trip the clocks at or near 200 mph, placing it just a few short tenths of a second from the quickest and fastest doorslammers on earth. At this level of racing, fires and crashes are a distinct reality each and every time you strap in; coming to terms with those risks is step one, and preparing should the worst occur is a close step two.
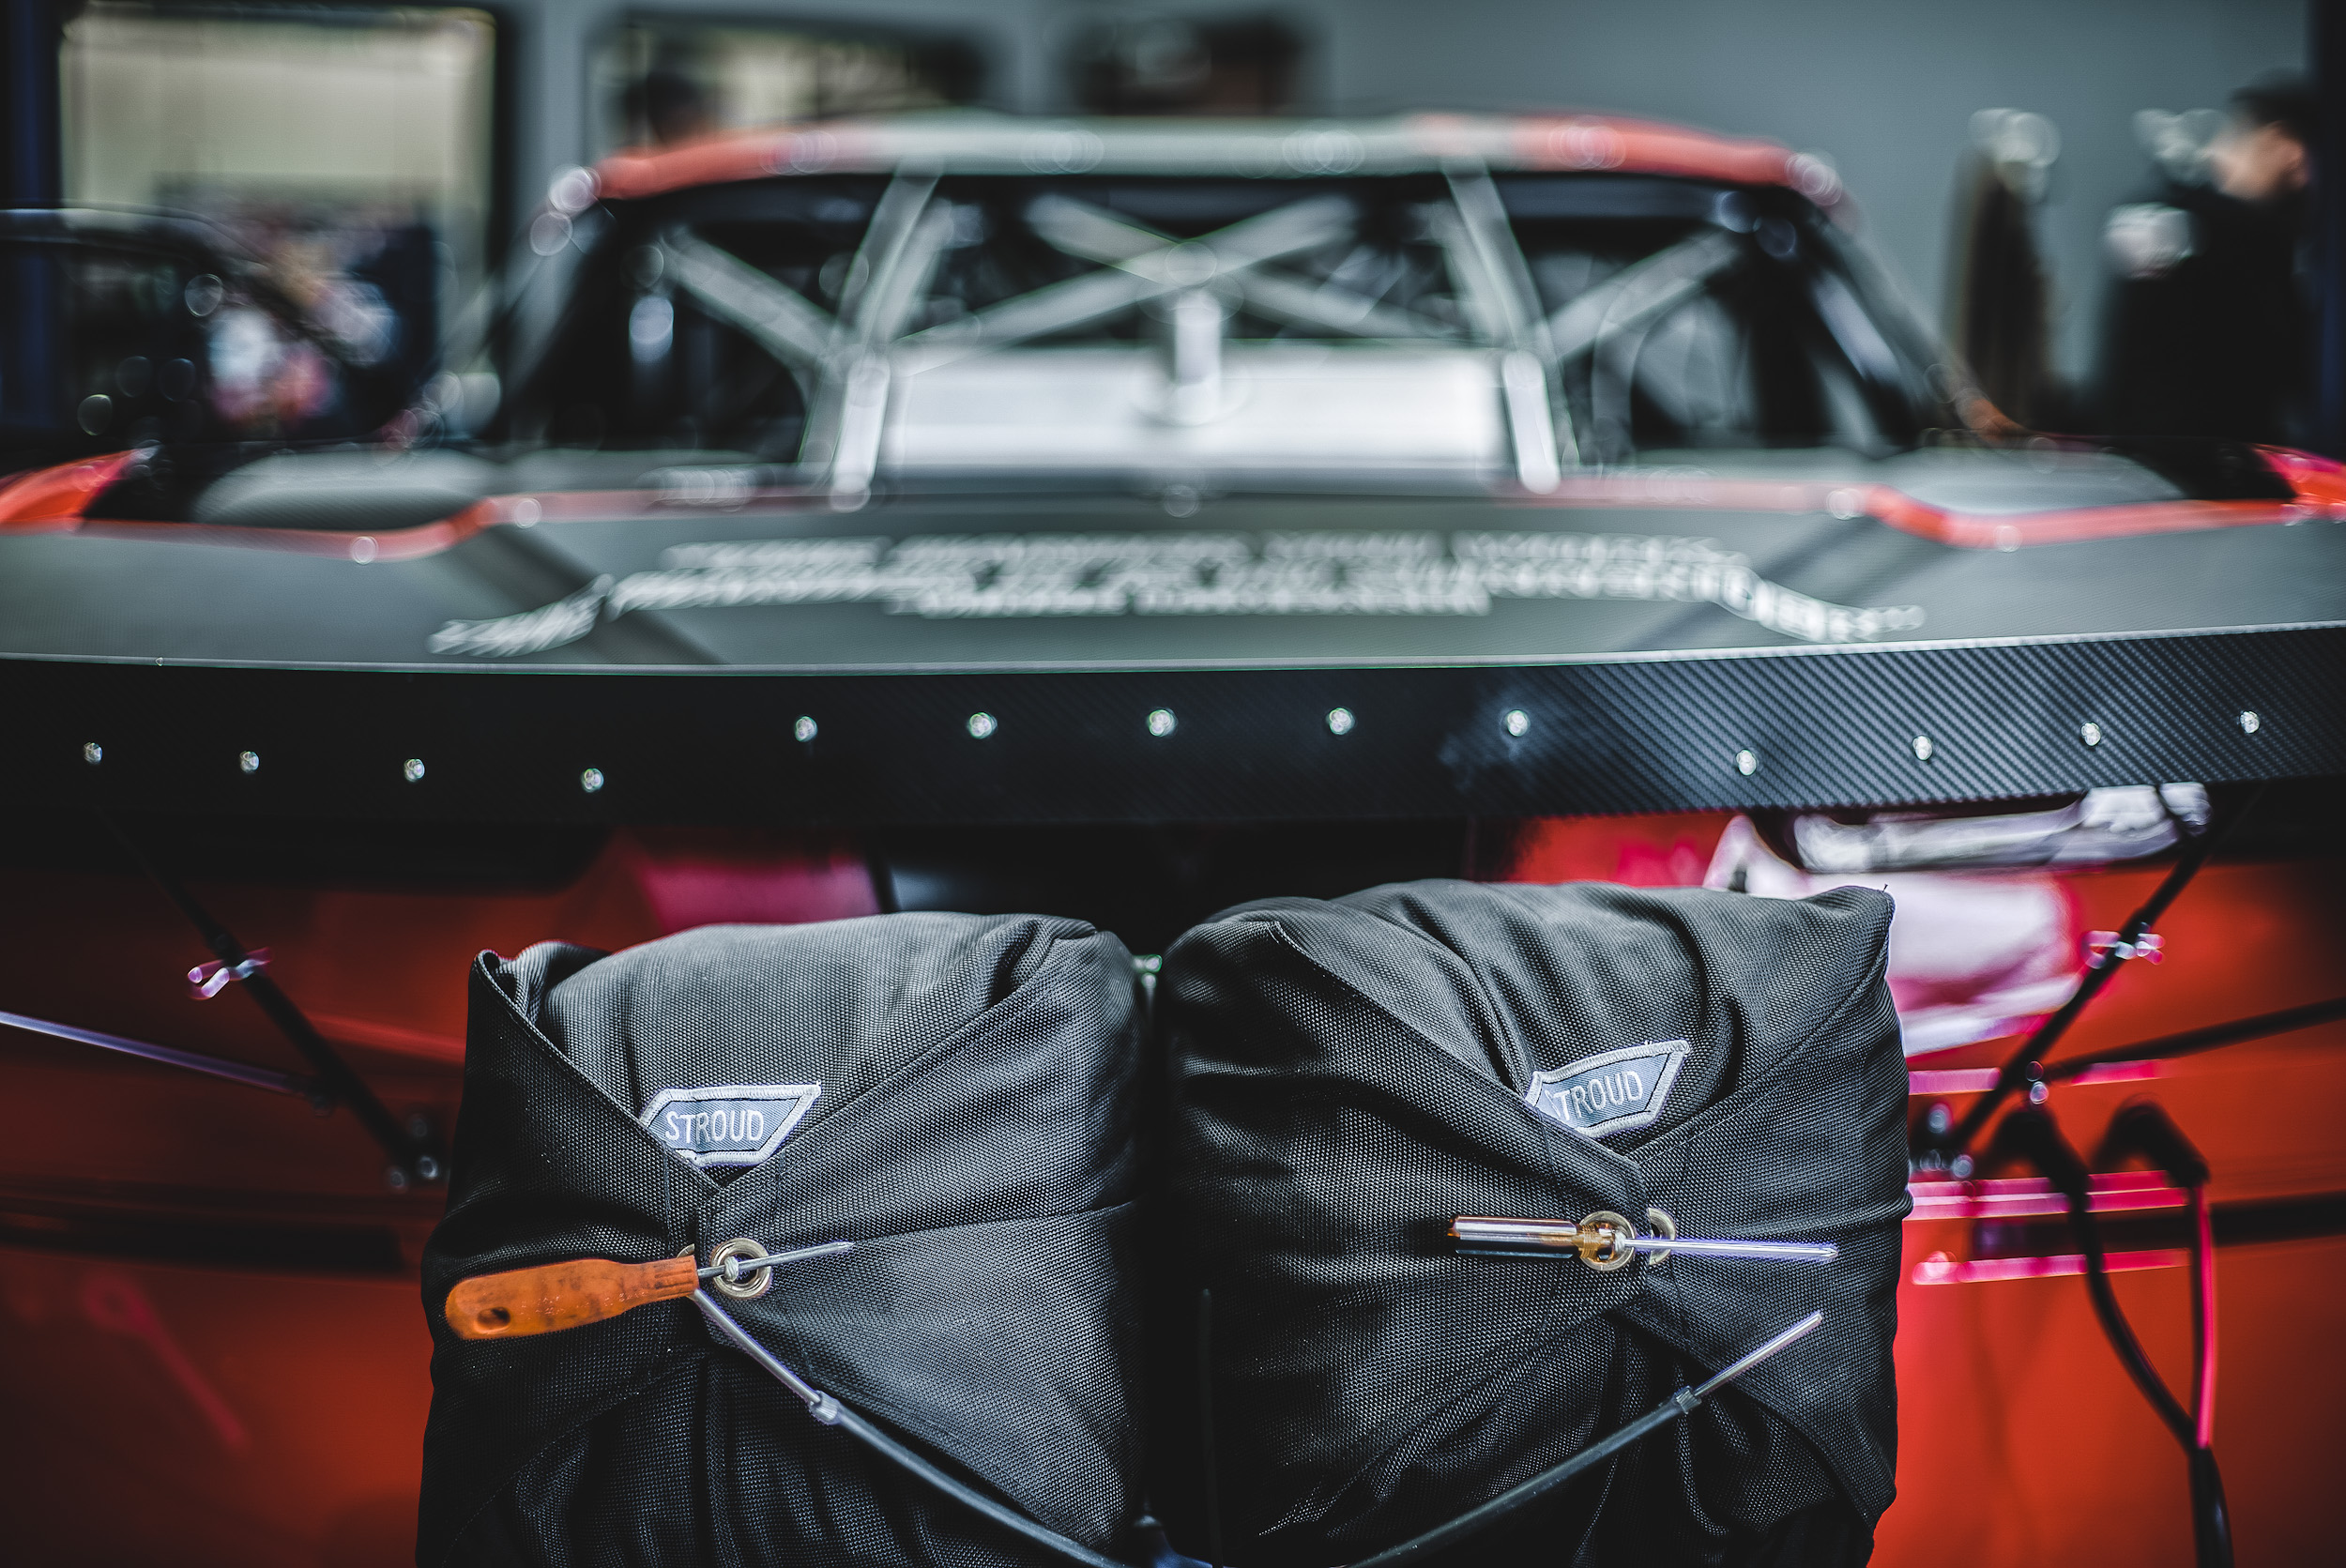
As we assembled the car at PMR Race Cars in Rancho Cucamonga, California, our intentions in this area were straightforward, and in particular order: safety, comfort, and convenience …because what’s comfortable and convenient may not always be the safest route. We procured a custom pour-in seat from Quarter-Max and paired it with Kam-Lock, 6-point driver restraints from Stroud Safety, along with a window net to keep the arms inside the car in the event of an an accident. Stroud air-launched parachutes stop the car, with a host of parachute-release components from Quarter-Max. And to combat the possibility of fire — every racer’s worst nightmare — we sourced a complete Pro-Mod spec fire suppression system from the folks at Safecraft.
Here’s how it all came together.
Like A 200 MPH La-Z-Boy
Racecar driving seats have come a long way in regards to both comfort and safety. For decades, seats were little more than one-size-fits-all aluminum bowls — later fiberglass and carbon fiber — that, while suitable enough to remain comfortable for a few minutes, were far from plush. Adding to that, in the event of an accident, even a closely-fitted seat didn’t provide the support to the body like something softer and more customized. In the early 2000s, when safety became more of hot-button topic in the wake of deaths like that of Dale Earnhardt, pour-in and containment seats became more common a sight.
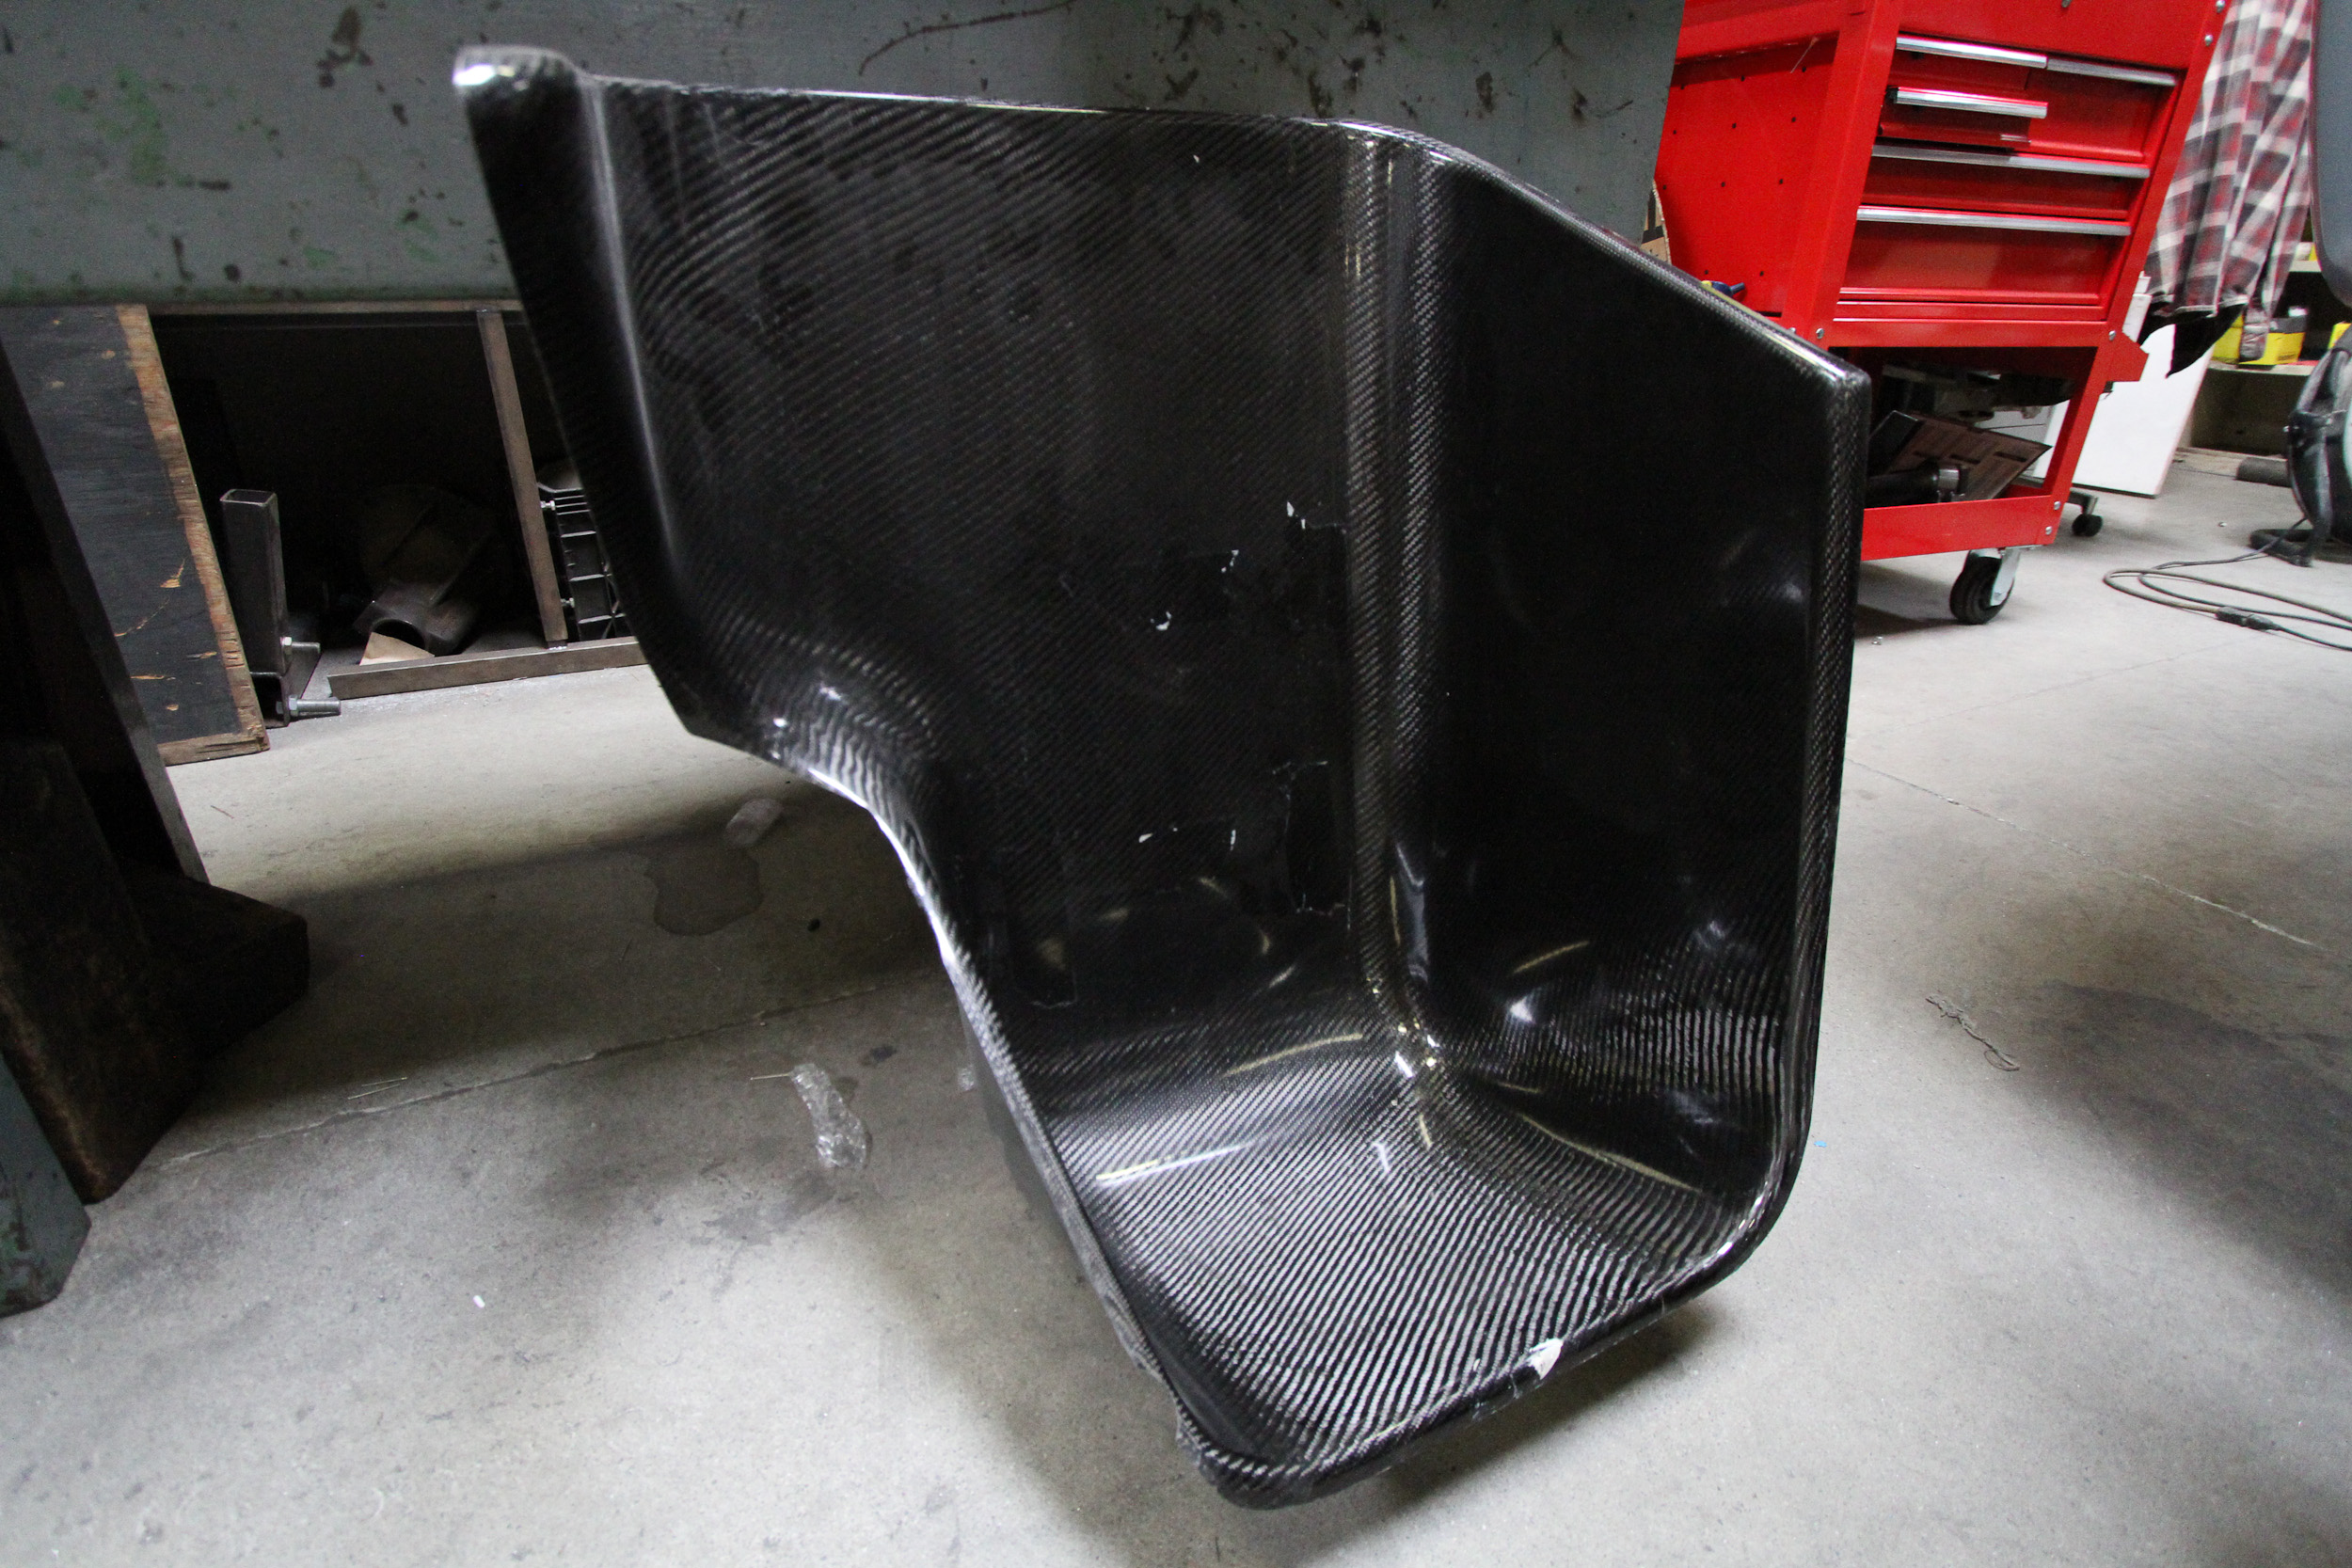
With BlownZ06, the basis of our driving seat is Quarter-Max’s standard carbon fiber seat (Part# 211706-1), which is molded directly from RJ Race Cars’ Pro Stock aluminum seats. From there, we utilized a Butler-Built bead foam insert kit (Part# BUT-2070-M) from Quarter-Max to customize the fit of the seat to the driver, in an effort to fully inhibit any side-to-side movement in the event of an accident.
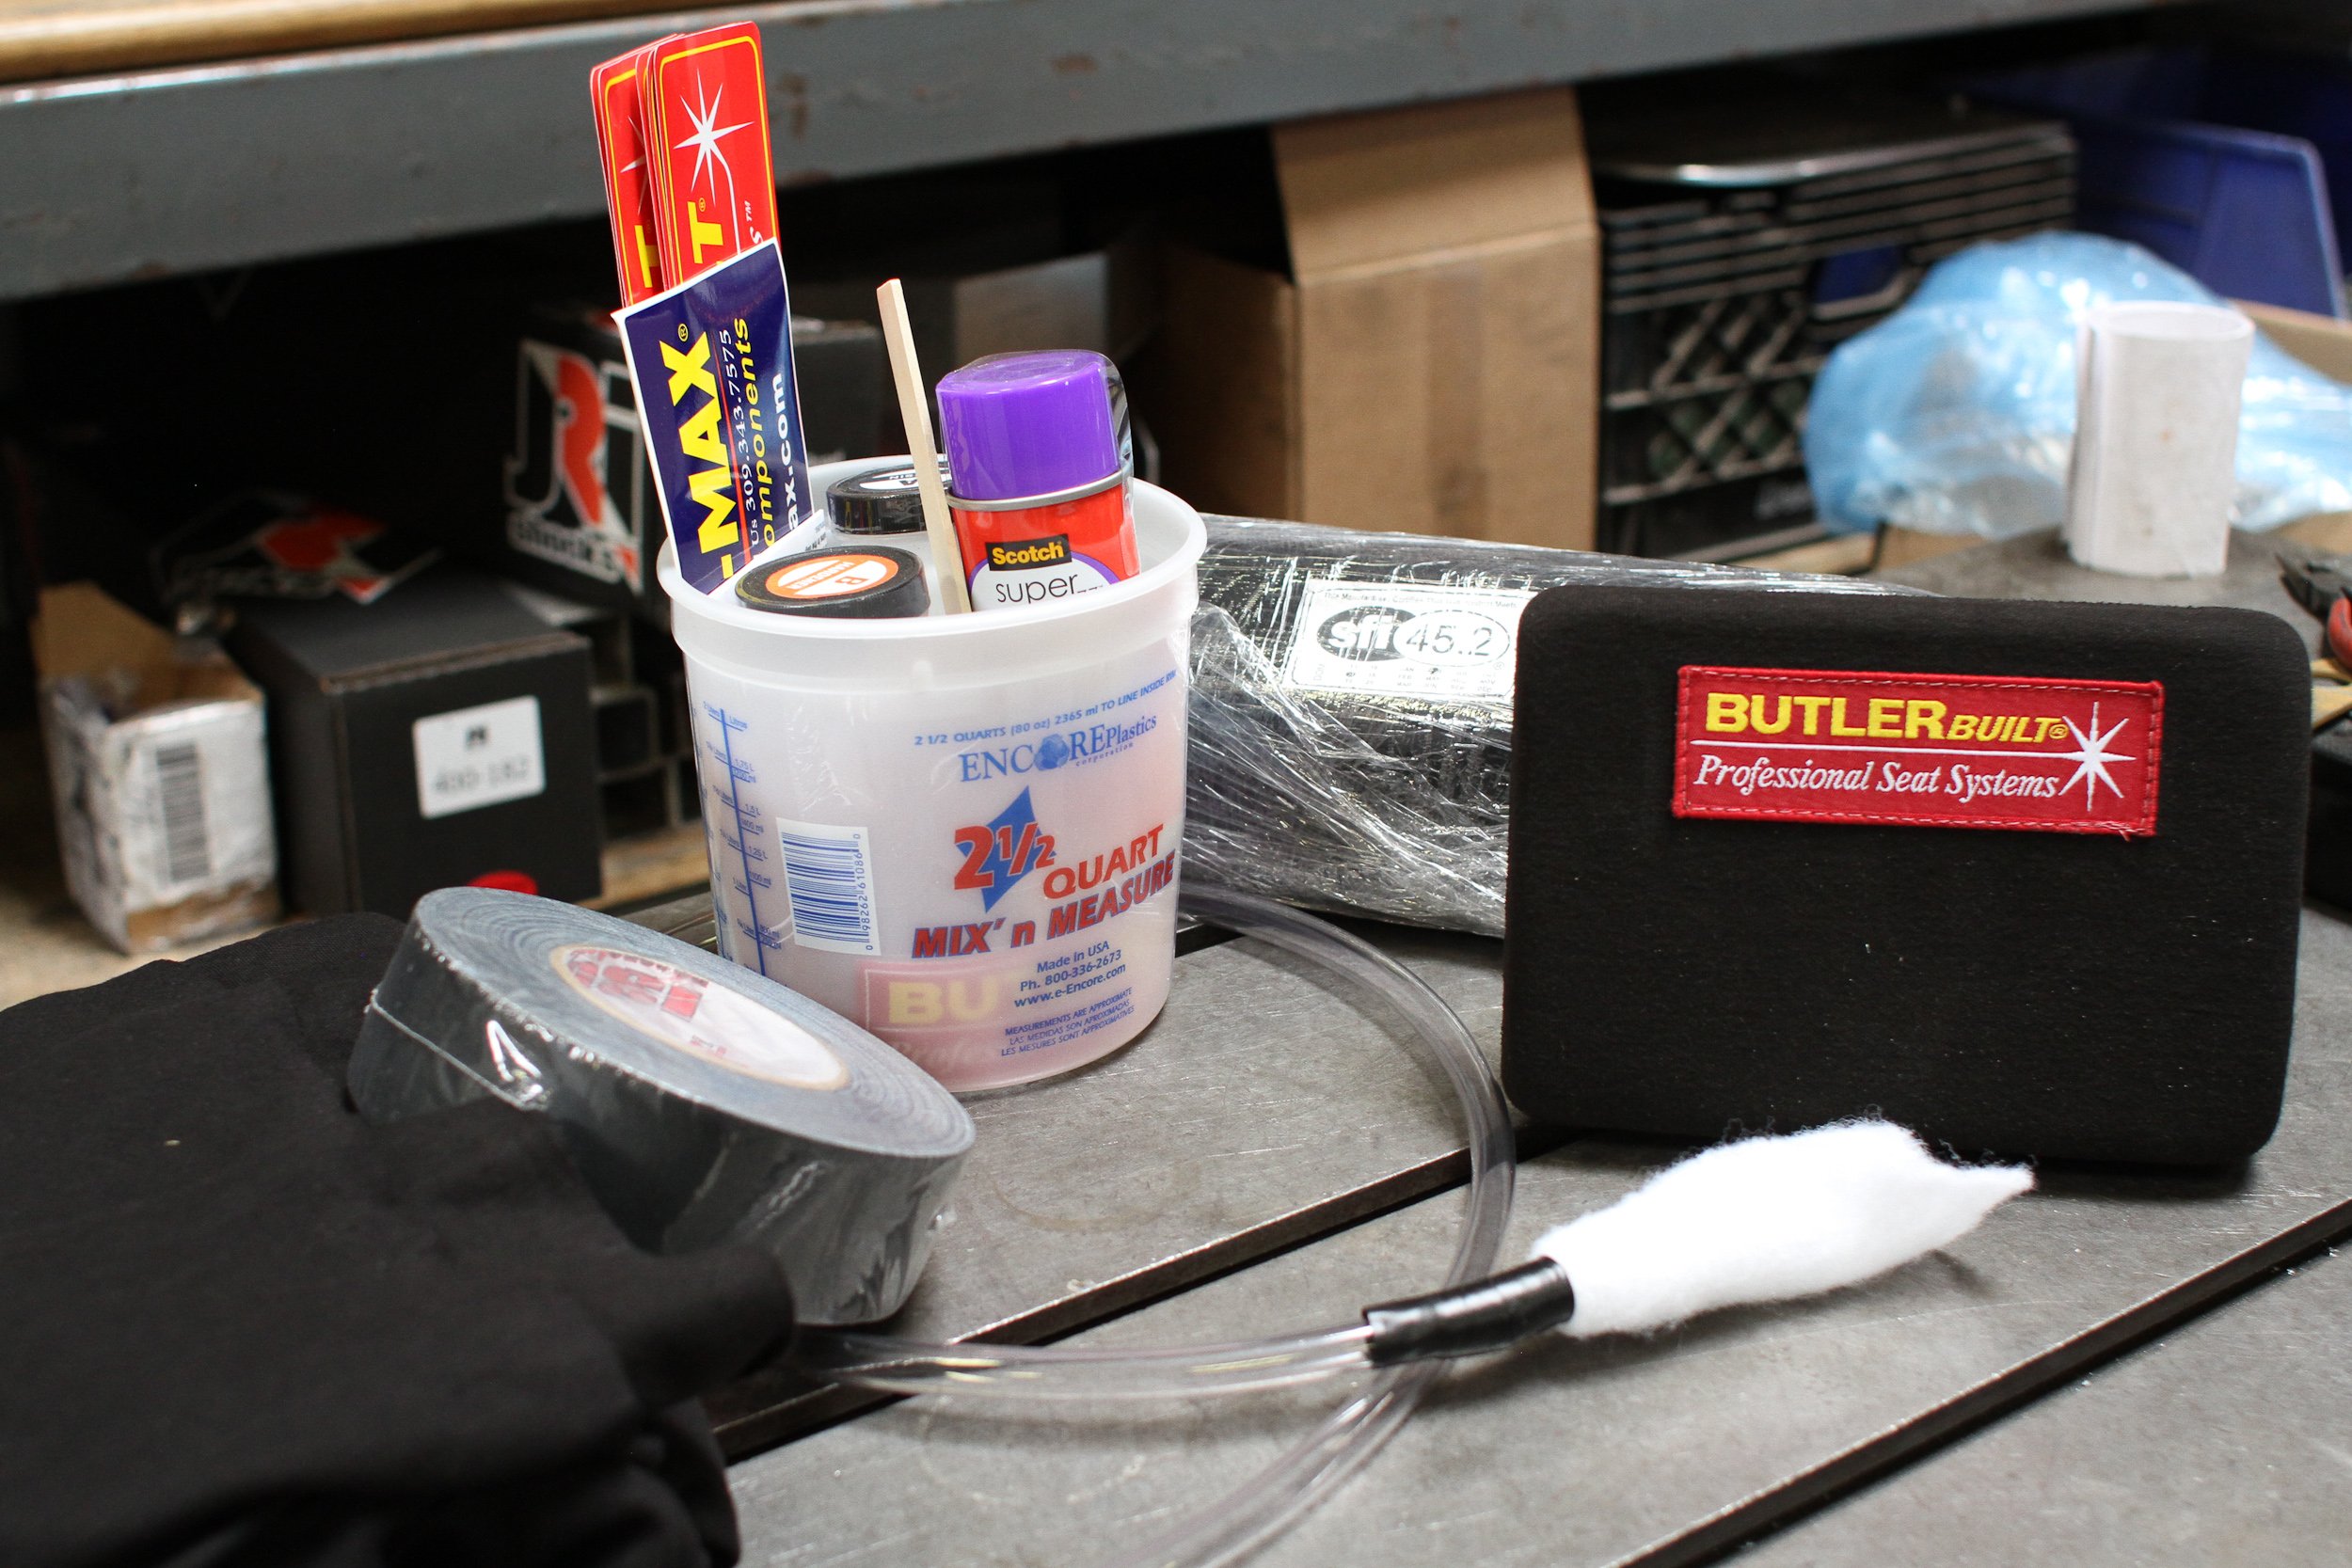
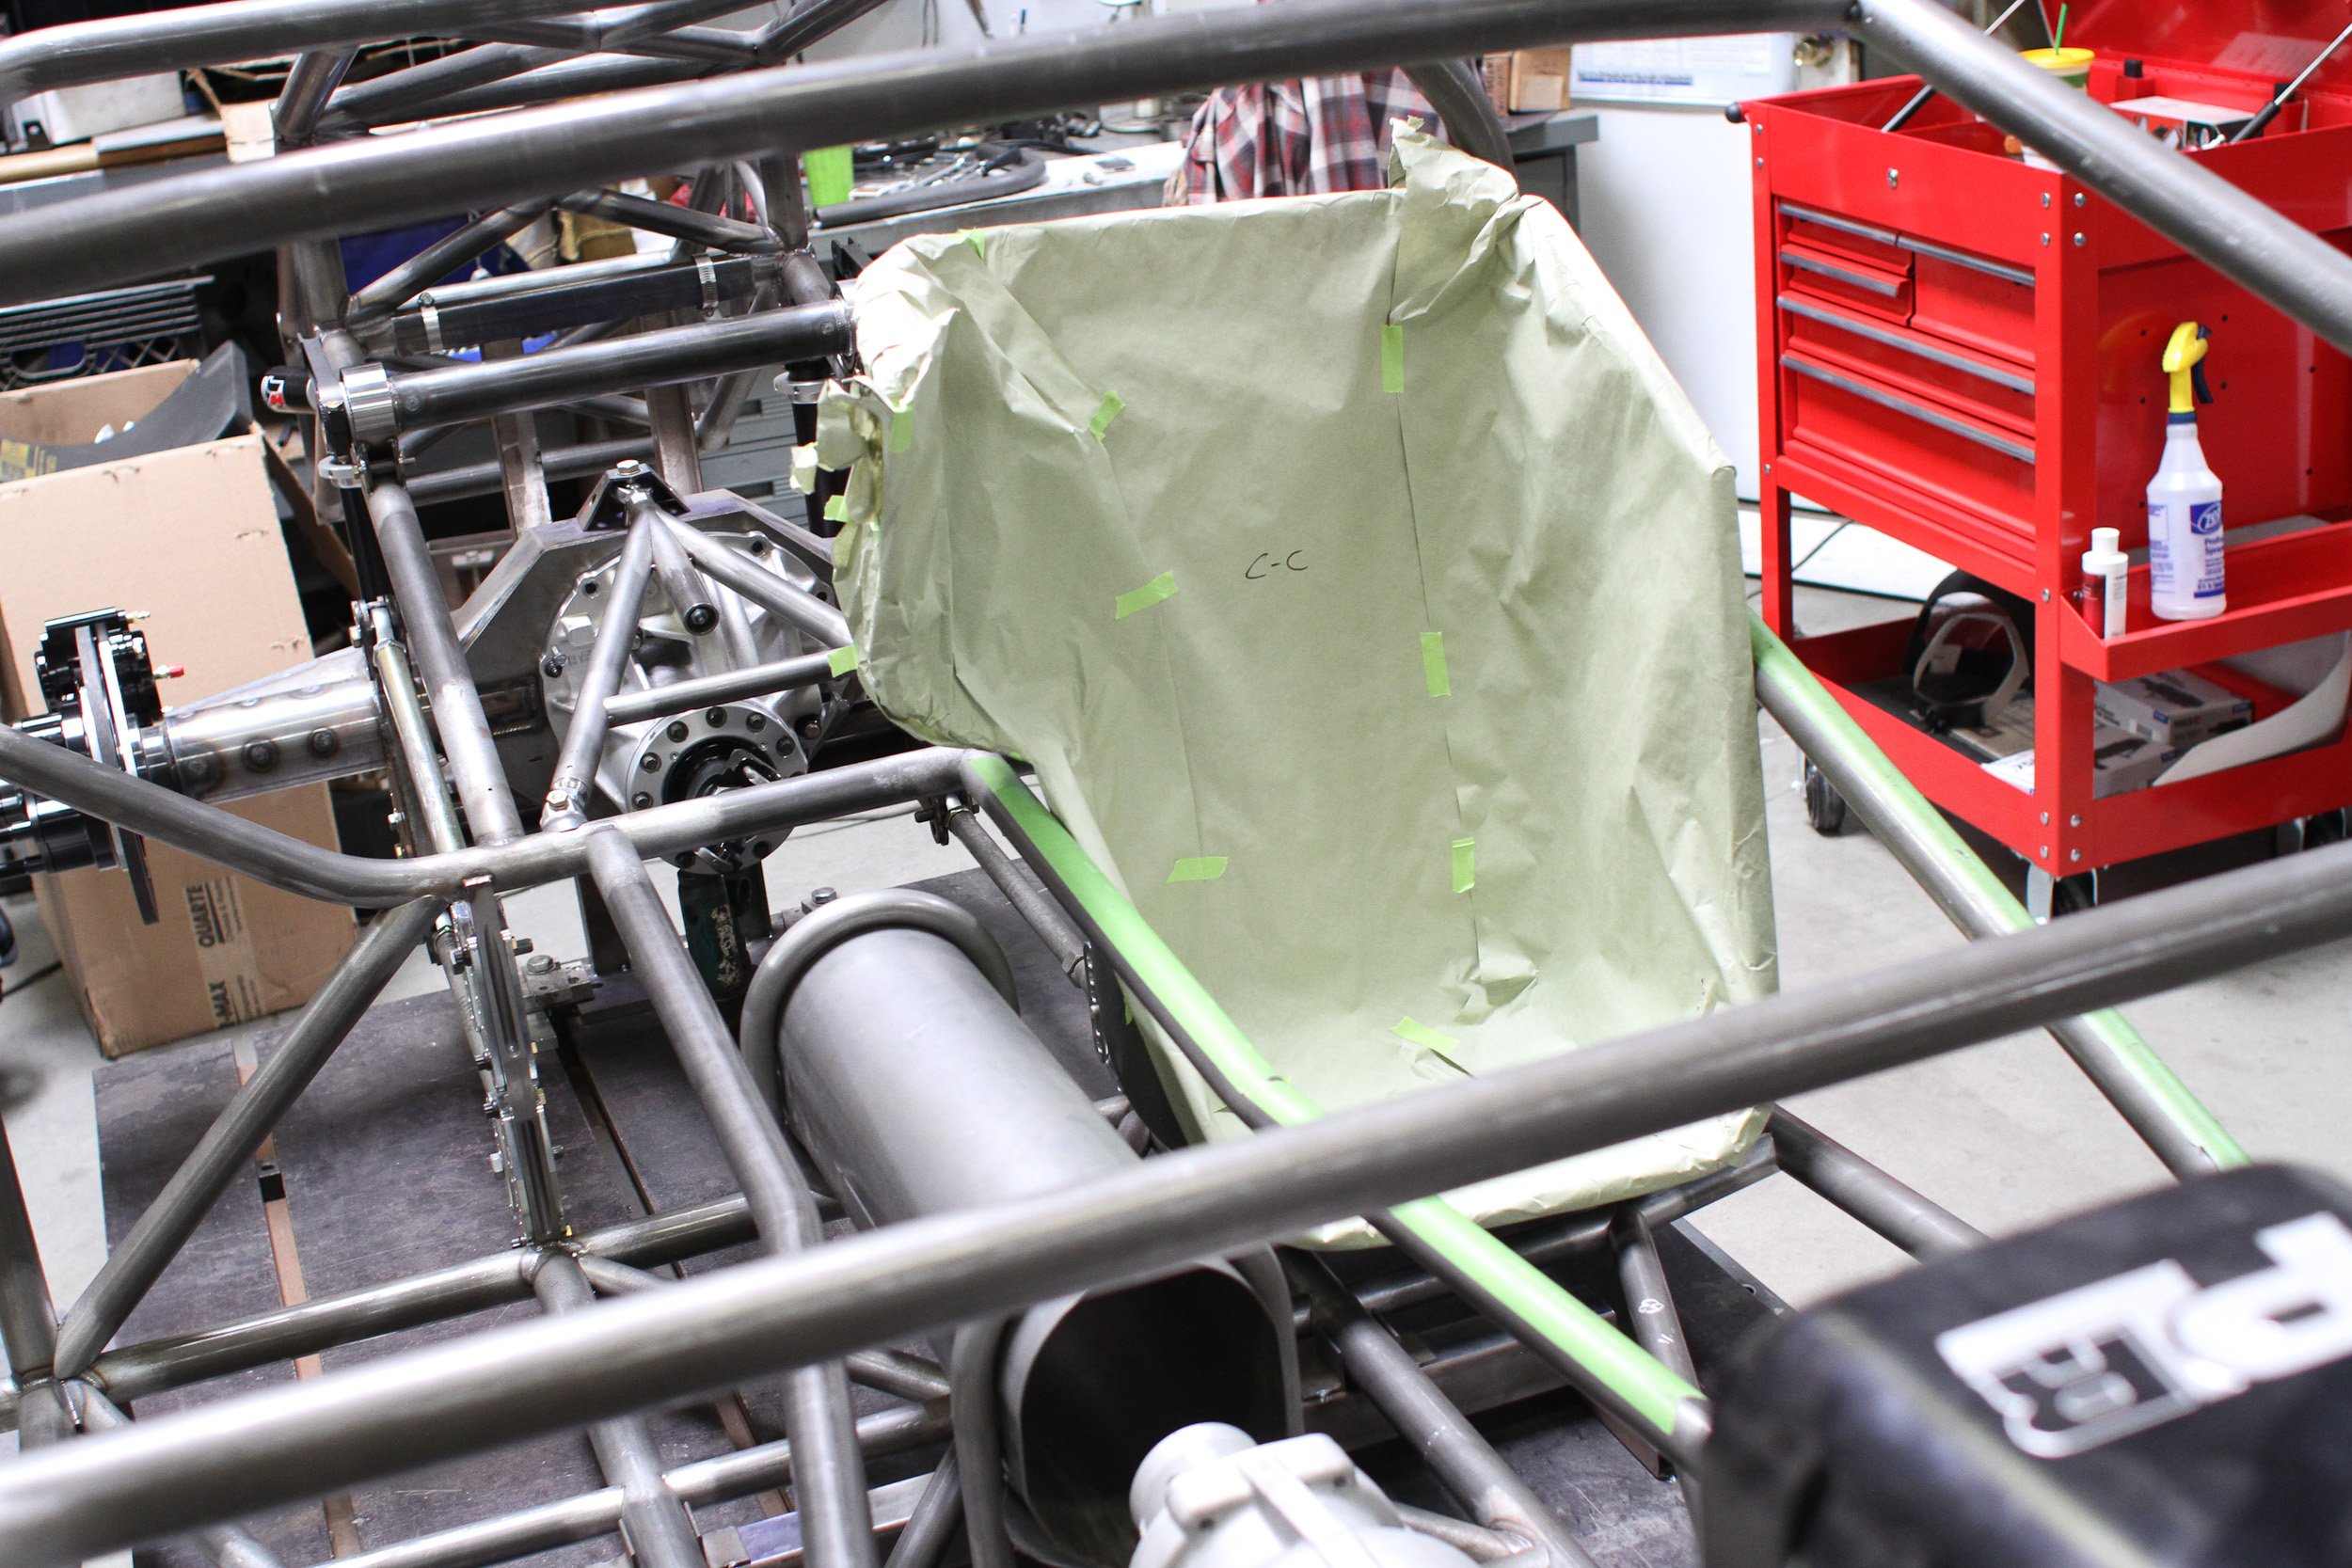
The Butler foam seat insert kit (left) as we prepare the seat (right) for installation.
The Butler insert is a popular addition for many drag racers, including the customers of RJ Race Cars and even Rickie Jones himself.“Back when I ran in Pro Mod, we just had the carbon fiber tub seat in the car. I started to develop lower back pain and thought at 20 years old, I was much too young to be experiencing that,” Jones explains. “We did the Butler insert in the seat and it made all the difference in the world and the pain went away.”
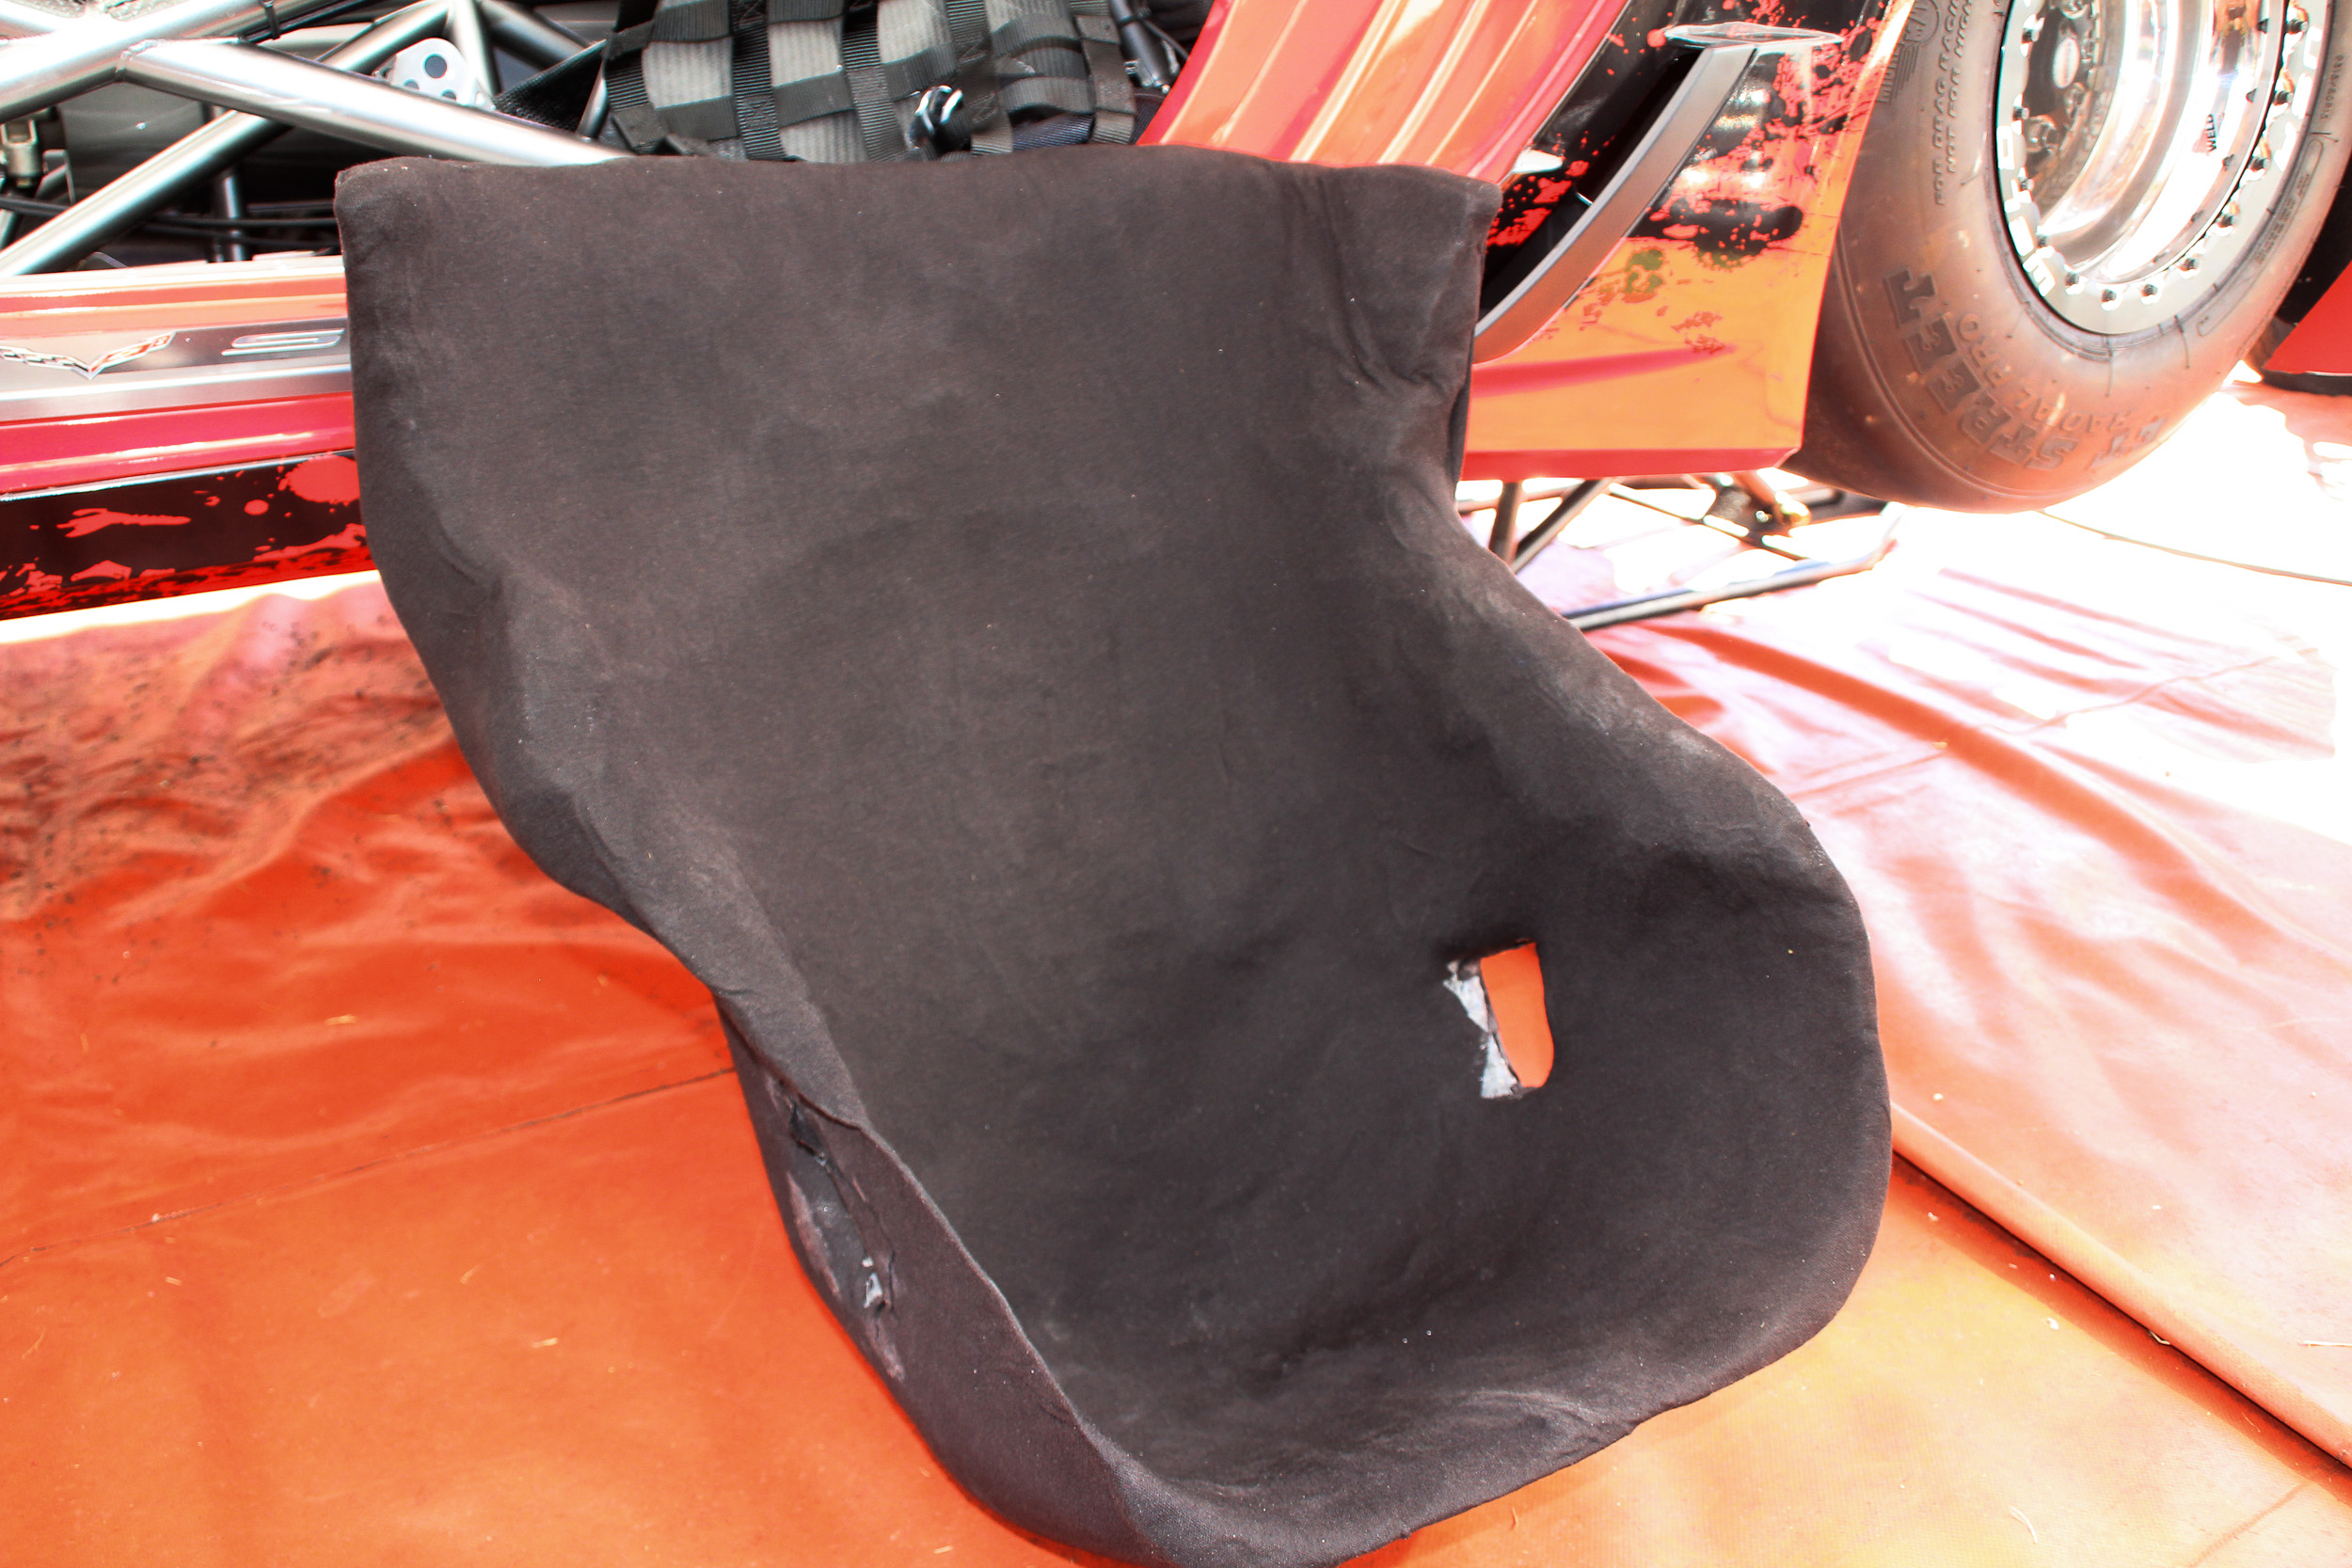
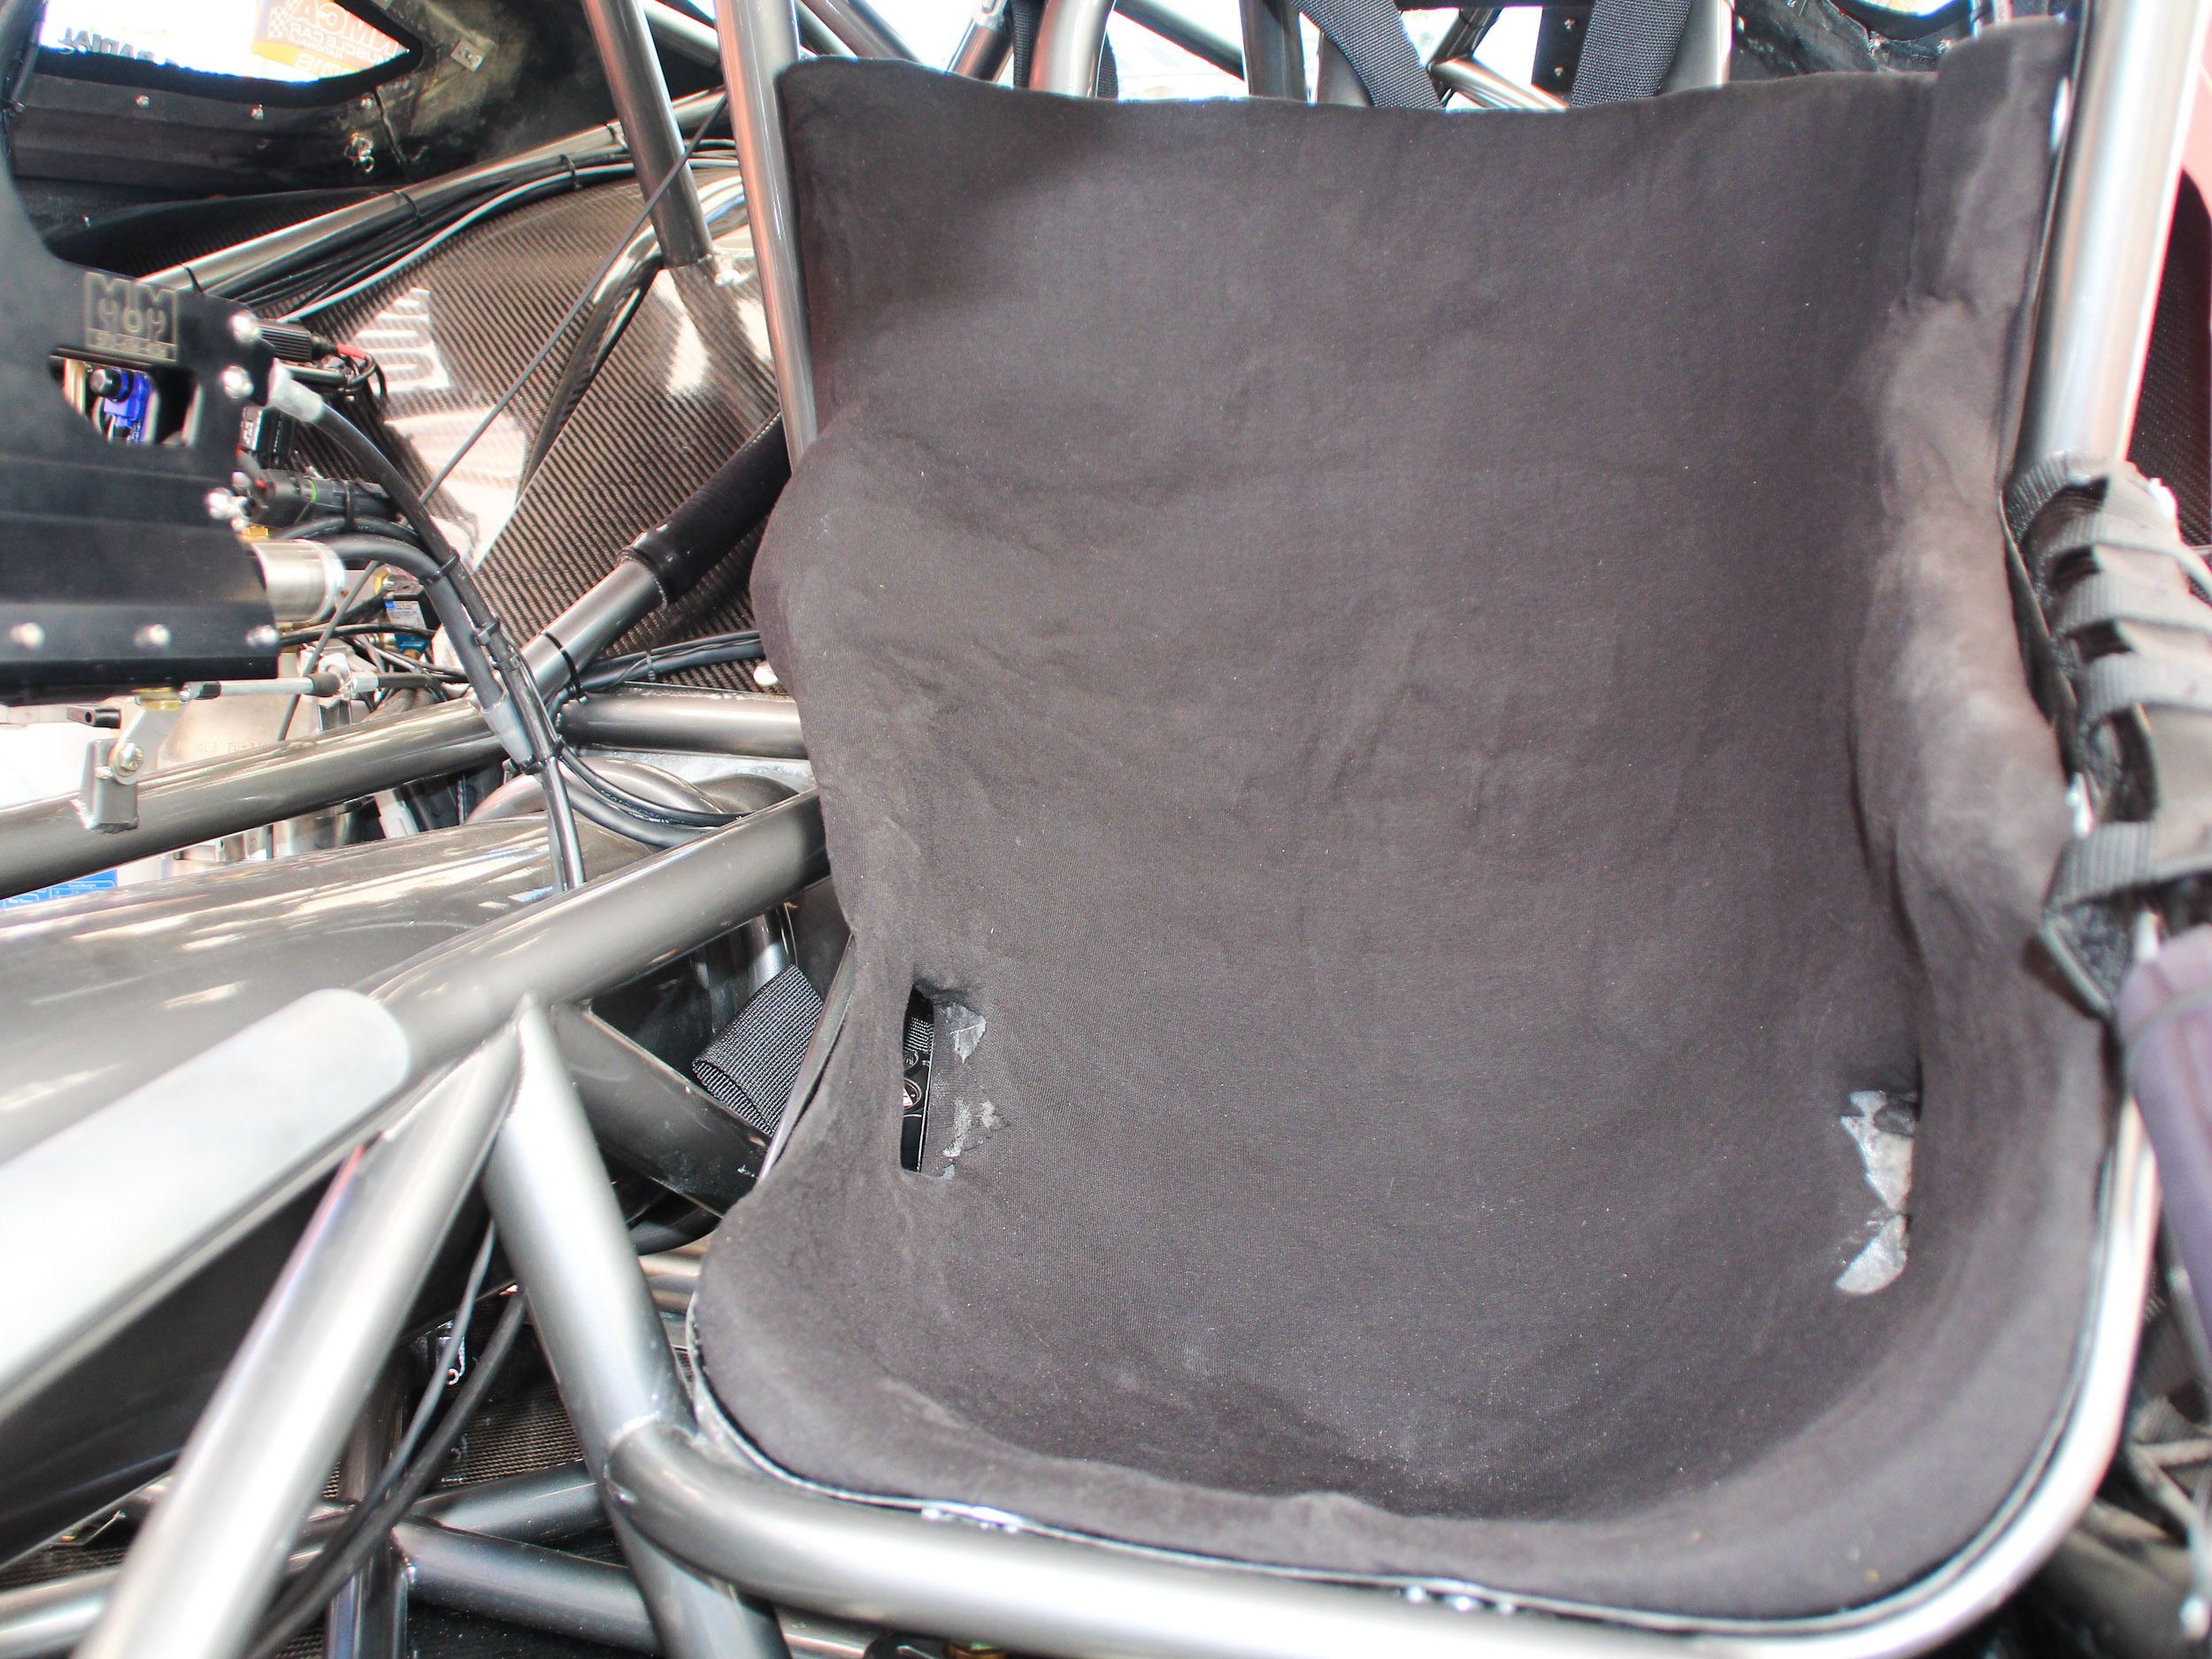
The insert uses a two-part resin mix and foam beads contained inside of a bag that is formed to fit around the driver. Using a vacuum pump or even a shop vacuum cleaner, the air pockets around the foam beads can gradually be removed during the curing process, to create a solid insert without any imperfections or “give”.
Jones says the total curing time is generally in the five-hour range, and while that may seem like a hindrance, he believes it provides an advantage in that it allows ample time to make further adjustments, re-position the driver, and get it just right before it becomes a hardened, final product. Once cured, the foam insert can be cut to fit the contours of the carbon seat and for routing of the seatbelts. Once complete, a provided, stretchable and fire-resistant fabric cover can then be fitted to and adhered to the insert to create a visually-pleasing seat that looks professionally-made.
Part of the reason a seat needs some degree of comfort is because you are (or should be) locked down by the belts onto it like an air-tight lid on a jar. To accomplish that, we procured a set of Stroud’s individual-style, 3-inch, Kam Lock restraints (Part# 2001). We then modified the setup to add a six-point configuration through the use of a two-way crotch strap for added safety. The Kam Lock belts, a step up from the classic link-and-latch style belts, are far more popular with racers today, according to Stroud’s MJ Jerome, as they’re quicker to release with less hassle. The Kam Lock mechanism is simply rotated left or right, depending on which hand you’re using, to release all five points at once.
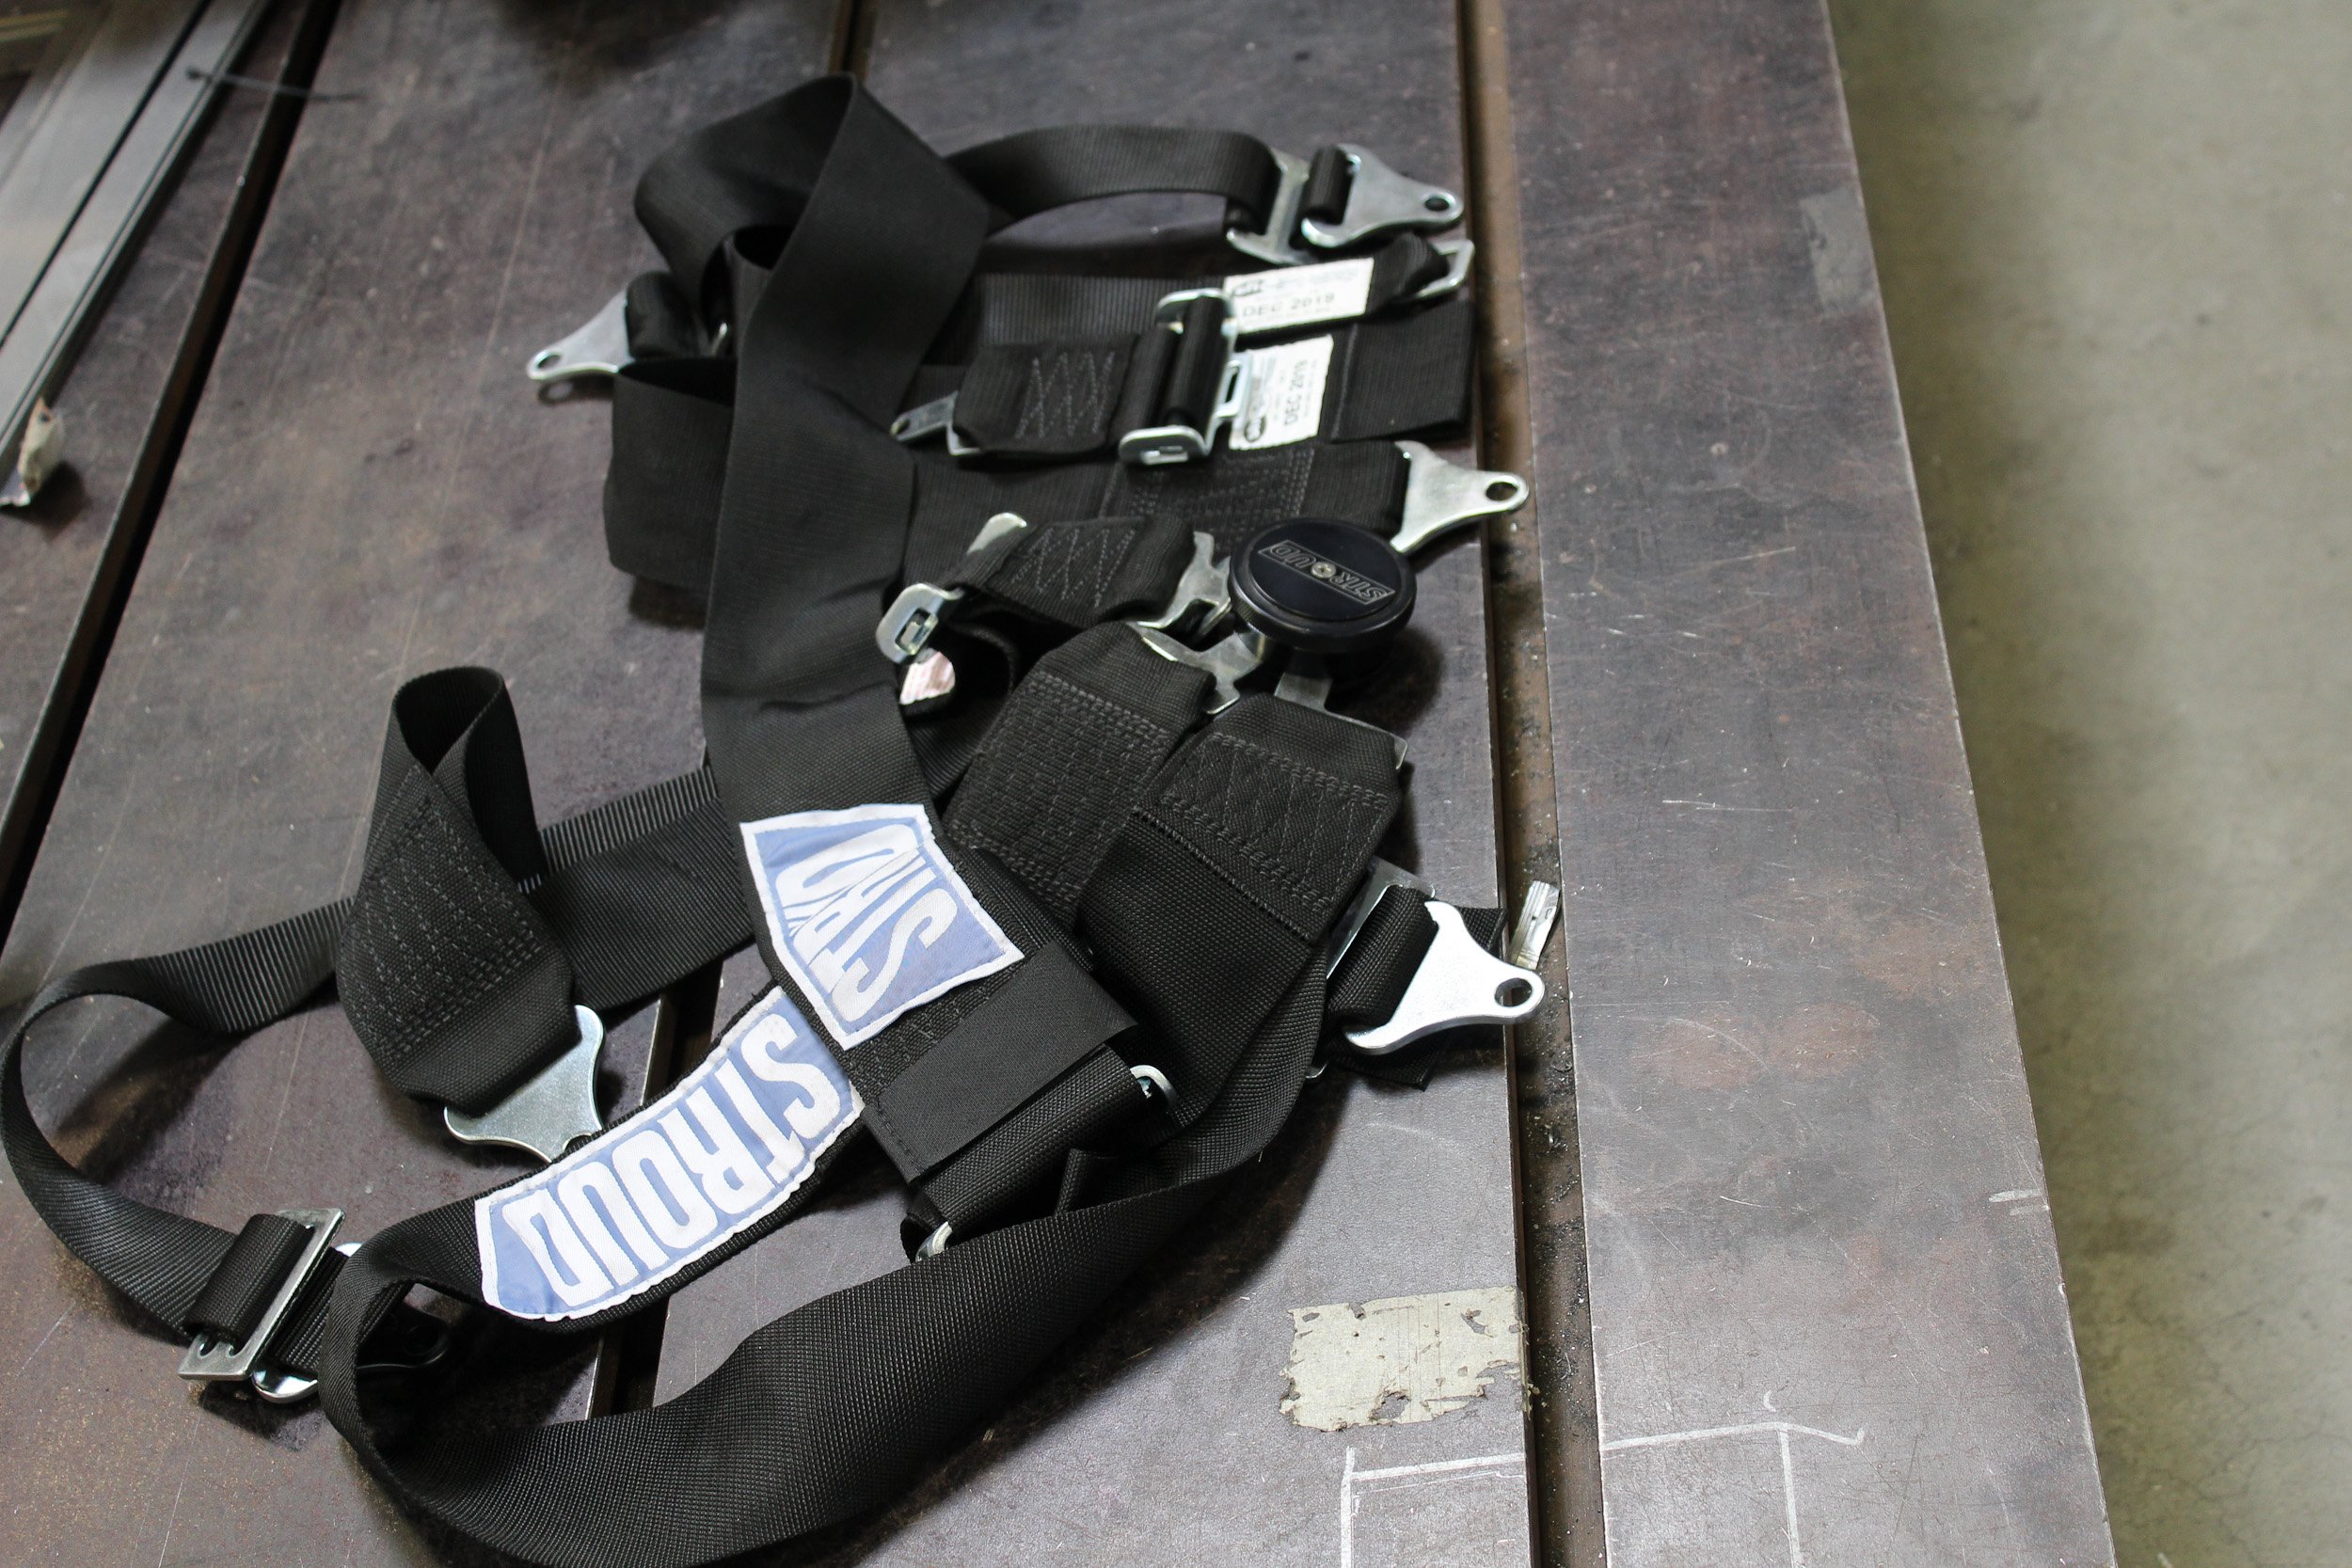
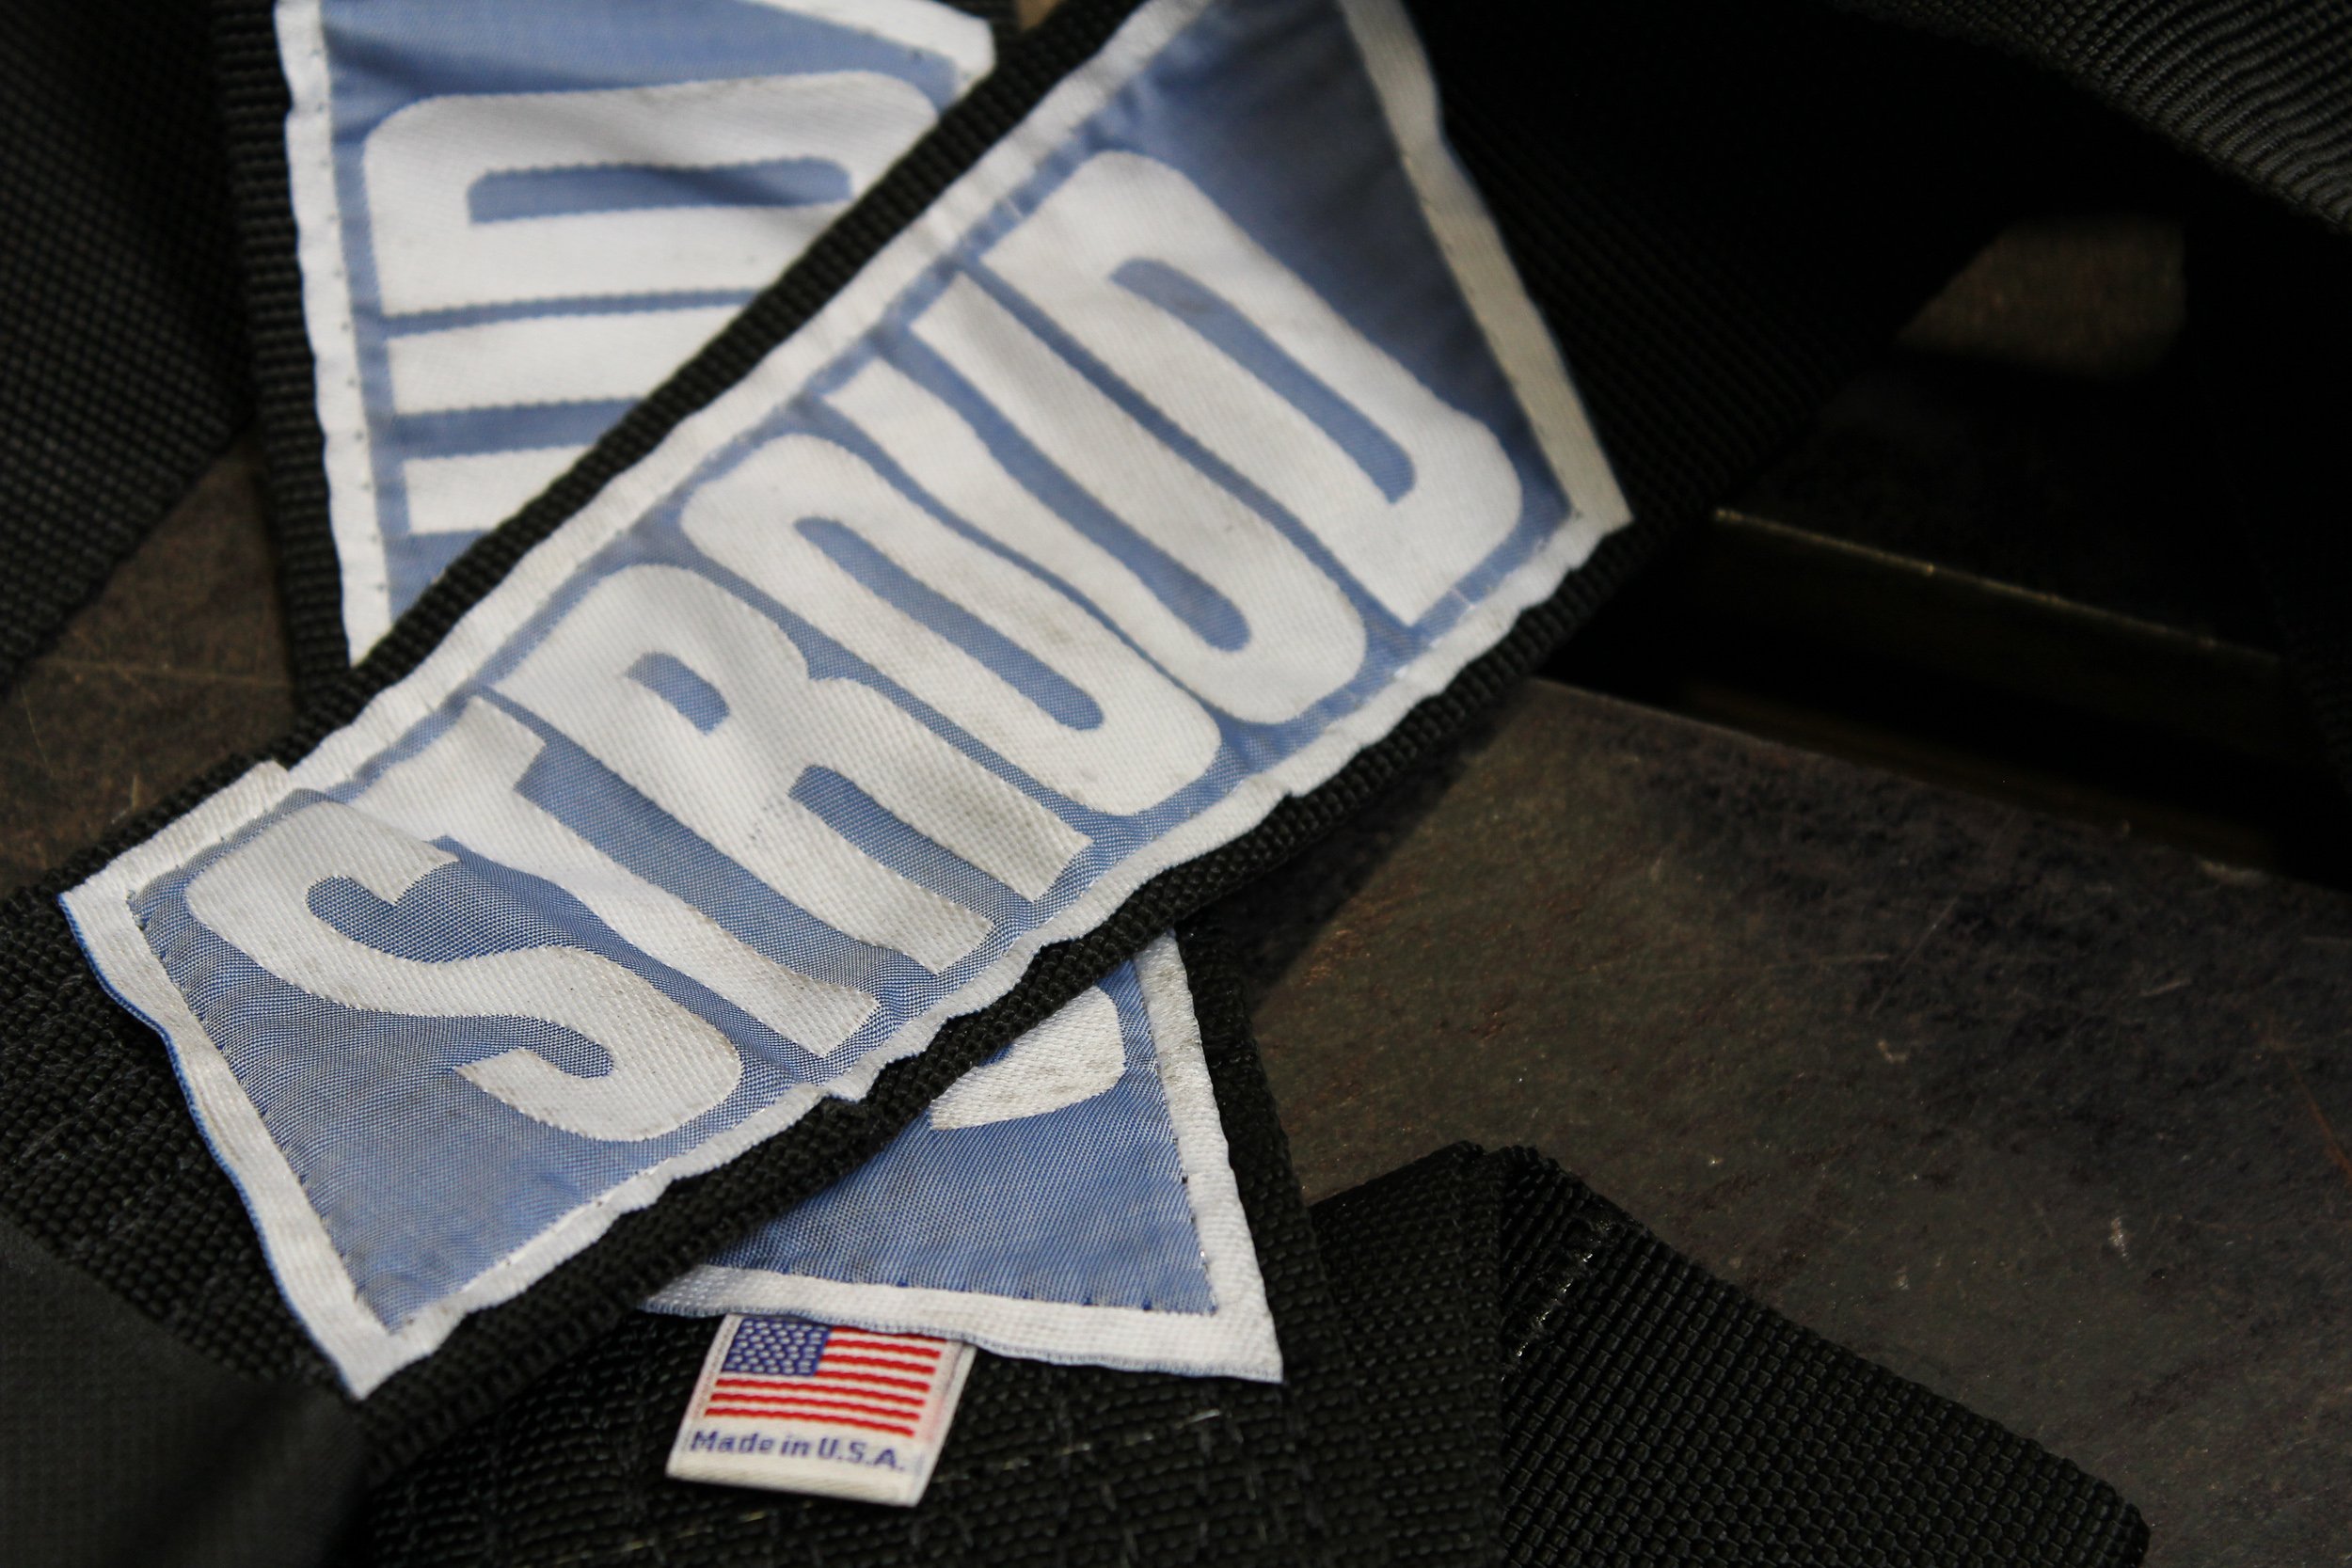
Our Stroud safety harness.
A simple yet highly practical door restraint from Stroud rounds out the cockpit — these straps are used to keep your valuable door from opening beyond the desired point and being ripped off the hinges or striking something. And if you regularly back up from the burnout with the door open, these aren’t just advised, but are a must. A tab on the chassis and another installed into the inner door frame/panel are all that’s needed for installation.

Bringing It To A Stop
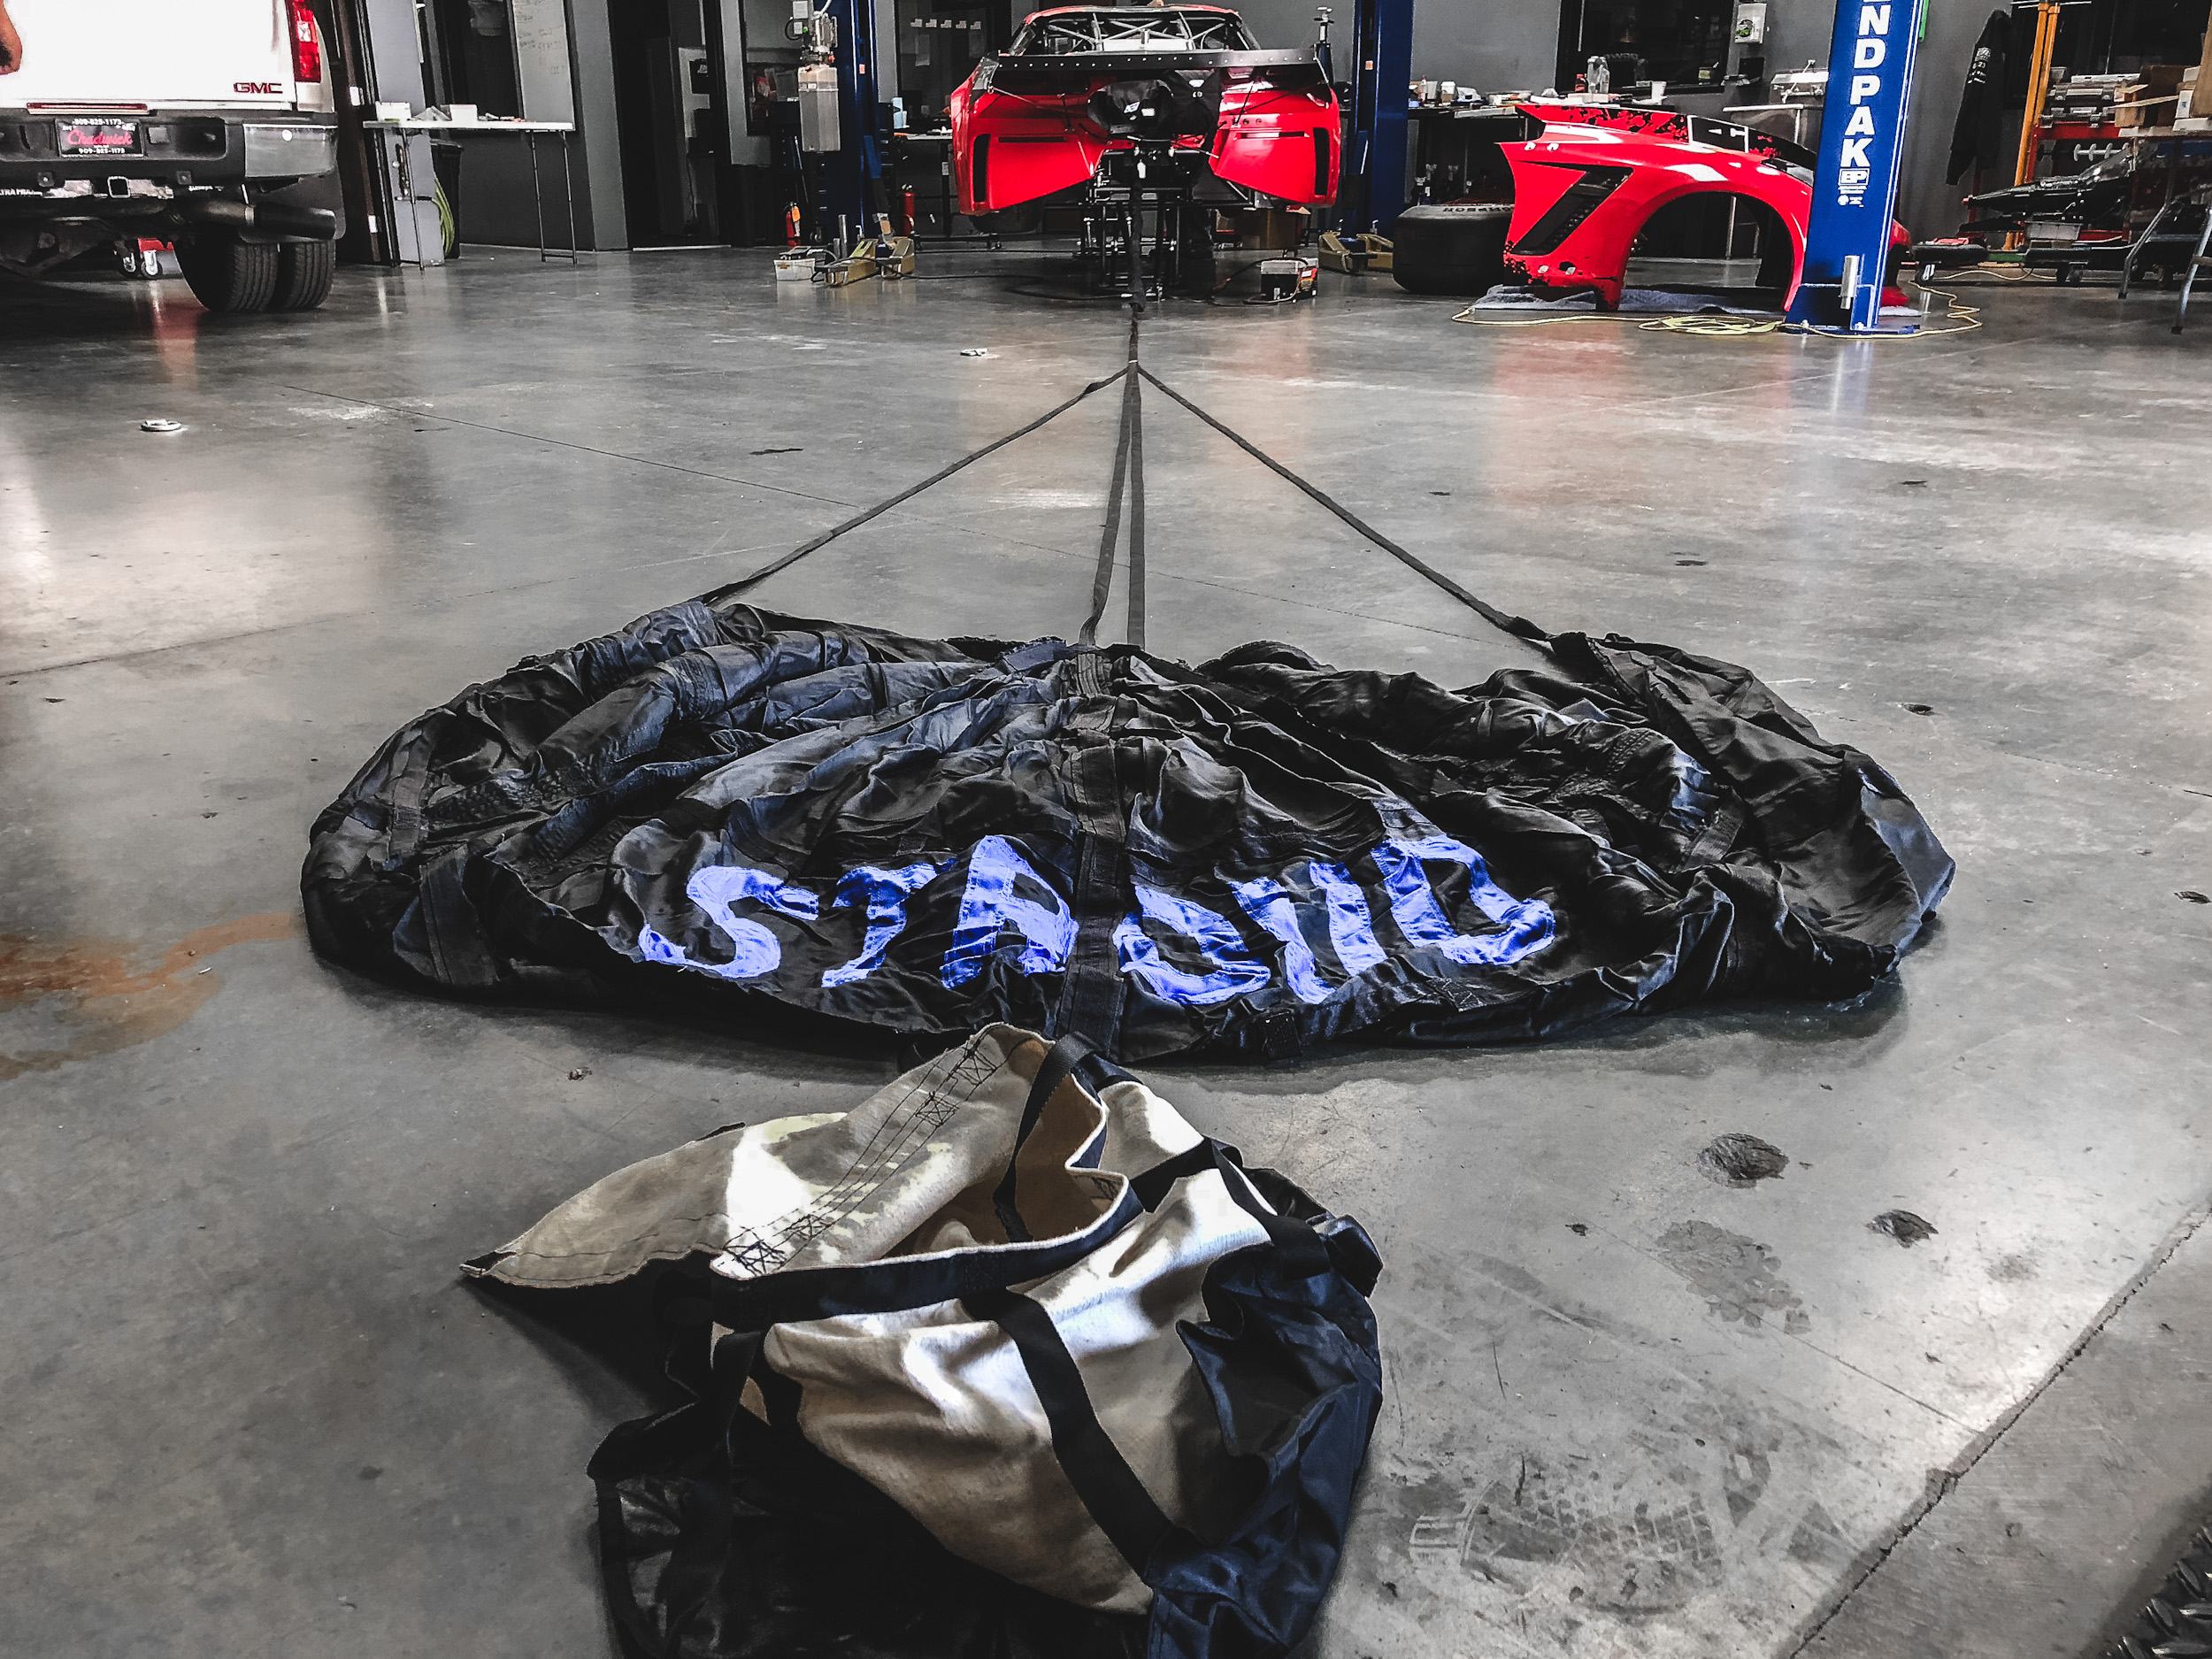
Even competing over an eighth-mile course with more than half a mile of shutdown area, parachutes are still just as vital as they are on a vehicle traversing a full quarter-mile. Fact is, 200 mph is fast, regardless of how much space you have to stop, and the more you can rely on the parachutes, the less demand there is on the braking system. To that end, even with ample space, parachutes are a safety net (no pun intended) should the throttle hang and force the driver into an emergency-stop situation.
Manufacturers like Stroud Safety, in concert with SFI and the NHRA, have developed specific standards as they relate to parachutes, taking into account vehicle speed and vehicle weight. Through their research and findings, Stroud is able to pinpoint specific parachute setups for a given application, be it a single or dual configuration and overall parachute size.

Using Stroud’s chart, our vehicle weight of 2,700 pounds and 200 mph trap speed puts us into their 430-30 Pro Mod parachutes. This option actually provides us considerable headroom, as the 430-30 accounts for speeds ranging from 215-230 mph and weights as high as 4,000 pounds.
Stroud’s parachutes have been a familiar site at drag strips for decades, thanks to their reliability and quality. Made of nylon fabric, Stroud’s parachutes are differentiated in application by the overall size of the canopy, the line length, and the line width of the webbing. The vents in the parachutes will also vary, depending on vehicle type, weight, and speed. Dragsters, for example, will have larger vents than heavier cars — this is all a delicate matter of improving stability. Nitro parachutes are similar in size to their Pro Modified and Top Alcohol parachutes, but will sport fireproof packs, lines, and parachutes.

The Stroud parachutes are optioned with the air-launch system, which uses CO2 to pressurize the parachute pack and this air-ram on the backside to propel the parachutes out without the need for a pilot chute.
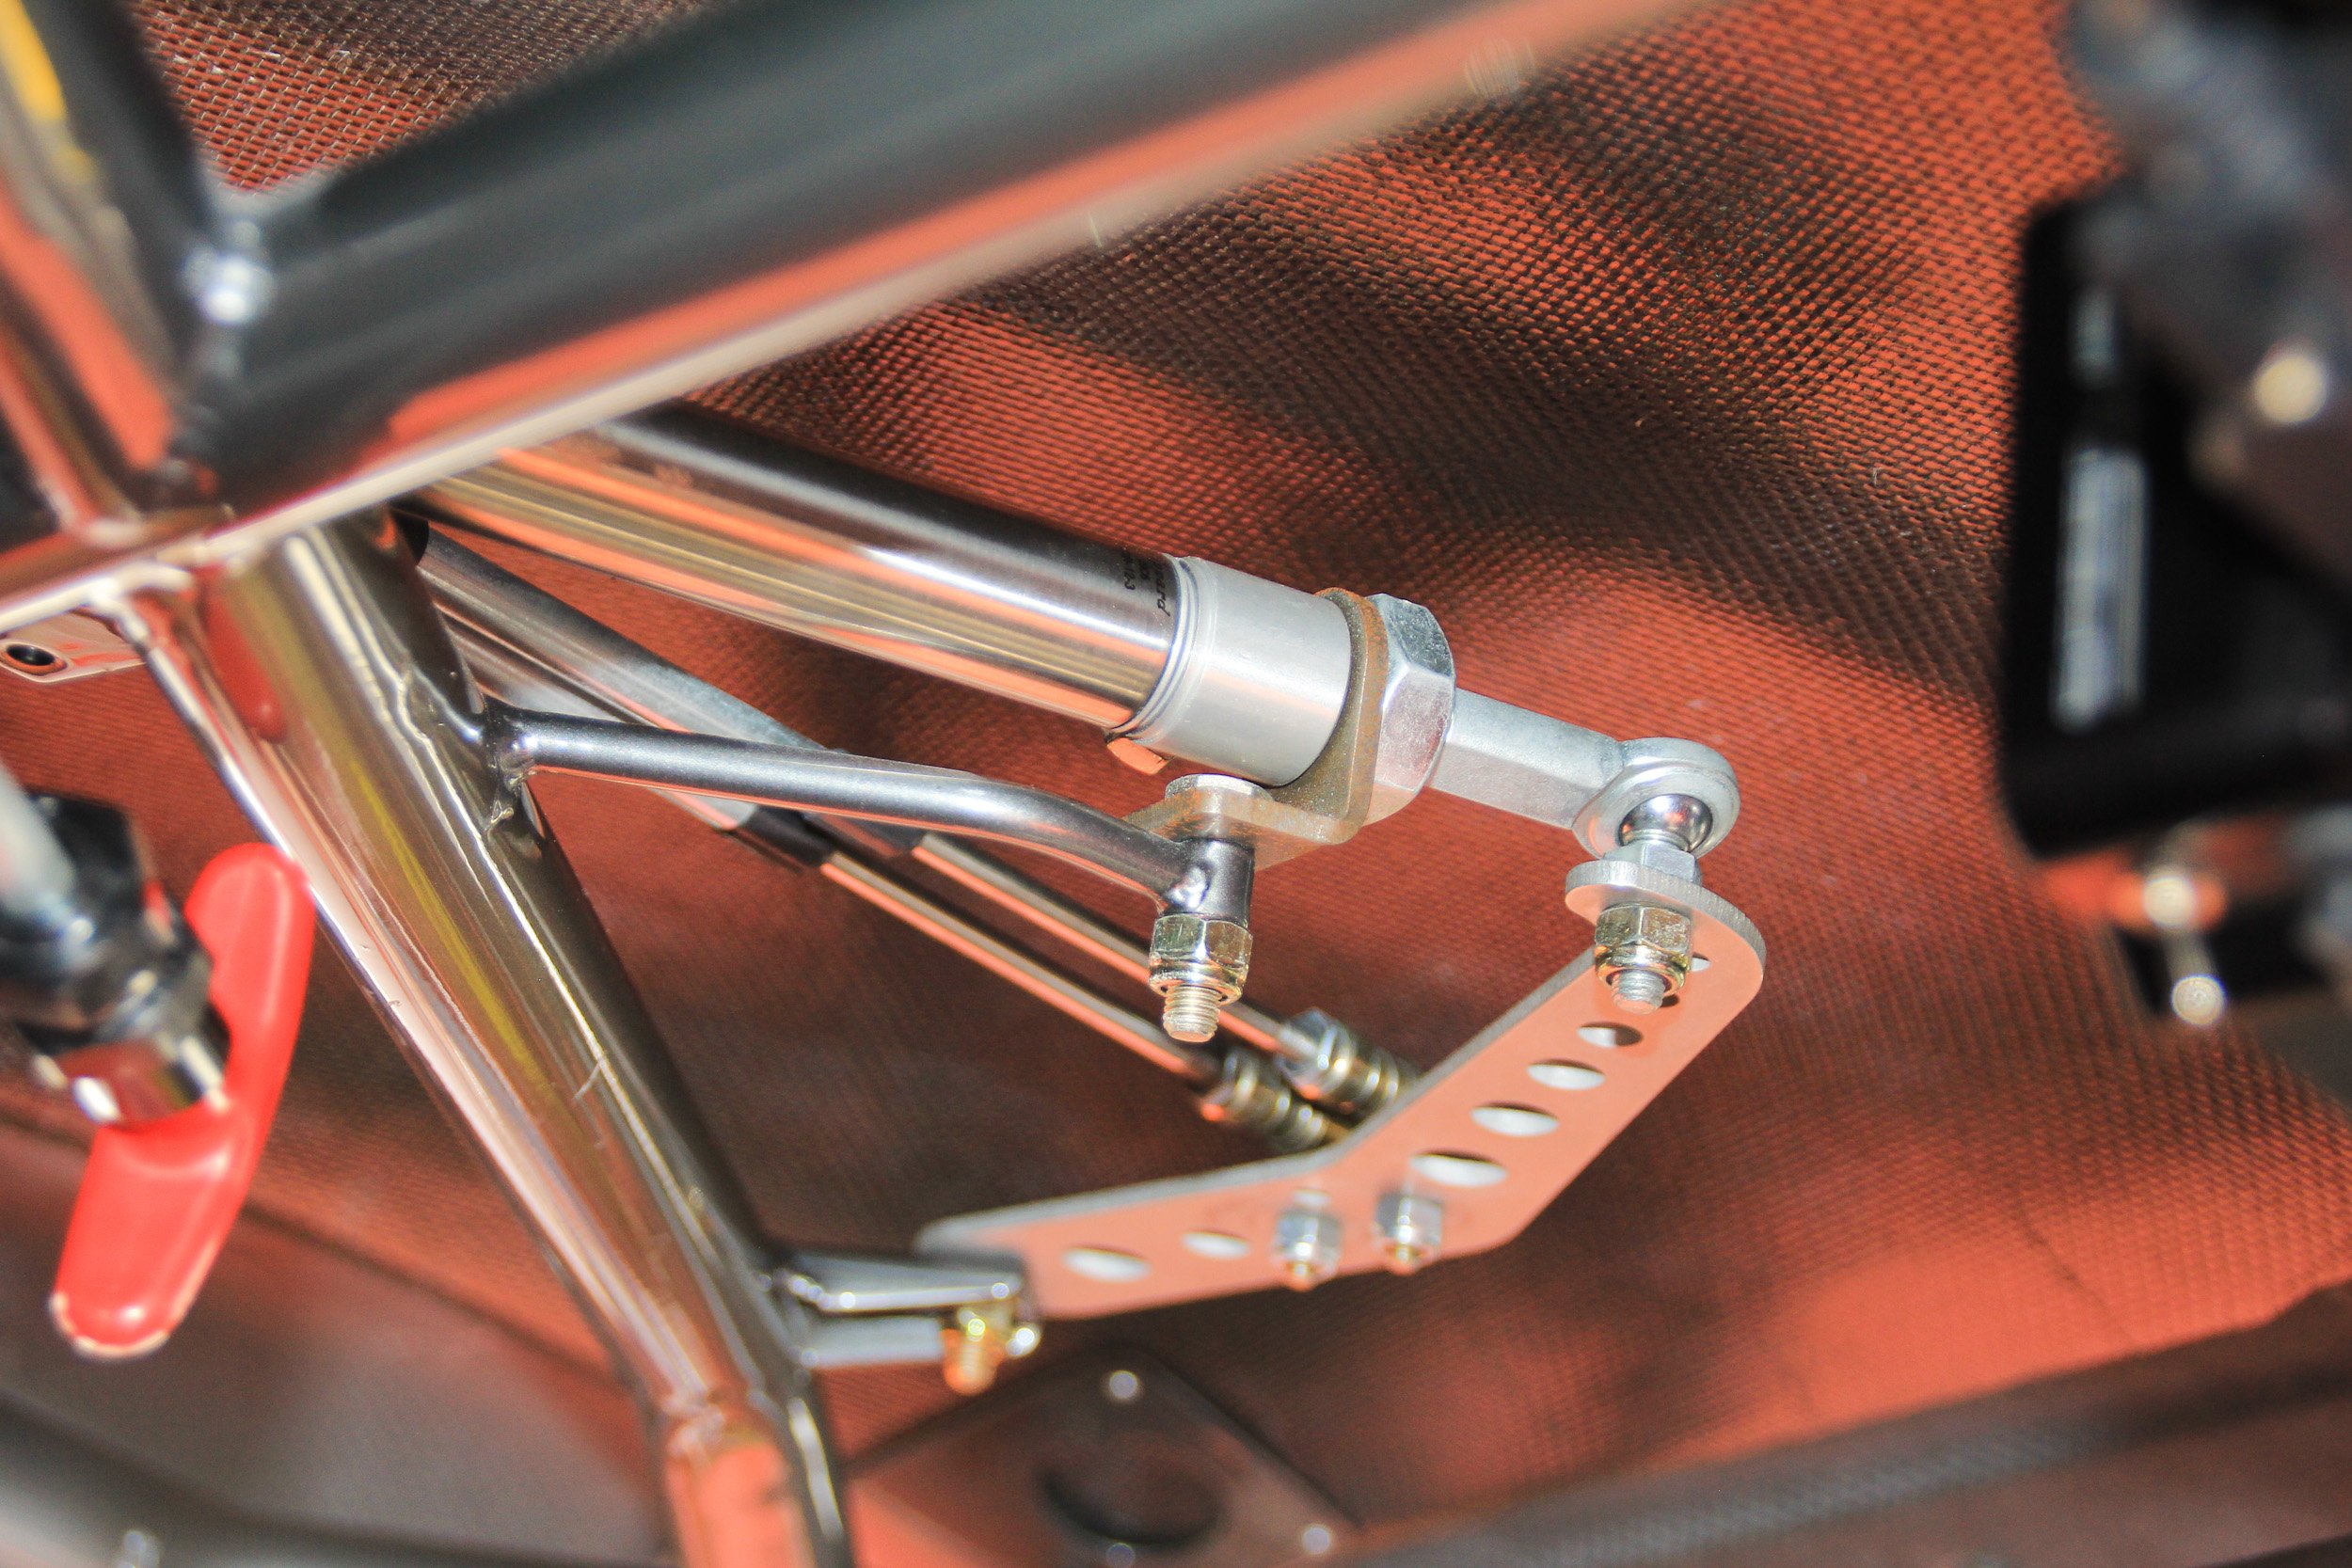
The parachute cords are mounted to the chassis using Quarter-Max’s dual parachute cord mount kit (Part # 209107-1), which utilizes weld-on, 4130 laser-cut brackets and comes with Delrin bushings and the bolt and lock nut to install and mount each parachute cord independently of the other.

Stroud's Latest-Generation Parachutes
Last fall, Stroud launched a new parachute made from a high-tenacity, rip-stop nylon, which features both UV and heat protection, to create a longer-lasting, more durable parachute. This fabric increase tear resistance without increasing overall weight, and a low coefficient friction finish improves abrasion as they drag on the pavement. They also better repel water. Stroud field-tested the new fabric with drag racers all across the world and even on the salt flats.
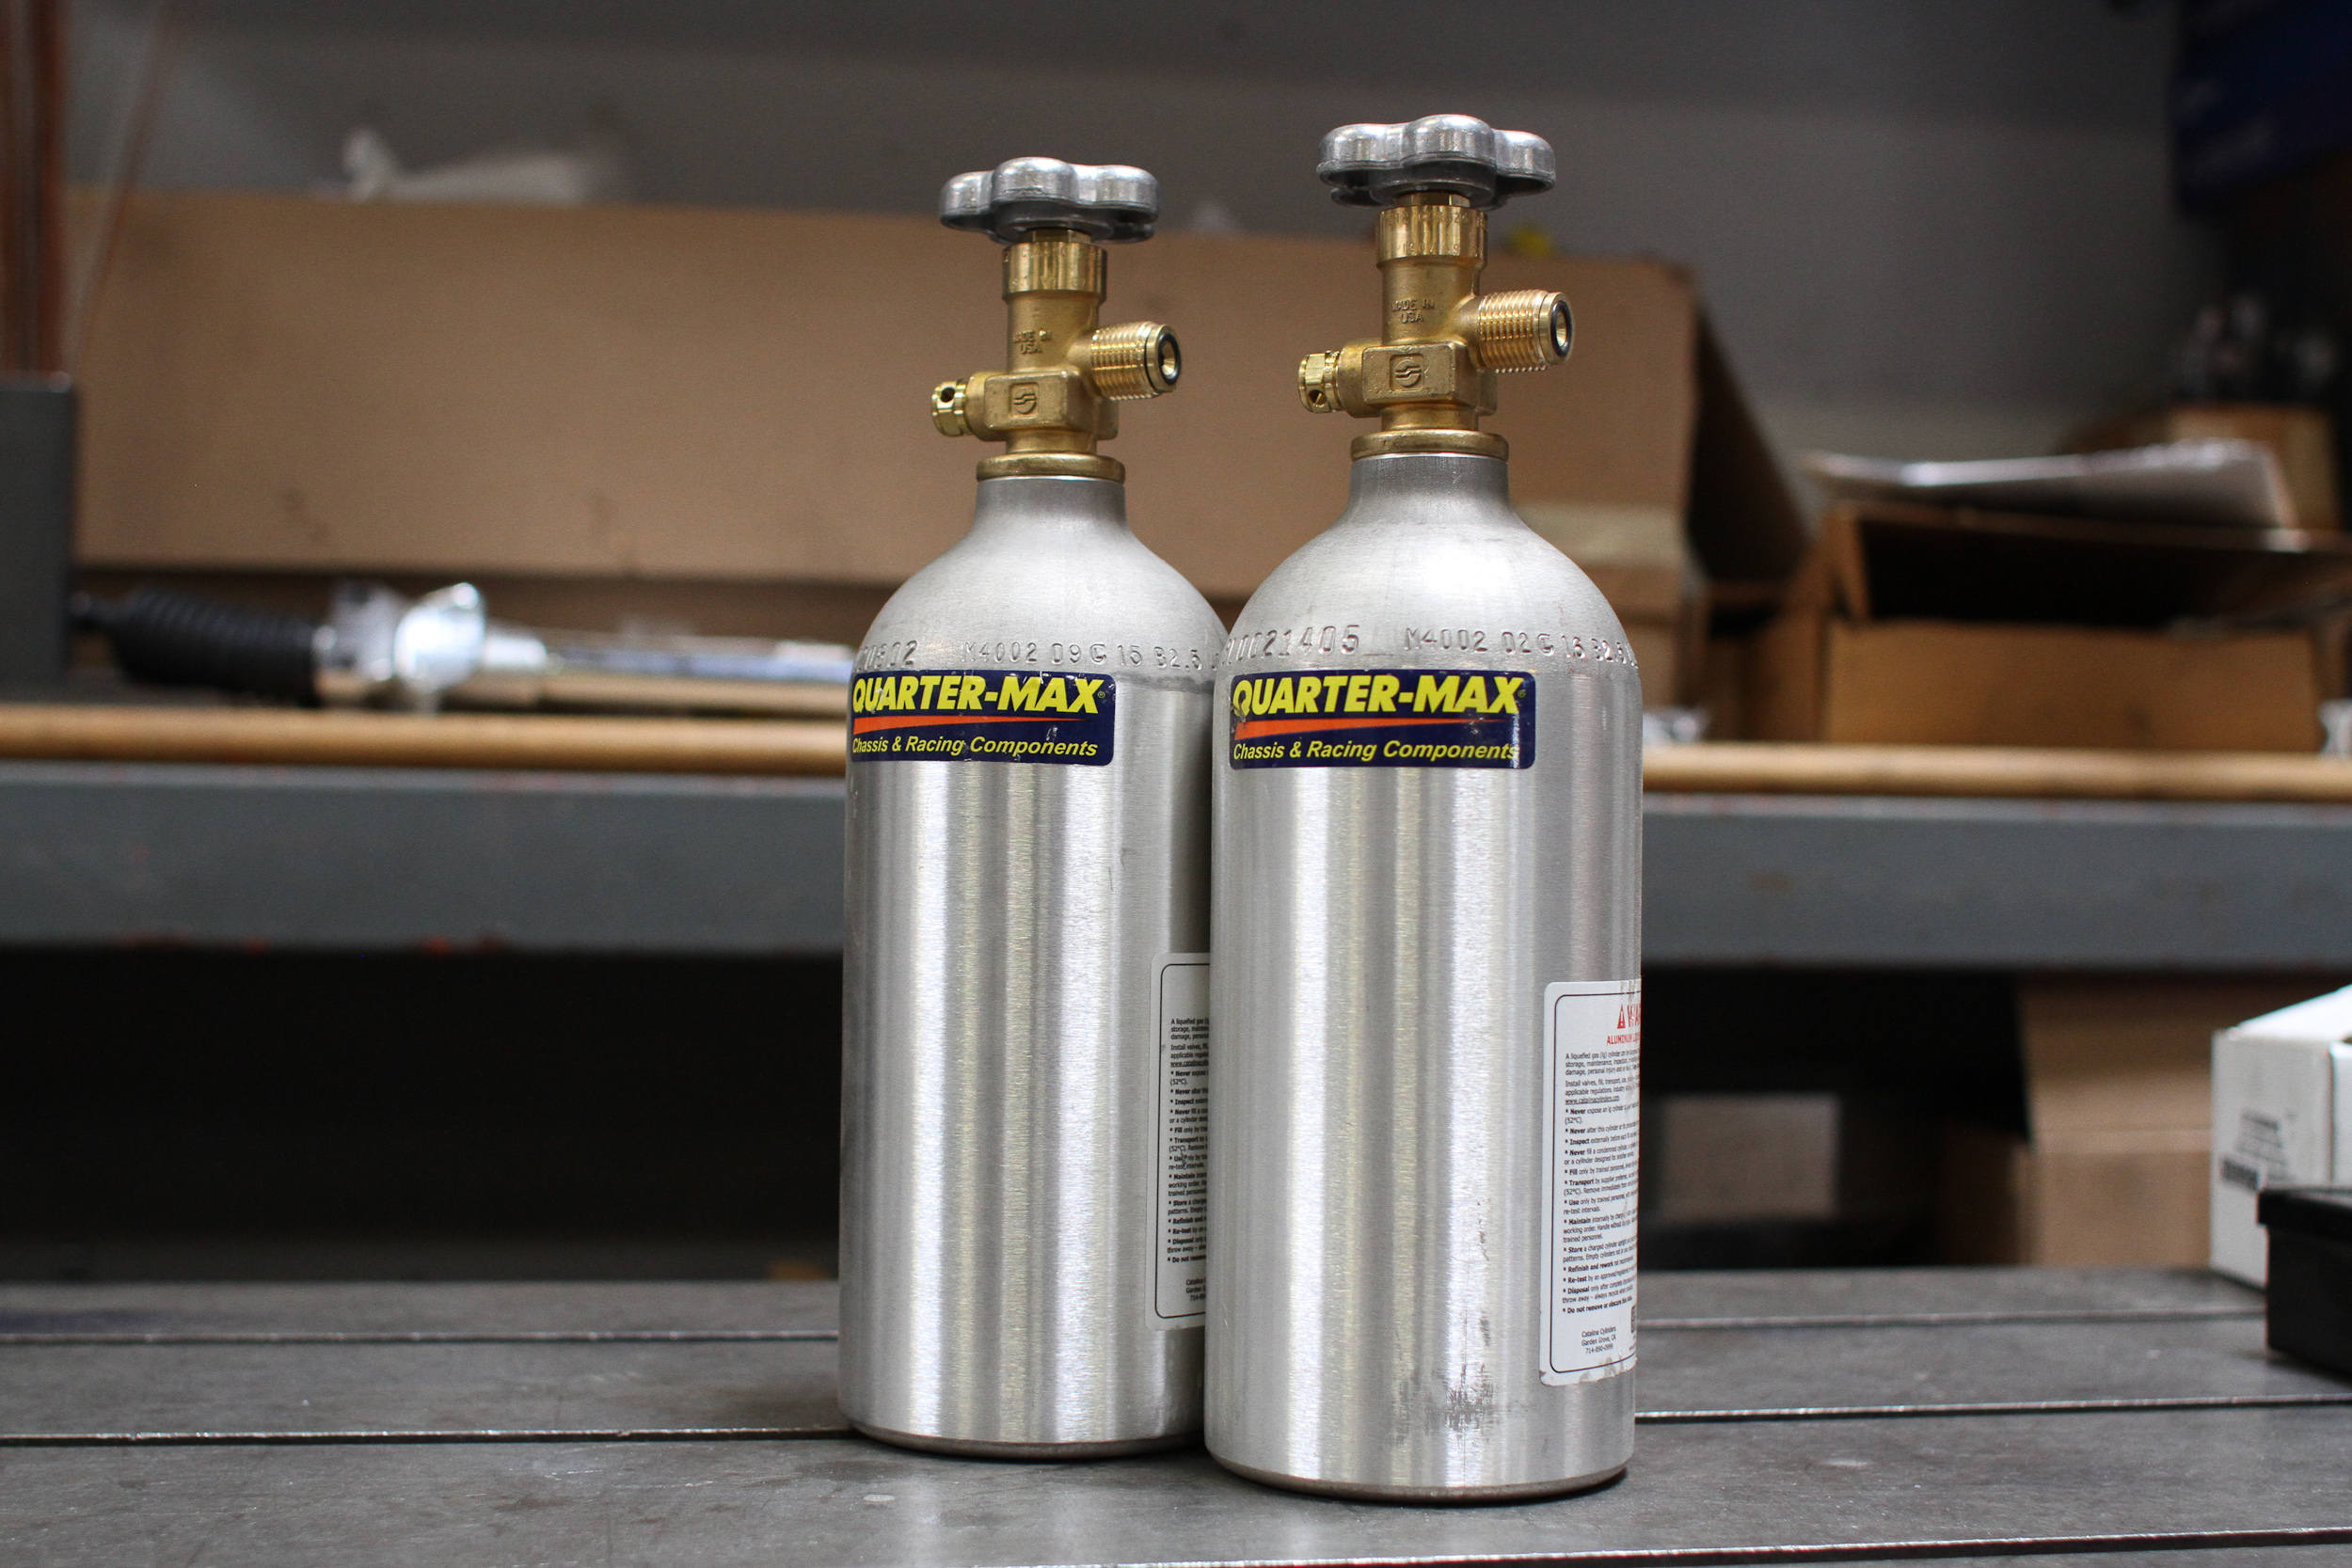
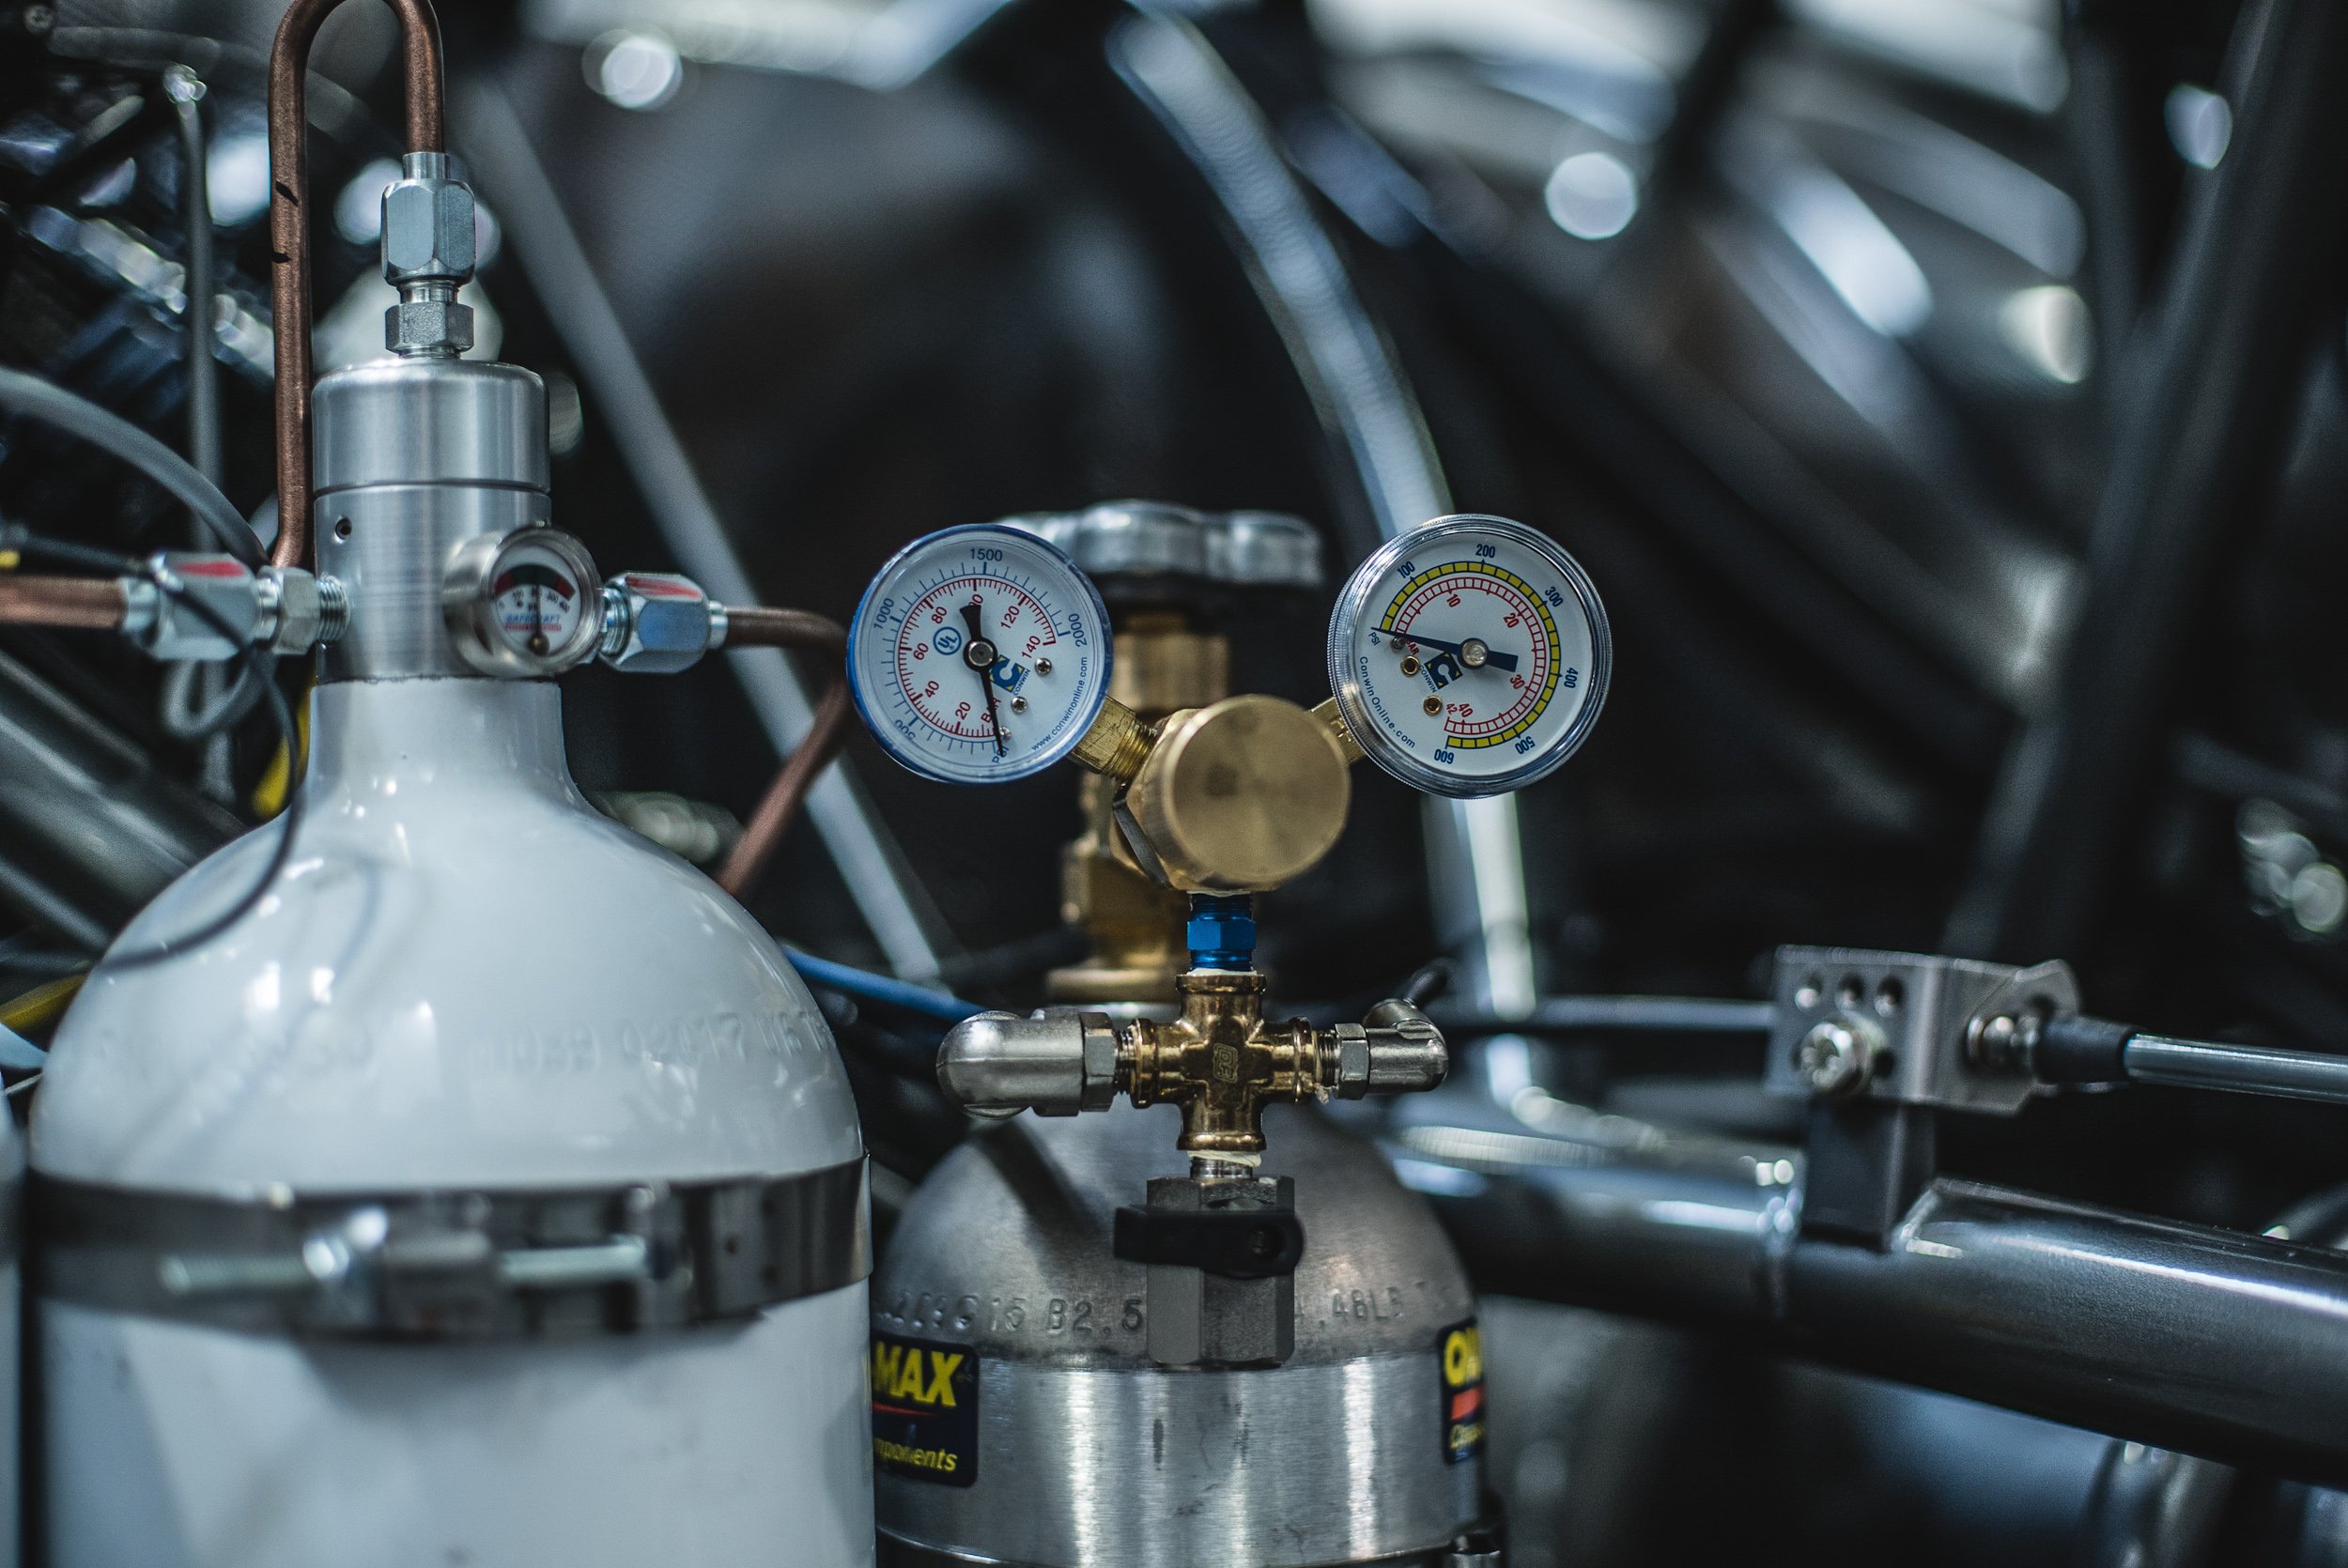
The Quarter-Max air bottles which, among other things, operate the air-assisted parachutes.
Just as the description implies, Stroud’s air launcher parachutes are released by air pressure contained within the external ram and the parachute pack, eliminating the need for a pilot chute. A CO2 bottle in the cockpit, when opened, pressurizes the parachute packs and the air launcher mounted to the pack that forces the chutes out when released. The CO2 bottle is also plumbed into the Quarter-Max air solenoid, which is activated by the button on the steering wheel. The electronically-activated solenoid opens, releasing pressurized air into the ram mounted on the roll cage, actuating the parachute release handle for the driver. Of course, as a failsafe, any car with air-launched parachutes will still contain the physical, mechanically-operated handle in the event of a CO2 or system failure so the chutes can be deployed.
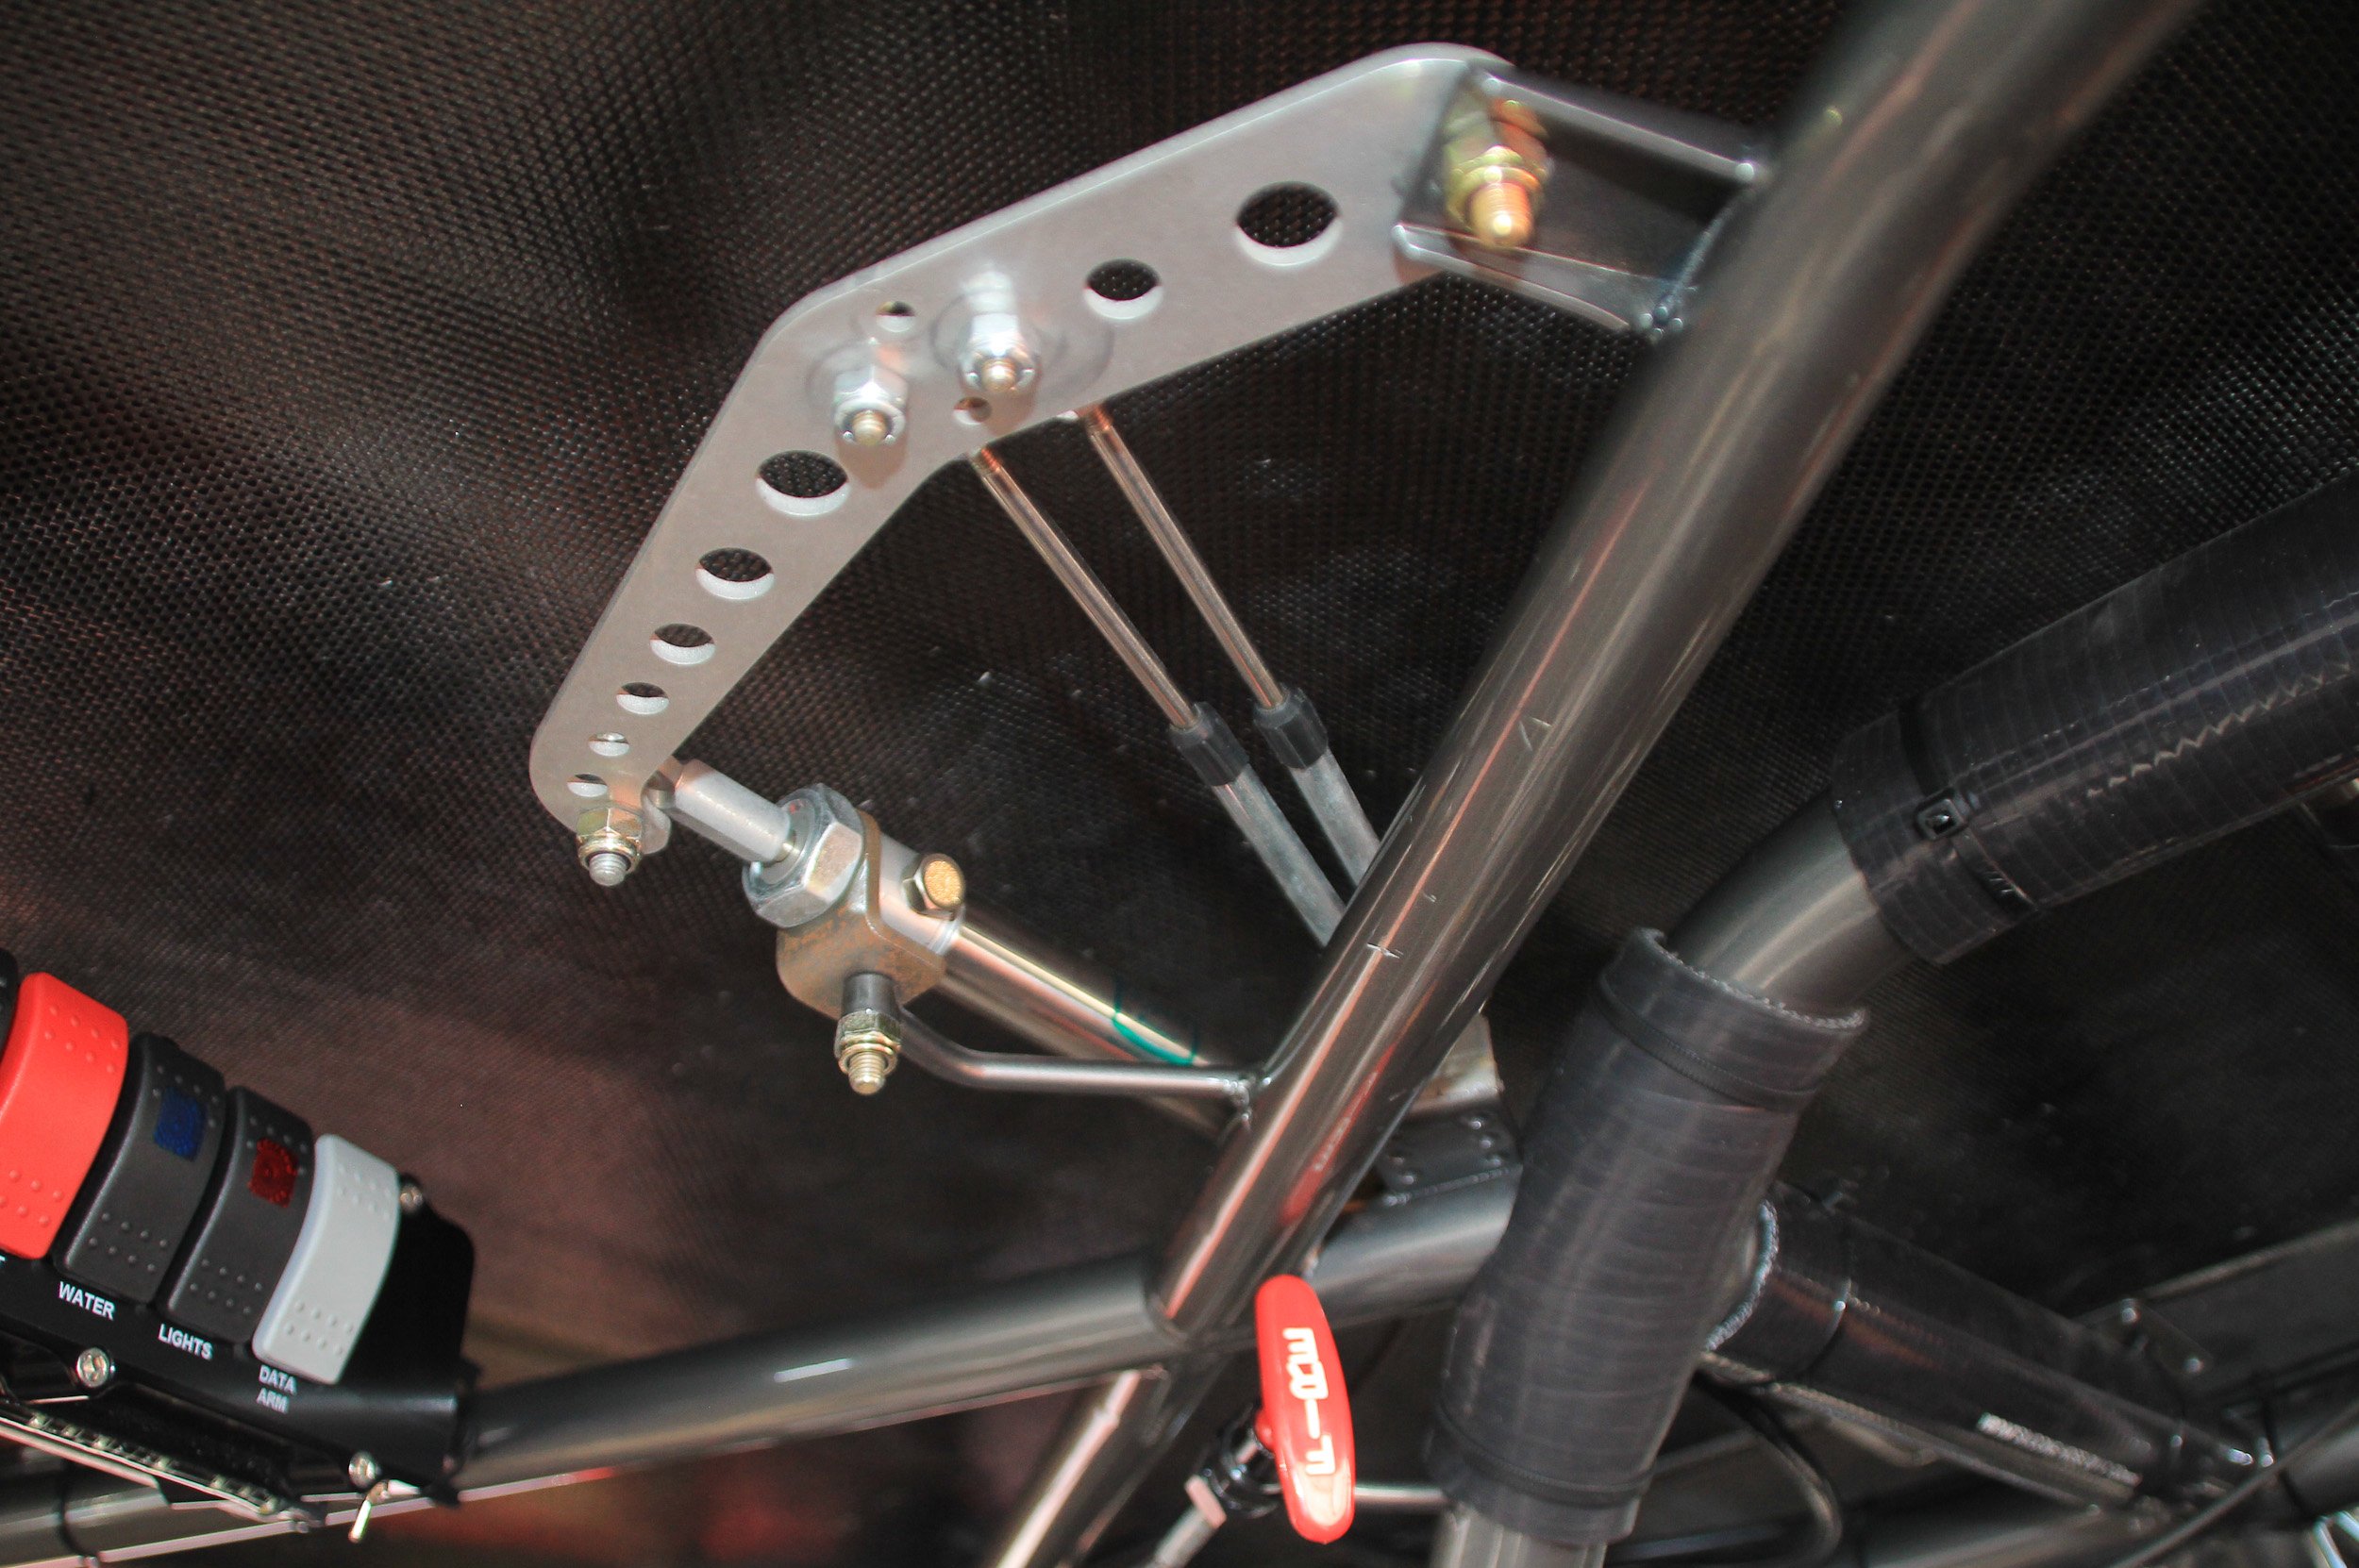
Quarter-Max’s dual parachute cable kit delivers everything one would need to release one or both parachutes, including the handle, cables and housings, clamps to mount the cable to the chassis as you rout it to the rear of the car, and all of the brackets and hardware for installation. This kit is optional with raw, black, or carbon finish release handles to get the look you desire.
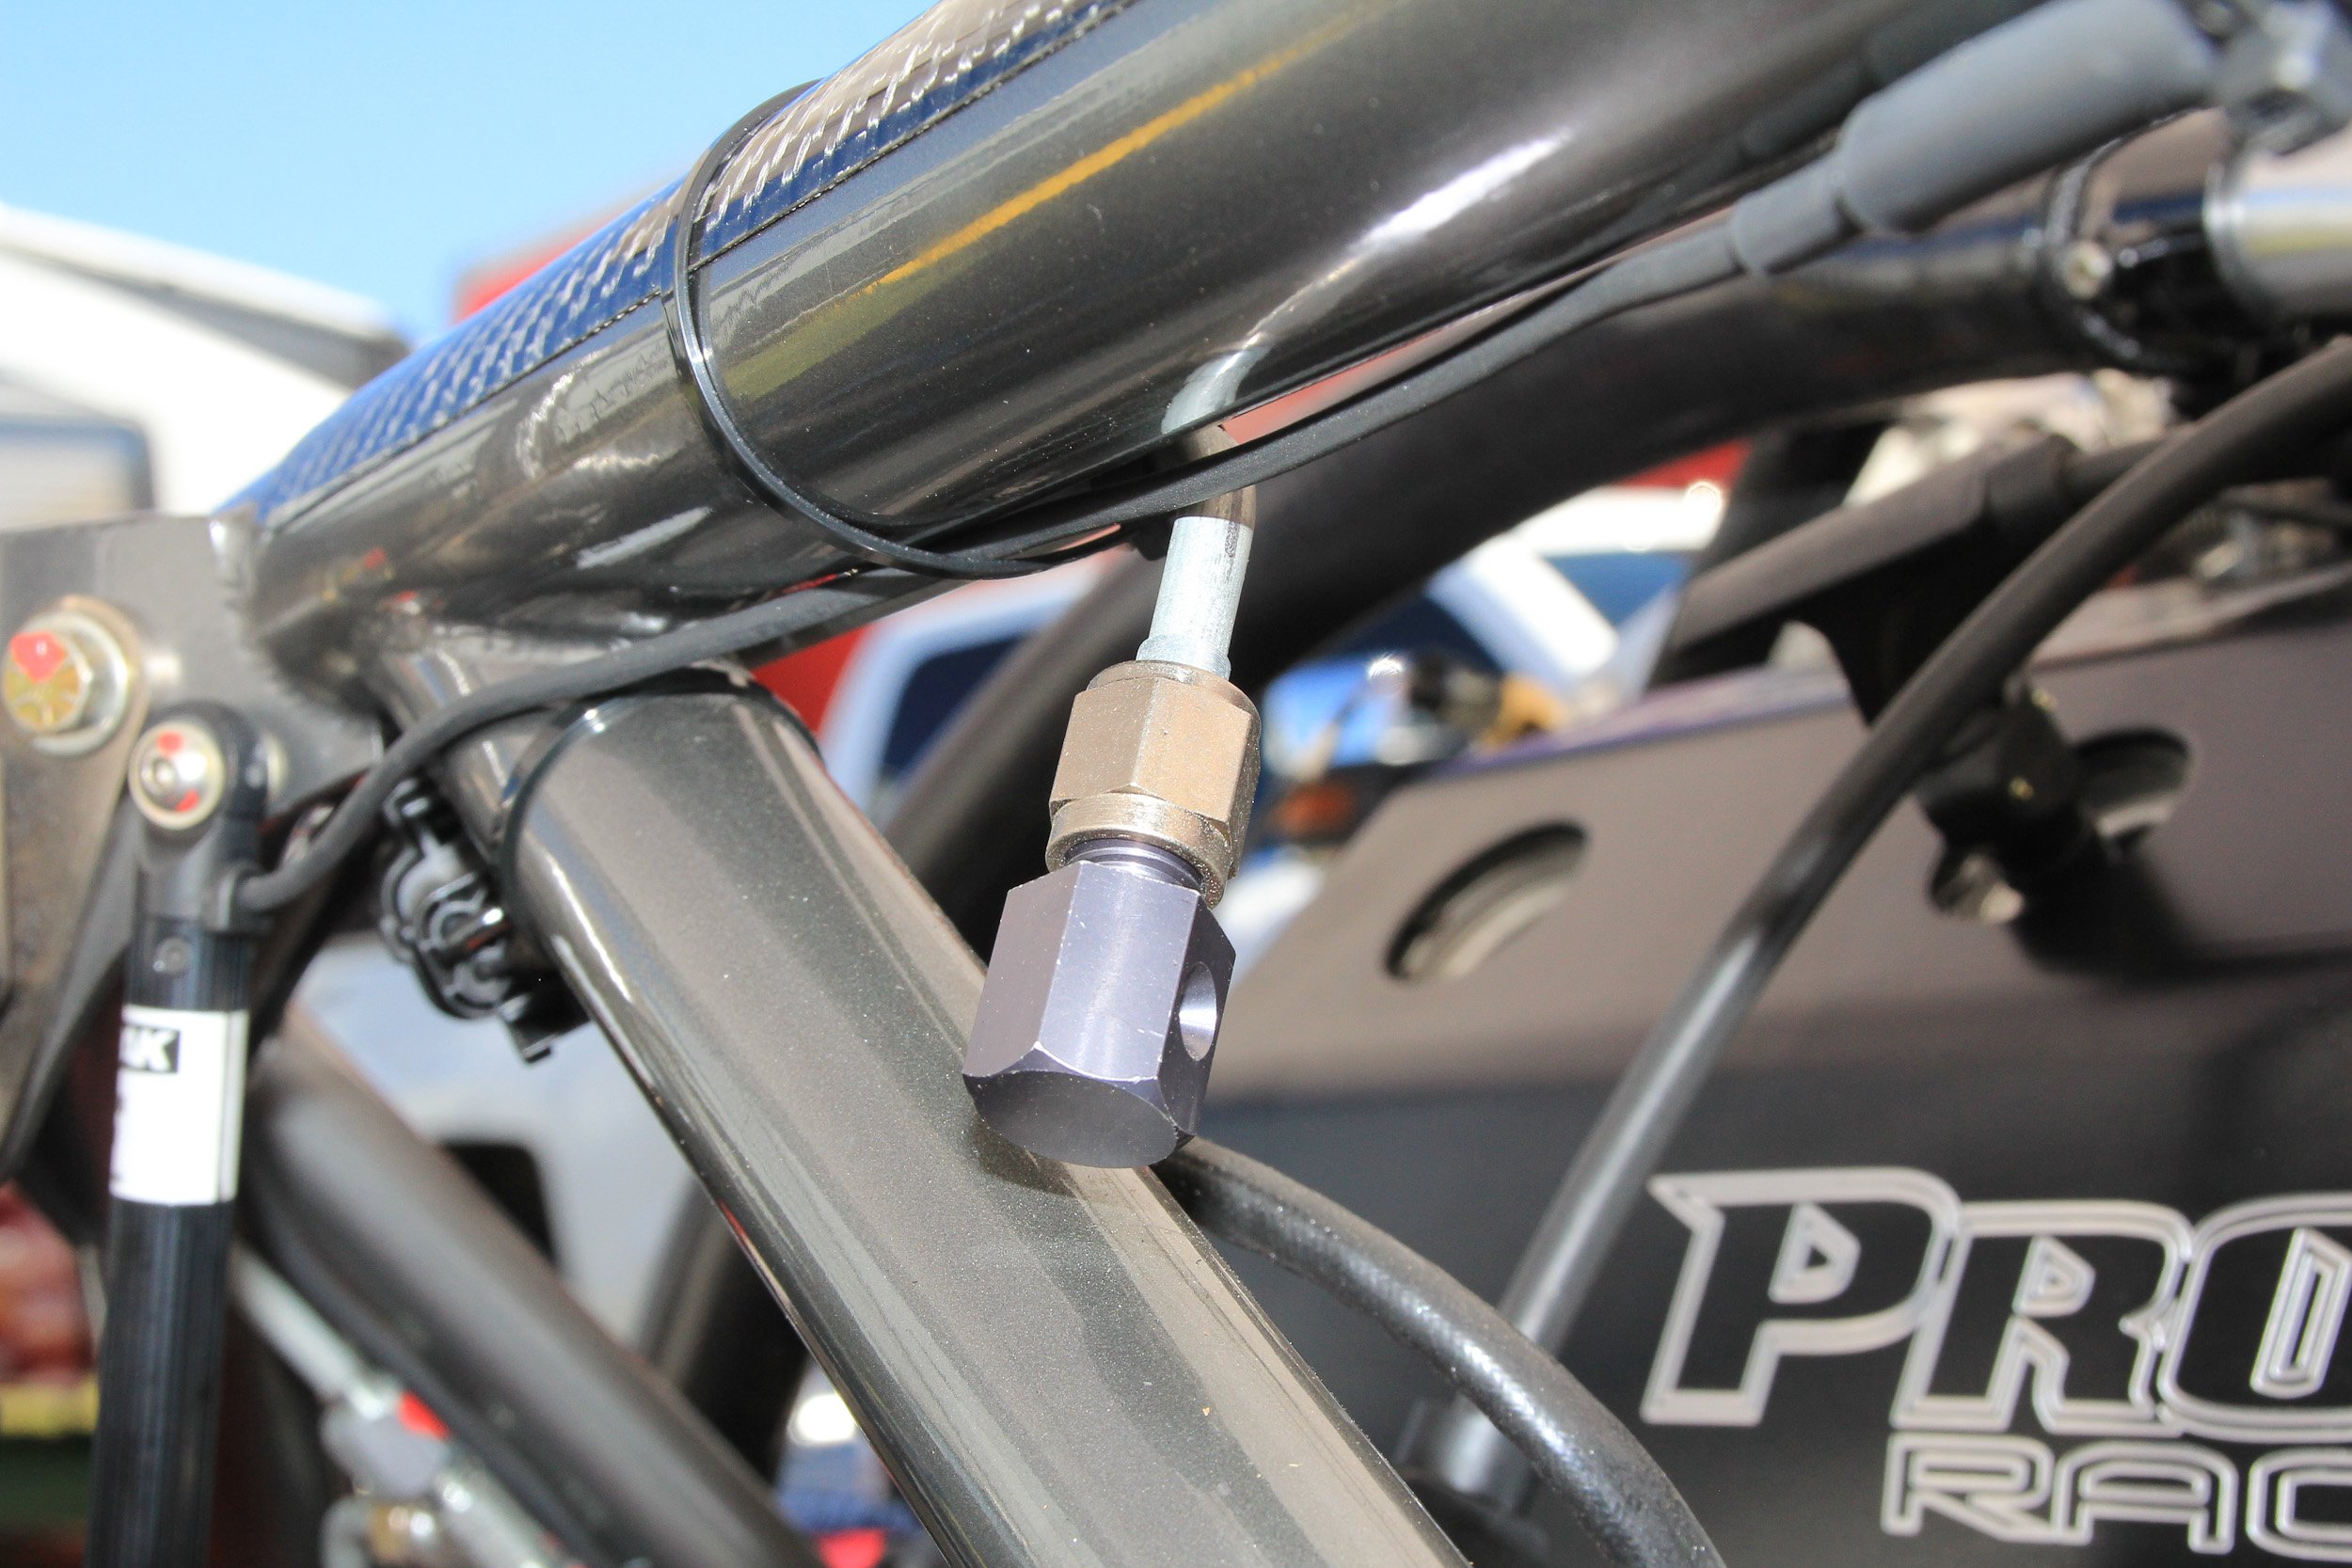
Quarter-Max’s cable end cap (Part #209112), a CNC-machined metal cap, screws onto the outer casing of our parachute release cables, keeping it from fraying and potentially snagging on the parachute pack.
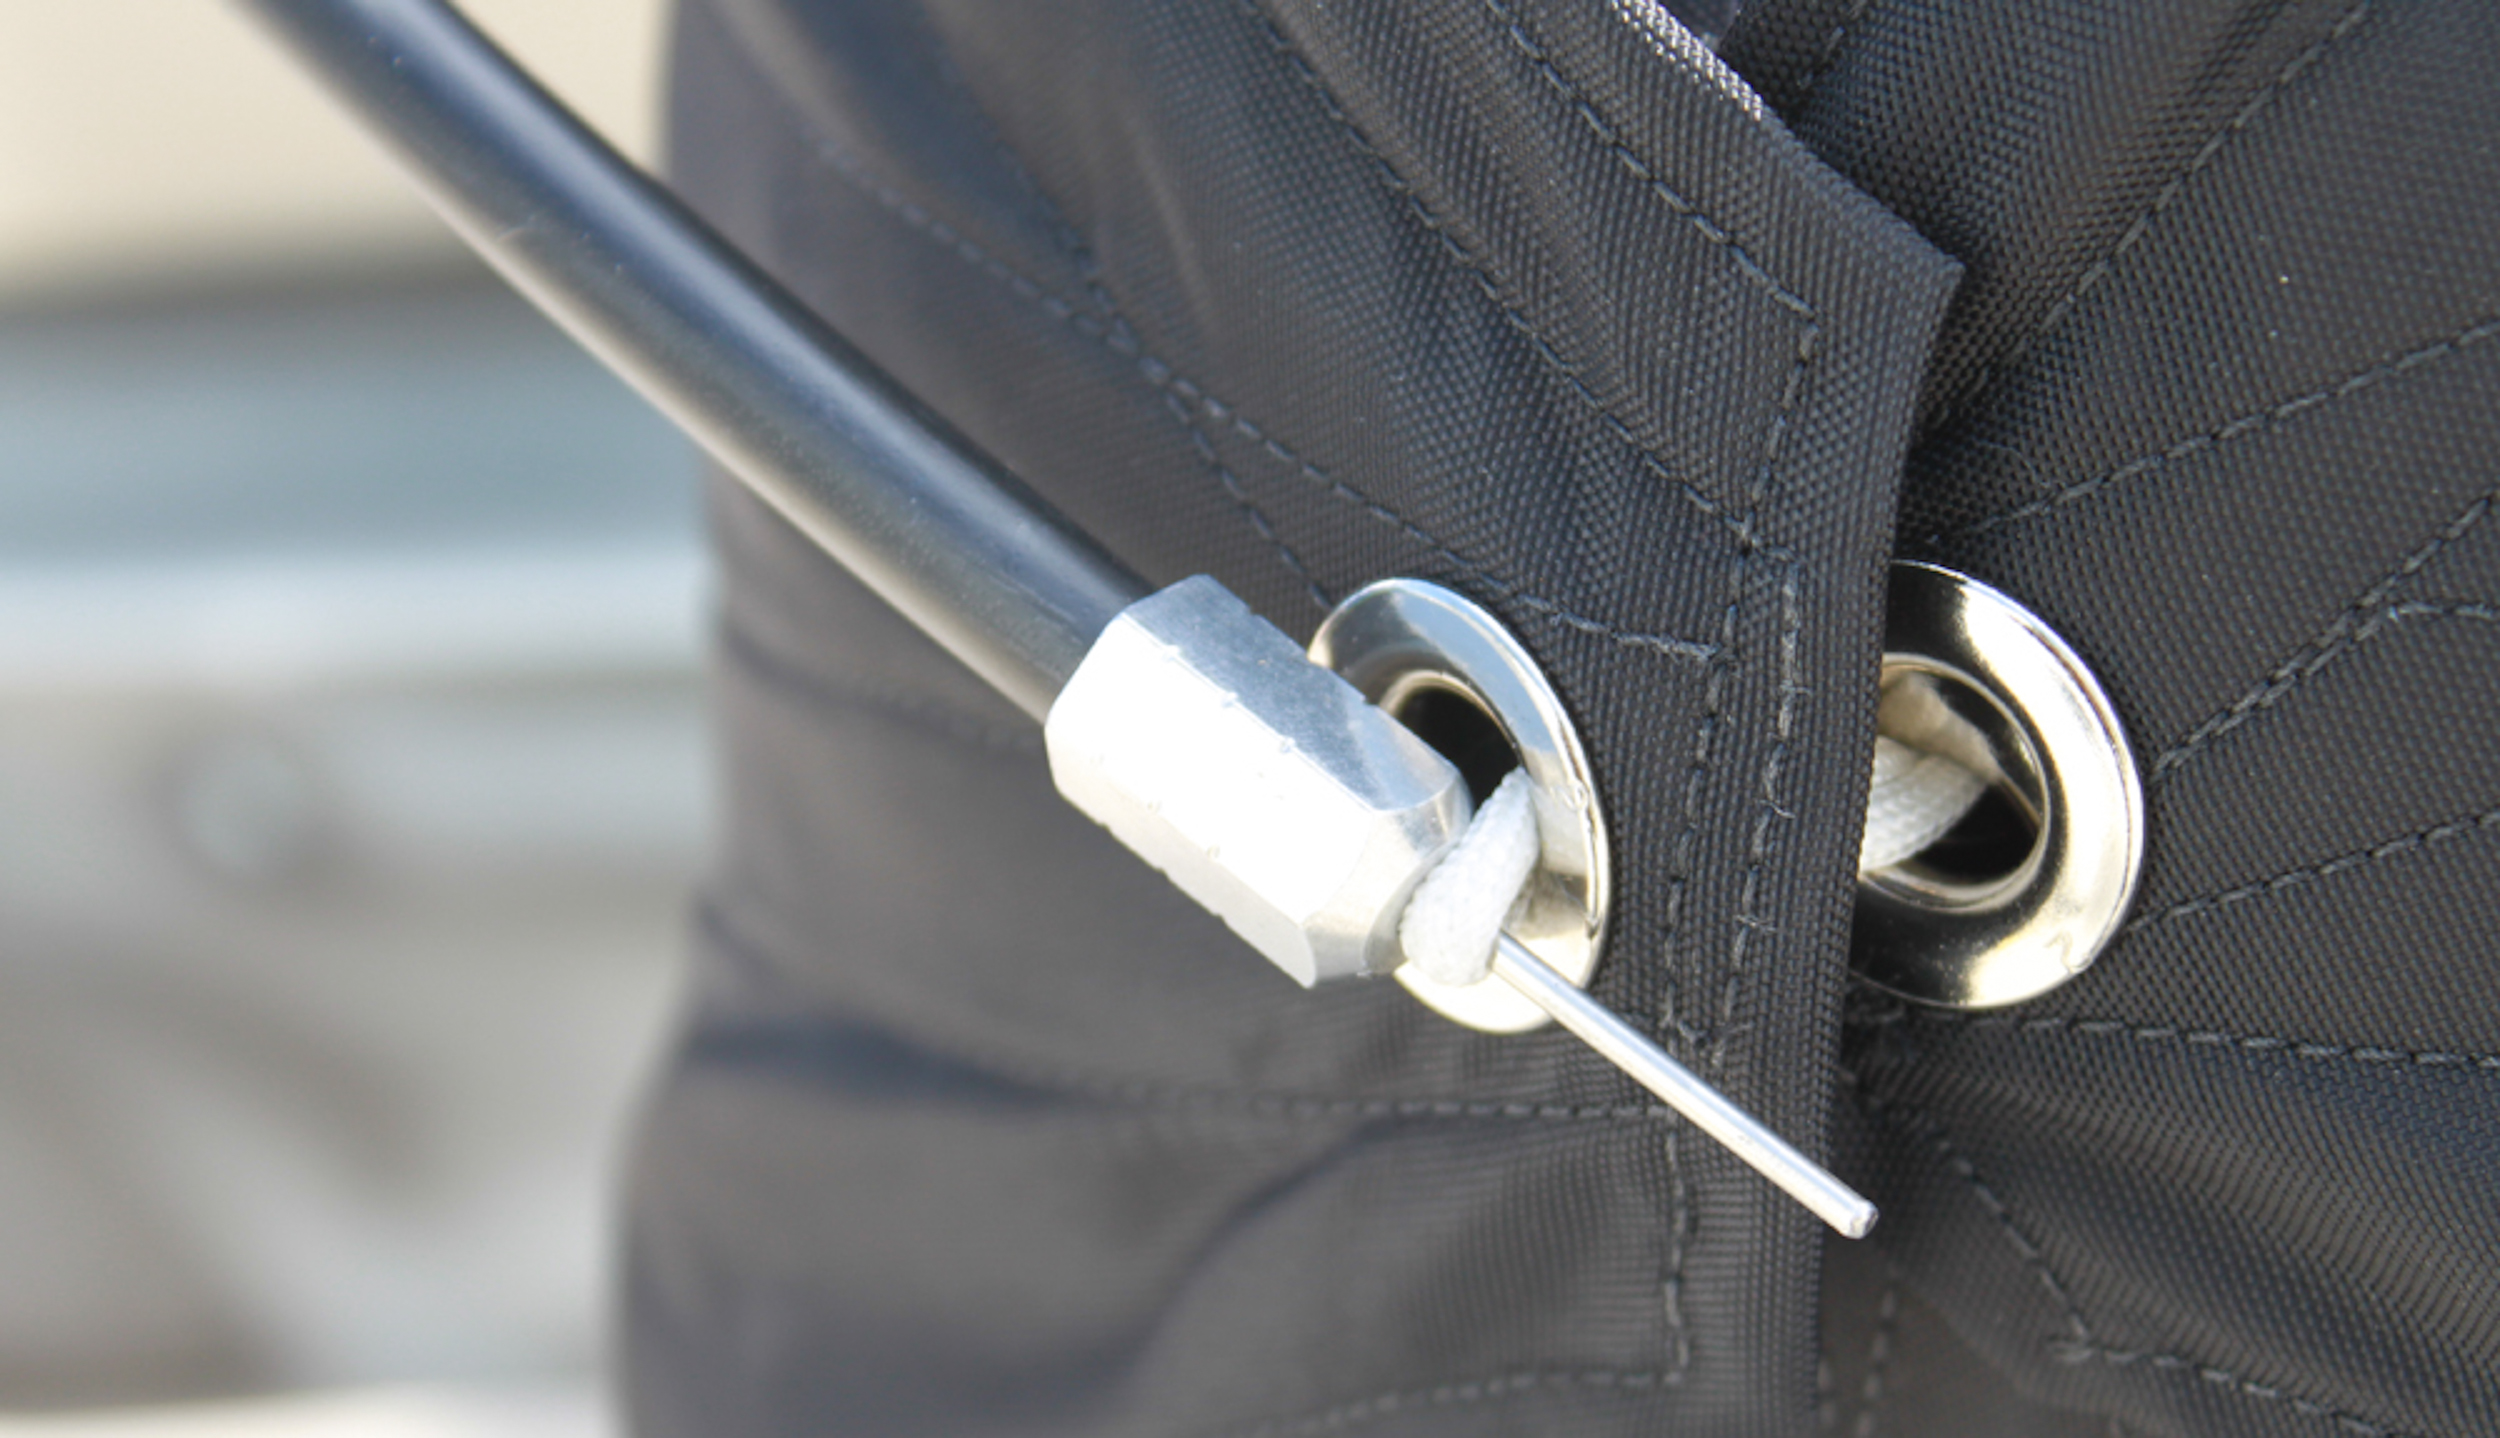
A very simple yet highly valuable item, this cap from Quarter-Max for your parachute cable housing end keeps the cable from snagging the parachute pack and potentially failing to open.
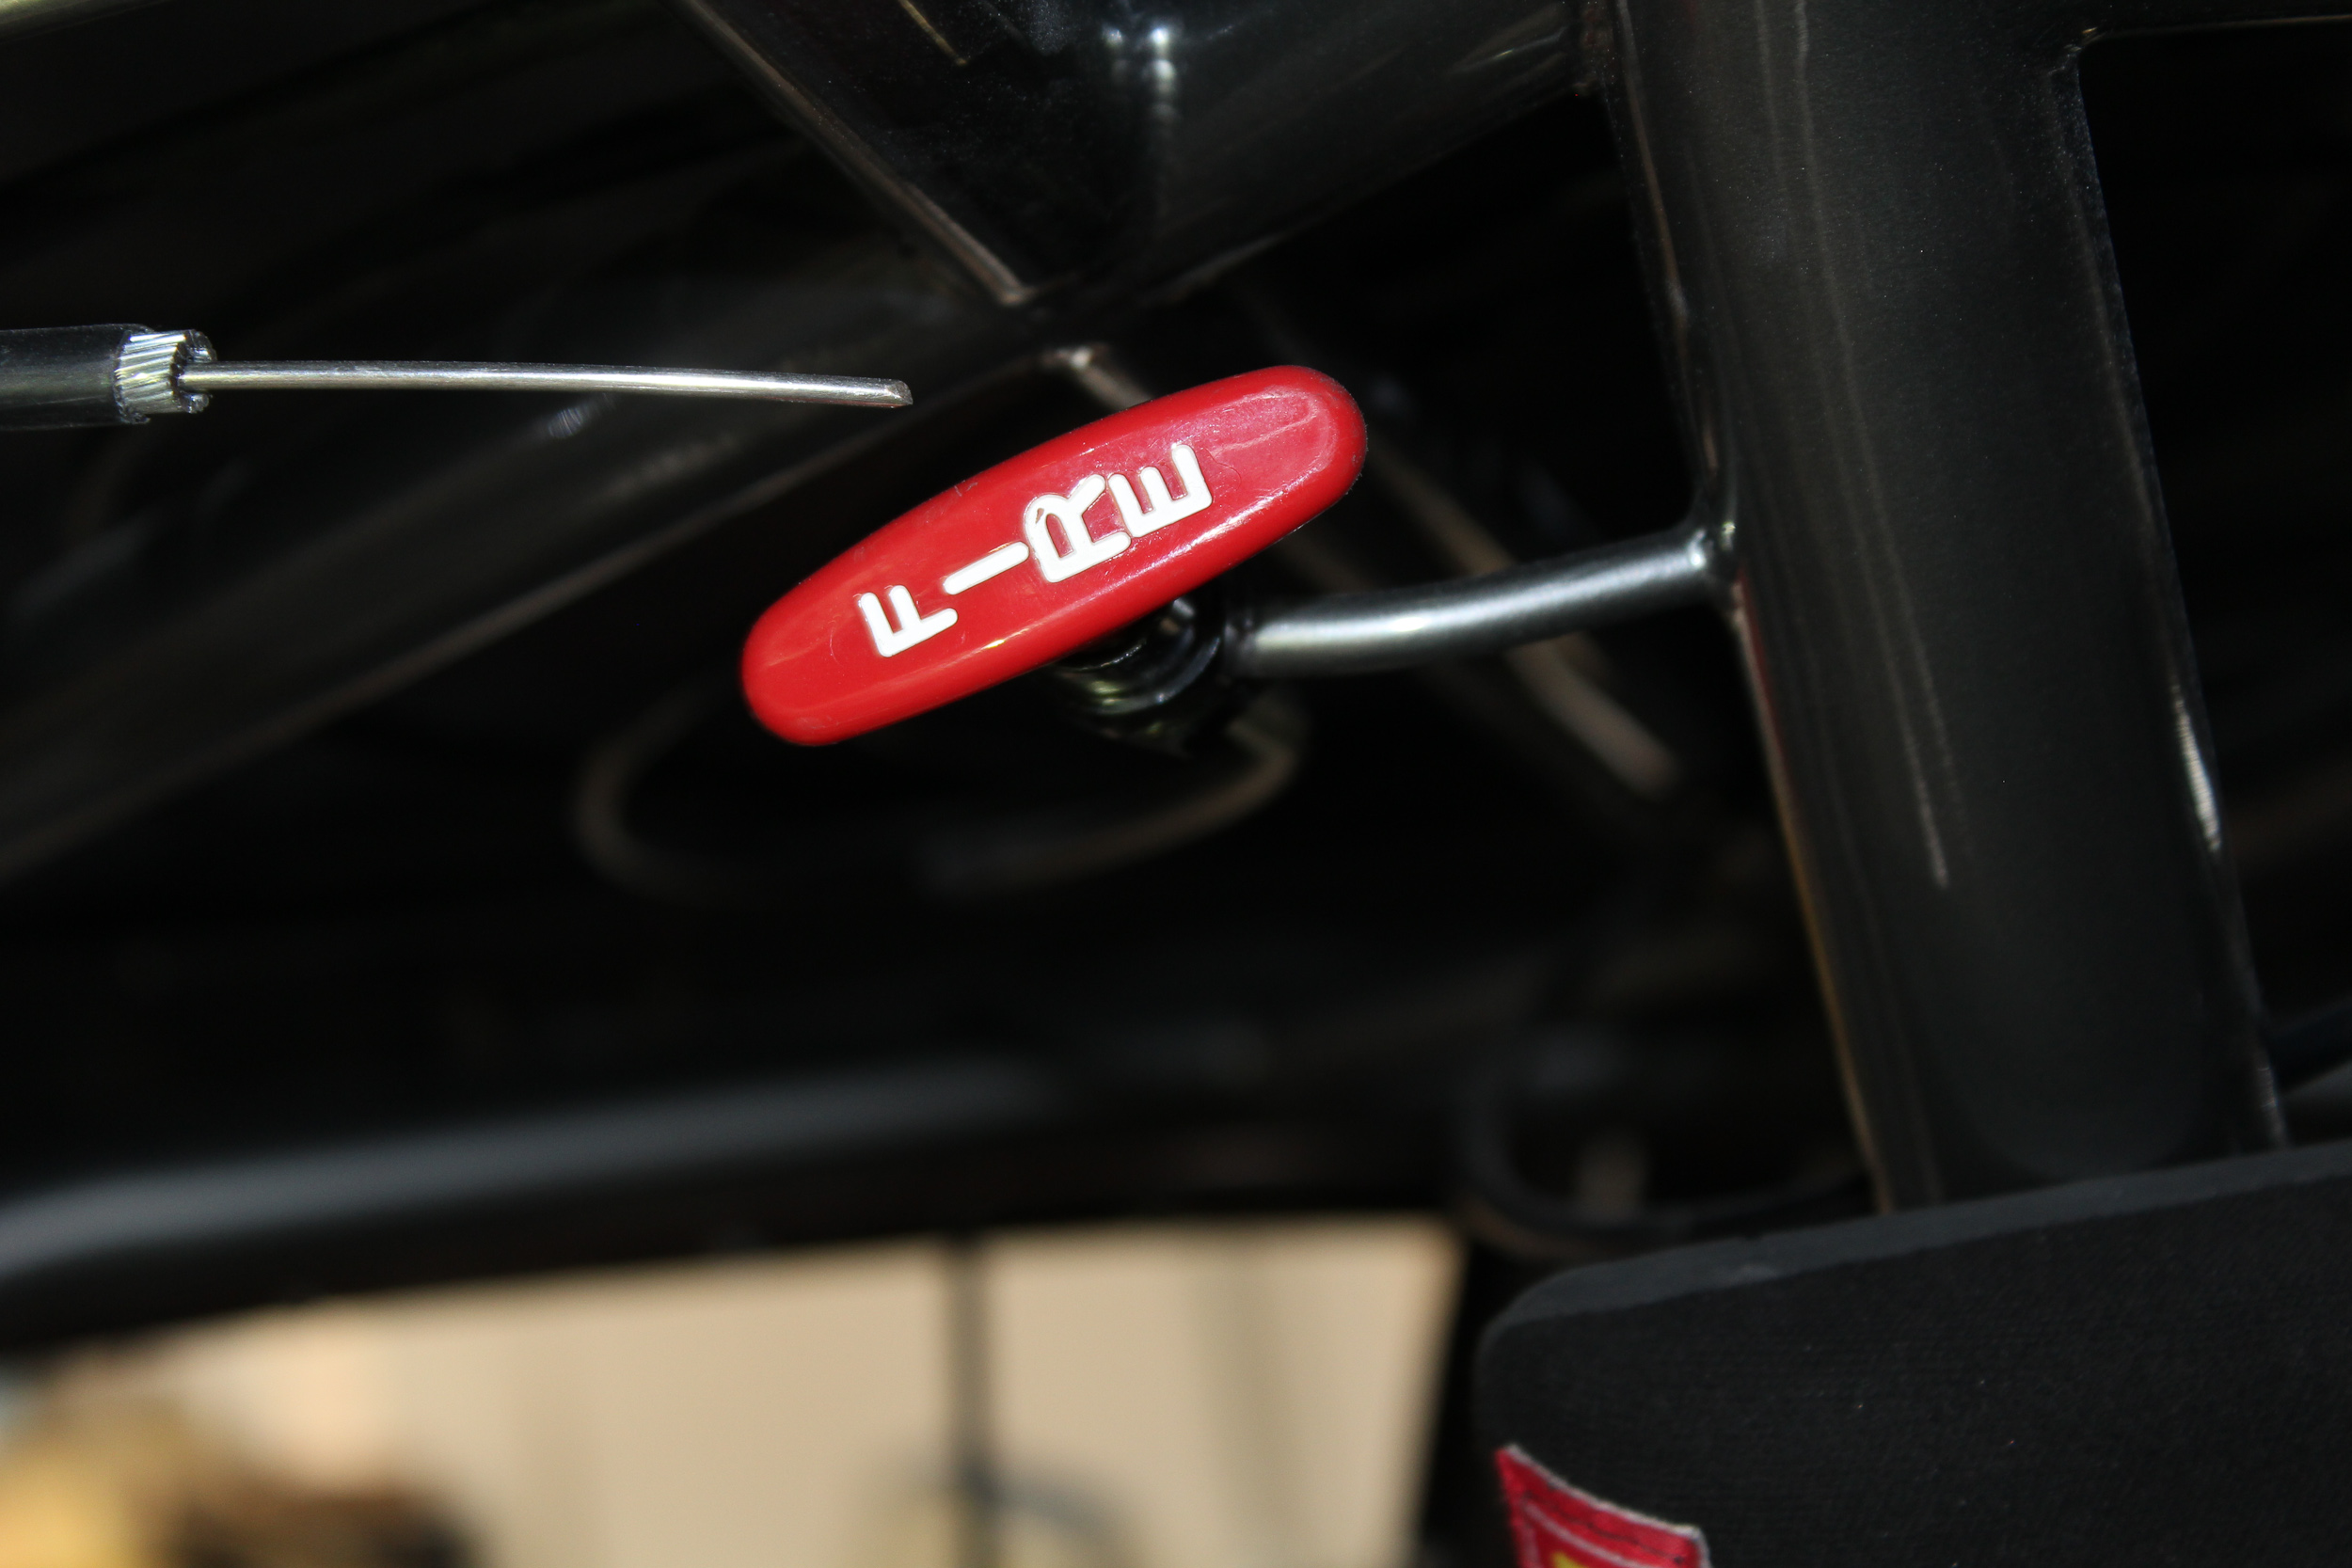
Bringing the car to a physical halt isn’t the only thing a driver may want to stop; in the event of an accident or a fire, the first thing safety officials look for is the power-off switch, typically in the rear of the car. This cuts the power to the battery and in turn all of the electrical systems — and of course, the engine — to keep the situation from escalating. Without any means of shutting the power off from inside the car, a driver would potentially have to await the arrival of safety crews to shut the car down.
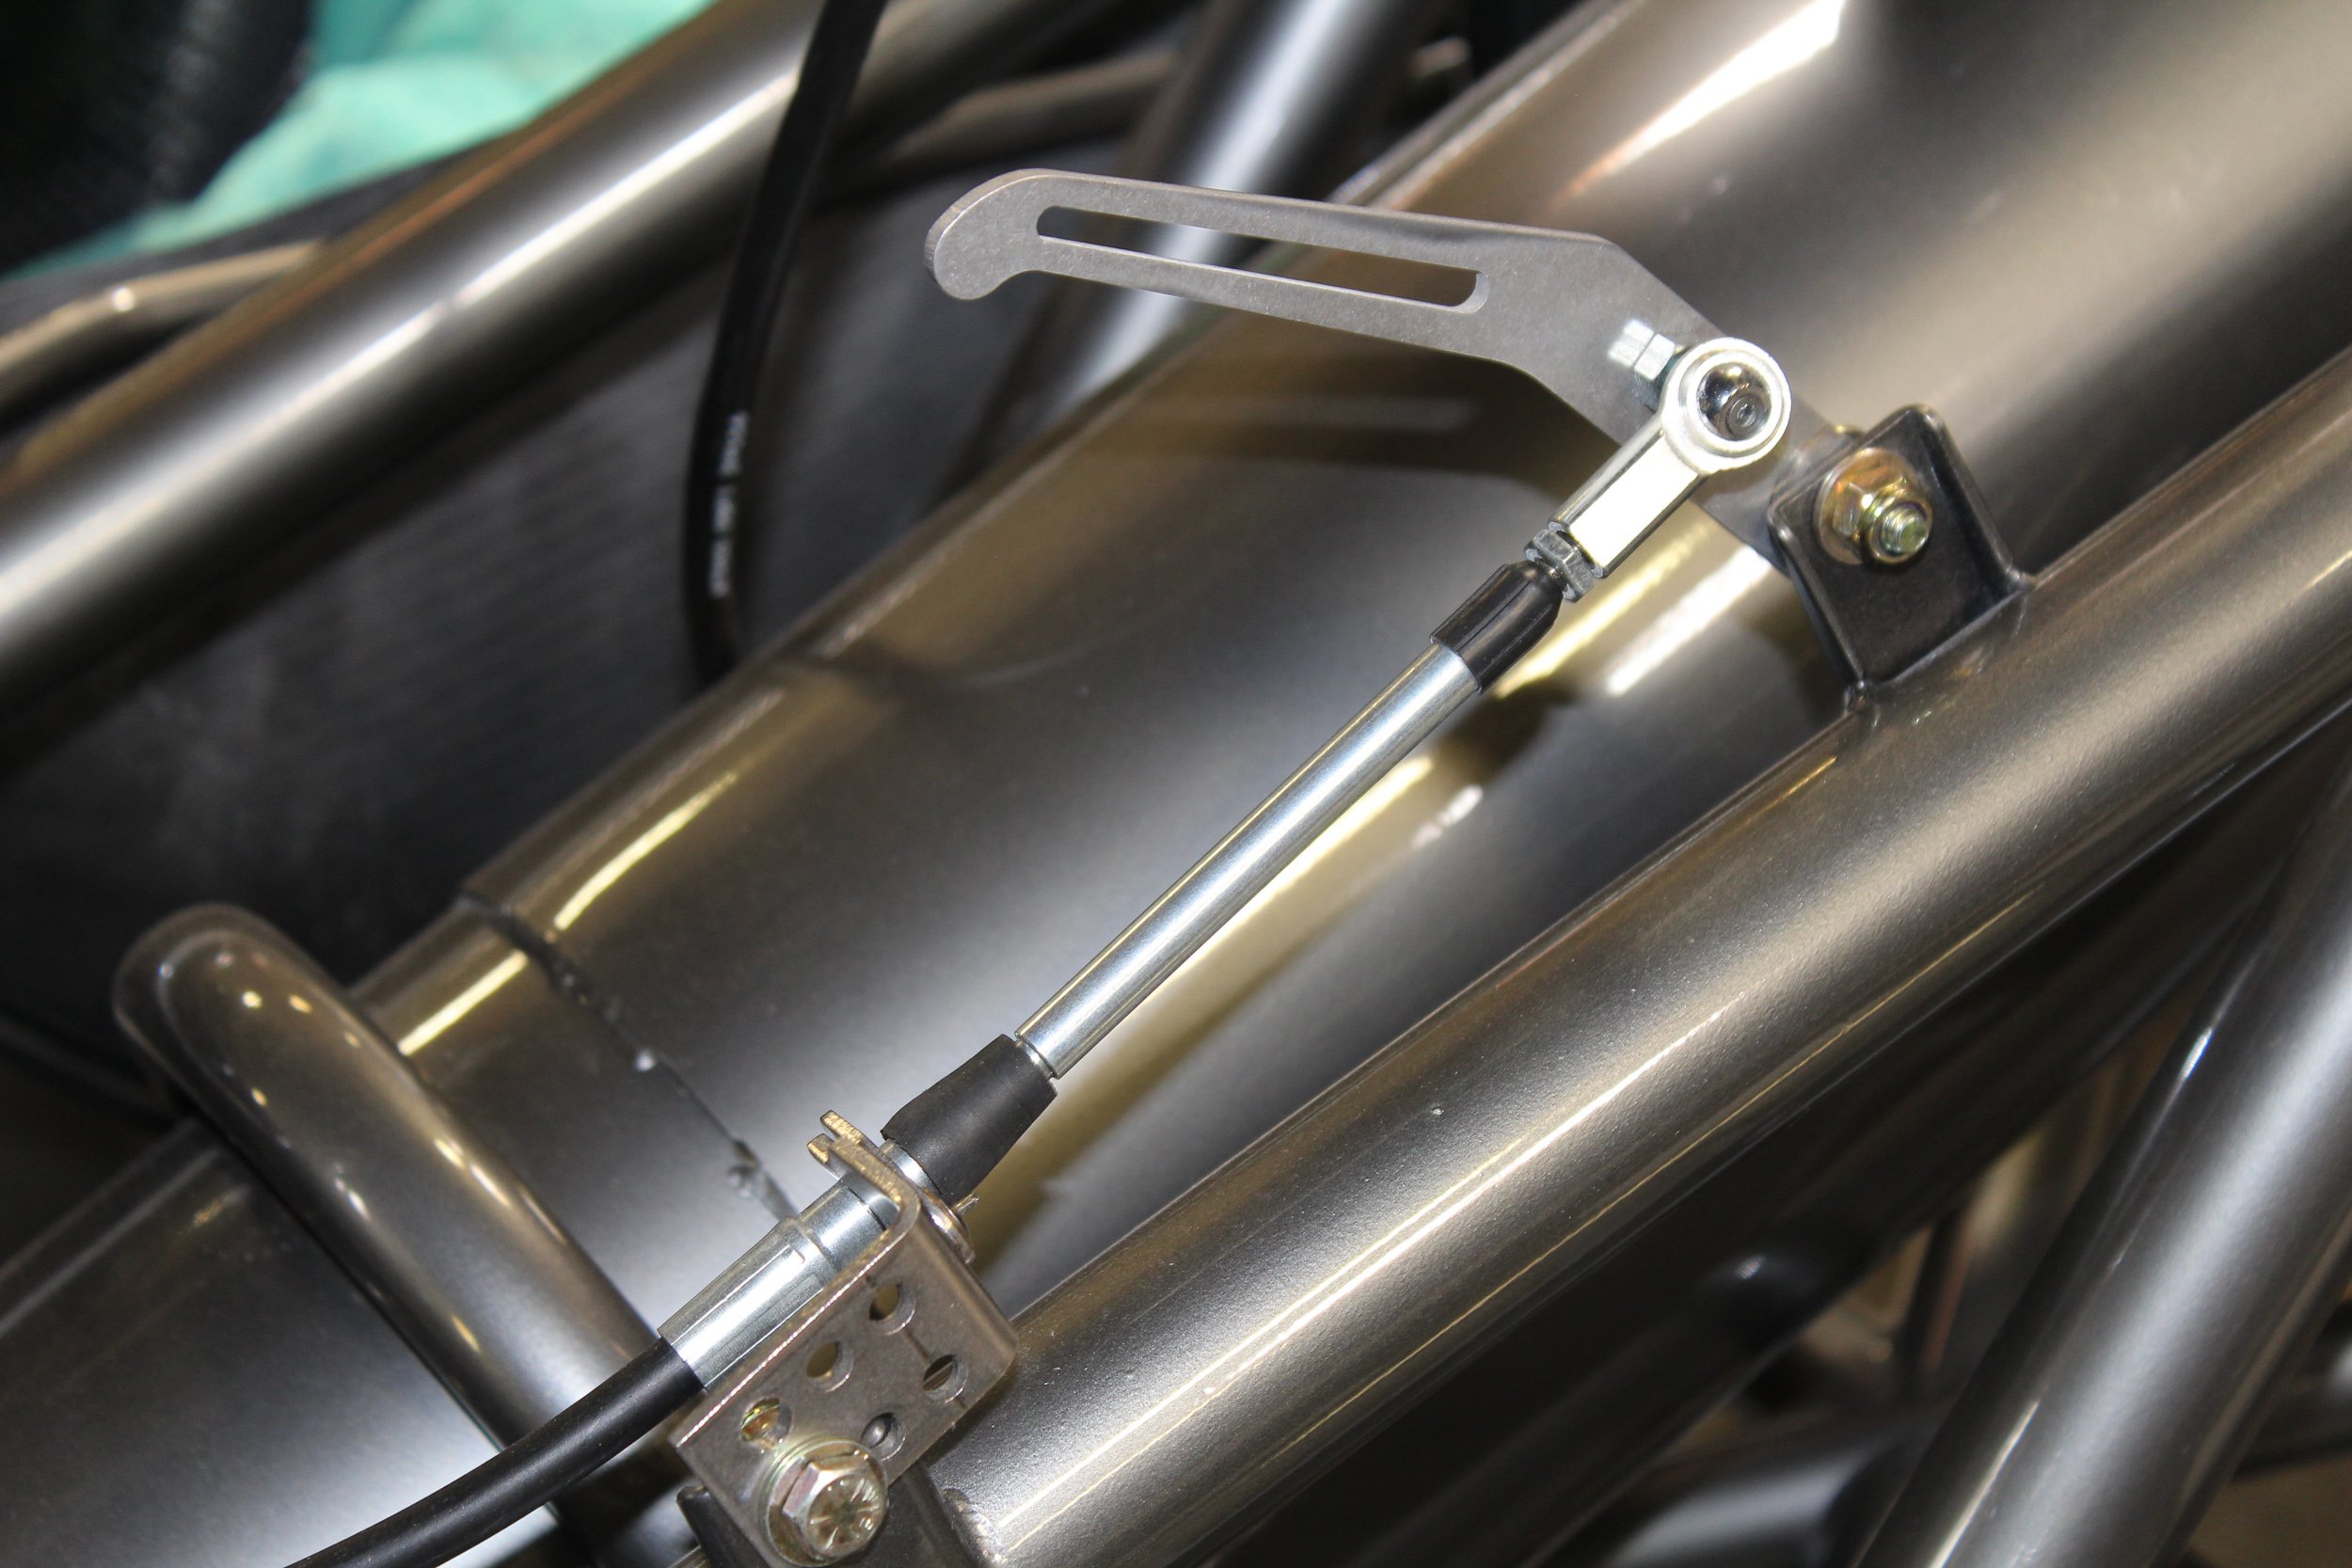
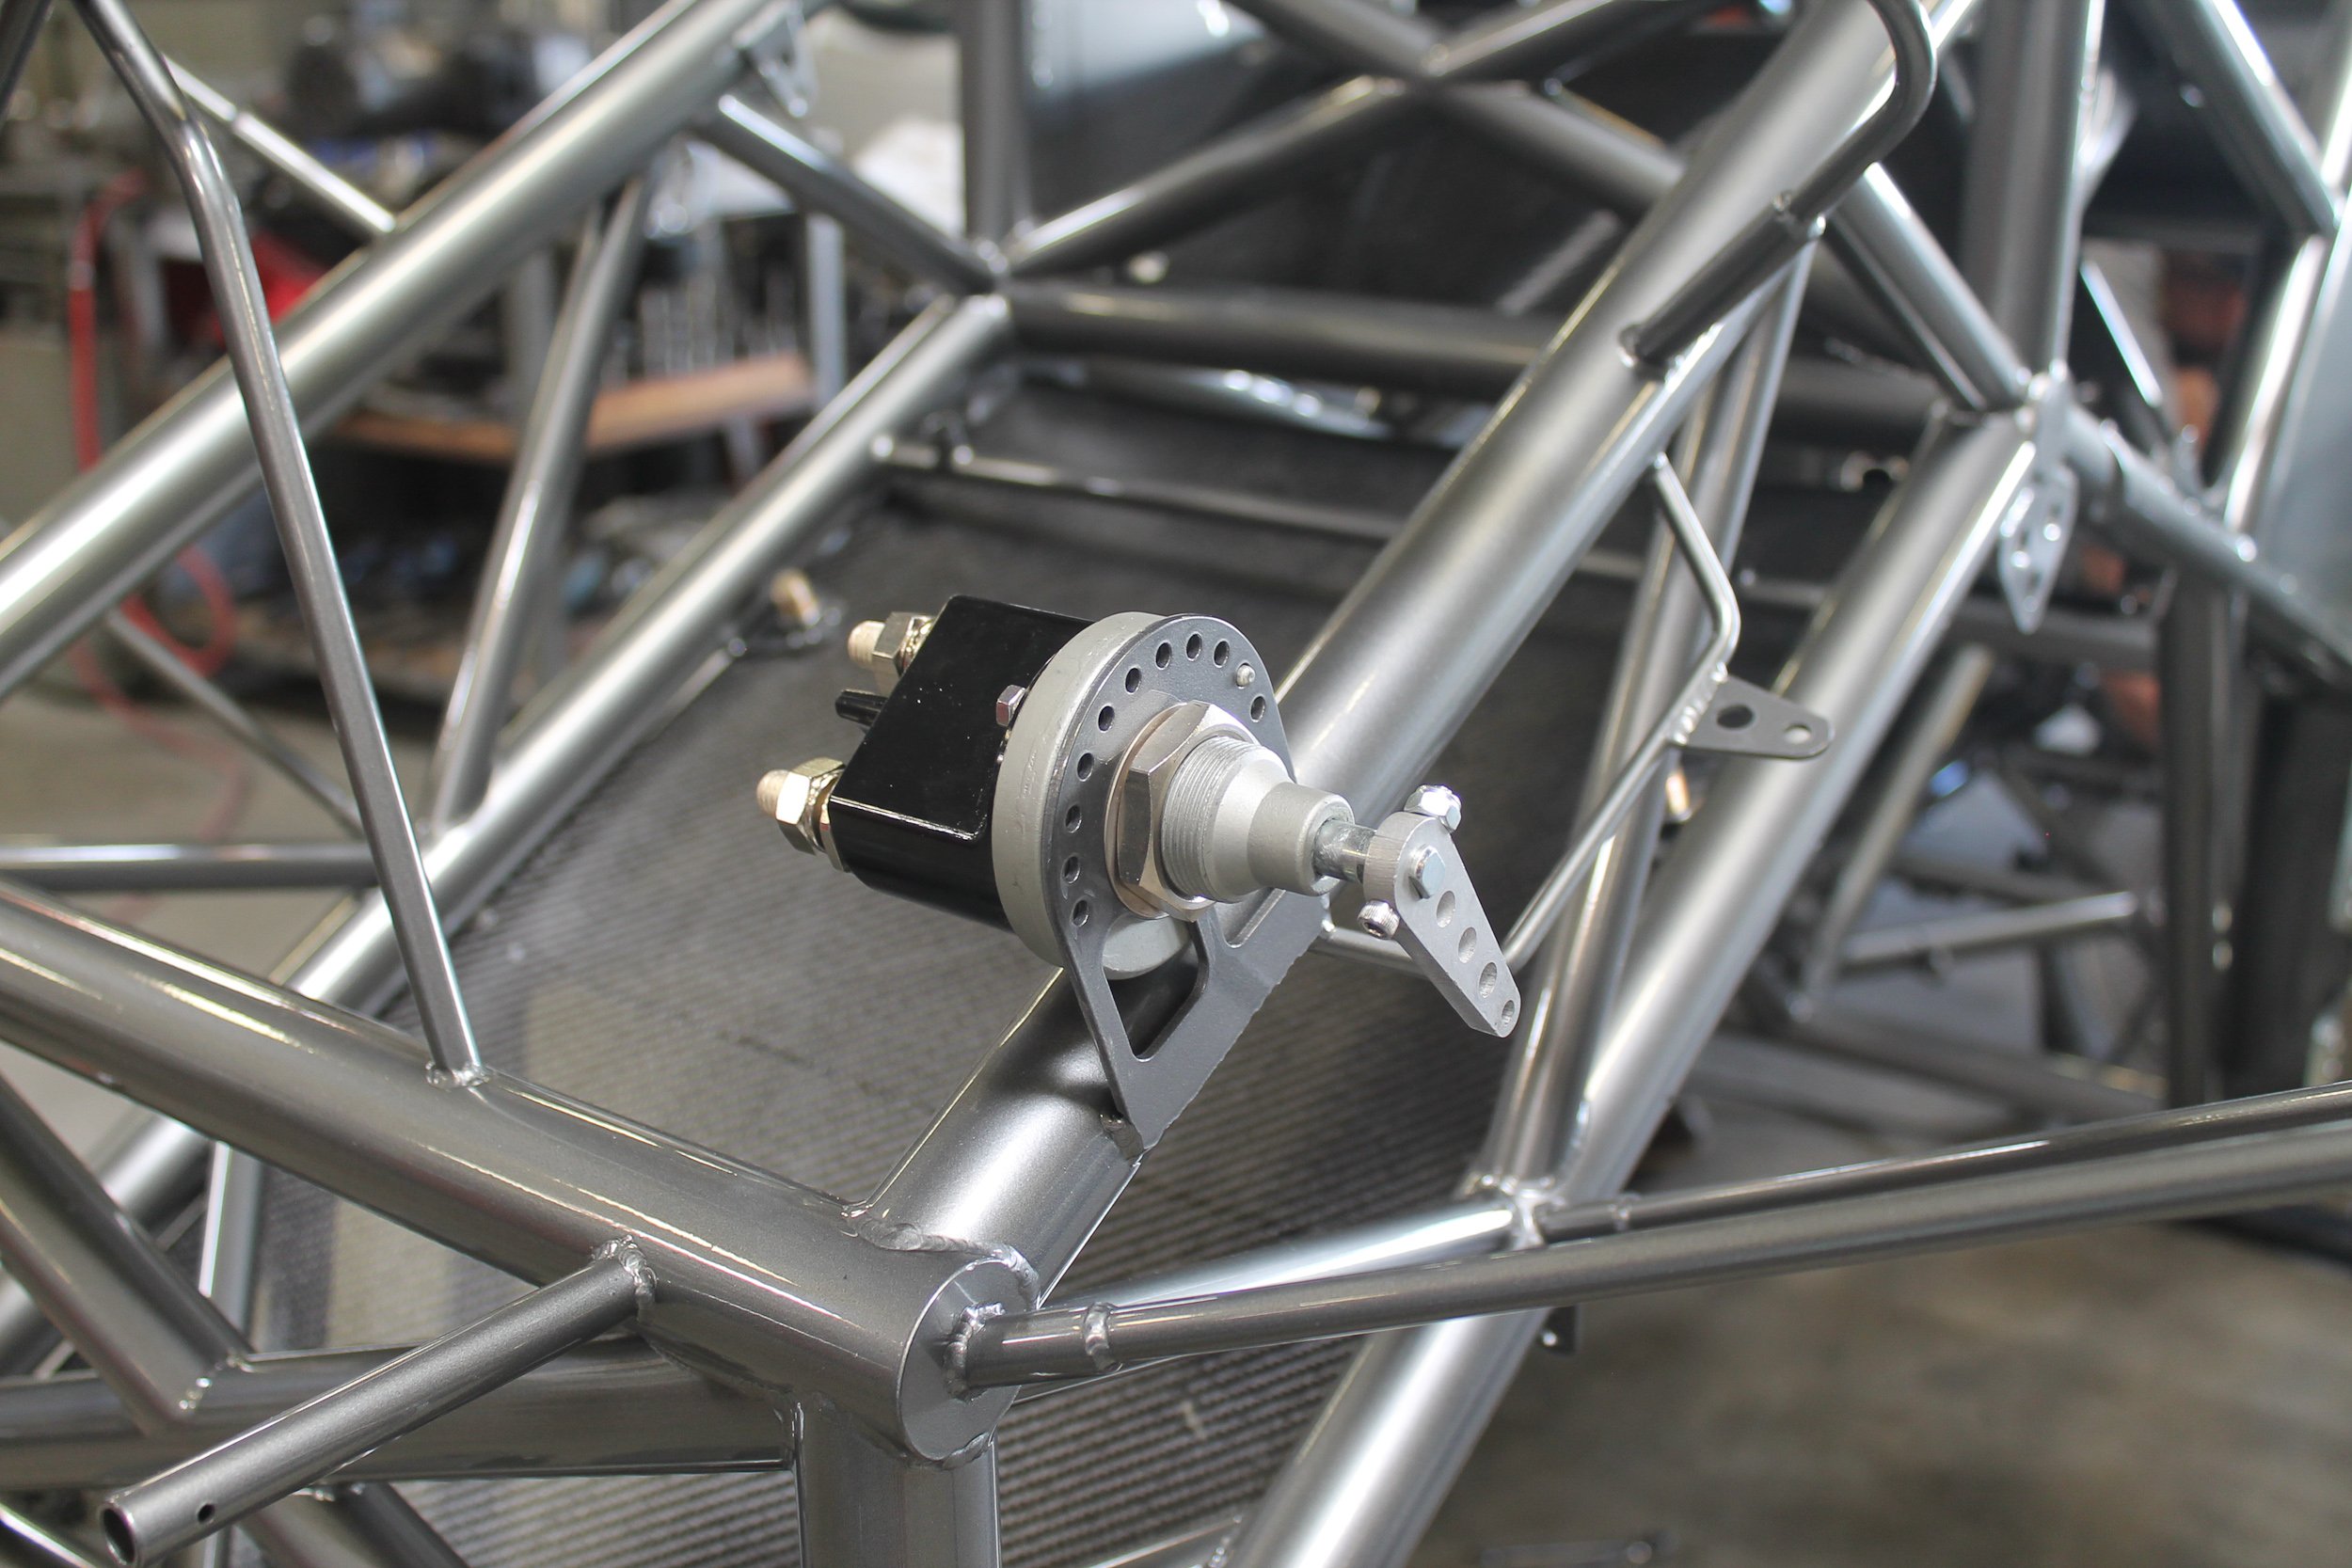
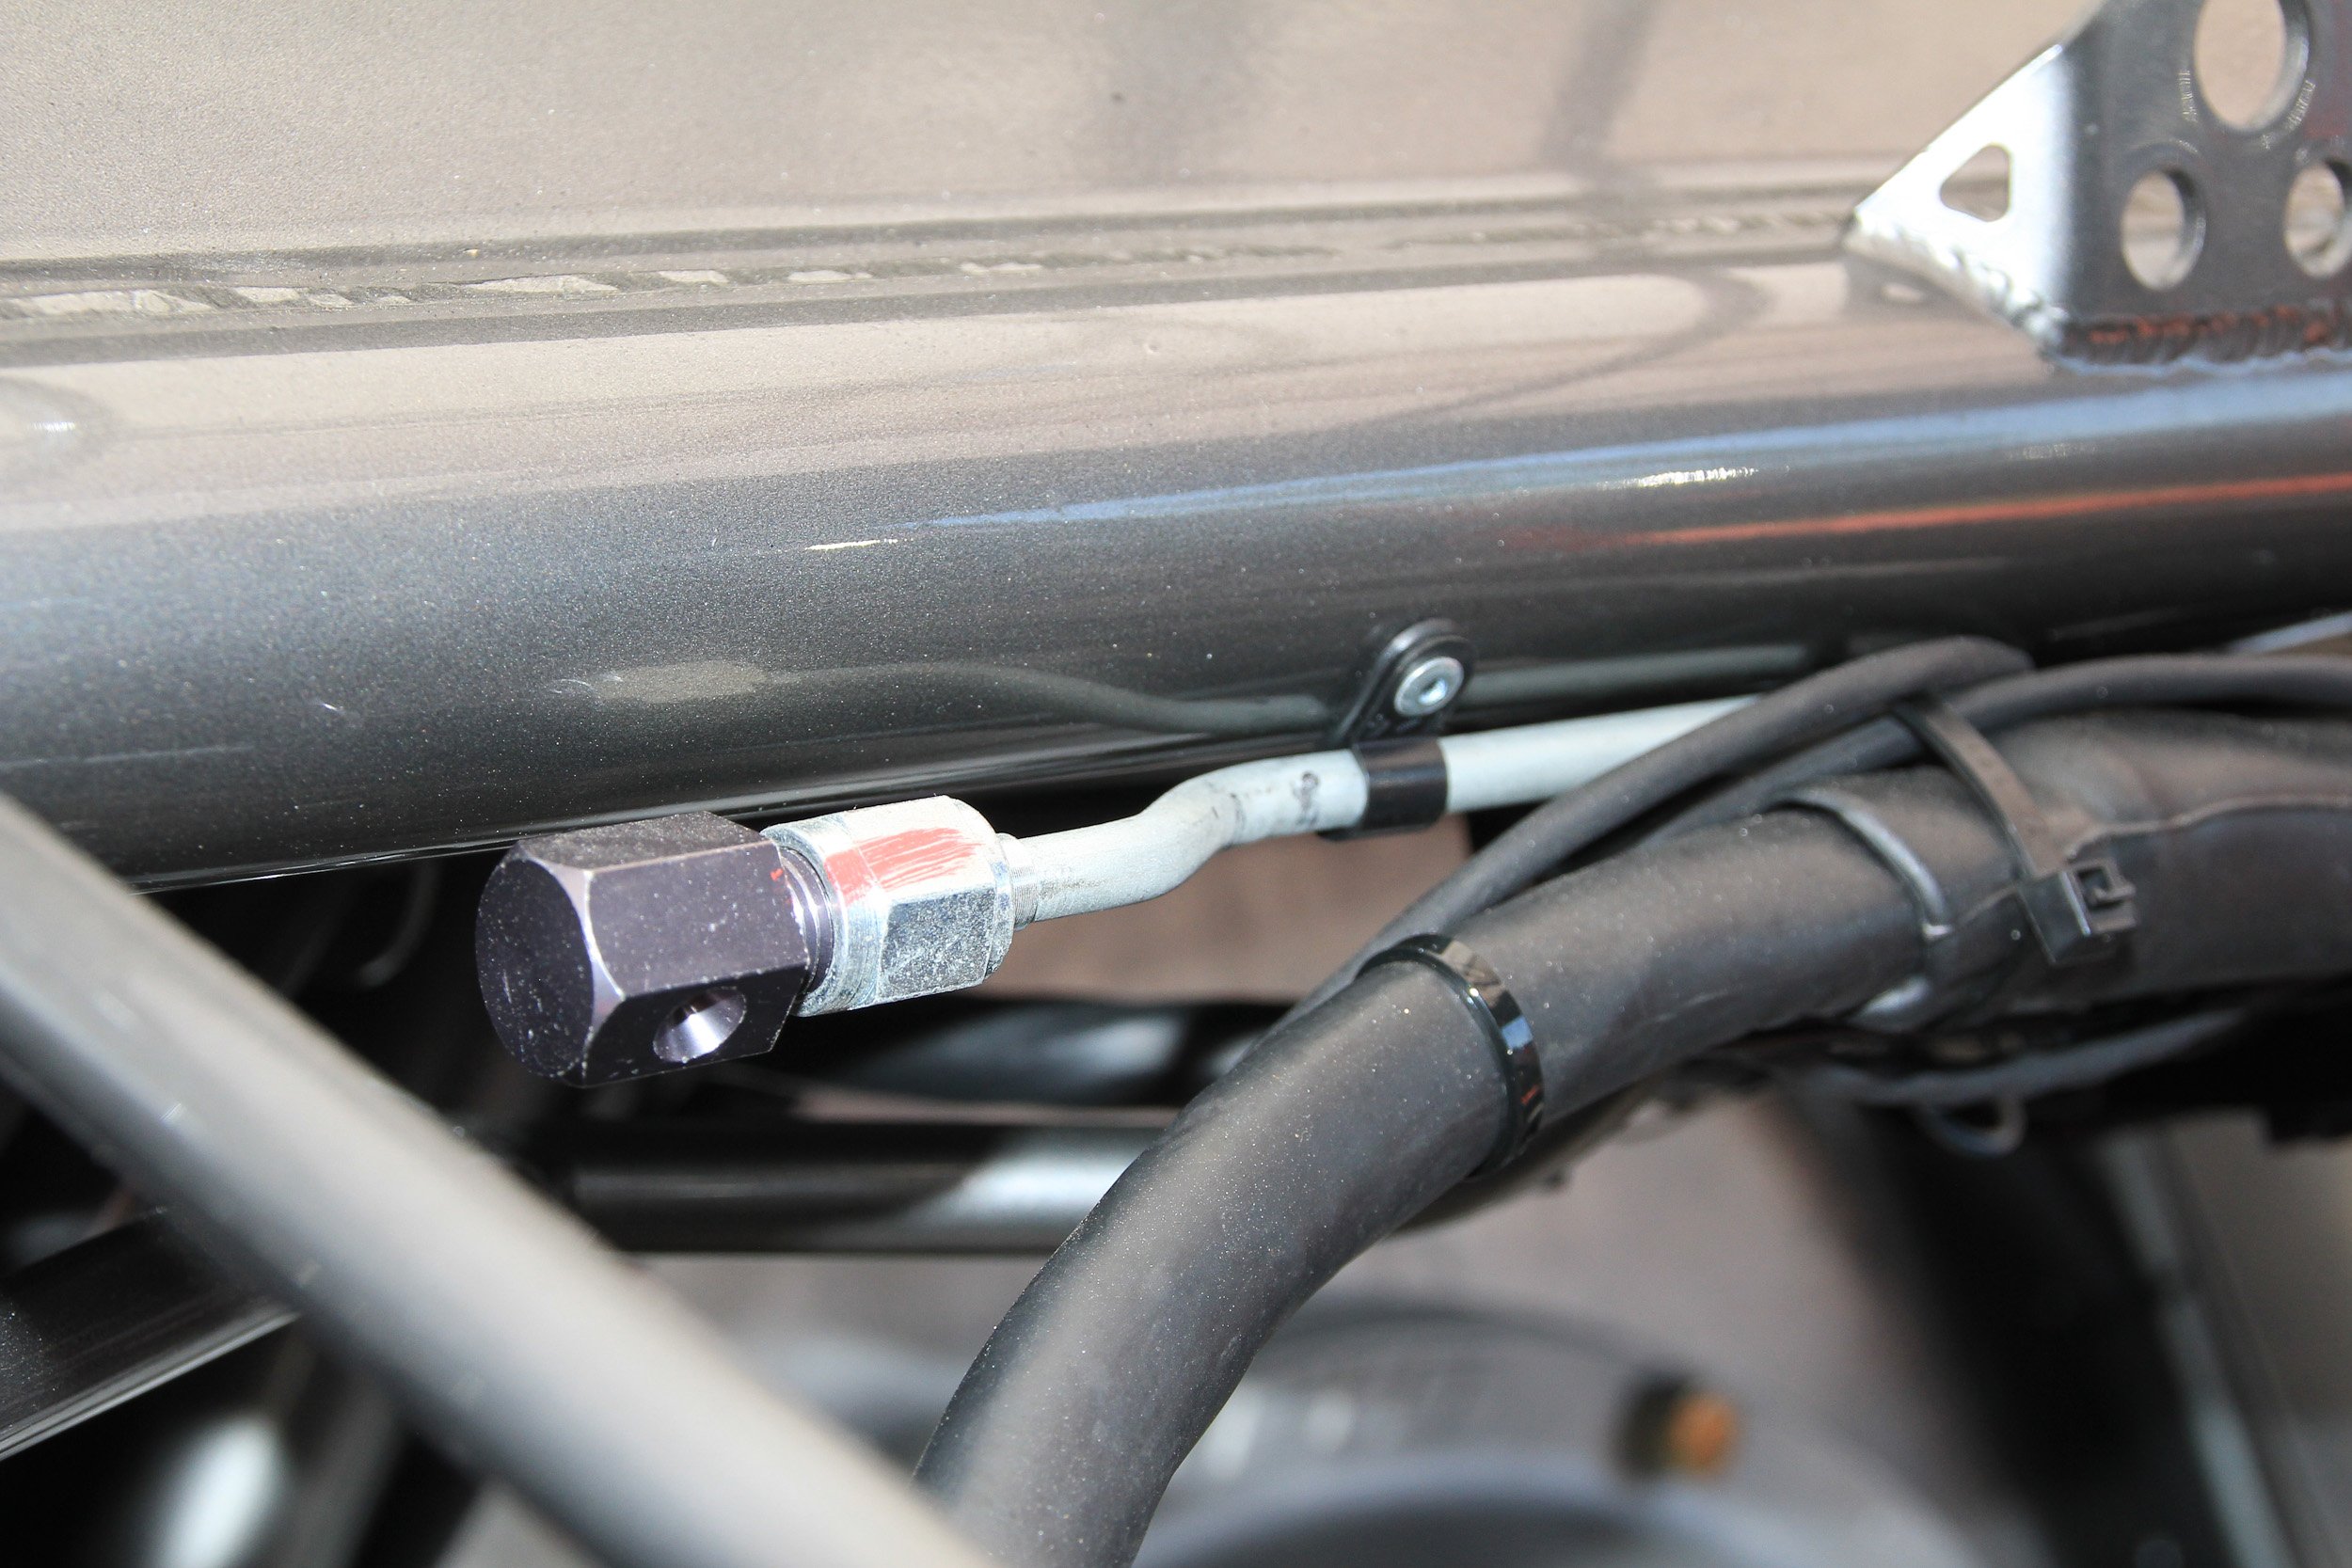
The remote battery arming handle (left) and the mechanism mounted to the rear portion of the chassis near the battery tray.
This is where the benefit of a simple yet highly useful remote electrical arming kit like that manufactured by Quarter-Max (Part # RJ-214215) comes into play — the kit includes the handle, wiring, all brackets and hardware to install a means of killing the electrical power from the driver’s seat, providing additional peace of mind to the driver. The handle on the BlownZ06 is mounted just to the right of the transmission, in easy reach.
Snuffing Out The Flames – Safecraft
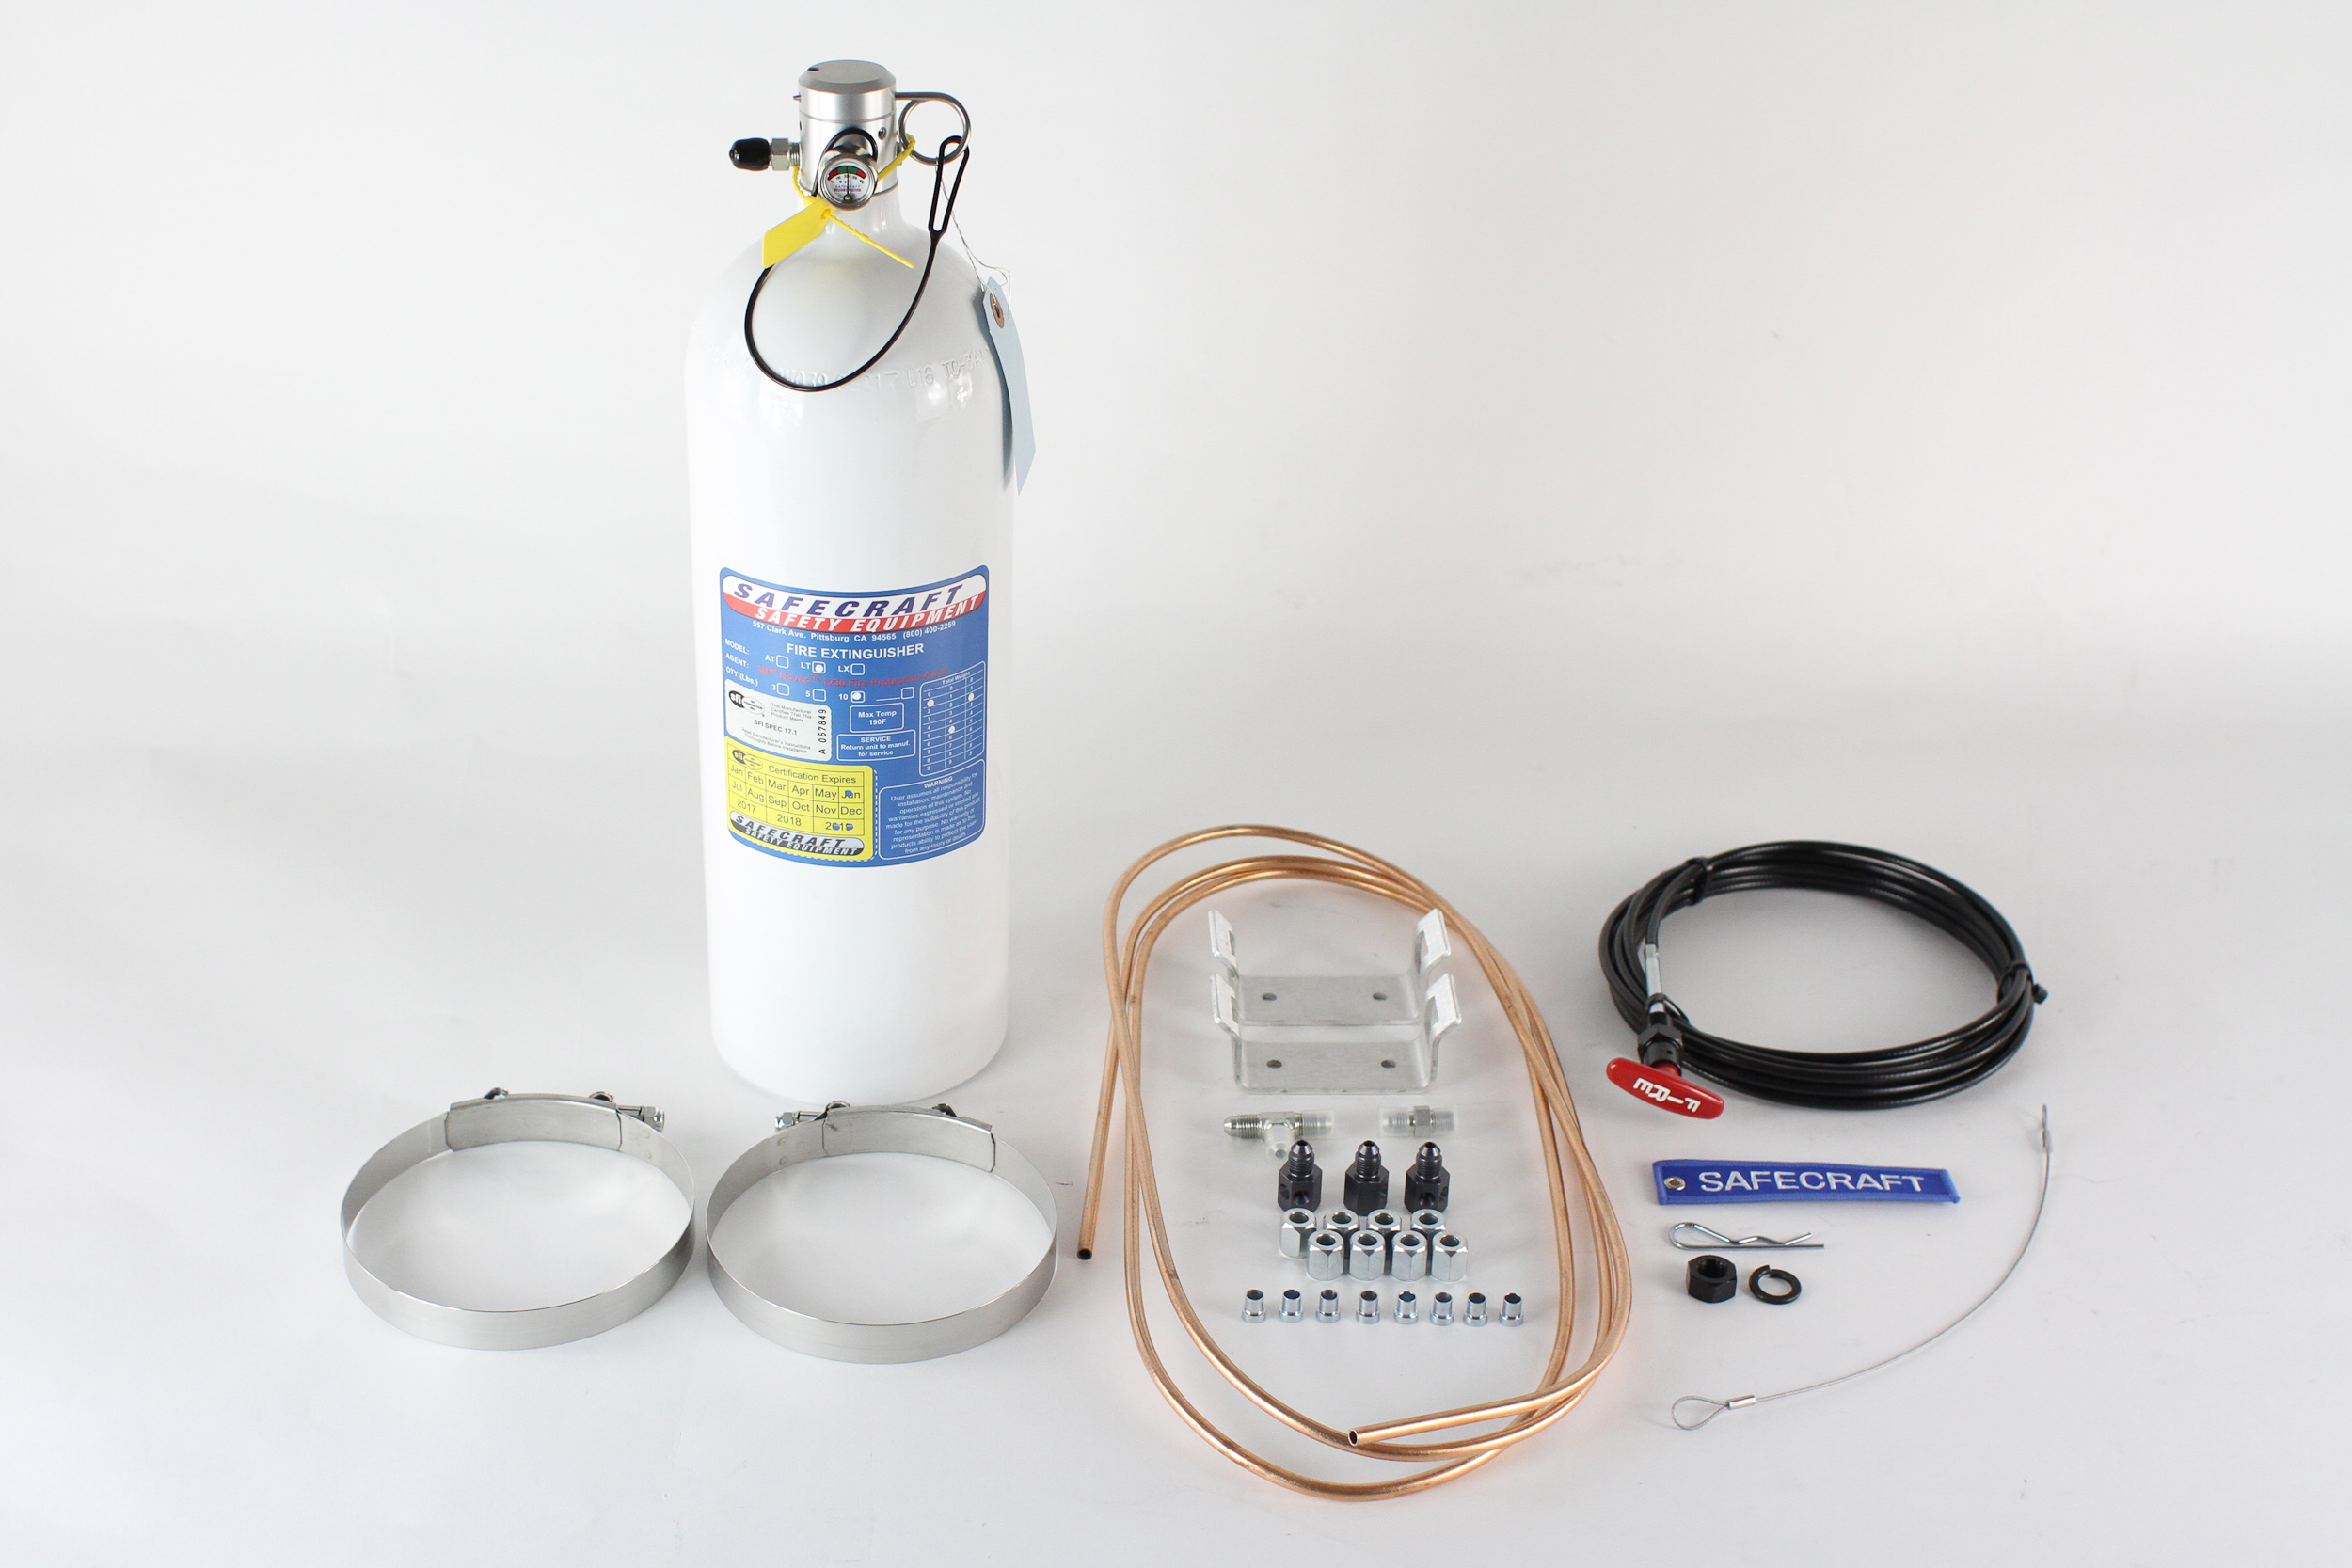
In a race car of this extreme, a fire suppression system is all but a mandatory need in the event of a fire. Impacts, injector O-ring failure, whatever the cause may be, fires are distinct realities. To combat this, we acquired two fire systems from Safecraft—one pneumatically operates the other–to provide an adequate amount of extinguisher agent should it need to be called upon.
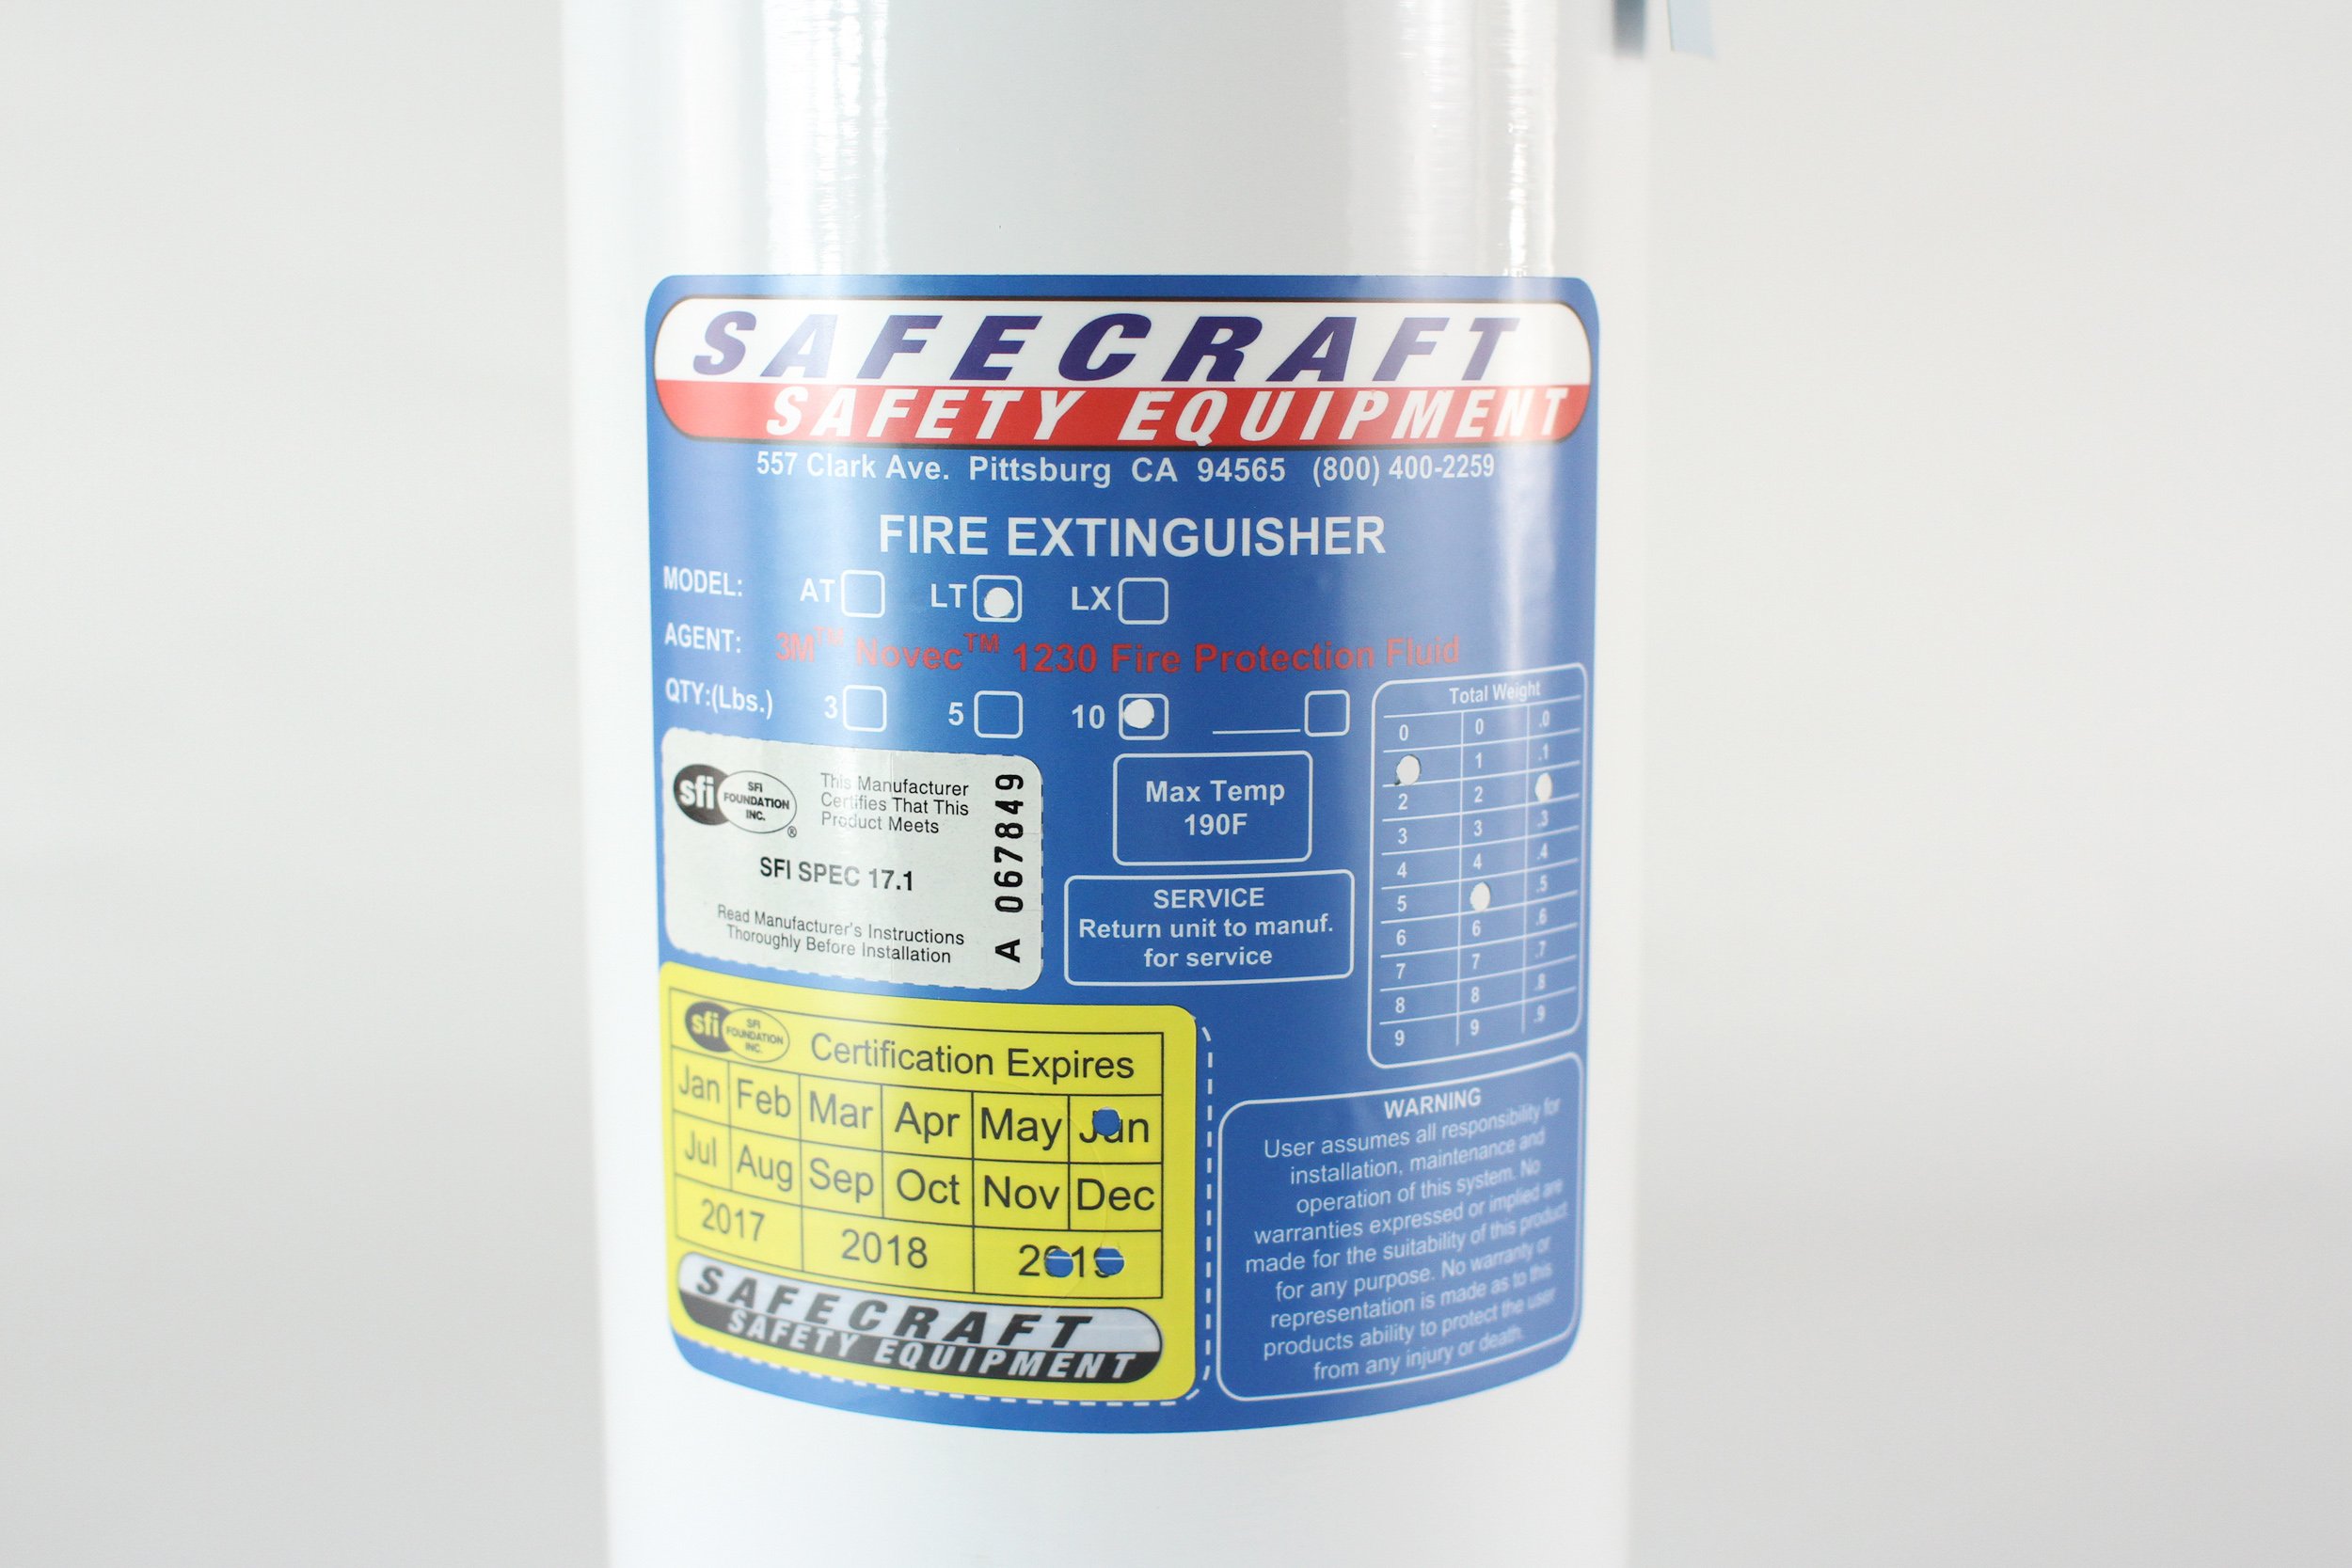
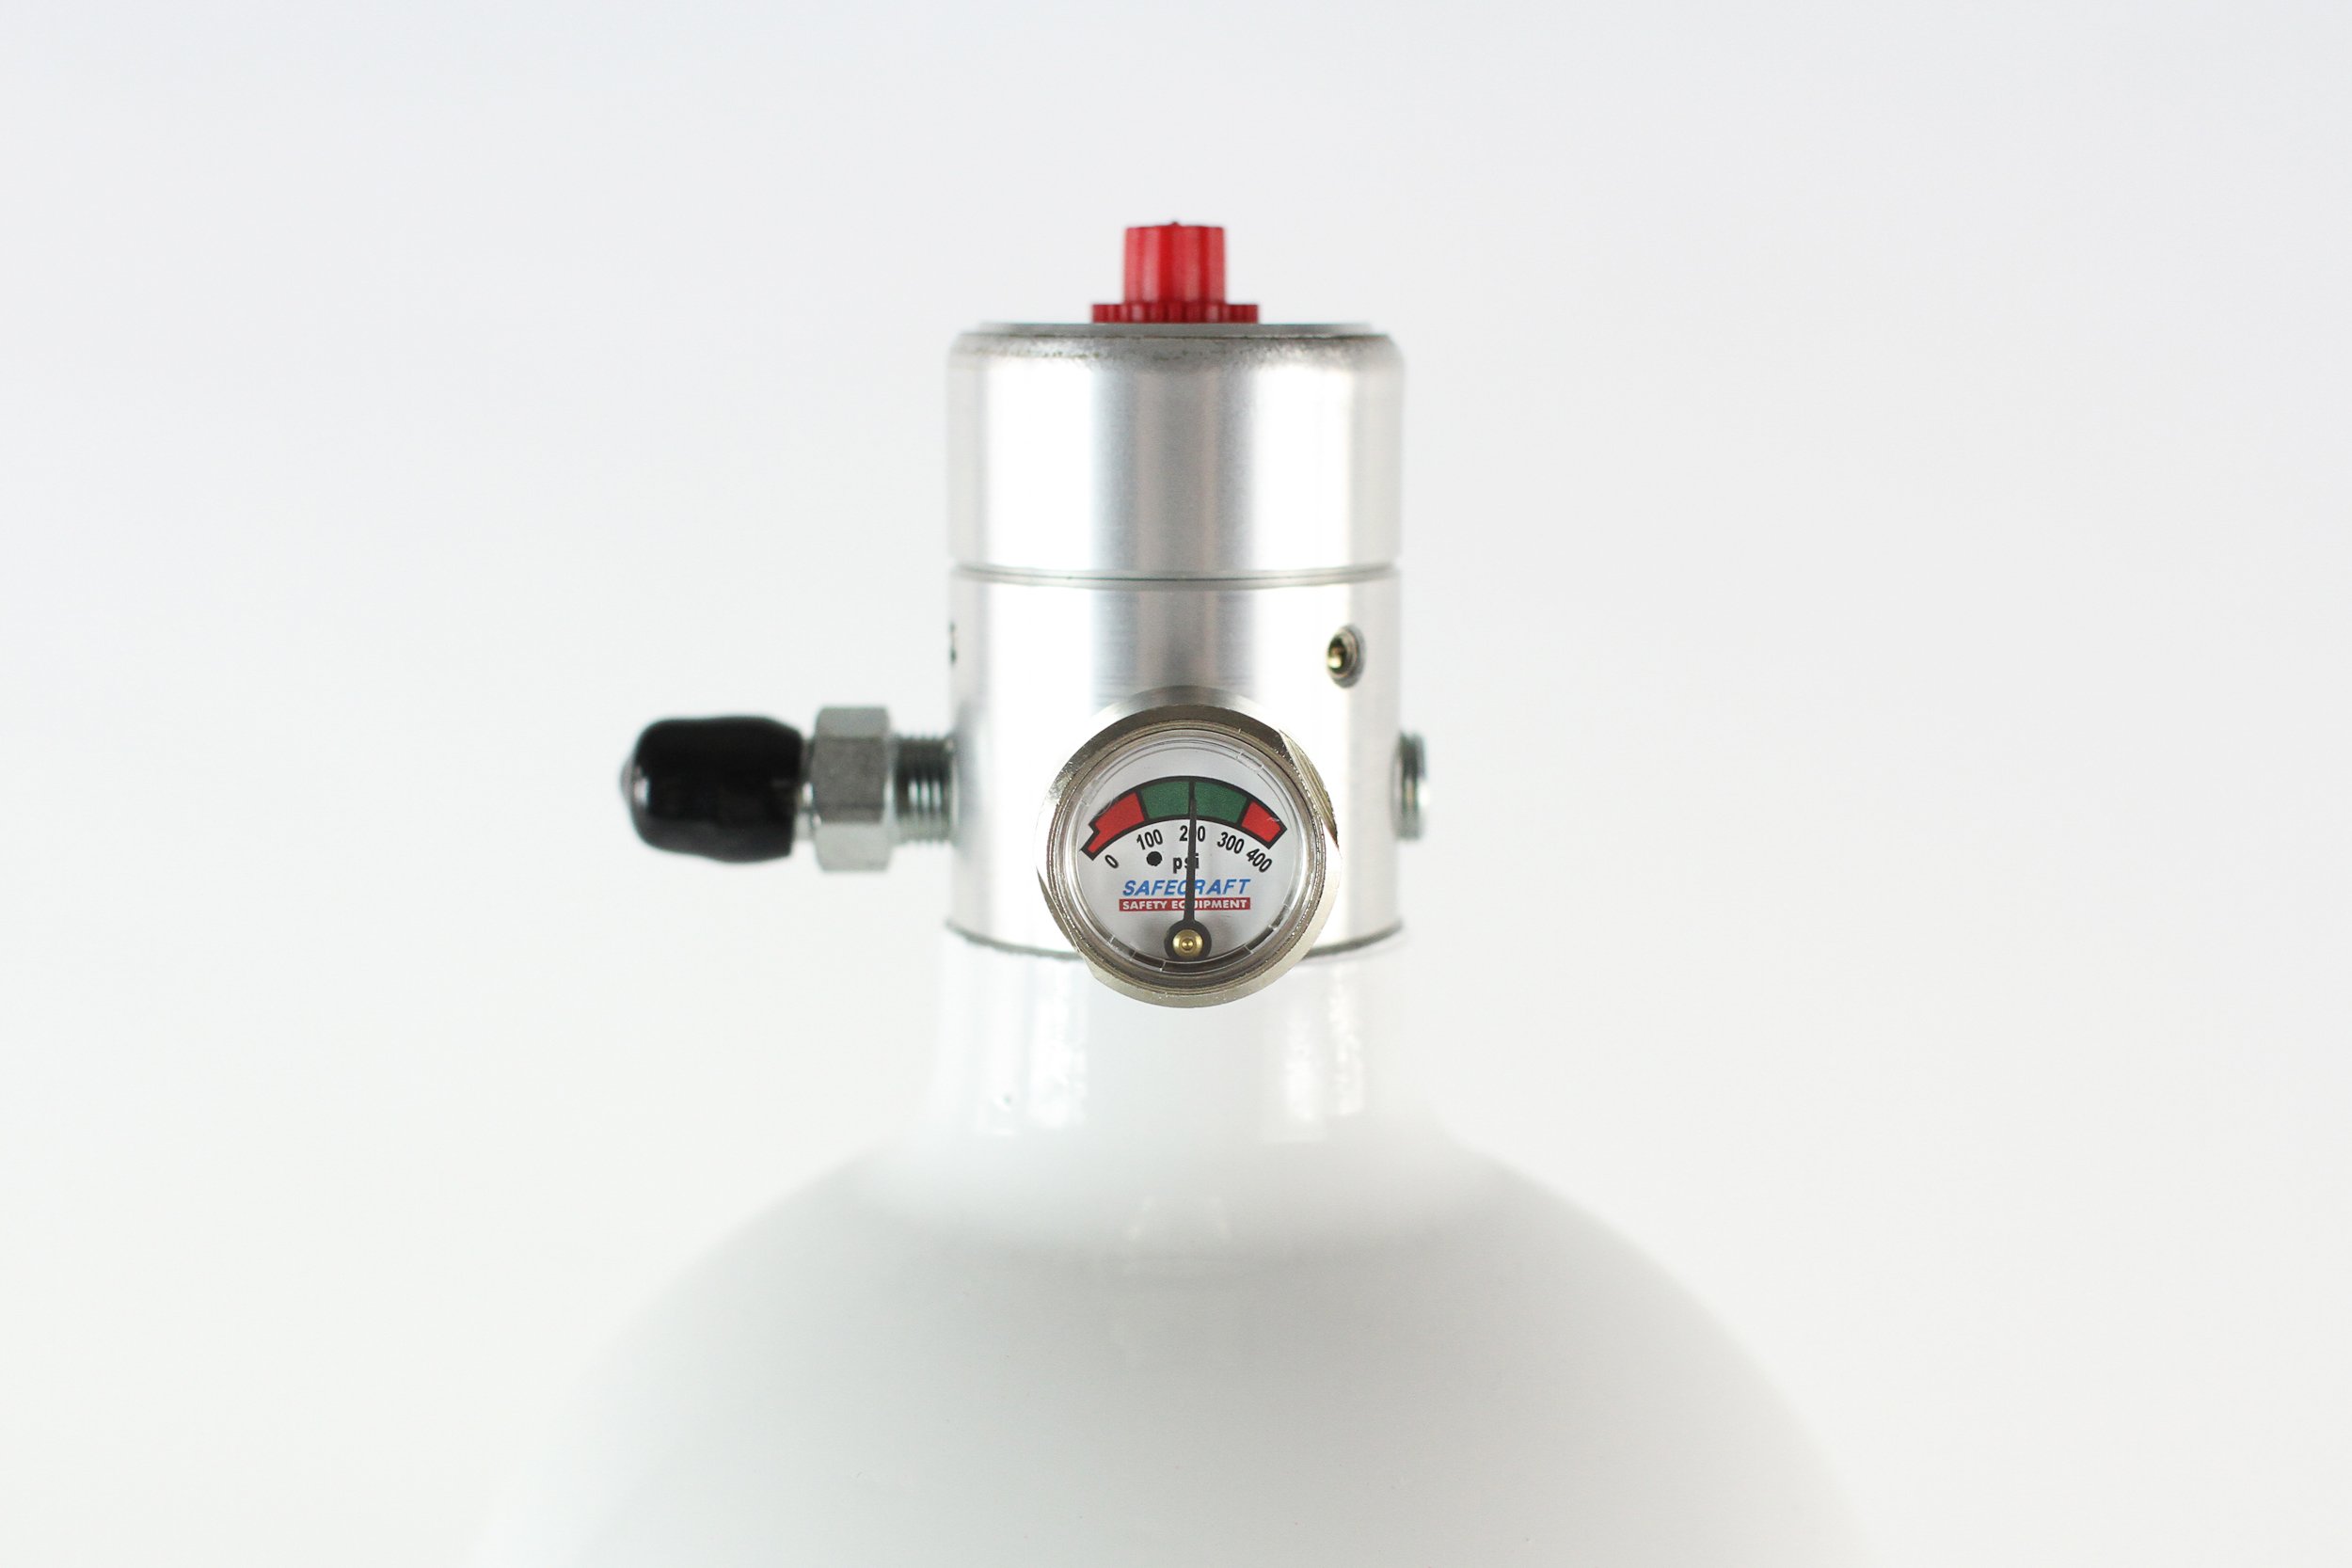
These two kits (Part # LT10JAB – pull cable) and (Part# LT10JDB – pneumatic) include 10-pound bottles filled with a 3M Novec 1230, pressurized to 200 psi and routed through supplied nozzles and NHRA-approved steel pipe with a copper outer coating to prevent rust.
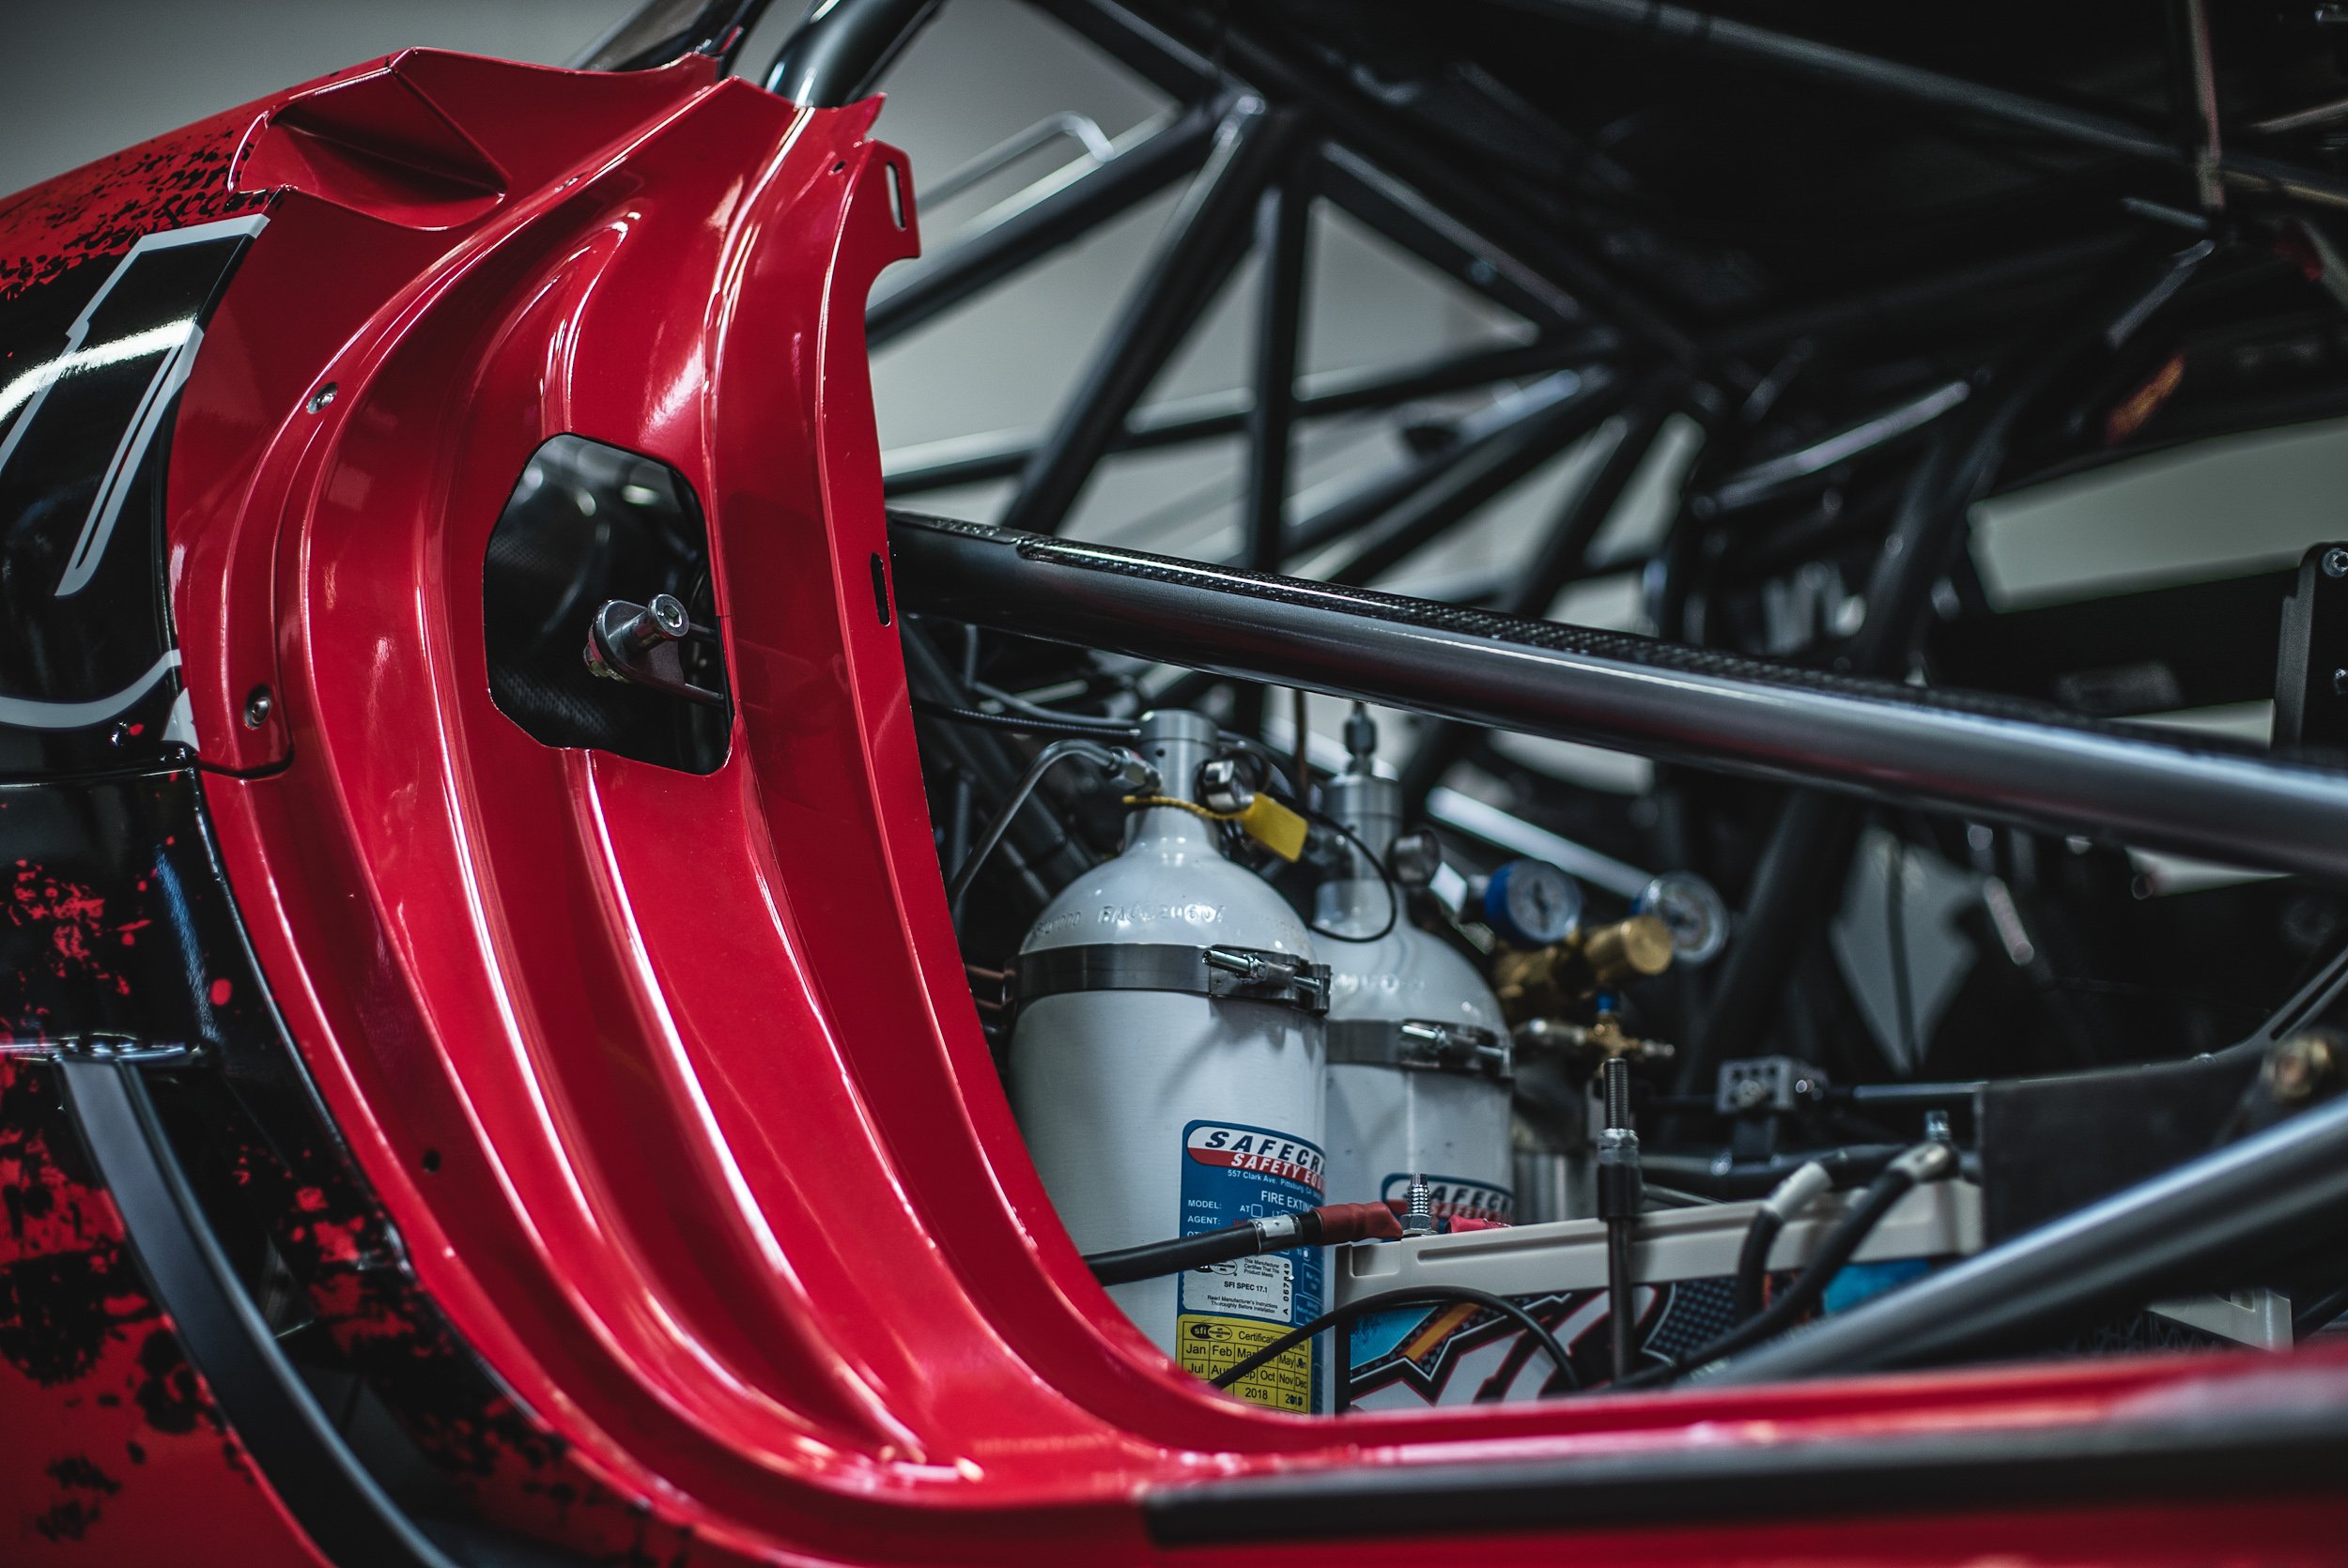
The Safecraft fire suppression system in the car is comprised of two kits: one manually activated and the other pneumatically-operated via the release of the main system. Two 10-pound bottles deliver enough agent to snuff out a fire in the cockpit and engine bay.
According to Safecraft’s Jason Hannigan, the Novec 1230 is a clean, waterless, halon-replacement agent that doesn’t conduct electricity, meaning it could be safely sprayed on an MSD box or battery without harming the devices. In fact, waterless, it won’t even harm paper documents, much less your electronics.
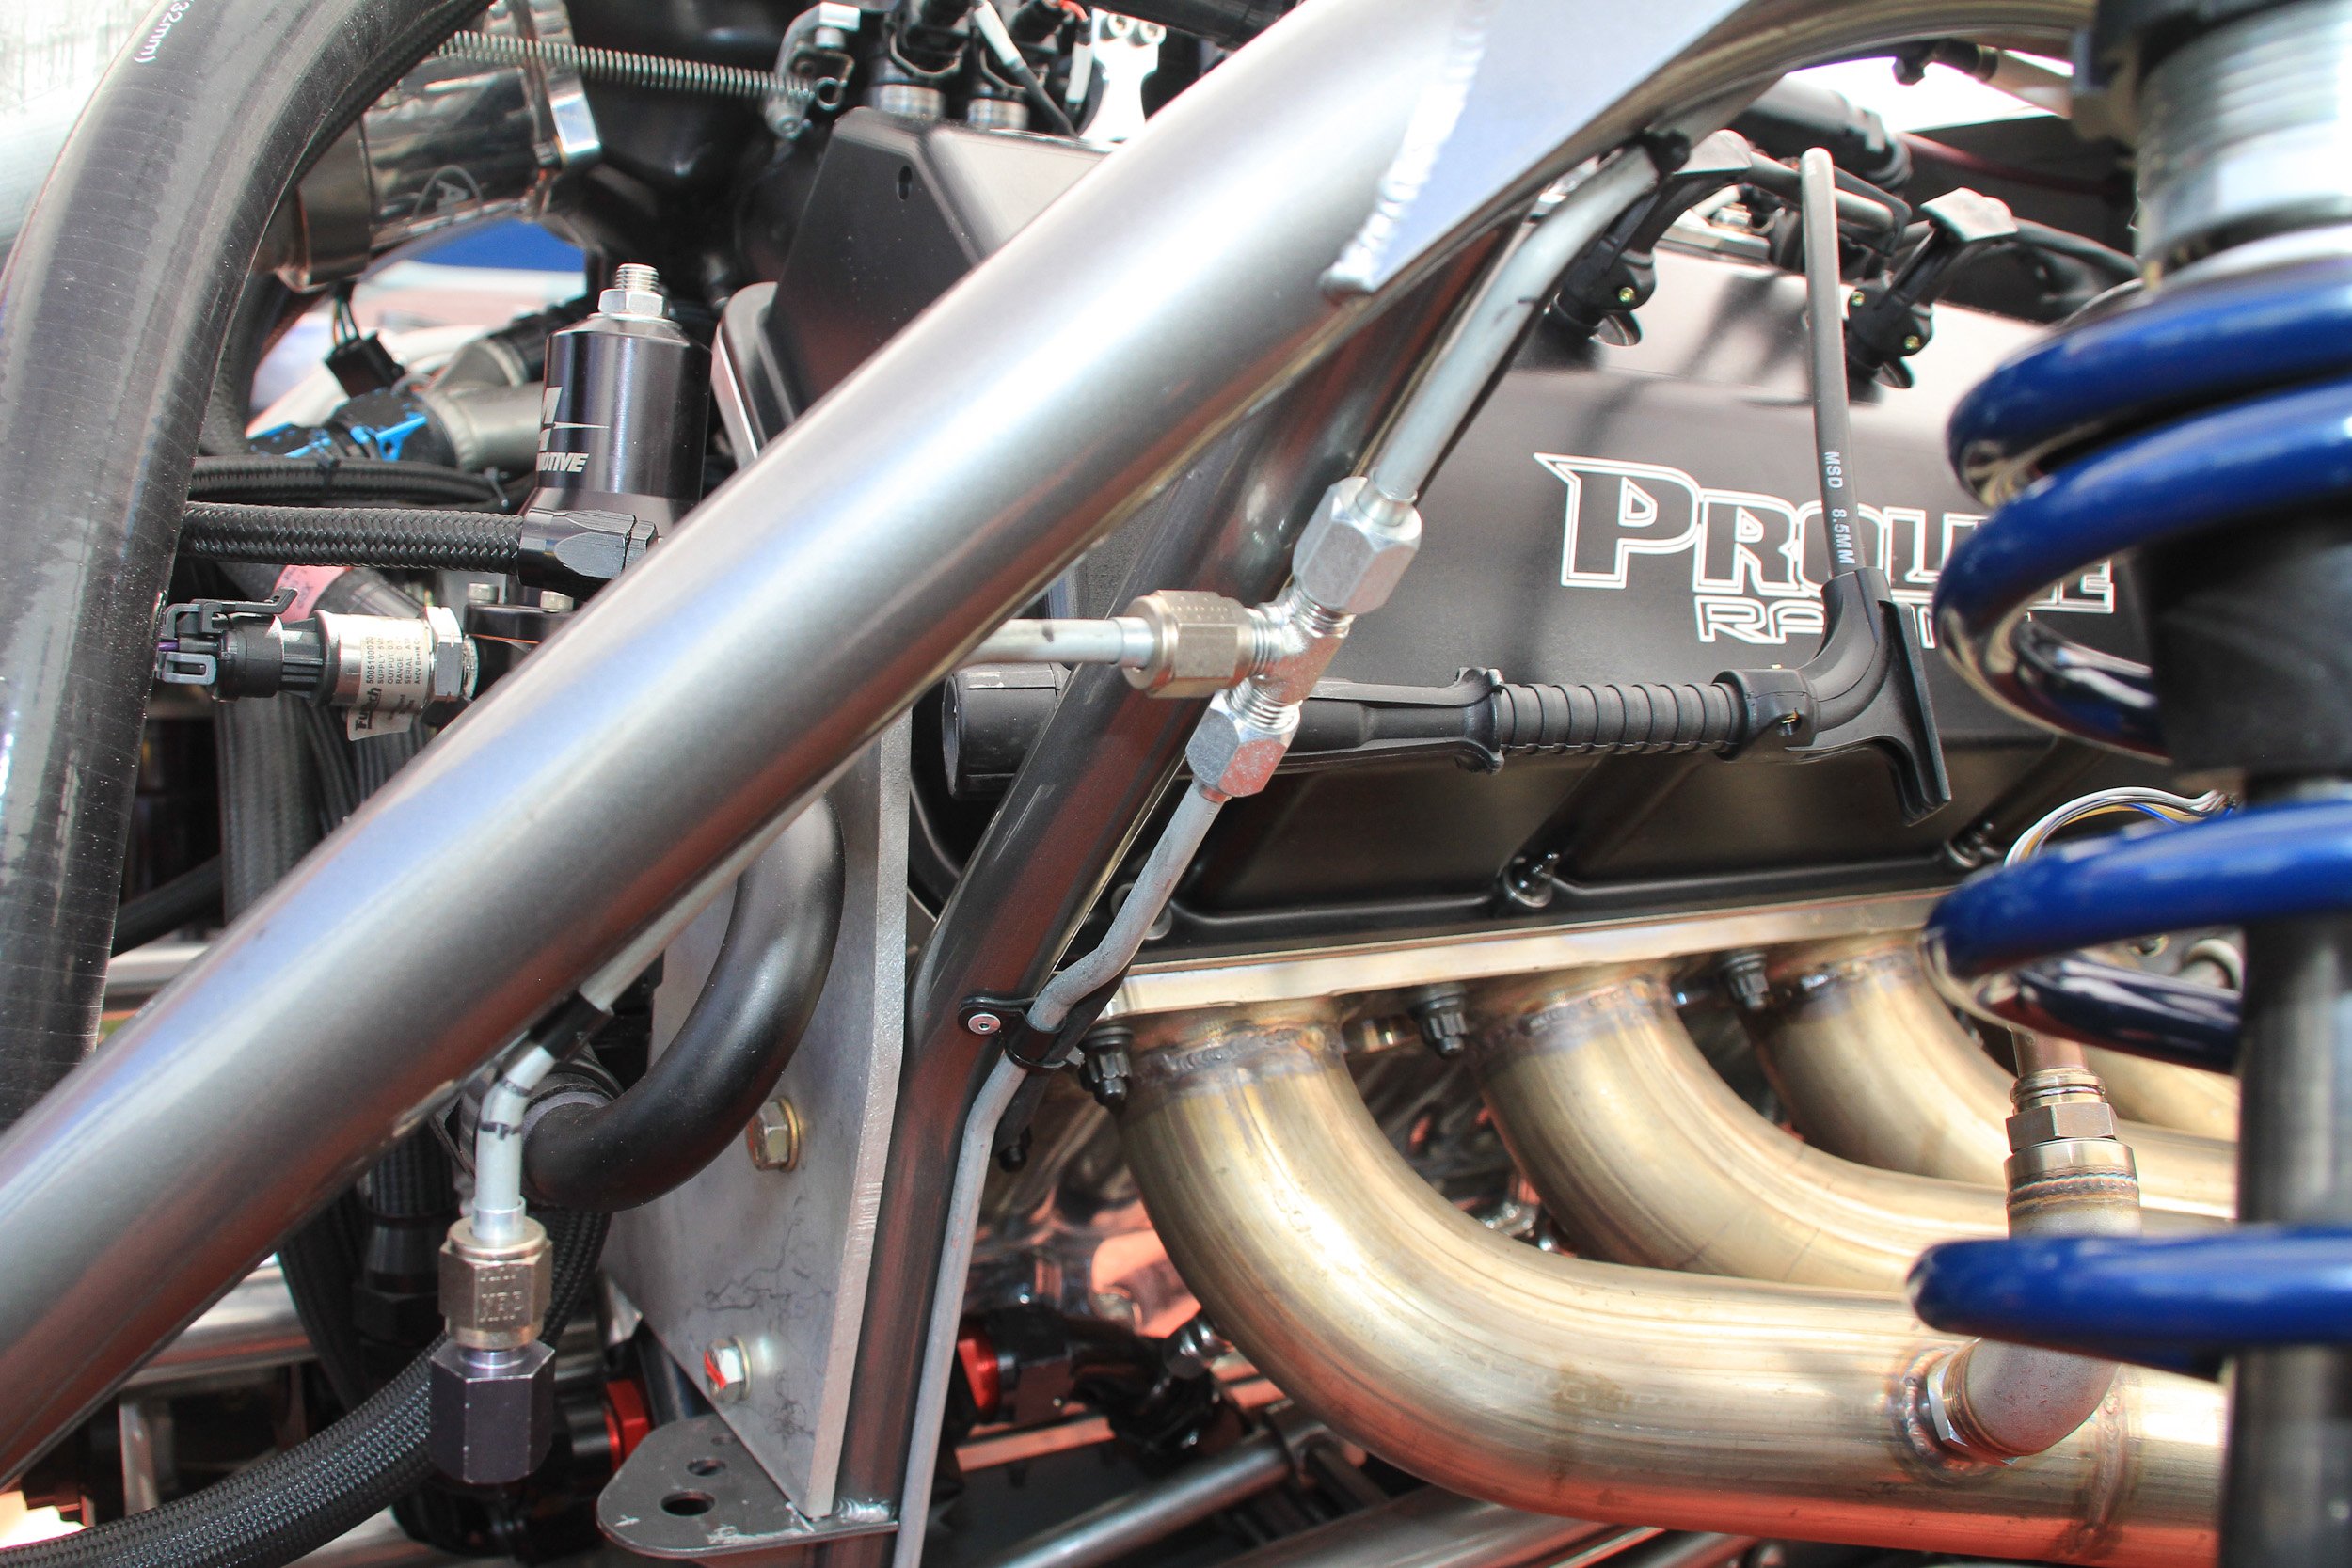
An array of nozzles are plumbed throughout the engine compartment and cockpit.
To operate, the LT10JAB system is released via the mechanical pull cable mounted above the driver. This release sets off a nitrogen charge which penetrates the disc atop the bottle, releasing the agent though the nozzles and out into the cockpit, engine bay, or whatever you’ve chosen to route and point your pipe to. Upon release of the main bottle, pressurized nitrogen is forced through a line plumbed into the cylinder atop the second bottle, creating a second charge which pneumatically releases the disc in that bottle, as well.
The kits come with the mounting hardware, nozzles and hardware, and copper-coated steel pipe which can be cut and bent to route them as desired.
One of the things that sets Safecraft apart is their installation instructions, tech tips, and tech help availability. This isn’t just a “figure it out” type of race car part. A lot of race car parts (safety or otherwise) when you open up the box there is a huge pile of stuff that ends up on your shop table with no instructions and no directions. This isn’t the case. You can expect complete and detailed safety instructions, and if you have any questions, Safecraft encourages you to give them a ring so you can be precise with your installation. There is no margin for error here! You can check out their instructions online before you buy as well.
We’re nearing the finish line stripe in this look back at the buildup of BlownZ06; in the next installments to conclude the series, we’ll take a look at the wiring and plumbing of the various fluid and electrical systems that will make the Corvette go–and quickly!
