There’s a meme floating around the internet with a cat, of course, that says, “What has been seen cannot be unseen.” And while this phrase is a shortened version of author C.A. Woolf’s original, it speaks the truth. If you don’t believe us, go to a car show with an expert and allow him to point out all of the flaws on the grounds. Every time you see that car again, you will know its secrets forever.
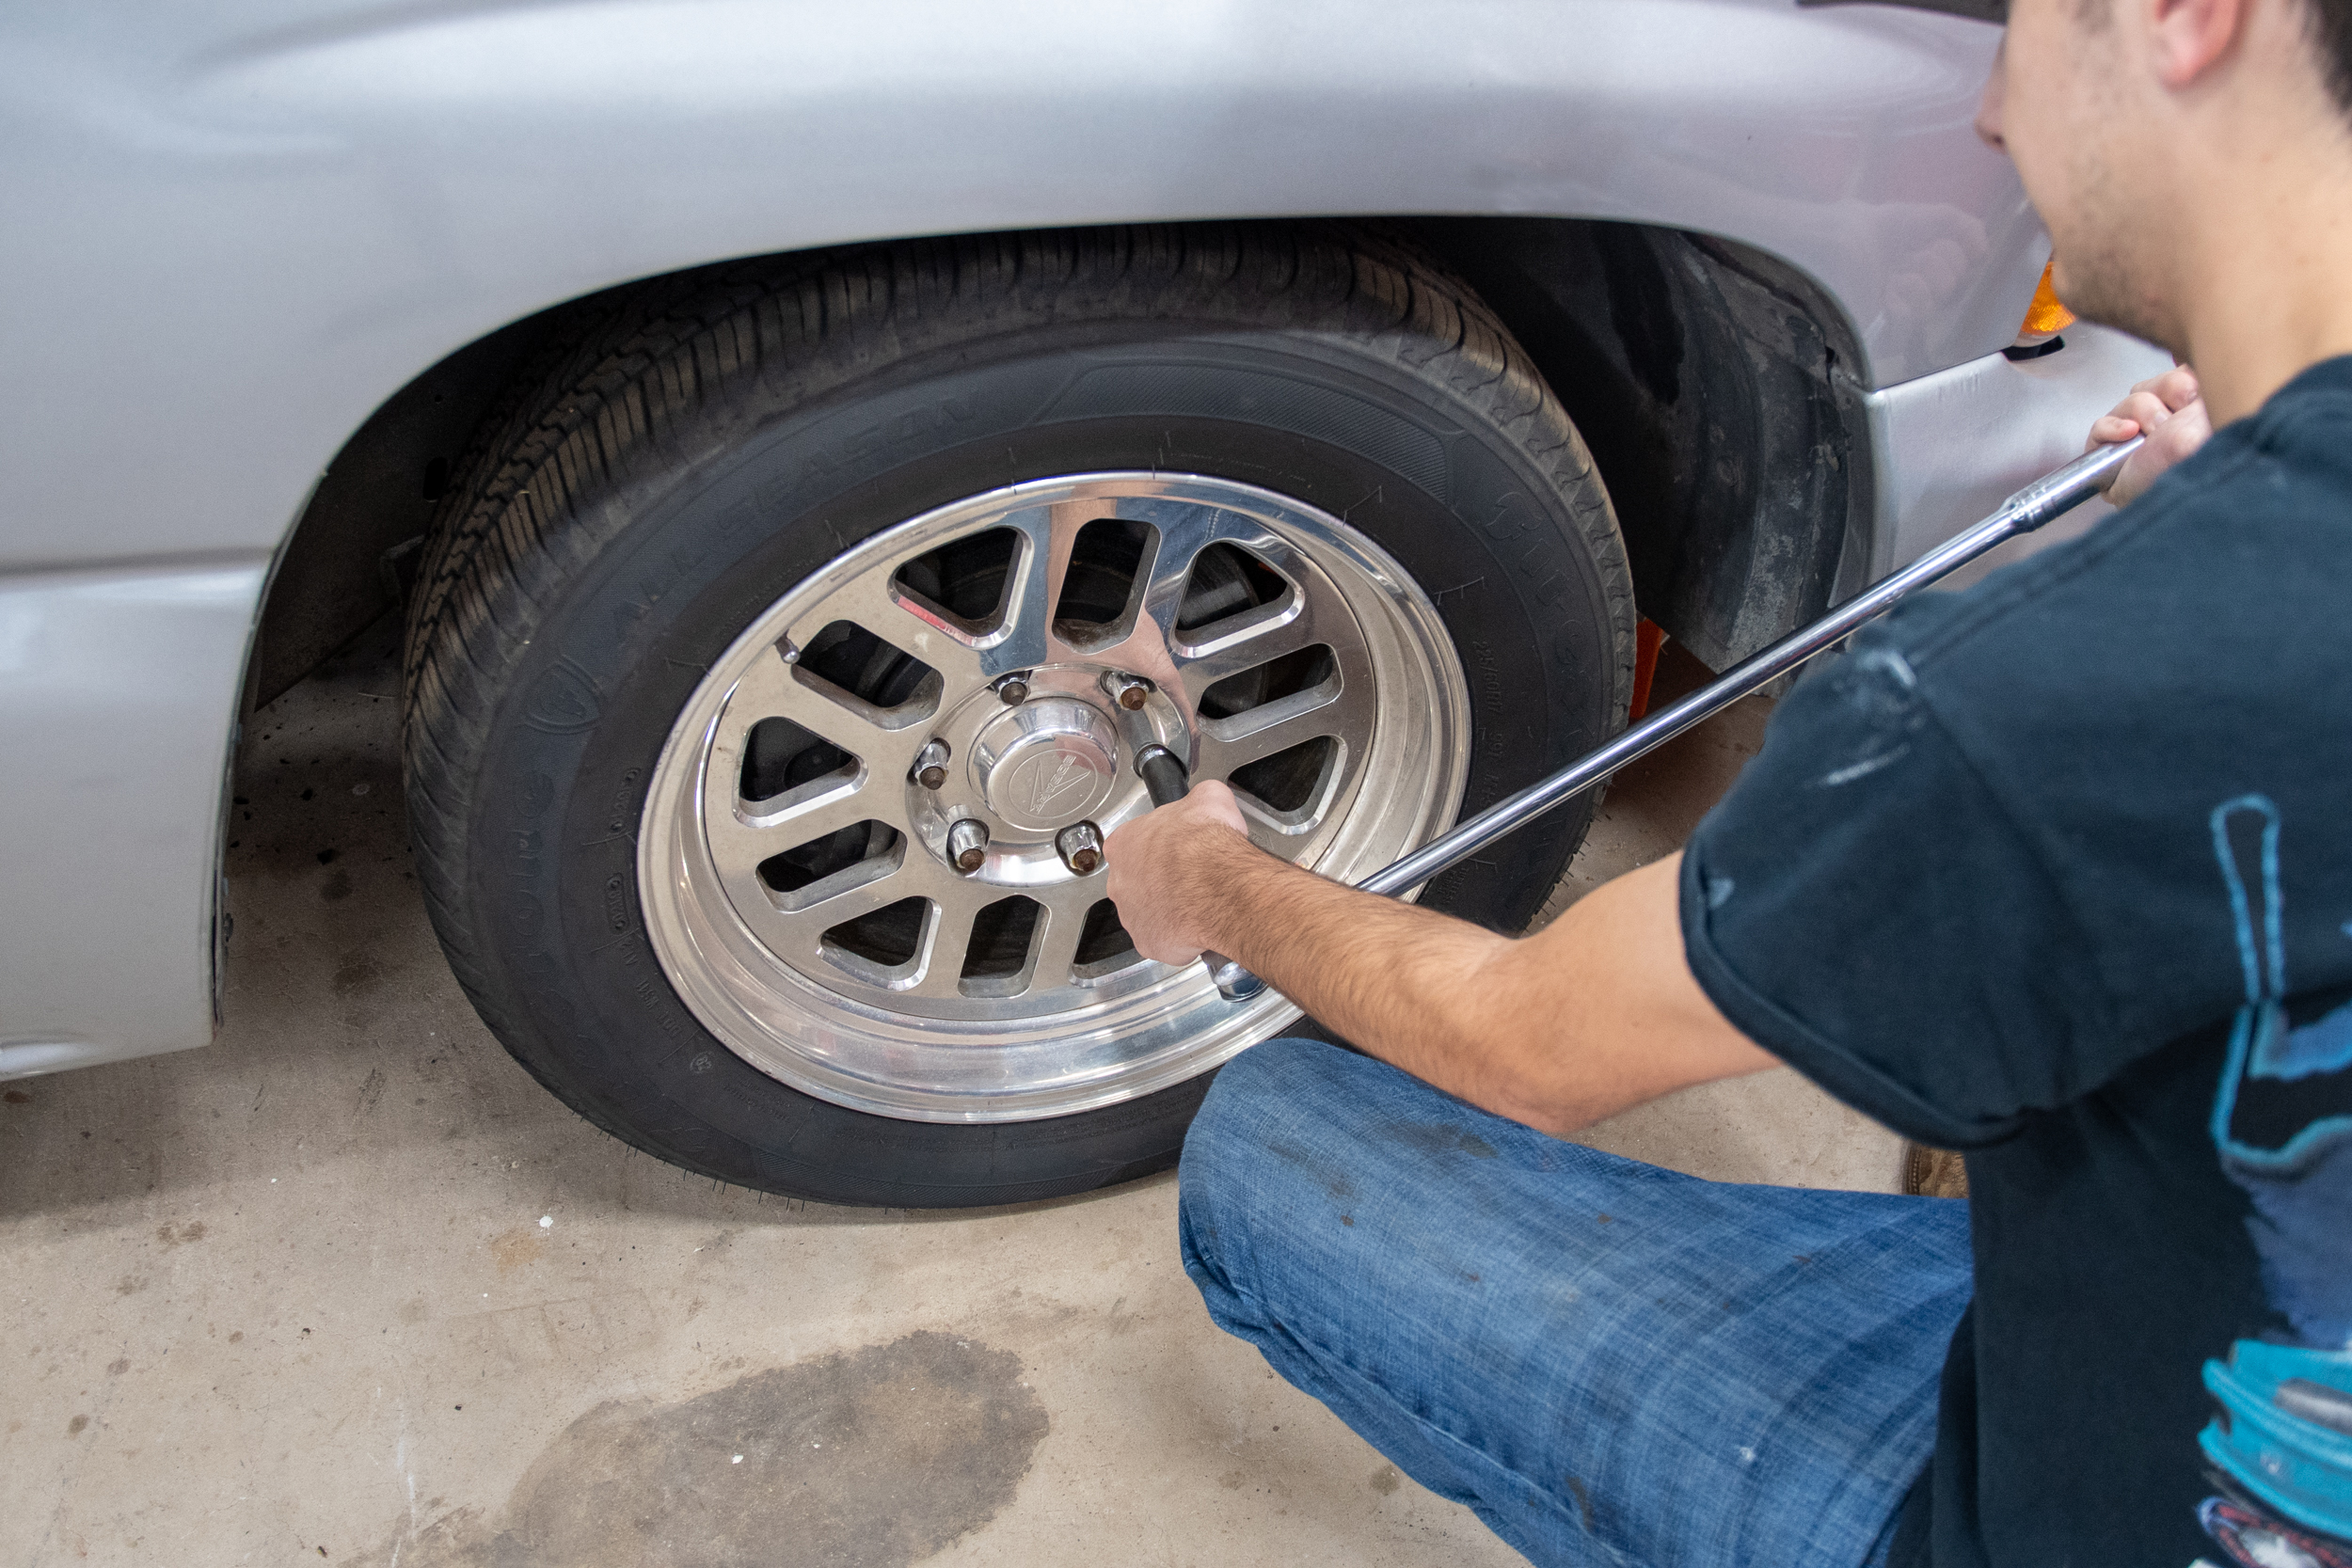
We recently finished installing a Moser Muscle Pak M9 rear axle in our 2000 Chevrolet Silverado, and while nothing else really changed, we got the urge to measure the truck’s ride height. As we went around with the tape measure, everything was on par, until we measured the front passenger’s side. It came out a solid 1.5-inches lower than the driver’s side, even with someone sitting behind the steering wheel.

While you can’t tell it from this picture, our Silverado was definitely sagging on the front passenger’s side.
If you’ve worked on a factory suspension vehicle, then you know there’s not a simple fix for this problem. You can try a new set of springs or shimming it, but for us, the issue had been seen, and we had to fix it the right way.
The best solution for our particular problem was a coilover conversion. This product would allow us to change the ride height as needed, from front to back and from side to side. It would also allow for more tunability at the drag strip.
QA1 Coilover Conversion
We went searching for a high-quality coil-over system for the Silverado, and QA1 was on our shortlist. The company is known for its innovative products that are made in the USA. The only question is, would they offer a conversion for a 20-year-old full-size truck? Most people looking to go fast don’t start with a 4,300-pound vehicle unless you’re into Mopars, but I digress. And while we didn’t get our hopes up, we were happy to find that QA1 did have what we needed.
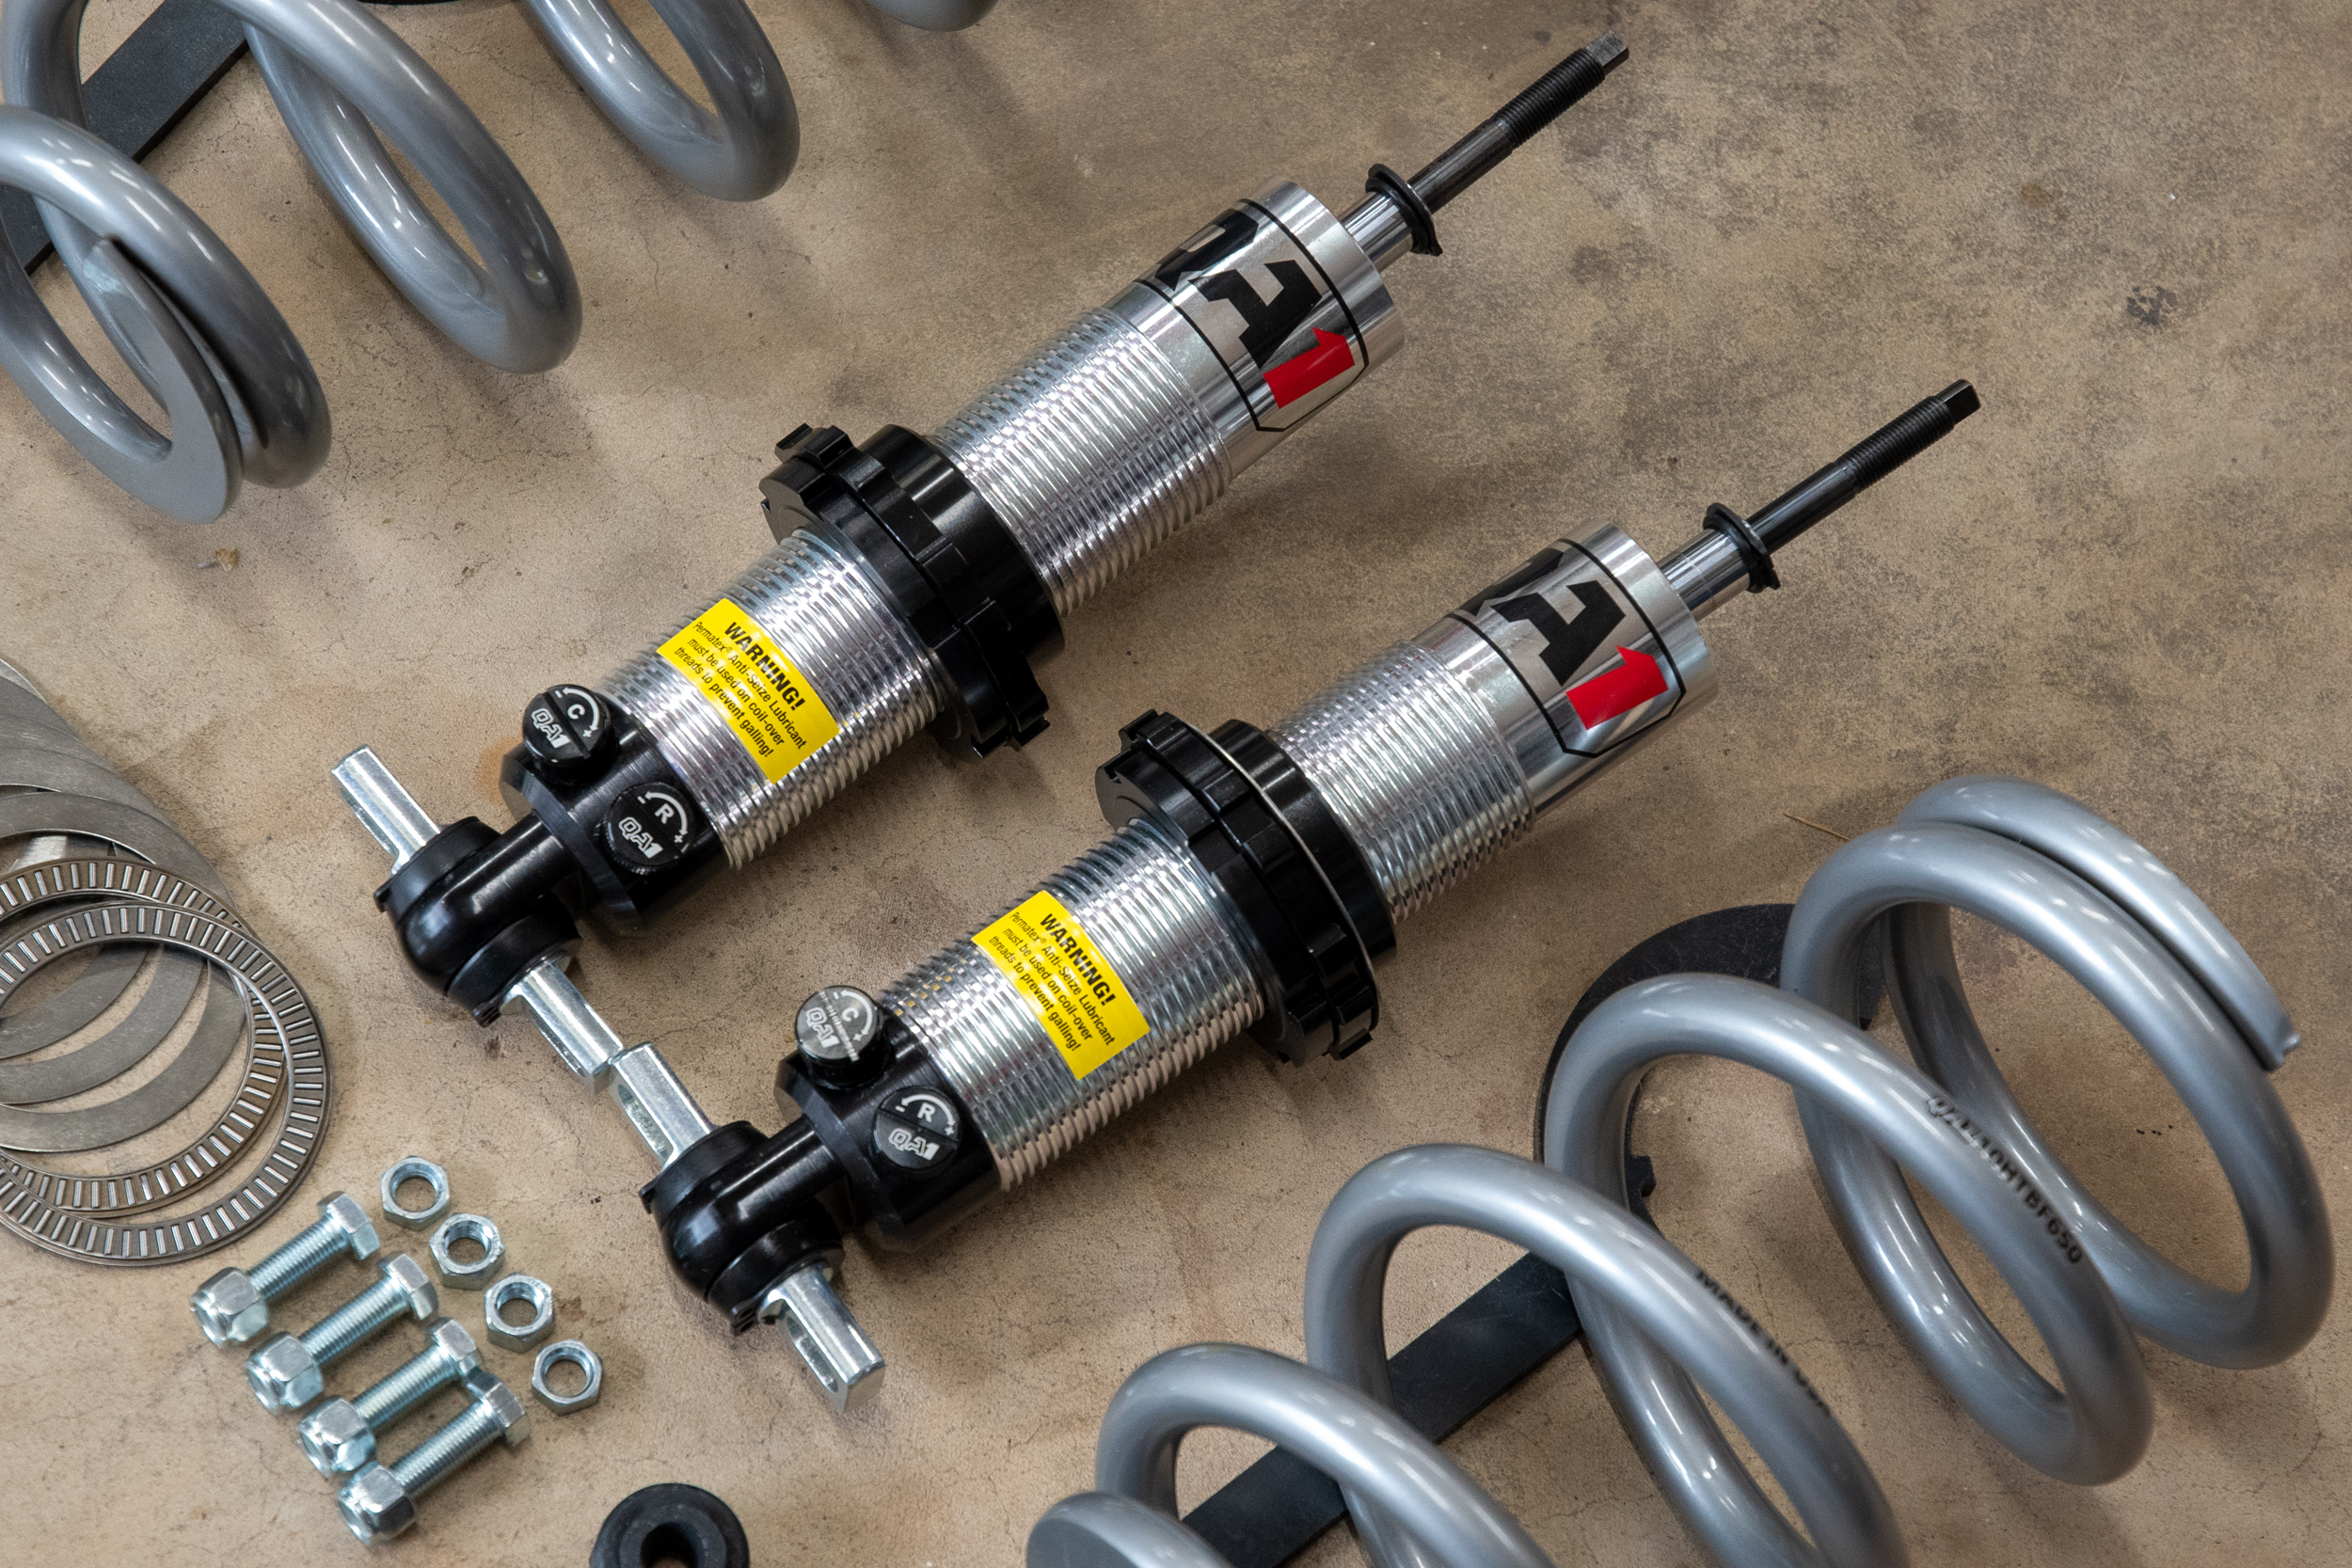
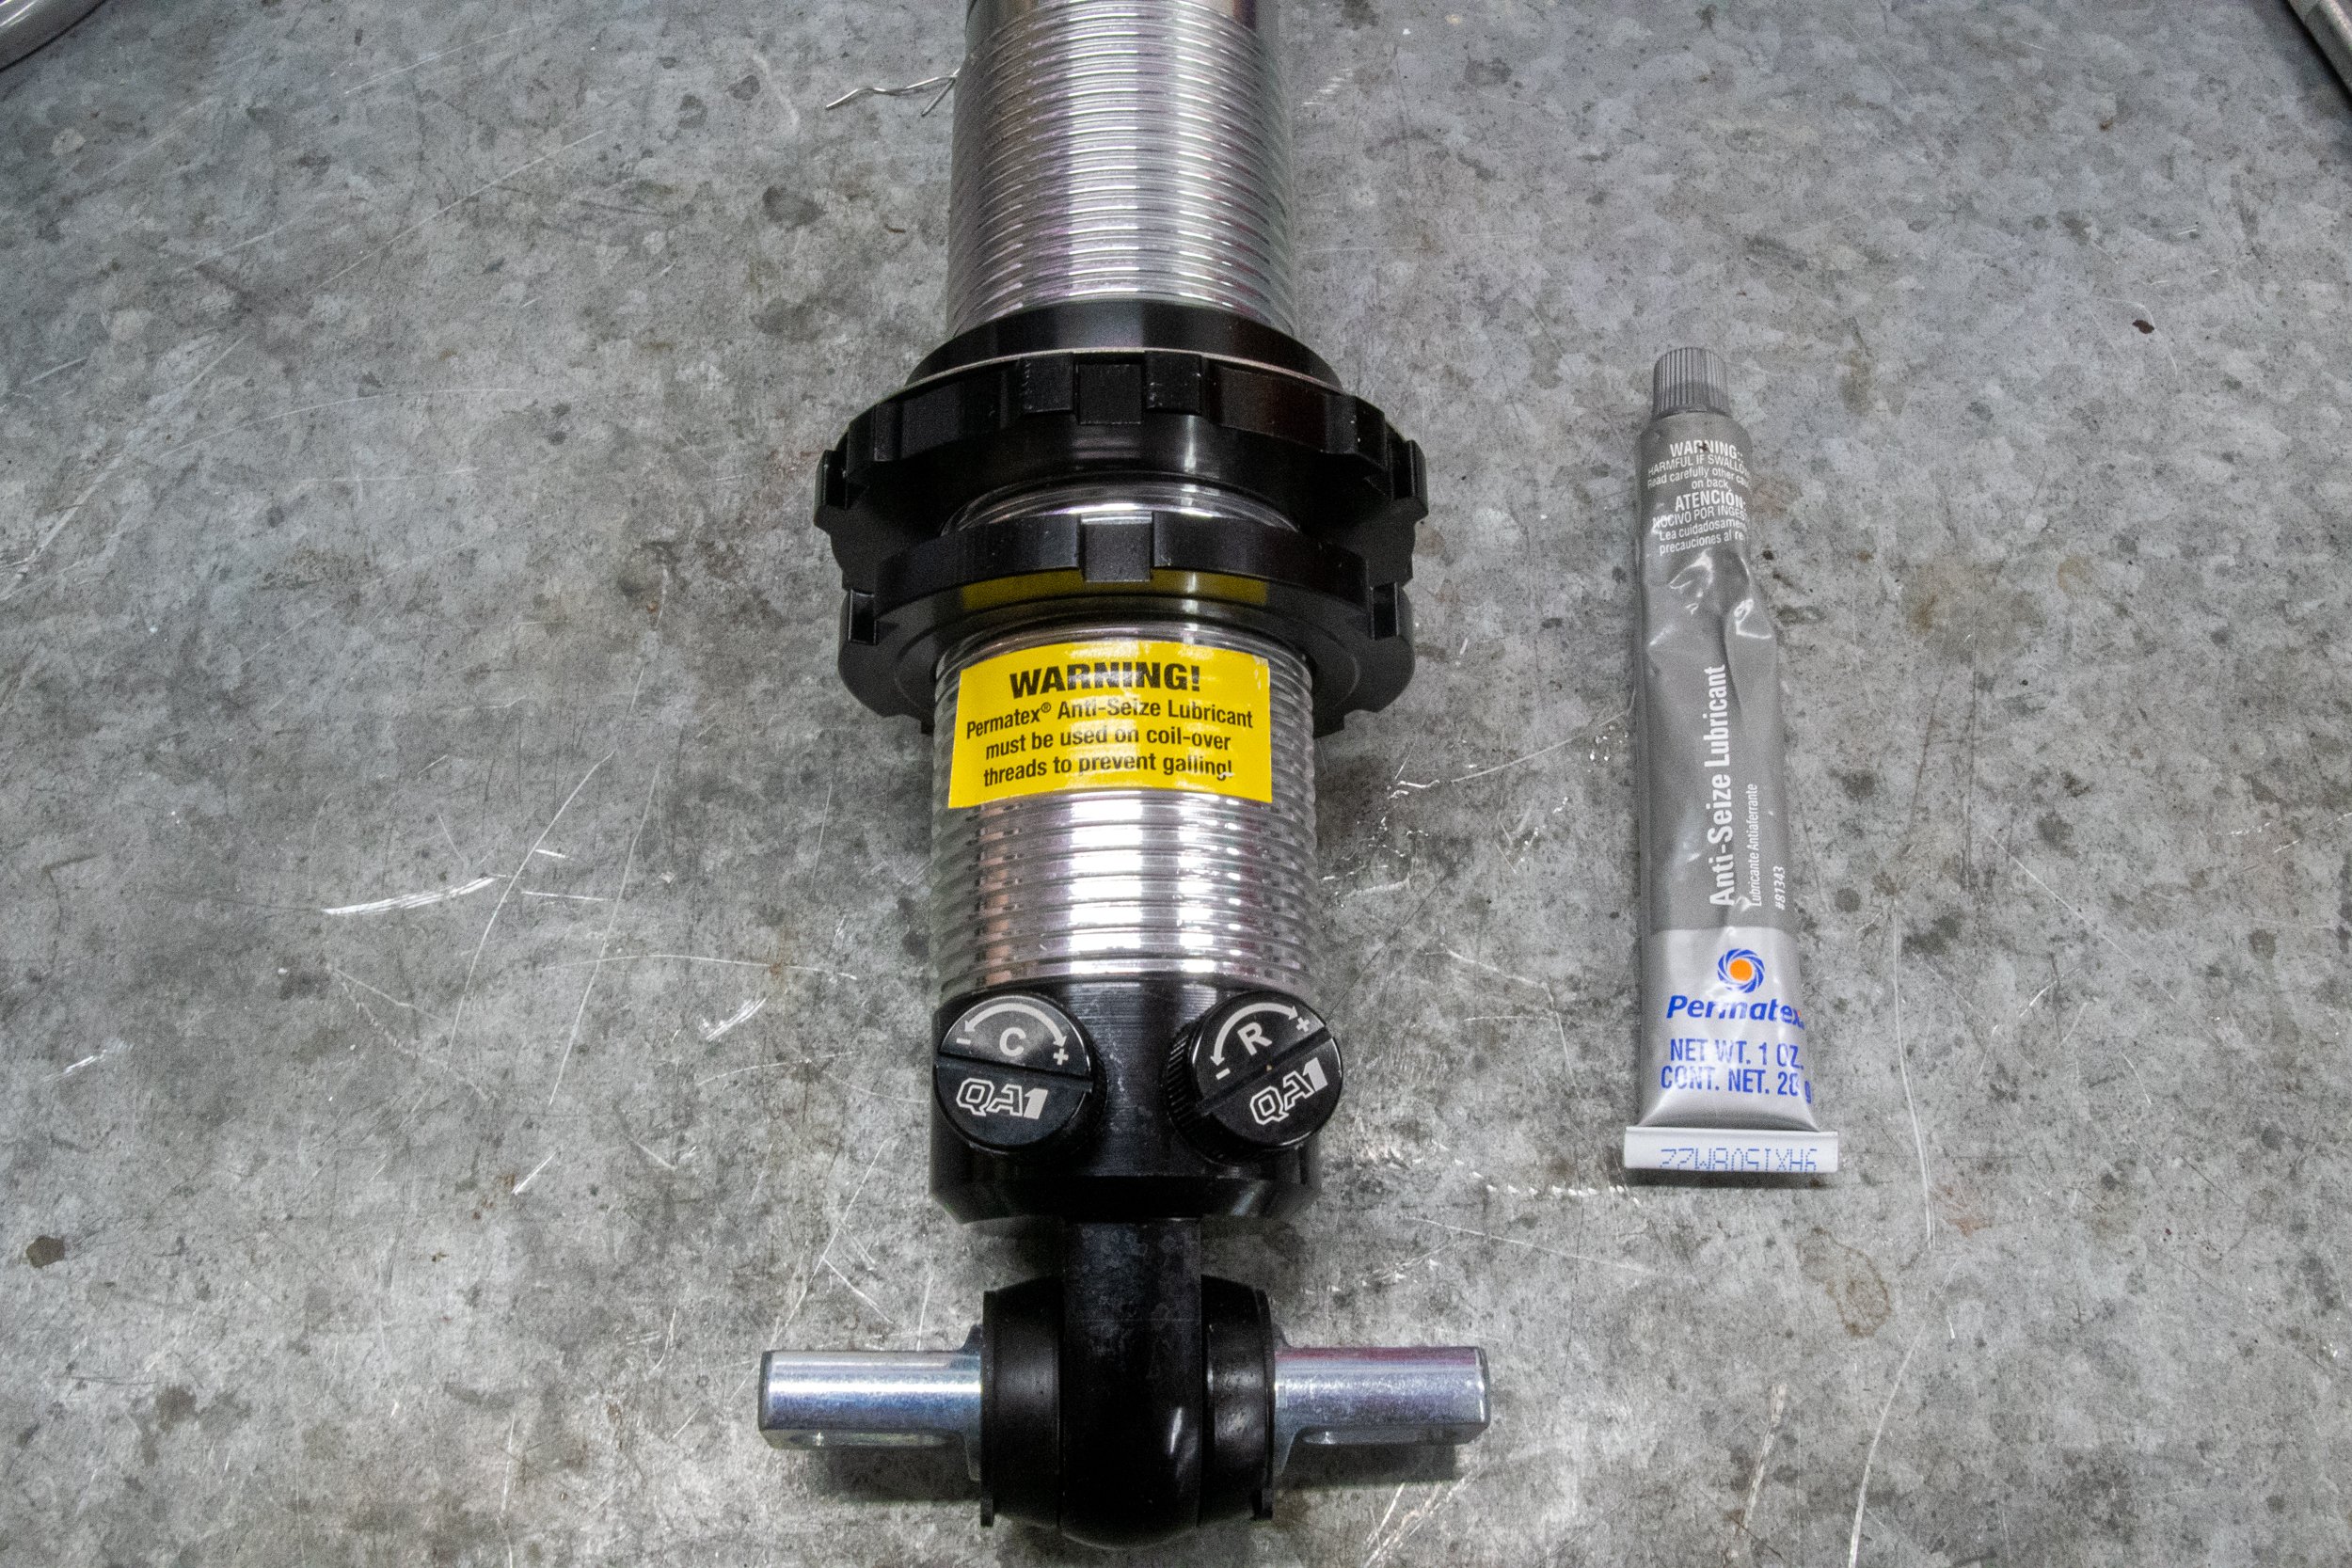
We opted for QA1’s double adjustable coilover conversion for our Silverado. This setup will give us a ton of adjustability at the drag strip.
The QA1 Coilover system is available in a couple of options: you can get the kit with either single- or double-adjustable shocks. Since we plan on being at the drag strip a lot when we finish this truck, the double-adjustable units are a must. Singles are sufficient for a street car or truck, but nothing beats adjustability if you want to fine-tune the launch at the track. To get all of the details on the coilover conversion, we reached out to David Kass, Marketing Manager of QA1.
“Coilover systems offer significant advantages for drag racing because of two key elements. The first benefit is the ability to choose your spring rate that promotes stored energy and weight transfer. Traditional coil-springs offer limited options for this, whereas with coil-overs spring rate selection is vast and easy to come by,” Kass explained. “The second benefit is the shock absorber itself. Having a coil-over package with included valving adjustment allows you to tune the truck’s launch characteristics with ease. These adjustments allow for better 60-foot times and better control down track.”
The Coilover Conversion
The QA1 coilover kit is designed to work with the factory suspension on 2000-06 Chevrolet or GMC trucks. However, Kass informed us that it would work with lowering kits, which is good, since our Silverado has a 5/7-inch DJM drop kit installed.
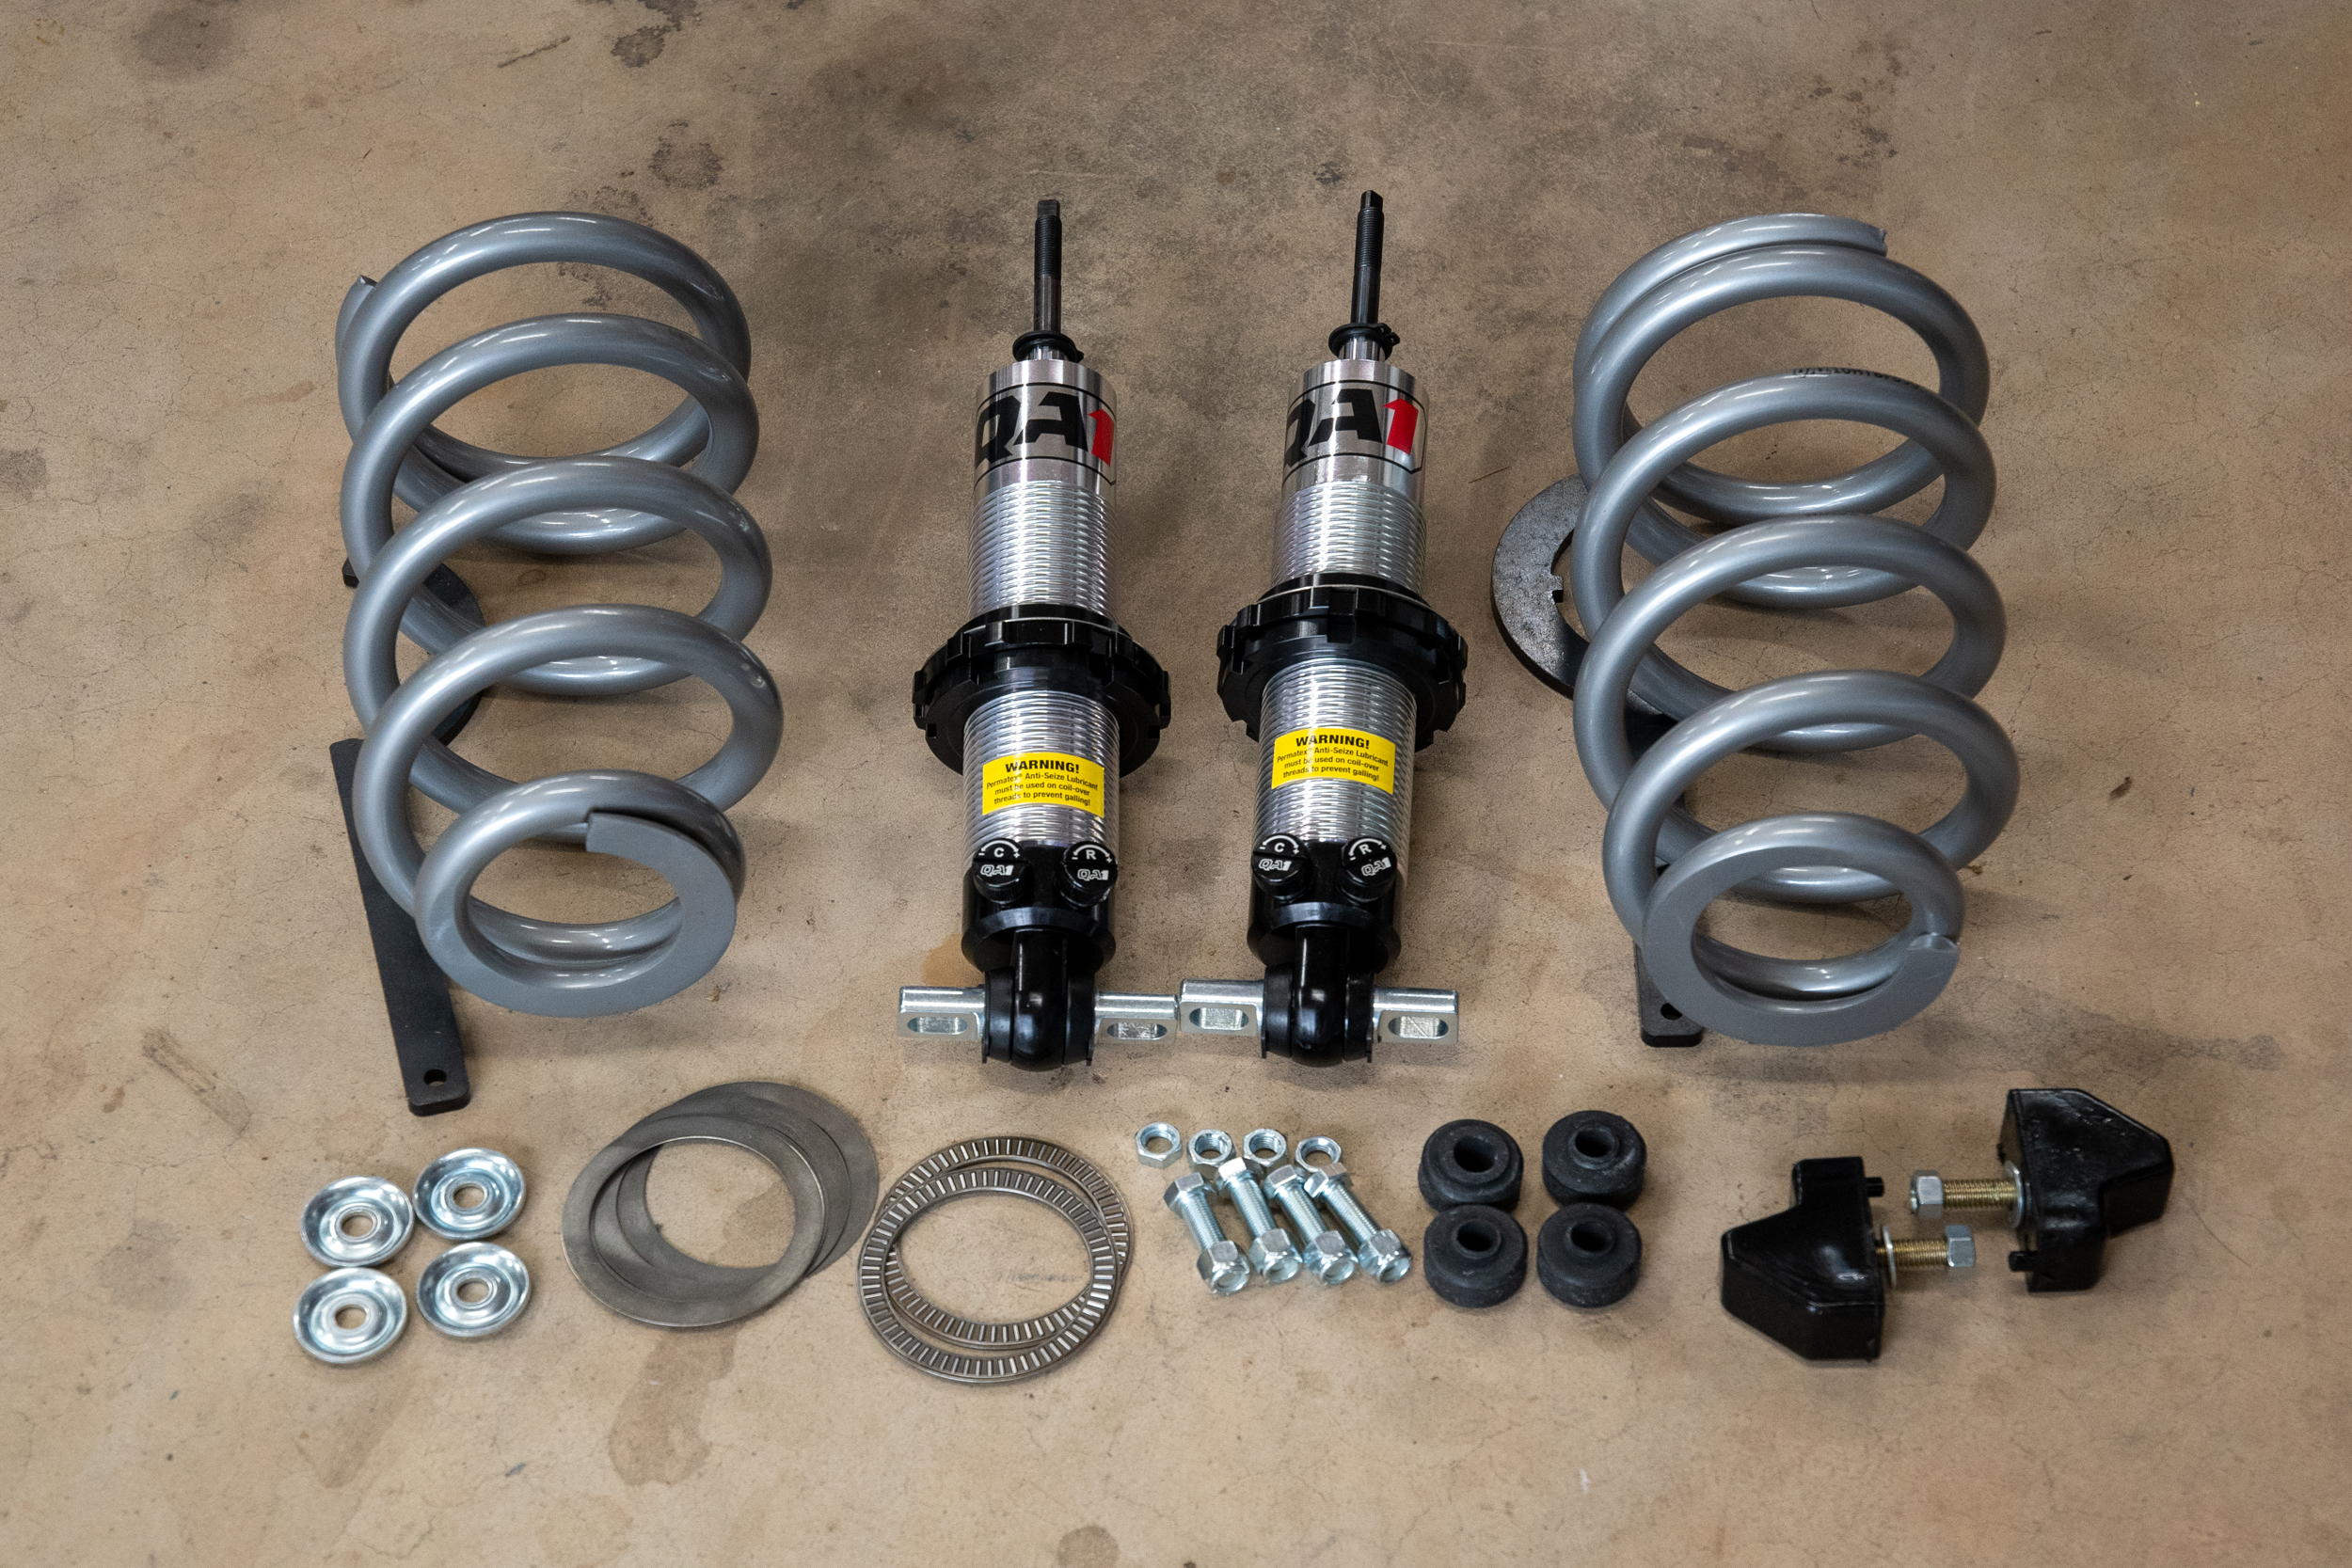
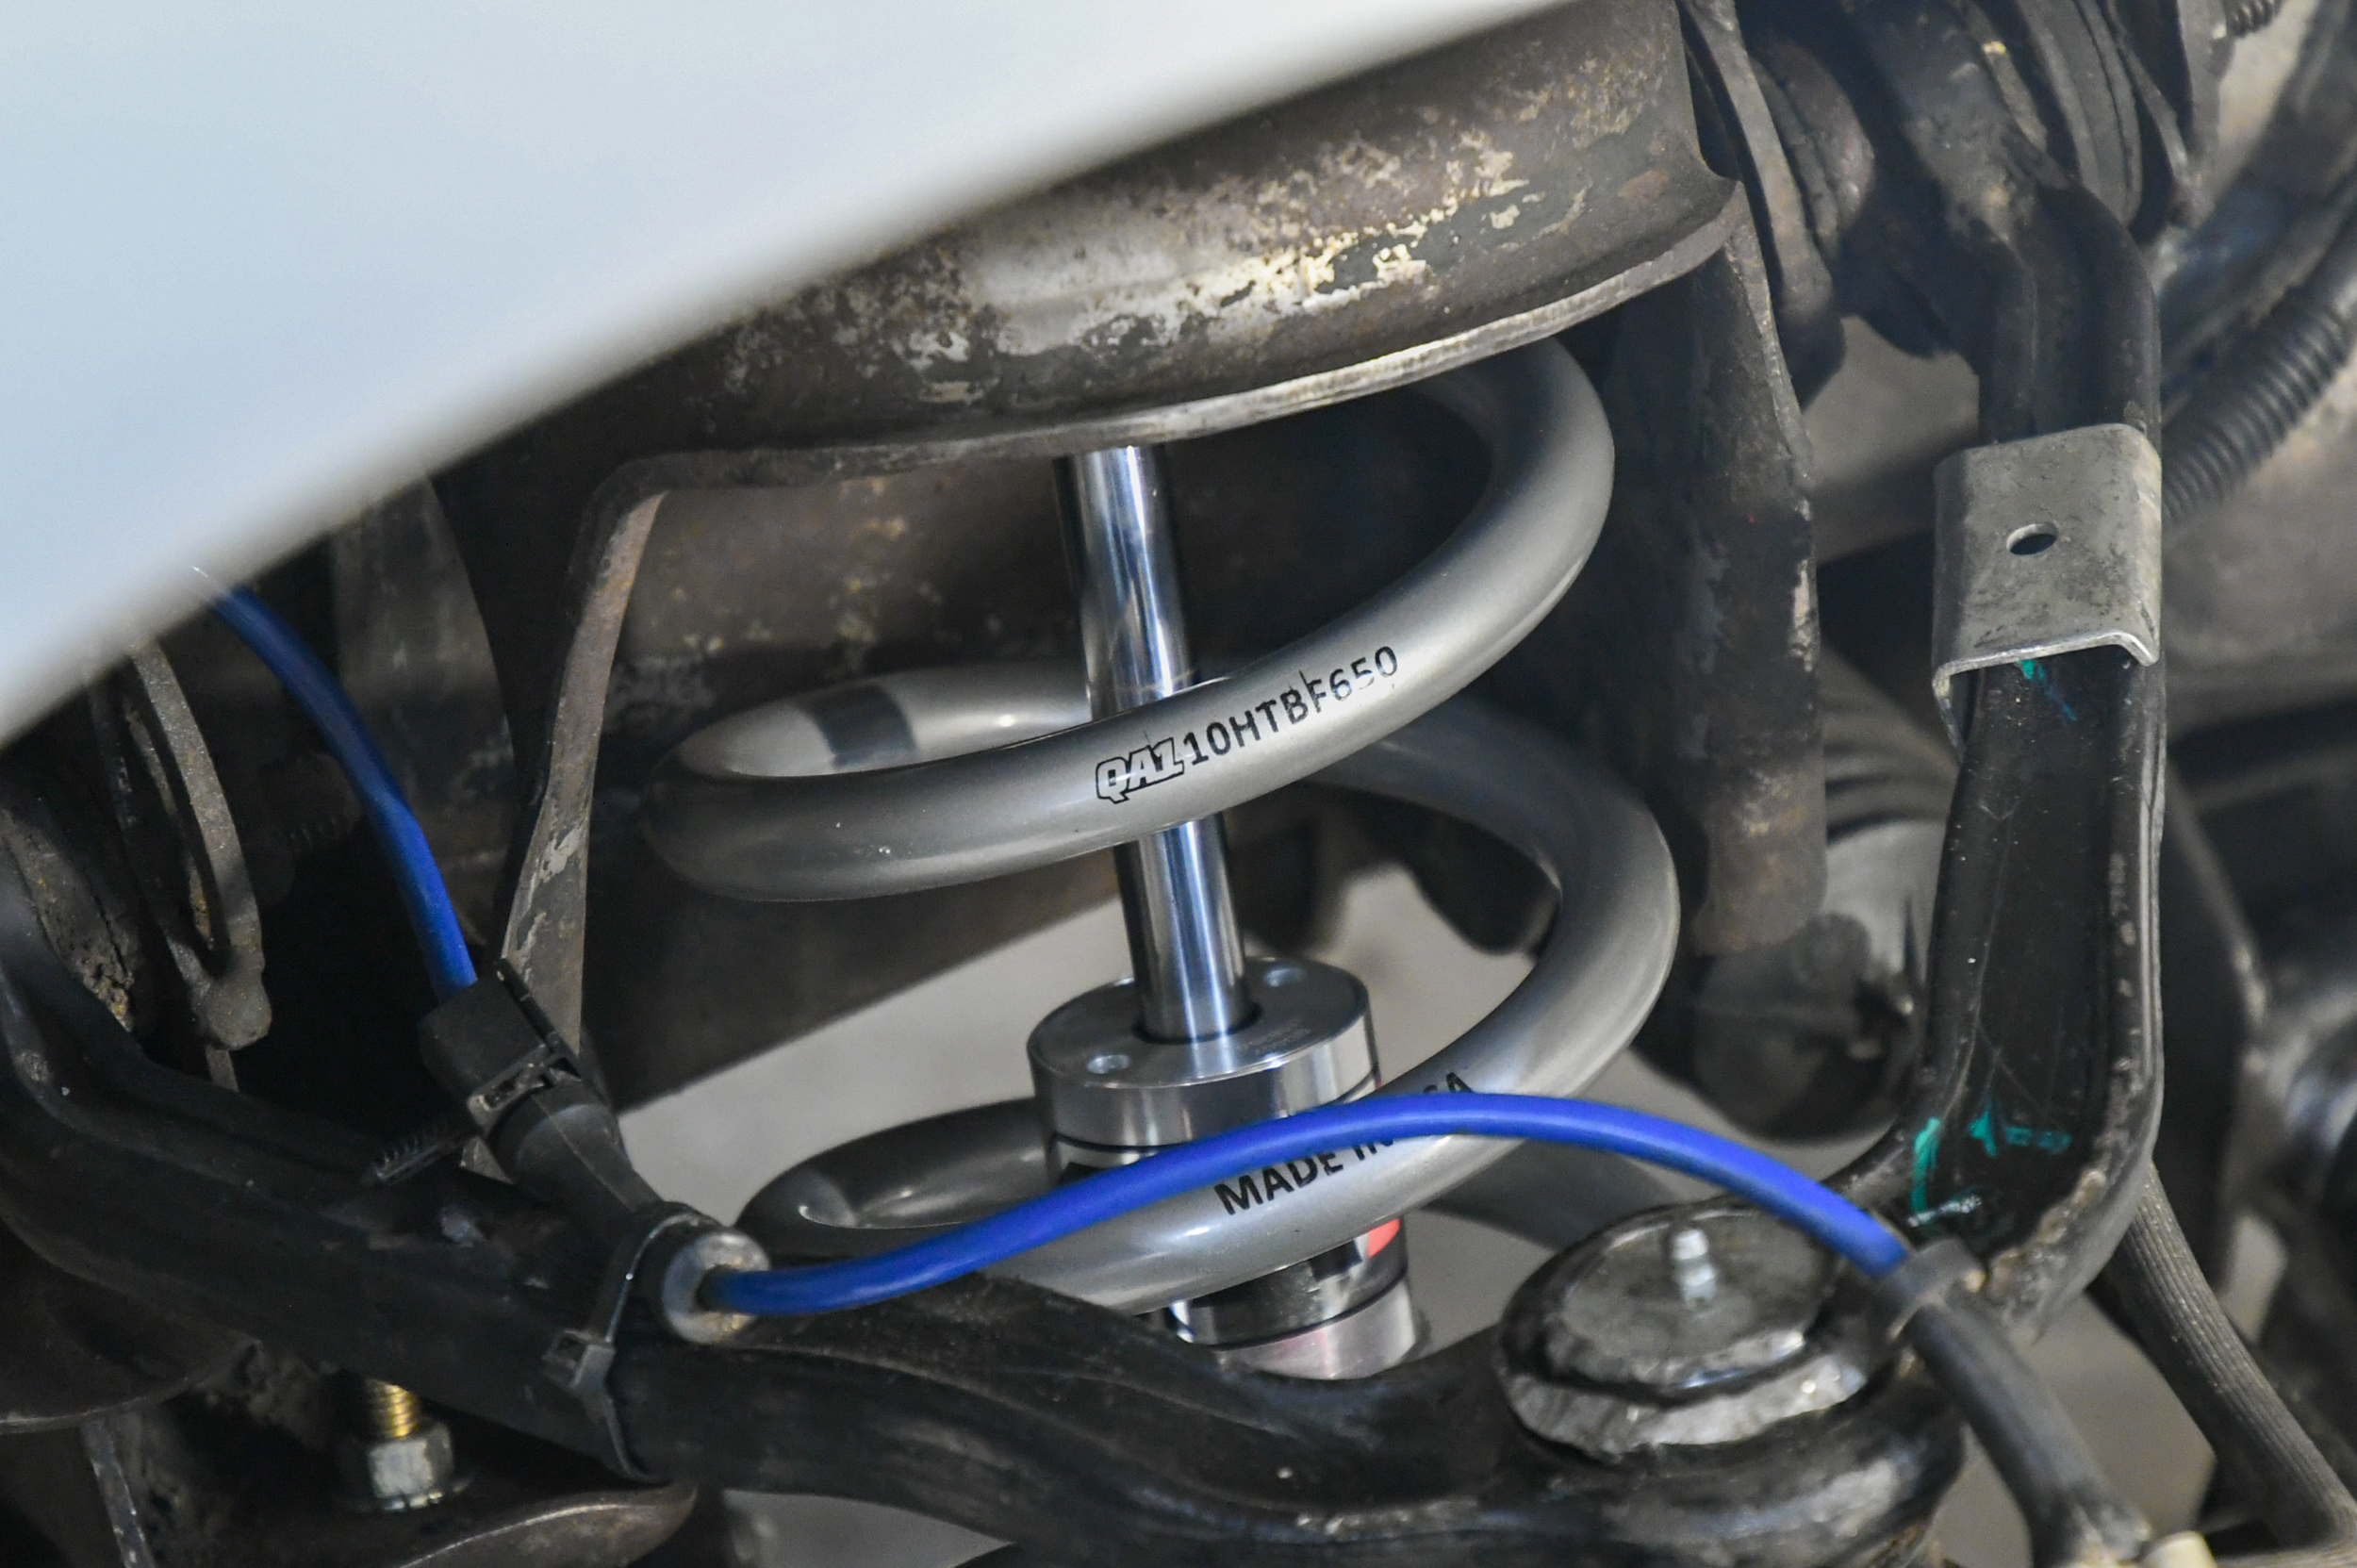
The conversion kit for full-size GM trucks includes two 650-pound springs, two coilovers, two aluminum lock nuts, two aluminum spring seats, two bump stops, and all of the hardware needed. We did add the optional thrust bearing (PN 7888-108), which is recommended in the QA1 coilover instructions for ease of ride height adjustability. We were also excited to find out that this kit is made right here in the U.S.
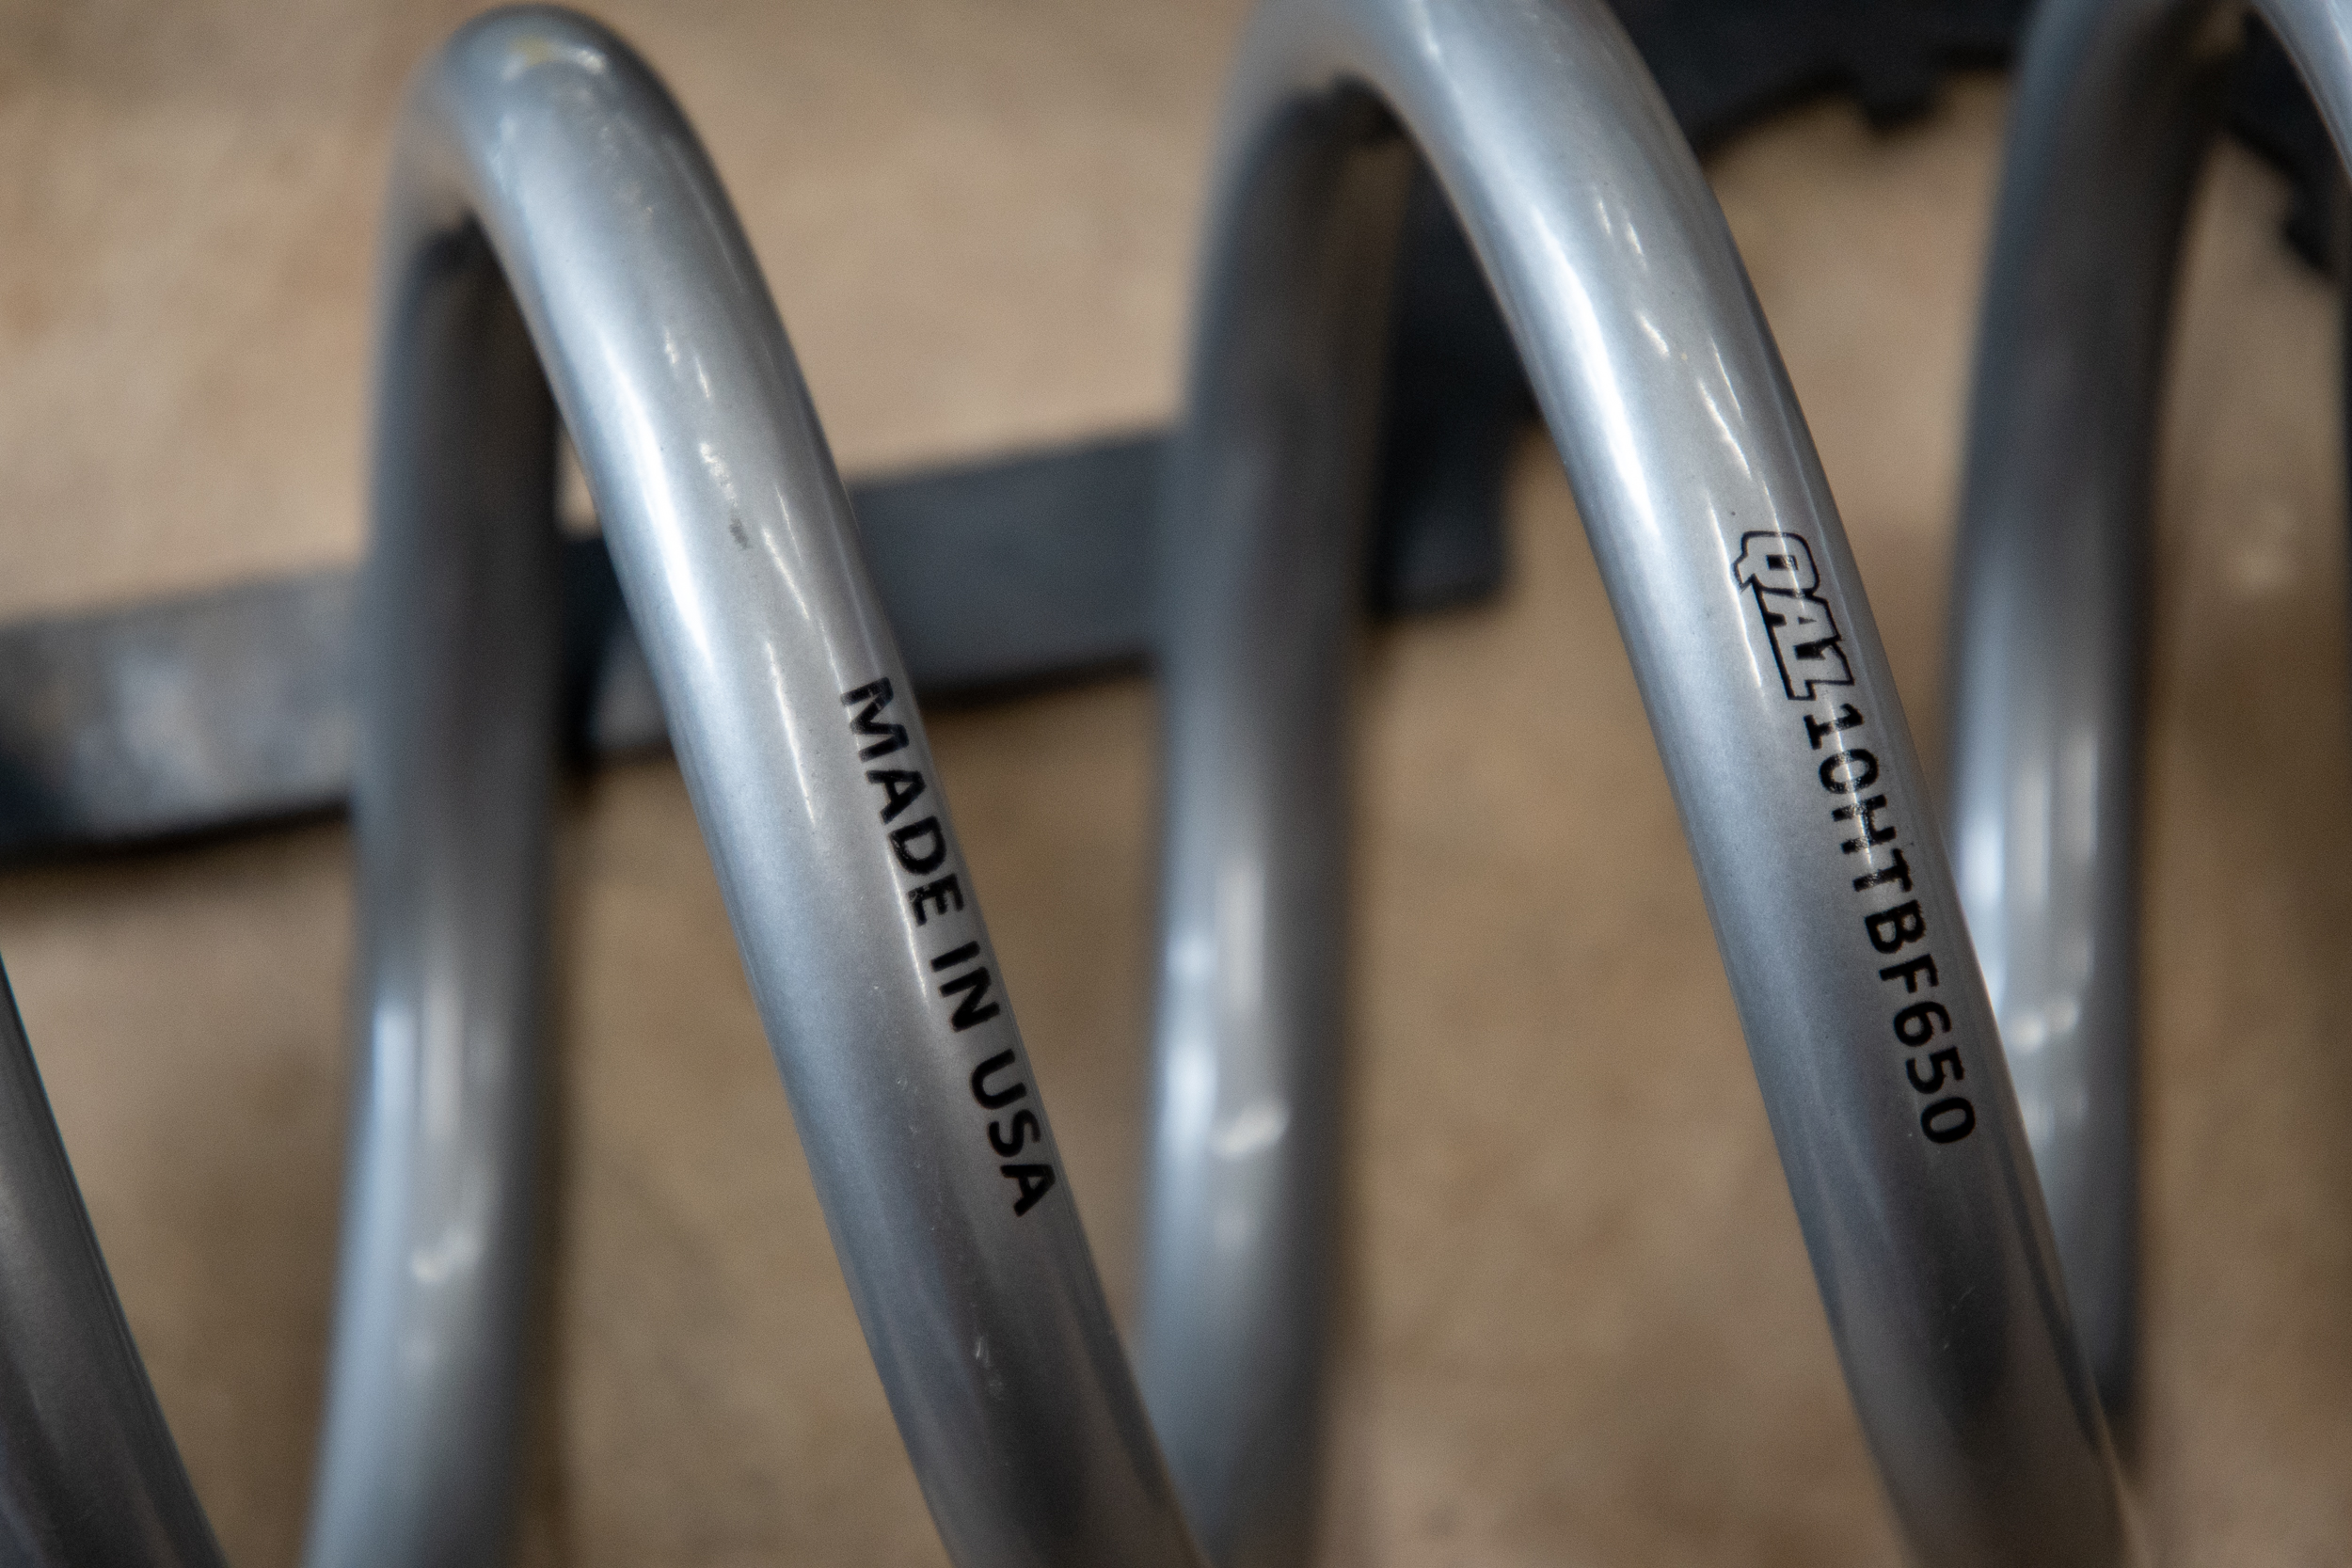
It’s always nice to see companies like QA1 that keep its manufacturing here in the USA.
“QA1 takes great pride in manufacturing these shocks in Lakeville, Minnesota. We find a more consistent, high-quality end product when we can machine the critical components that make up the shock. That’s why you will see machines running 24/7 in our facility, making many parts that go into the shock,” Kass explains. “Coupling the manufacturing with top-notch assembly teams and quality control checks along the way provides our customers with a highly consistent, great performing shock day in and day out. Many don’t know this, but each and every QA1 shock is dyno tested before it gets boxed up and sent to you.”
Let’s Get To It
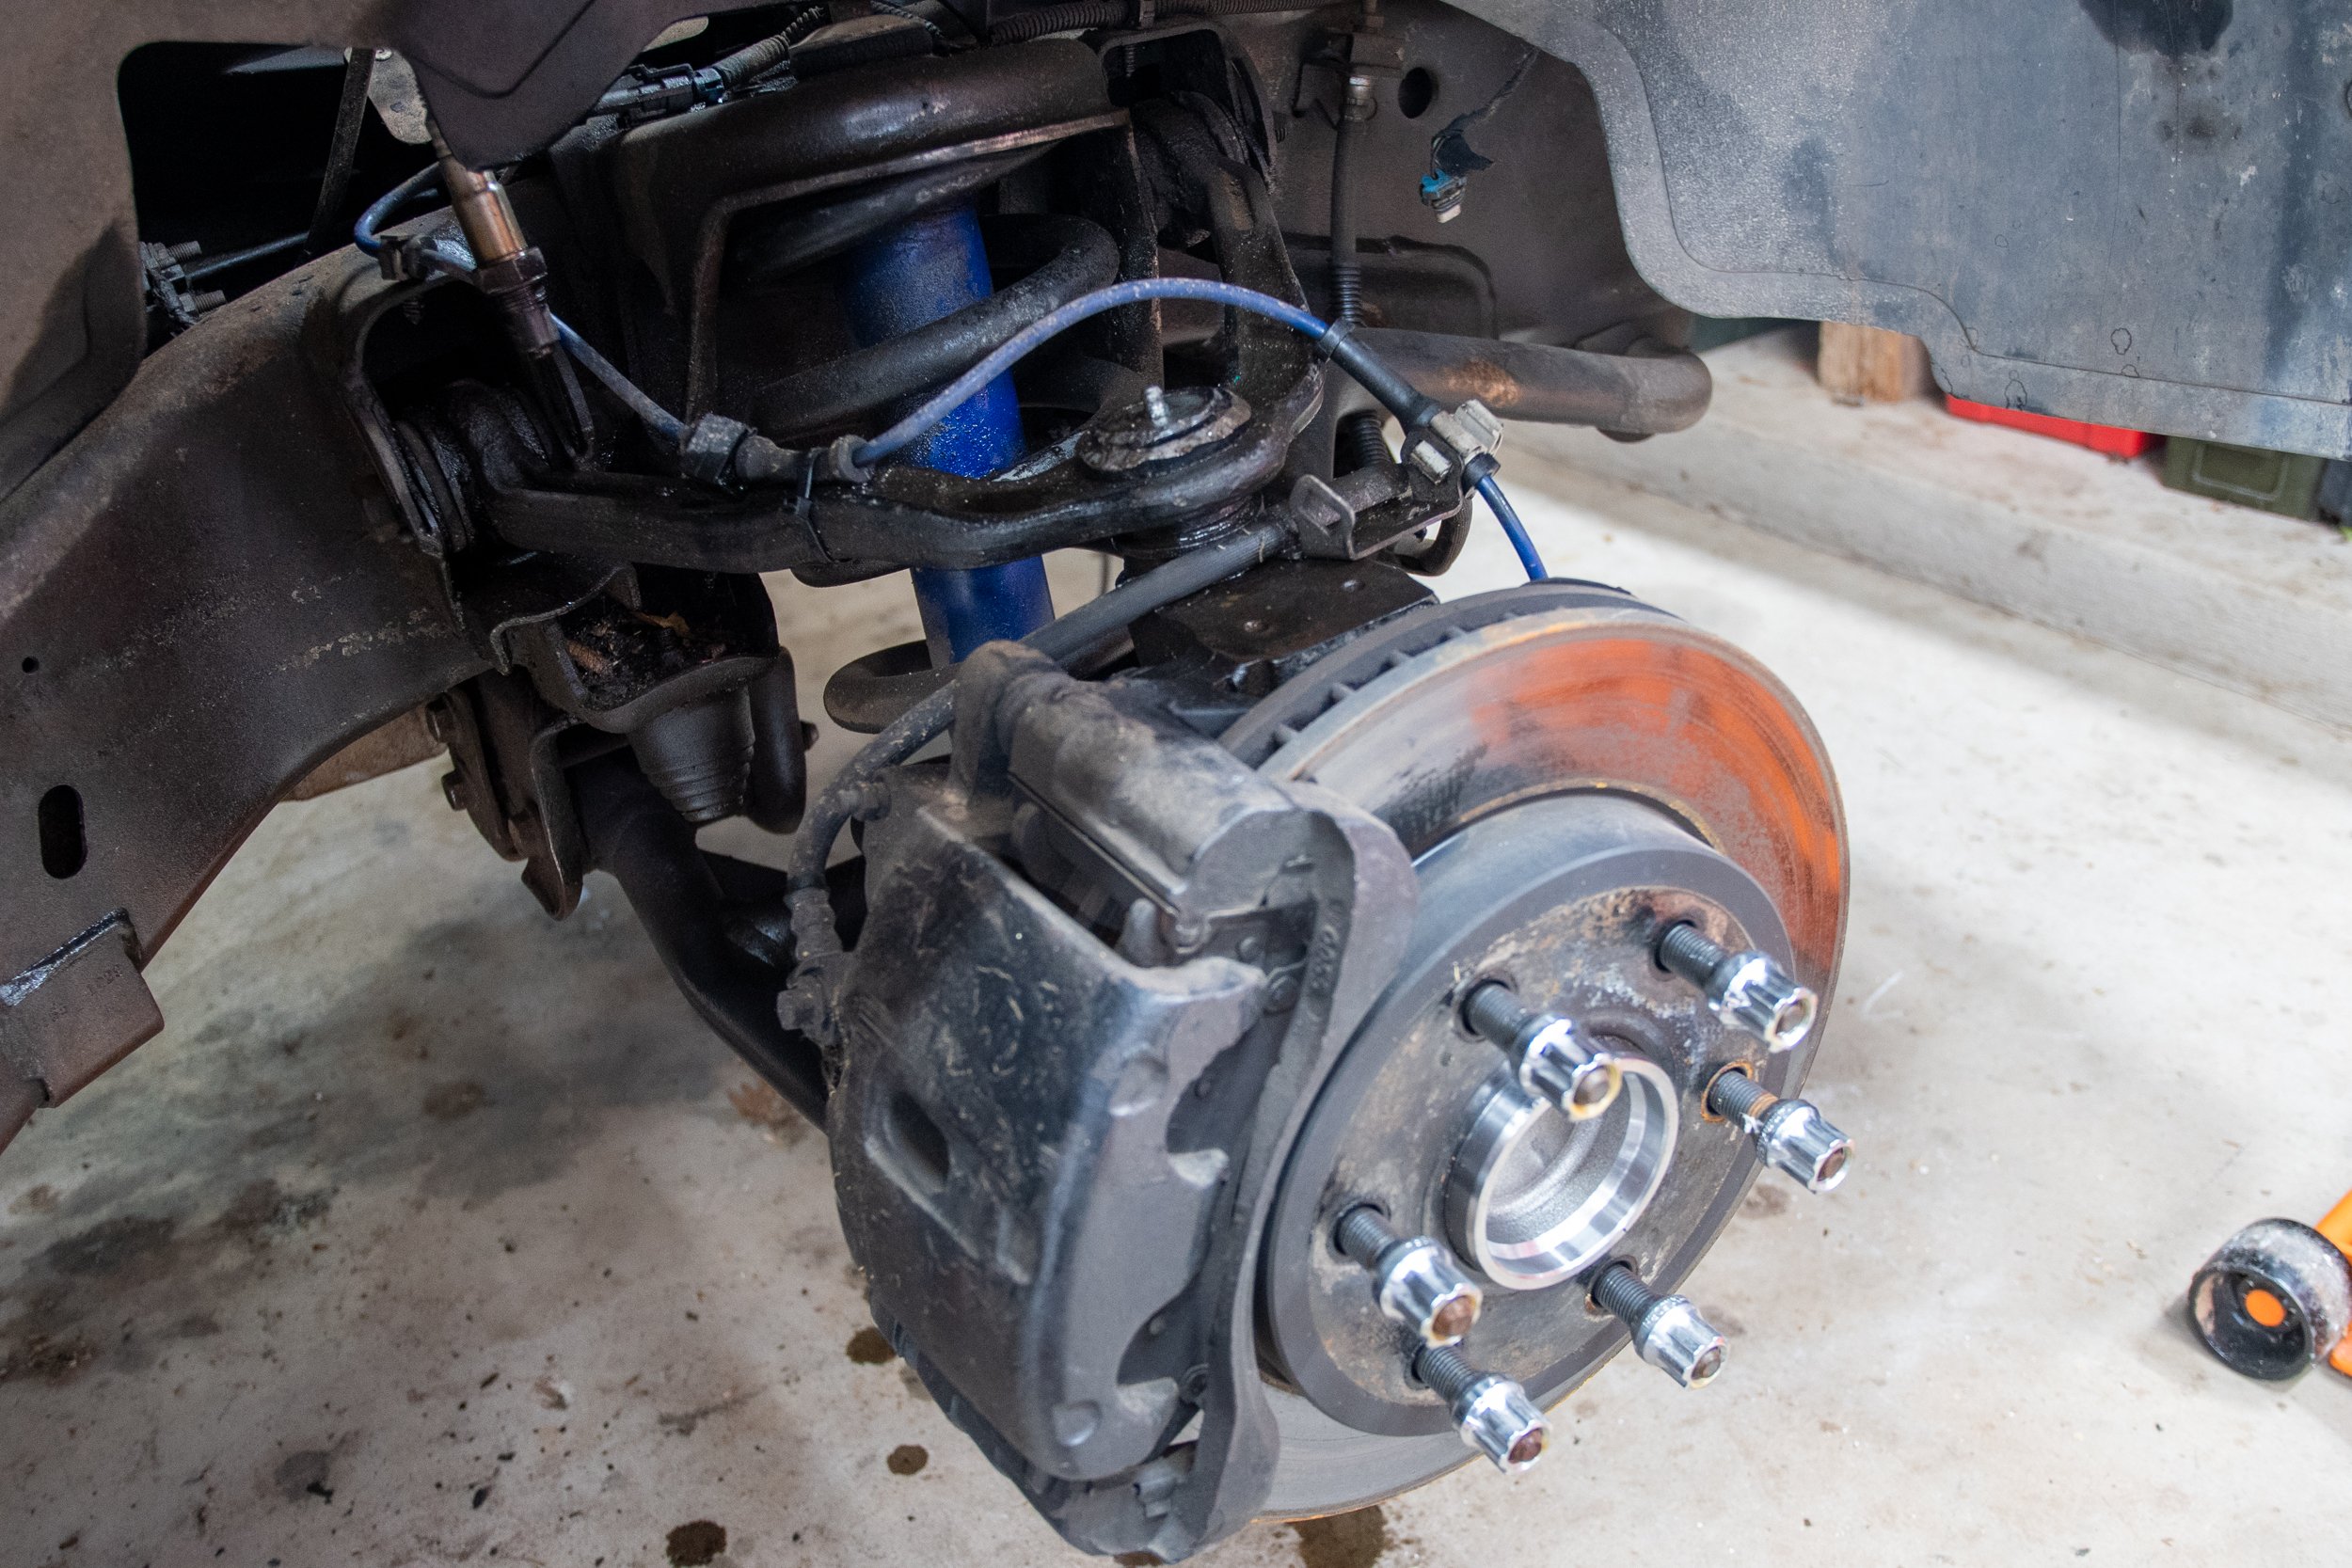
Our first step was to jack the truck up and get it secured on jackstands before removing the sway bar, coil springs, shocks, and bump stops. After we disconnected the swap bar, we then removed the shocks. We slid a floor jack under the control arm and then separated the spindle from the A-arm. We then lowered the jack, which allowed the lower A-arm to drop. Since we already had a drop spring in the front of the truck, a spring compressor was not needed. We could then remove the factory coil spring.


Coilover Installation
With the factory stuff out of the way, you will need to drill the bump stop locating hole out to 3/8-inch per the instructions. Since our truck was previously fitted with a lowering kit, the bump stops had already been drilled out and replaced with new units. All we had to do was remove and replace them with the QA1 units.
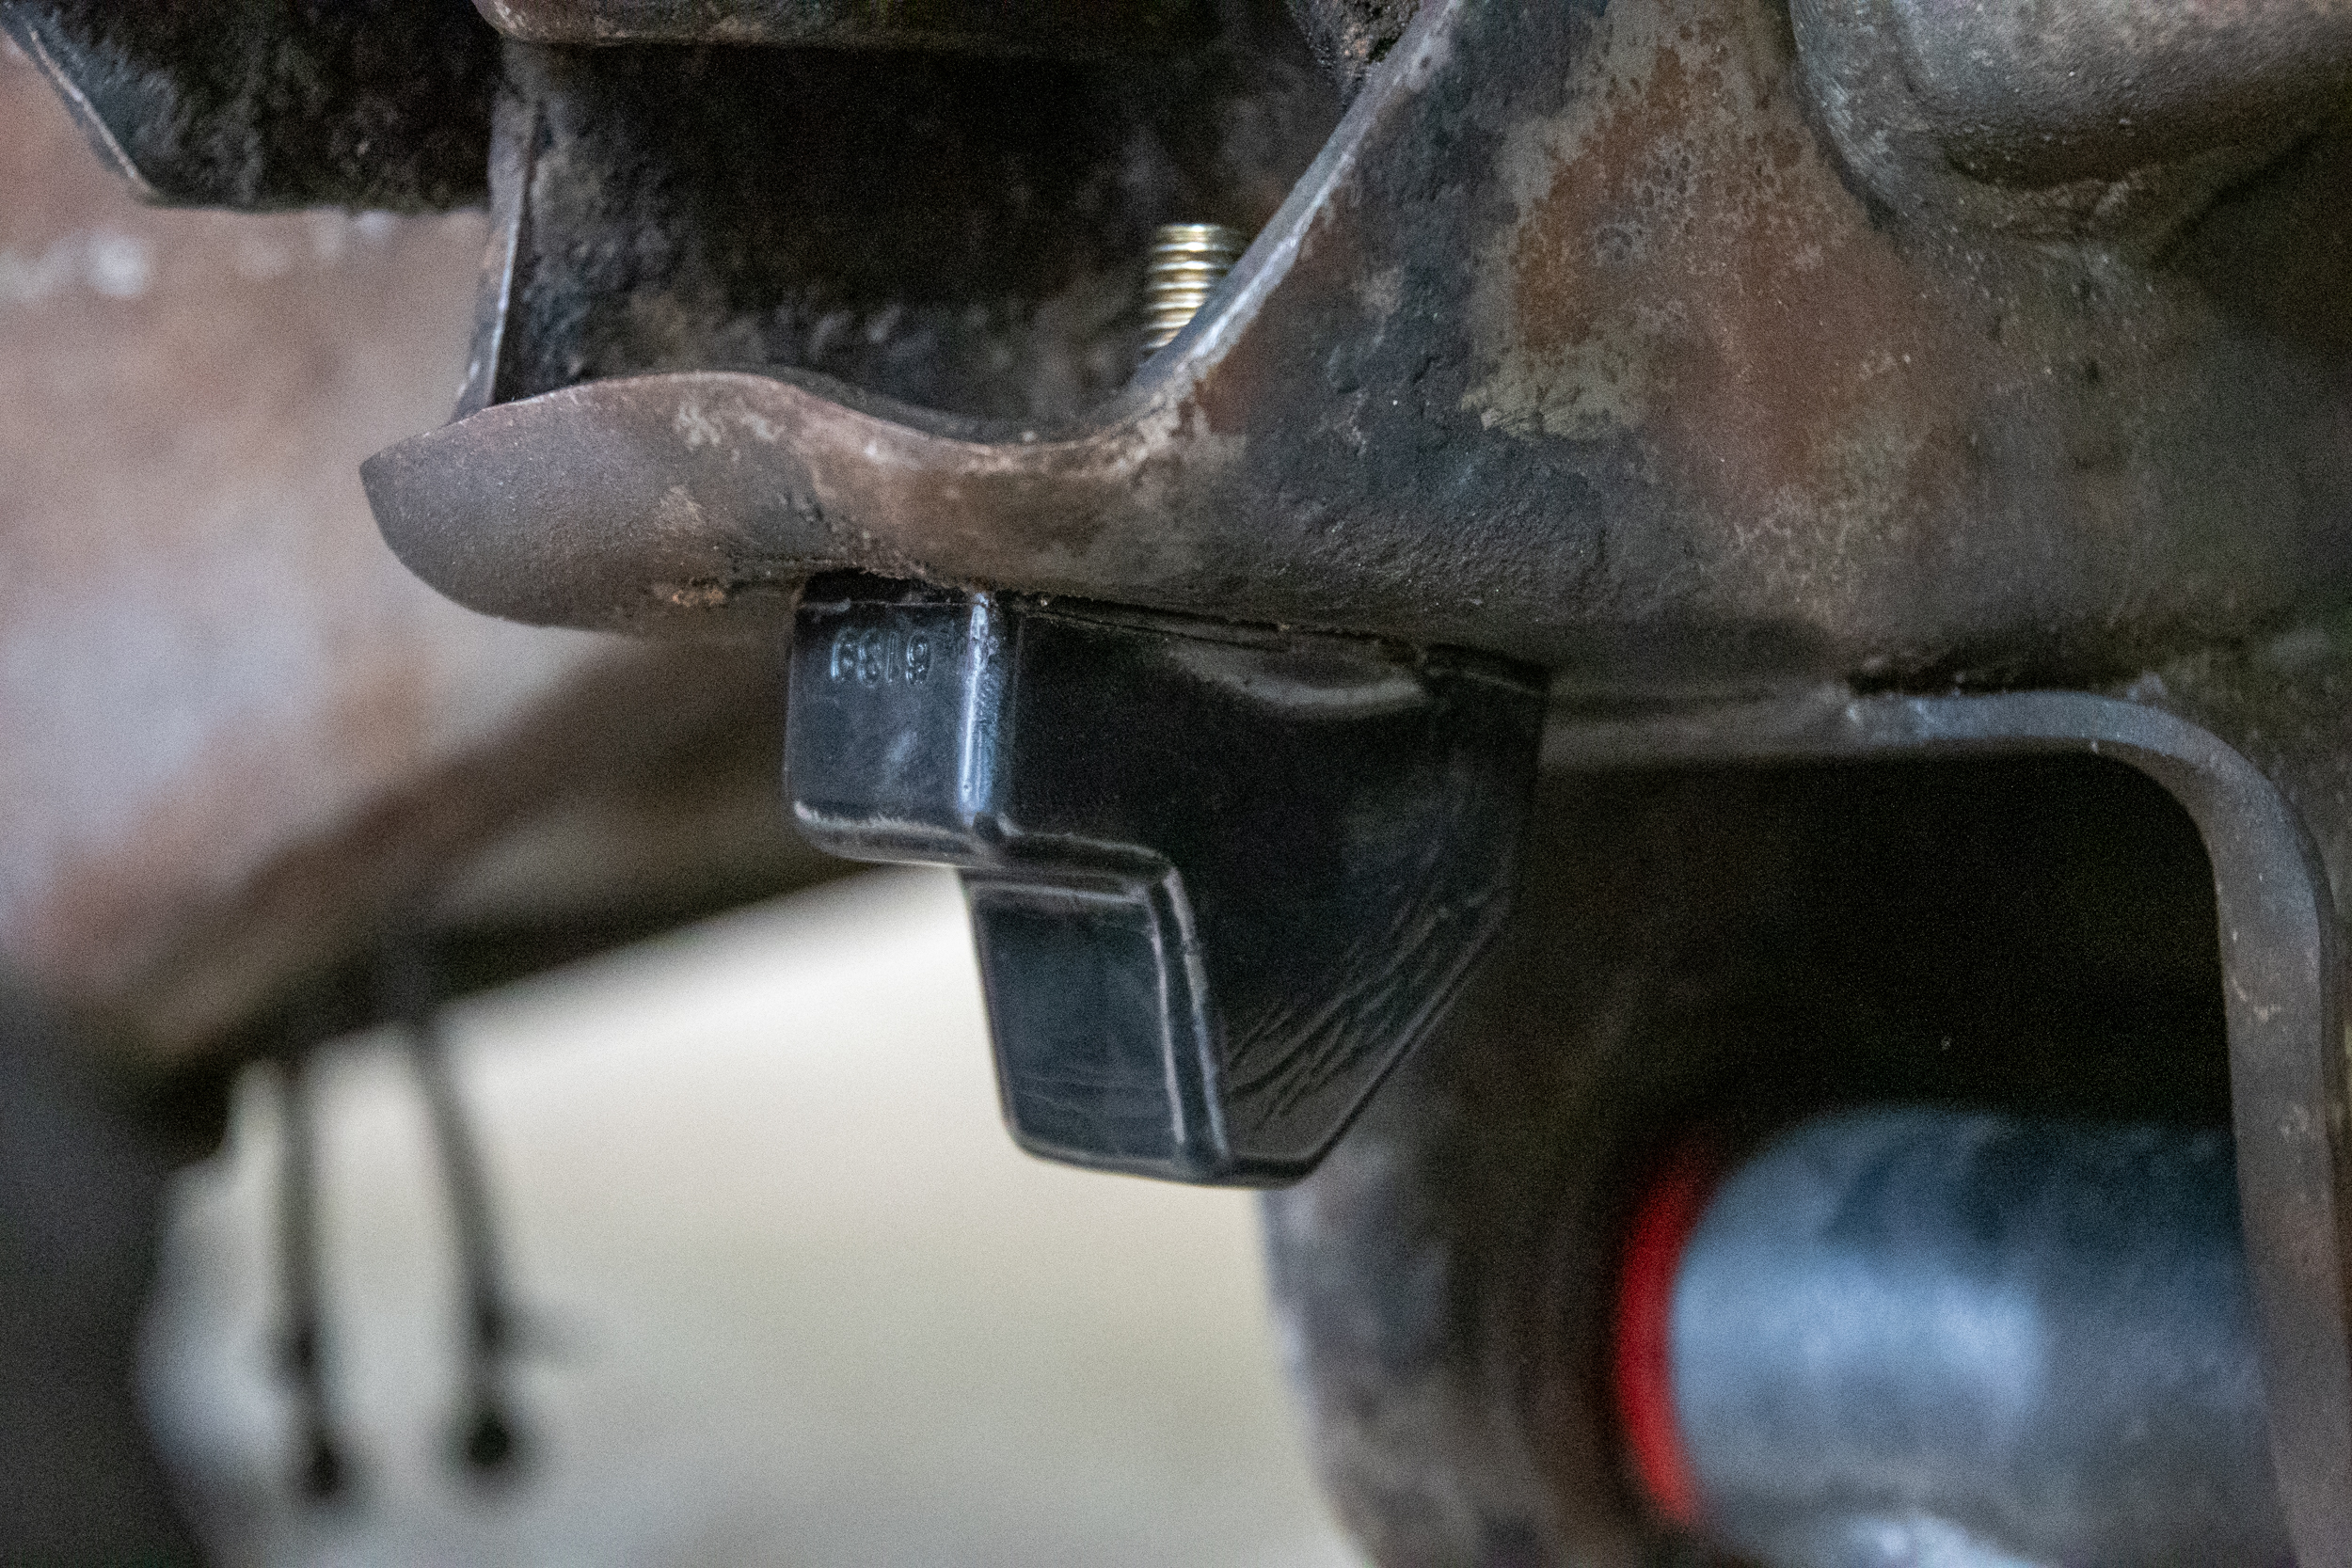
The QA1 conversion comes with new bump stops to replace the factory units.
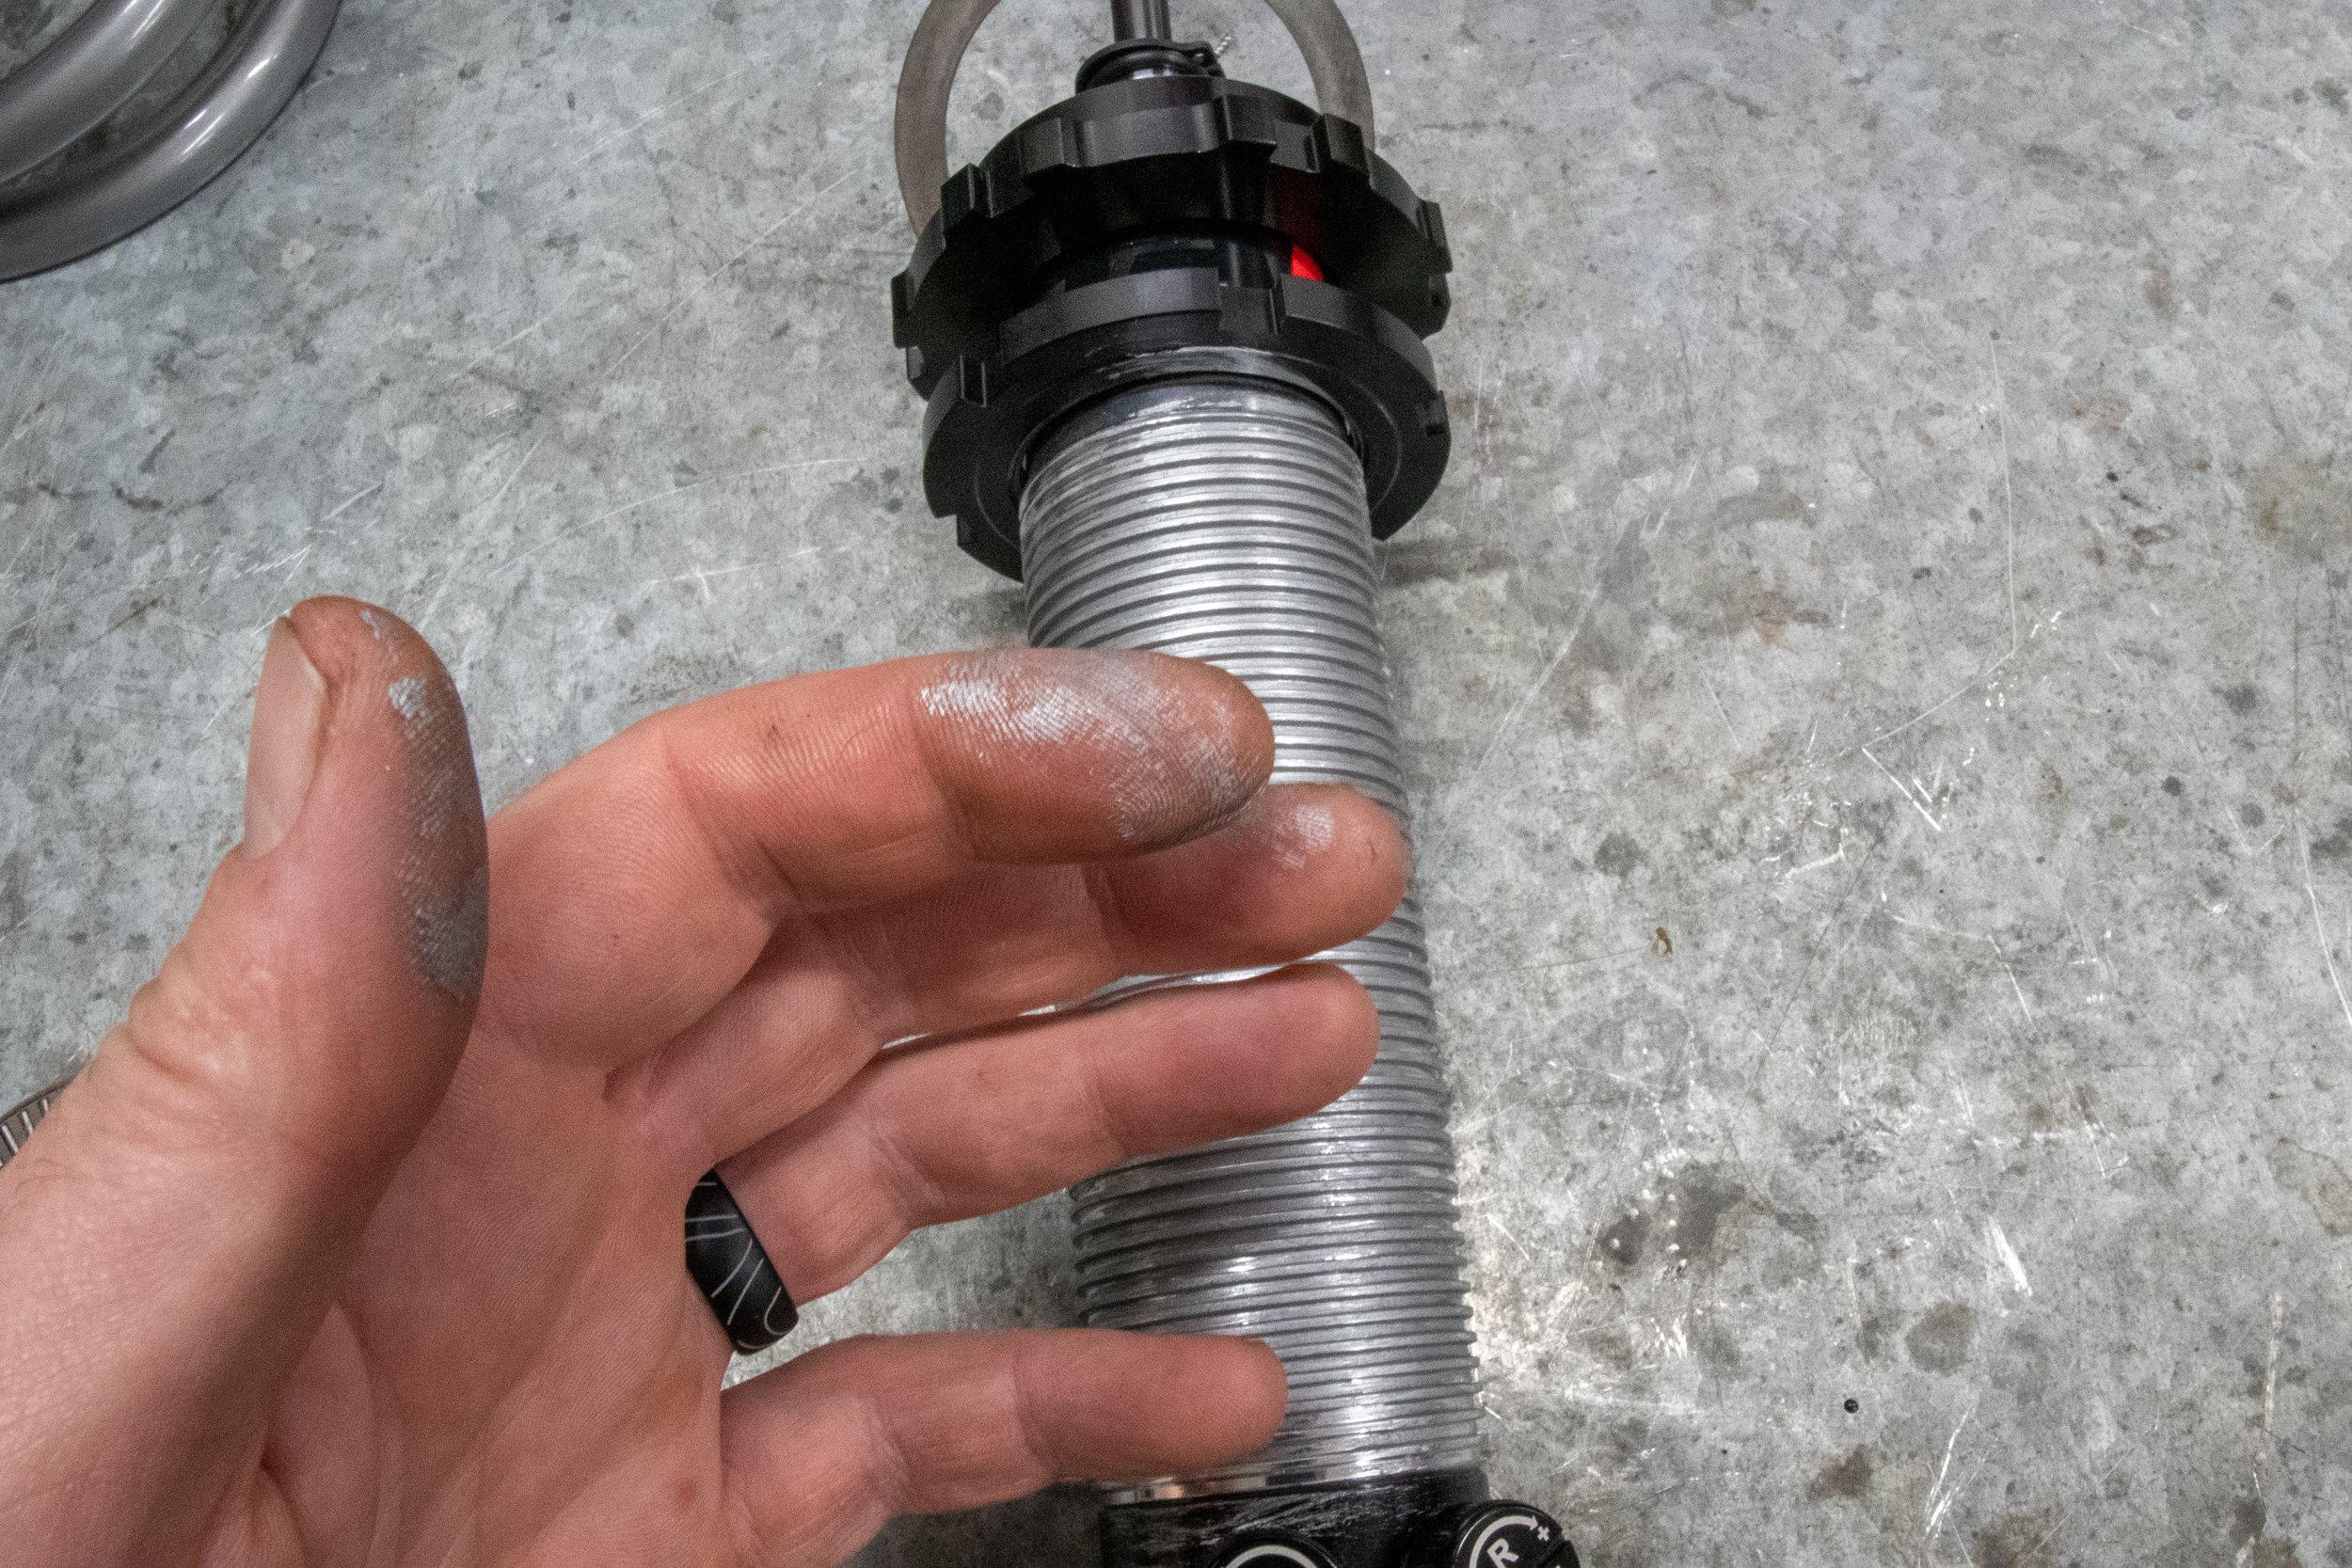
The QA1 coilover installation was effortless. It took us a lot longer to remove the old components than to install the new ones. The first step was to coat the shock body and thrust washers with Permatex Anti-Seize lubricant. The Anti-seize will keep the aluminum-bodied shock from galling when making height adjustments. After realizing our uncanny resemblance to the Tinman in The Wizard Of Oz by the end of the installation, an excellent tip occurred to us: be sure to wear rubber gloves while applying Anti-Seize. After your hands are coated with the stuff, you can toss the gloves and avoid covering the rest of your body.

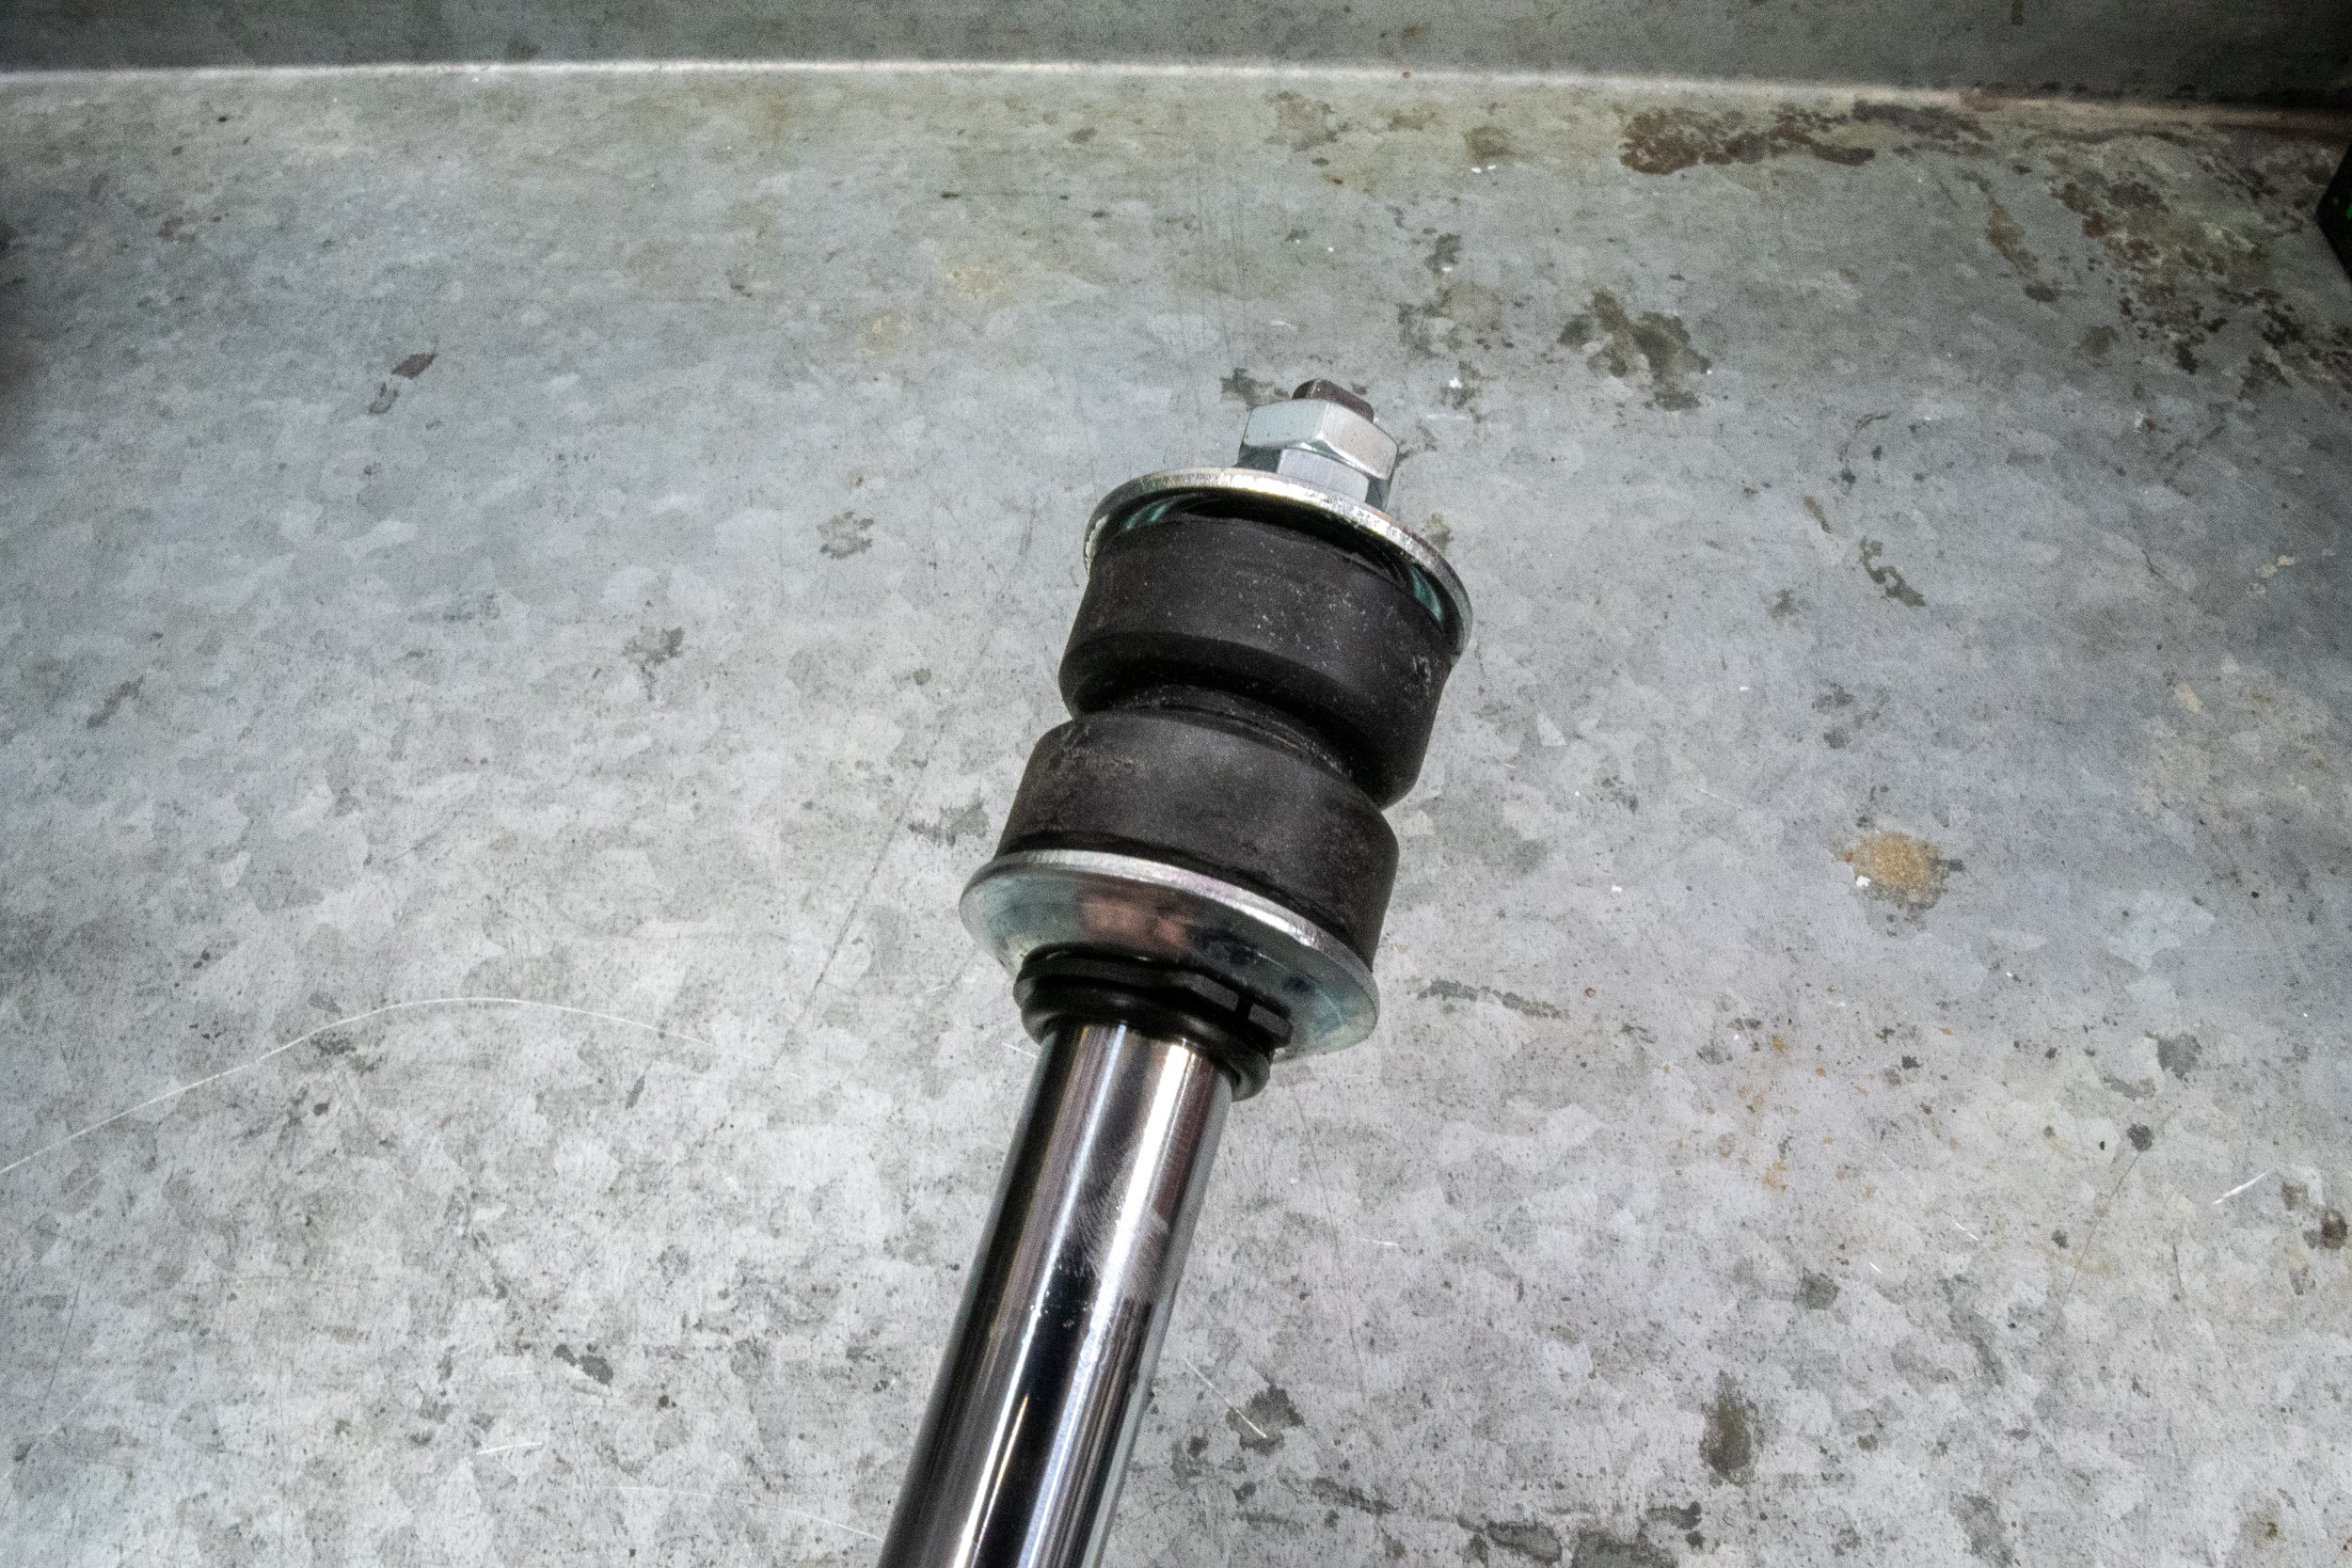
Next, we slid the thrust washer and springs over the coilover and seated them with the spring seat collar. Now, insert one washer and shock bushing on the top of the shock. At this point, the coilover assembly is ready to install on the truck. You will need to remove the rubber isolator off the factory spring and place it on top of the QA1 springs before inserting the assembly into the frame.

Once you have the coilover shaft through the frame, add another shock bushing on top with a washer and then tighten it down with the supplied nut. QA1 also gives you a locking nut to ensure the coilover is secure. We then raised the lower control arm with a jack and bolted the base of the coilover down. You may need to pivot the bottom bracket on the coilover to align to the holes properly.
Ride Height
With the coilovers installed, it was time to set the ride height. Once again, we turned to Kass for more information.
The QA1 coilovers are easy to adjust. Just make sure the body of the shocks is well lubricated with Anti-Seize before making any changes to your ride height.
Kass said, “Ideally, you want to ensure the shock has enough travel to support compression and extension without reaching the shock’s physical limitations. The front often sees more extension than compression for drag vehicles, so it’s not uncommon to see 60-70-percent of the travel on extension and 30-40-percent on compression.”

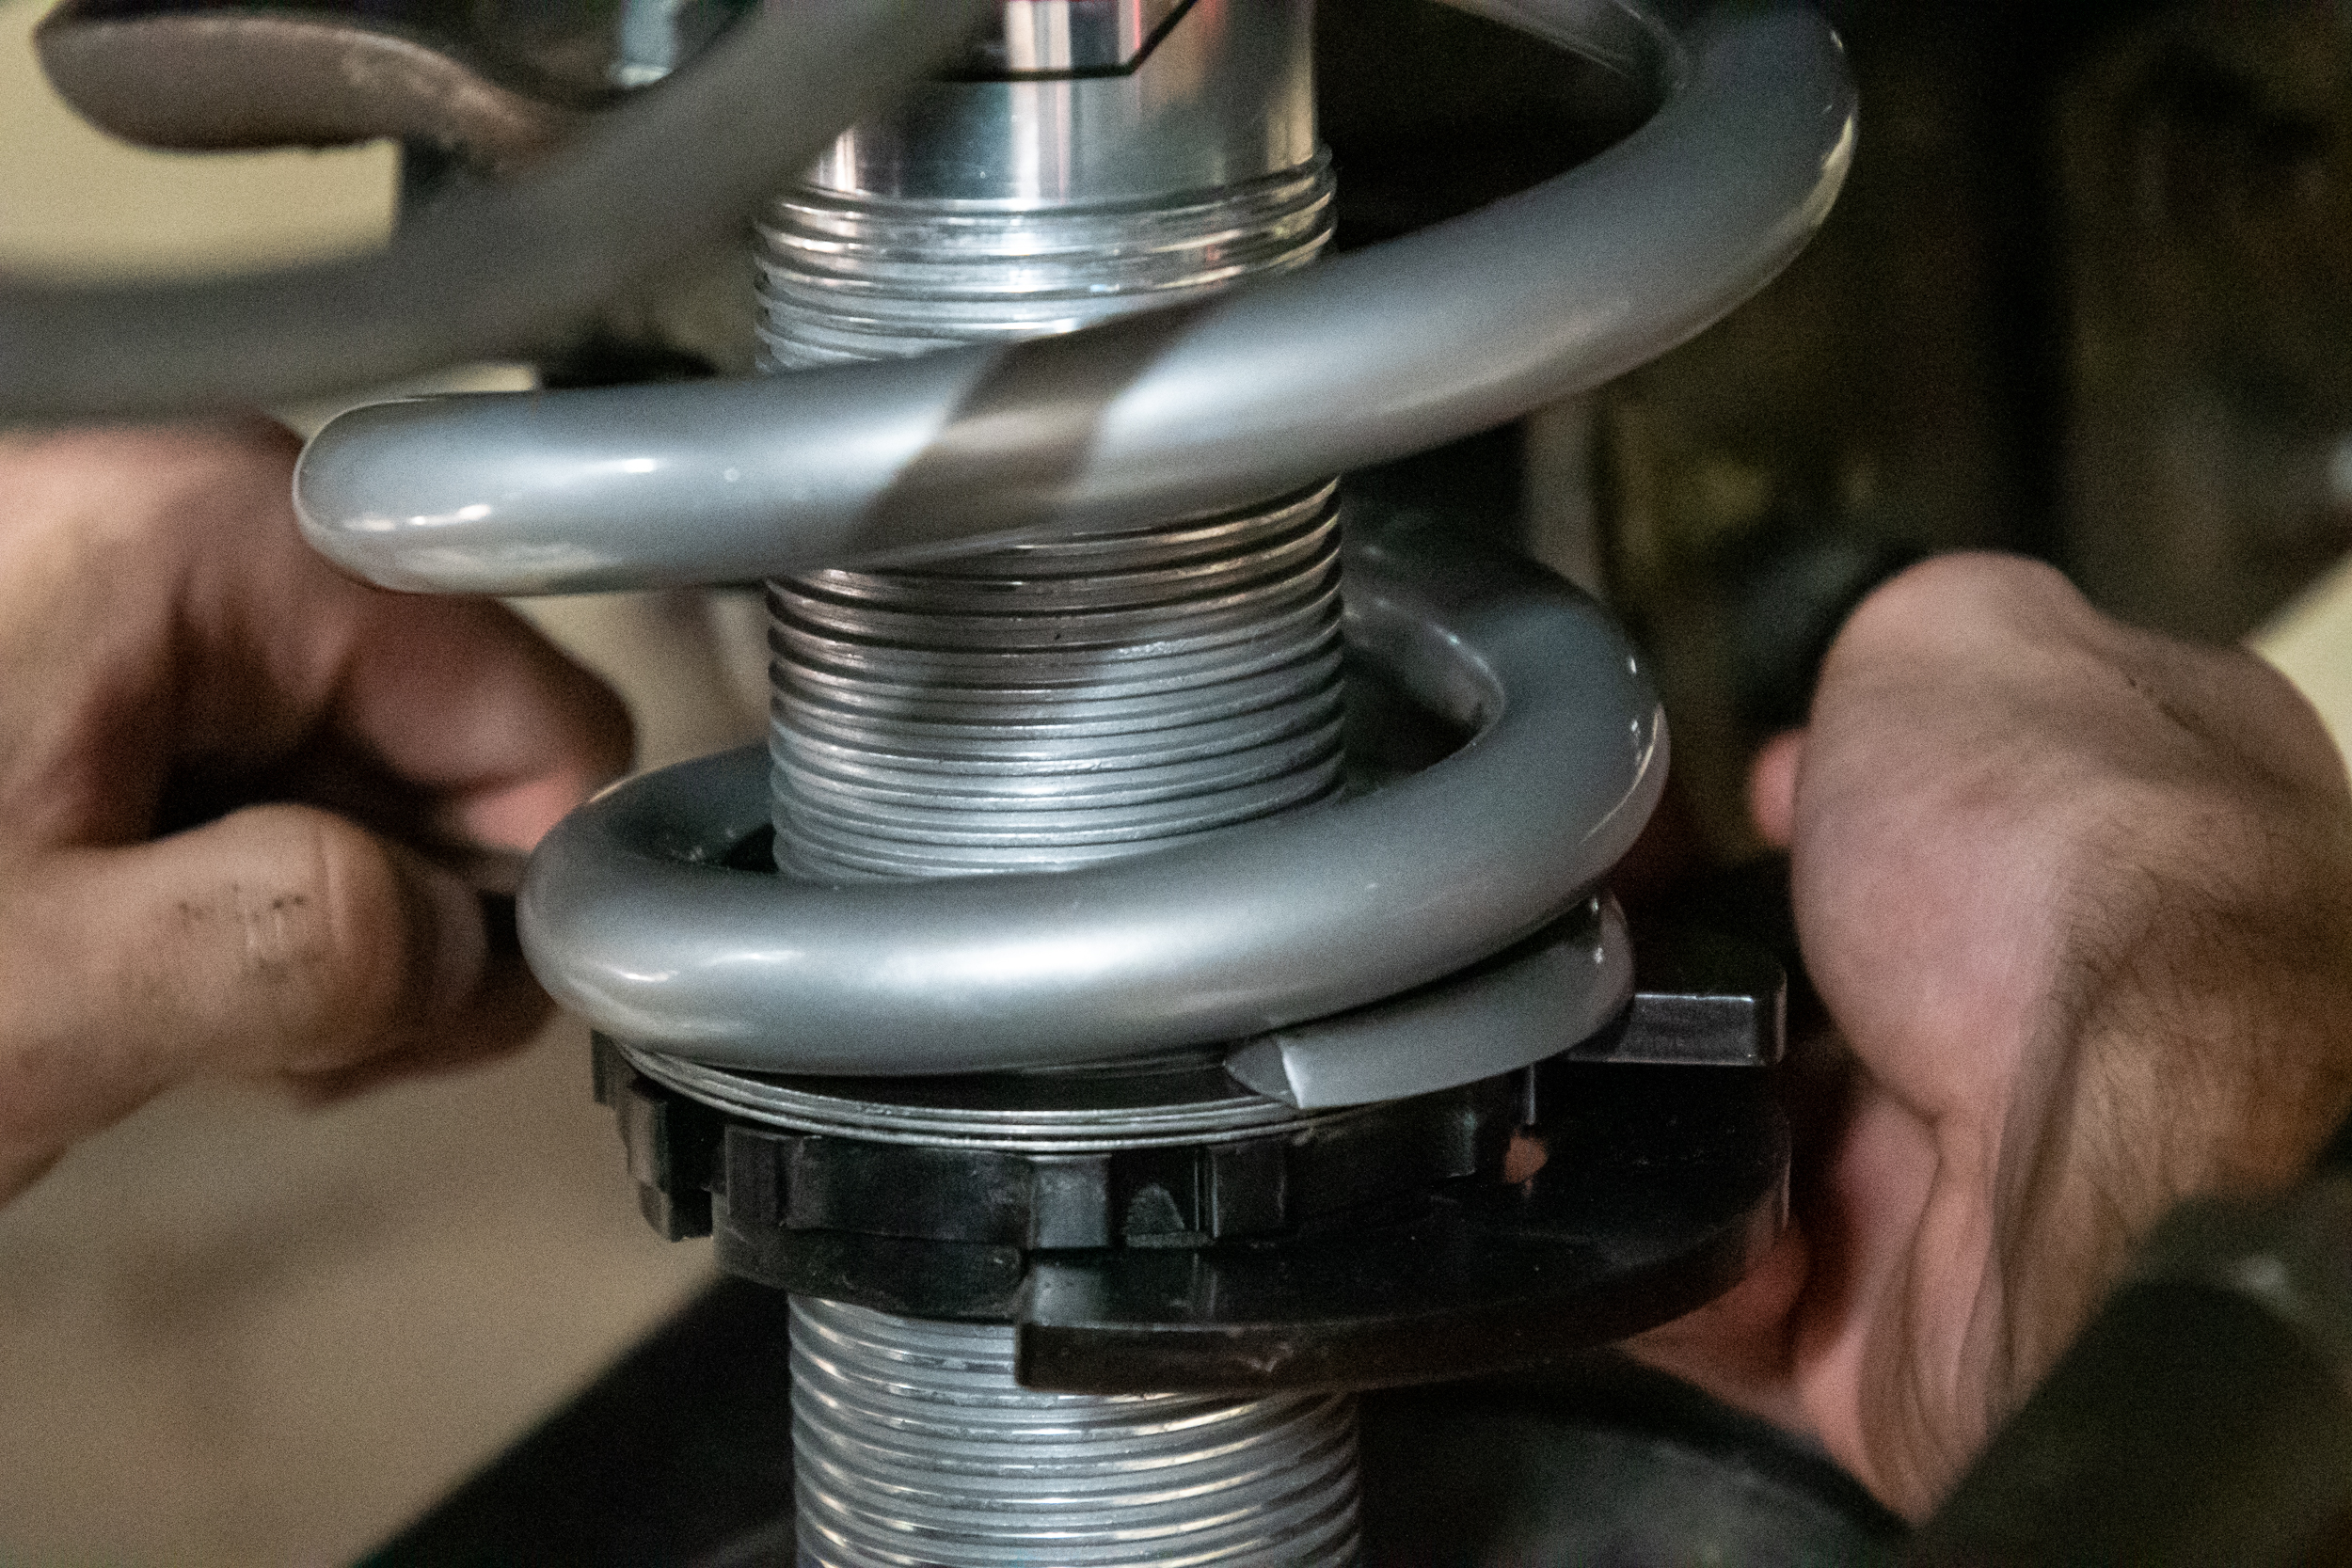
Getting the ride height set takes a little time. We used a tape measure and made small adjustments to both sides until the truck set perfectly level.
With these numbers in mind, we set the ride height on the Silverado. We were able to dial it in really close to the same ride height we had before we started. The difference this time was we were able to adjust the passenger side to match the driver’s side. Not only is the truck now level, but we can also raise it up or down as needed when our new tires and wheels arrive.
Compression And Rebound
The only thing left to do is set the compression and rebound on the coilovers before taking it to the alignment shop. QA1 recommends 12 to 16 clicks of compression and zero to 4 clicks of rebound for drag racing applications; we set ours for 12 on the compression and zero on the rebound.
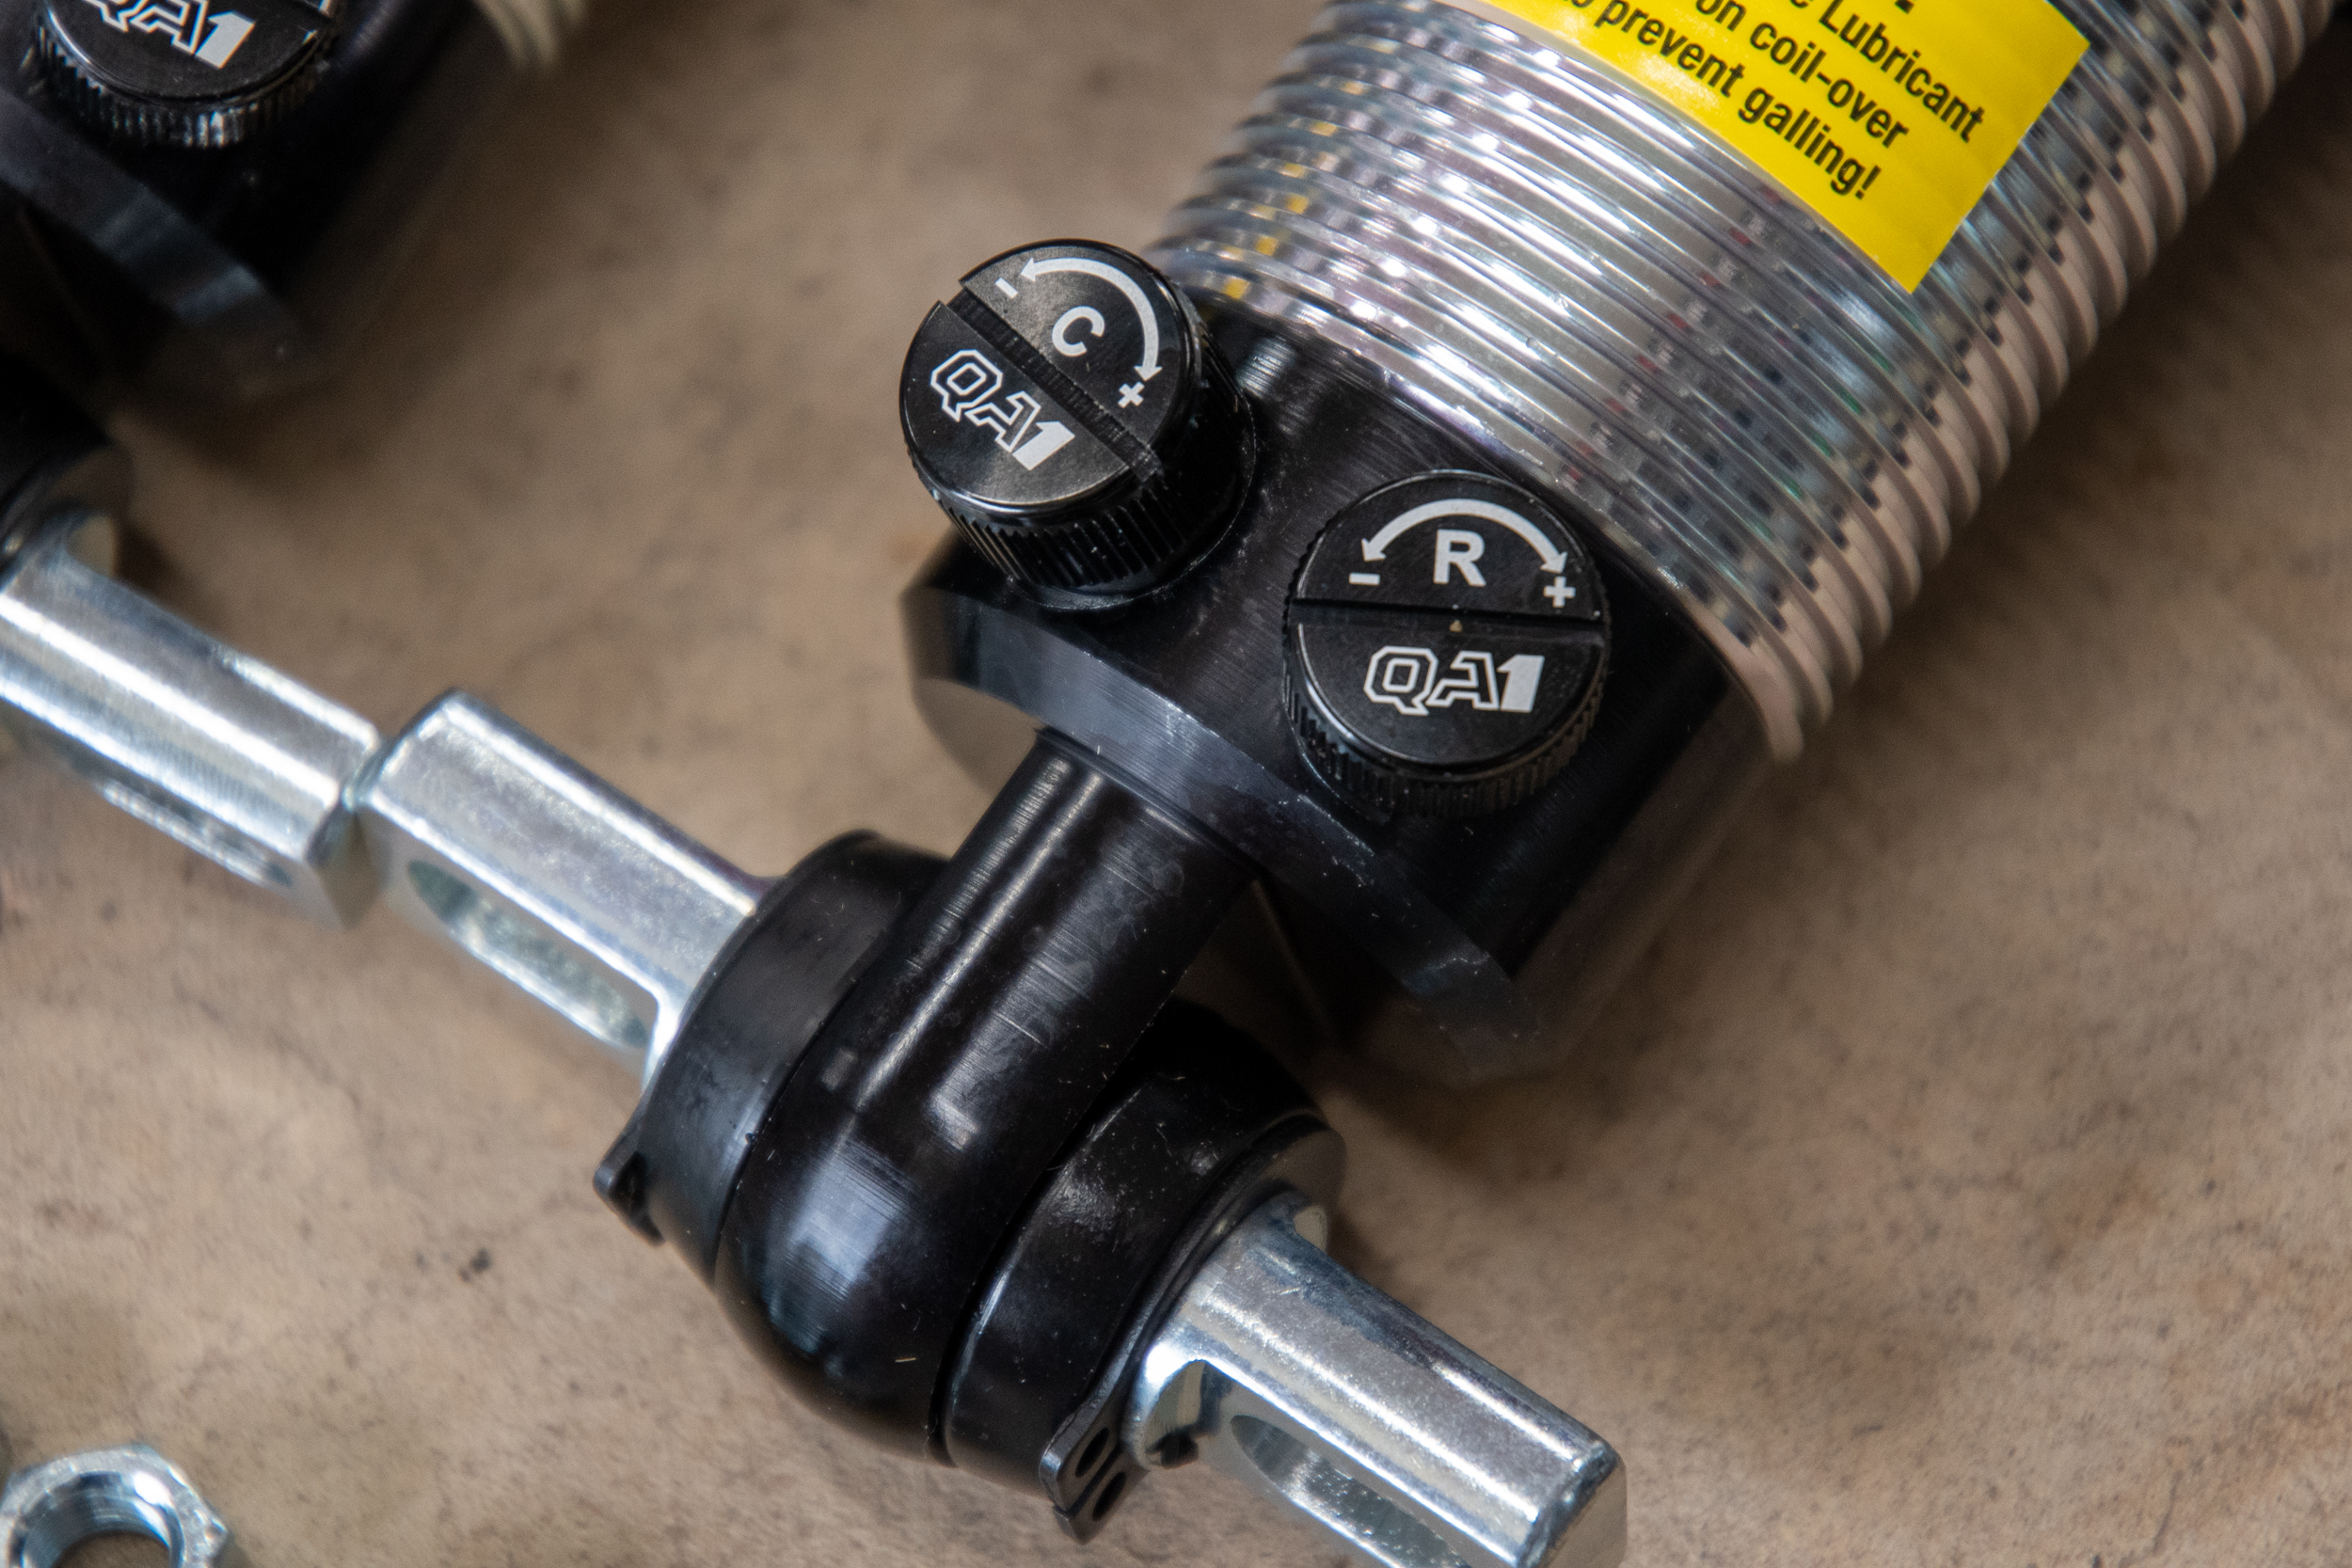
Here you can see the knobs on the shocks. C is for compression, and R is for the rebound. QA1 has several videos online that you can watch to learn how to fine-tune your shocks.
Depending on the track conditions and power levels, these settings will change, but this is a good place to start for now. If you’re looking for more information on shock tuning, QA1 has a YouTube channel with a lot of information.
“After your initial settings and baseline passes, theory supports adjusting the suspension stiffer and stiffer while monitoring your 60-foot times,” Kass explains. “Once your 60-foot times fall off, you will want to back your adjustments off, too.”
Now That’s Service
Many companies will advertise that their shocks are rebuildable, and QA1’s are as well, but they don’t do it a lot. Kass states, “While we rarely see a shock that needs rebuilding, these shocks are completely rebuildable in the event they need to be.” As they say, “The best service is no service.”
QA1’s coilover conversion for the 2000-06 GM full-size trucks is a fantastic kit. It’s easy to install, made in the U.S., and makes the suspension on your truck completely tunable. We’re already looking forward to the added adjustability and better 60-foot times on our next outing.