Wheelie bars are as customary and synonymous with drag racing as wrinkle-wall slick tires and parachutes, and while originally conceived as a safety device to prevent cars from flipping over backward, as the sport evolved, racers found they could serve a dual role as an integral part of suspension tuning and power application, as well.
These days, wheelie bars run the gamut, in materials, design, and yes…cost, from ultra-long, highly-adjustable carbon-fiber bars for Pro Modified cars, to conventional, bombproof chrome-moly devices largely meant to give weekend-warriors peace of mind.
“There’s basically two categories most wheelie bar applications fall into: one is to make sure the car doesn’t go over backwards, or to use it to really control wheel speed. Pro Stock and Pro Modified type cars don’t want the tire to dead-hook, so they set the wheelie bars up to let the tires spin a little to get the car moving,” S&W Race Cars’ Tom Hoosigian begins. “But most racers, the weekend bracket racers, they want the car to hook up and go, so their wheelie bar application is really intended to ensure the front end doesn’t go up too high, versus controlling the tire spin.”
Sportsman-class and bracket racers obviously make up the largest contingent of competitors in the sport, and it is wheelie bars for those sort of cars we’re going to focus on today.
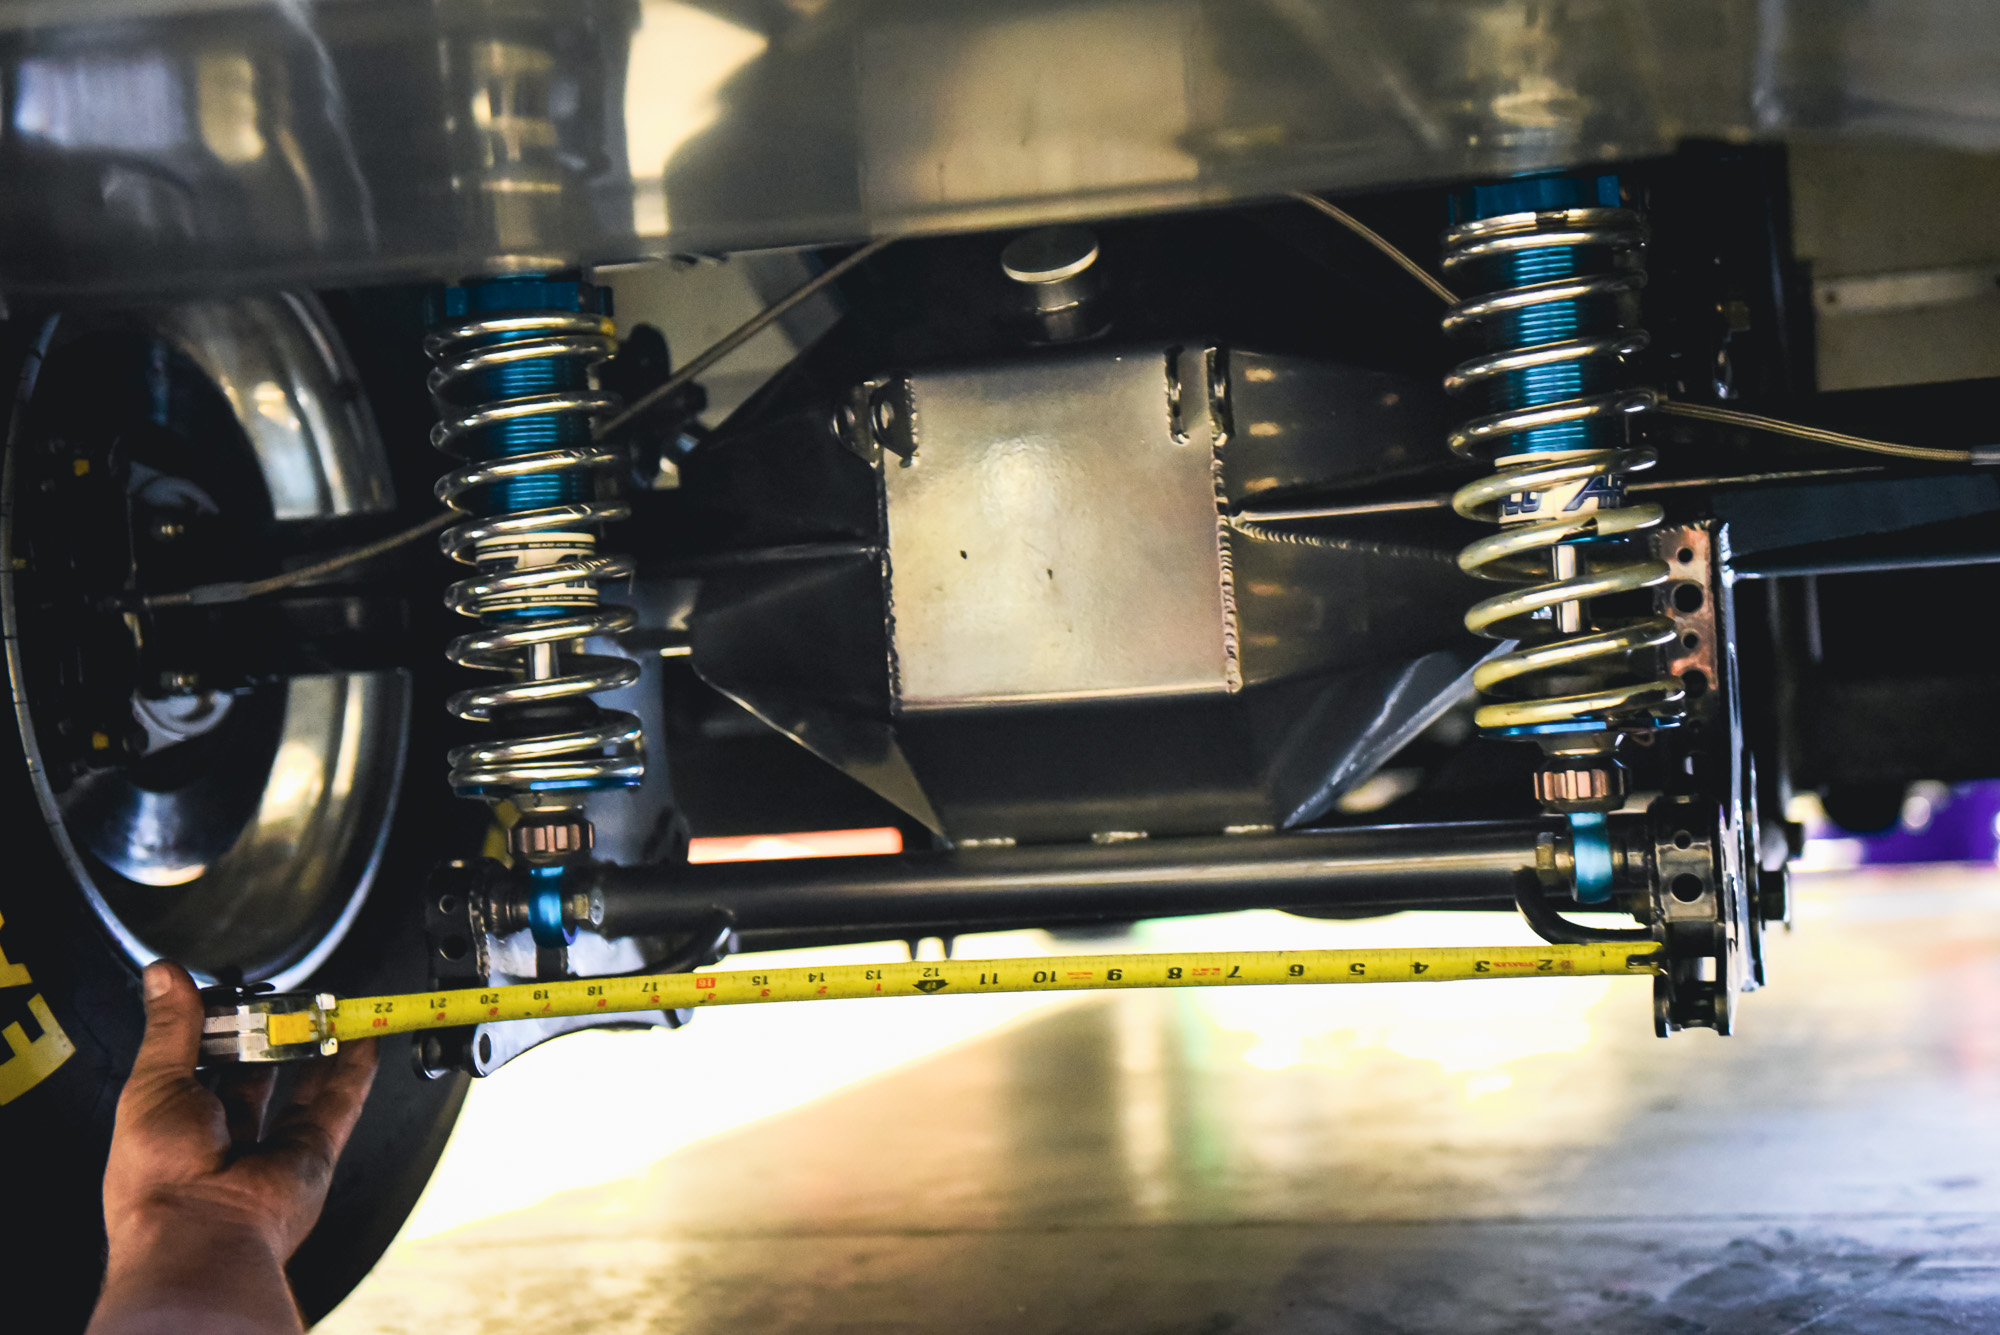
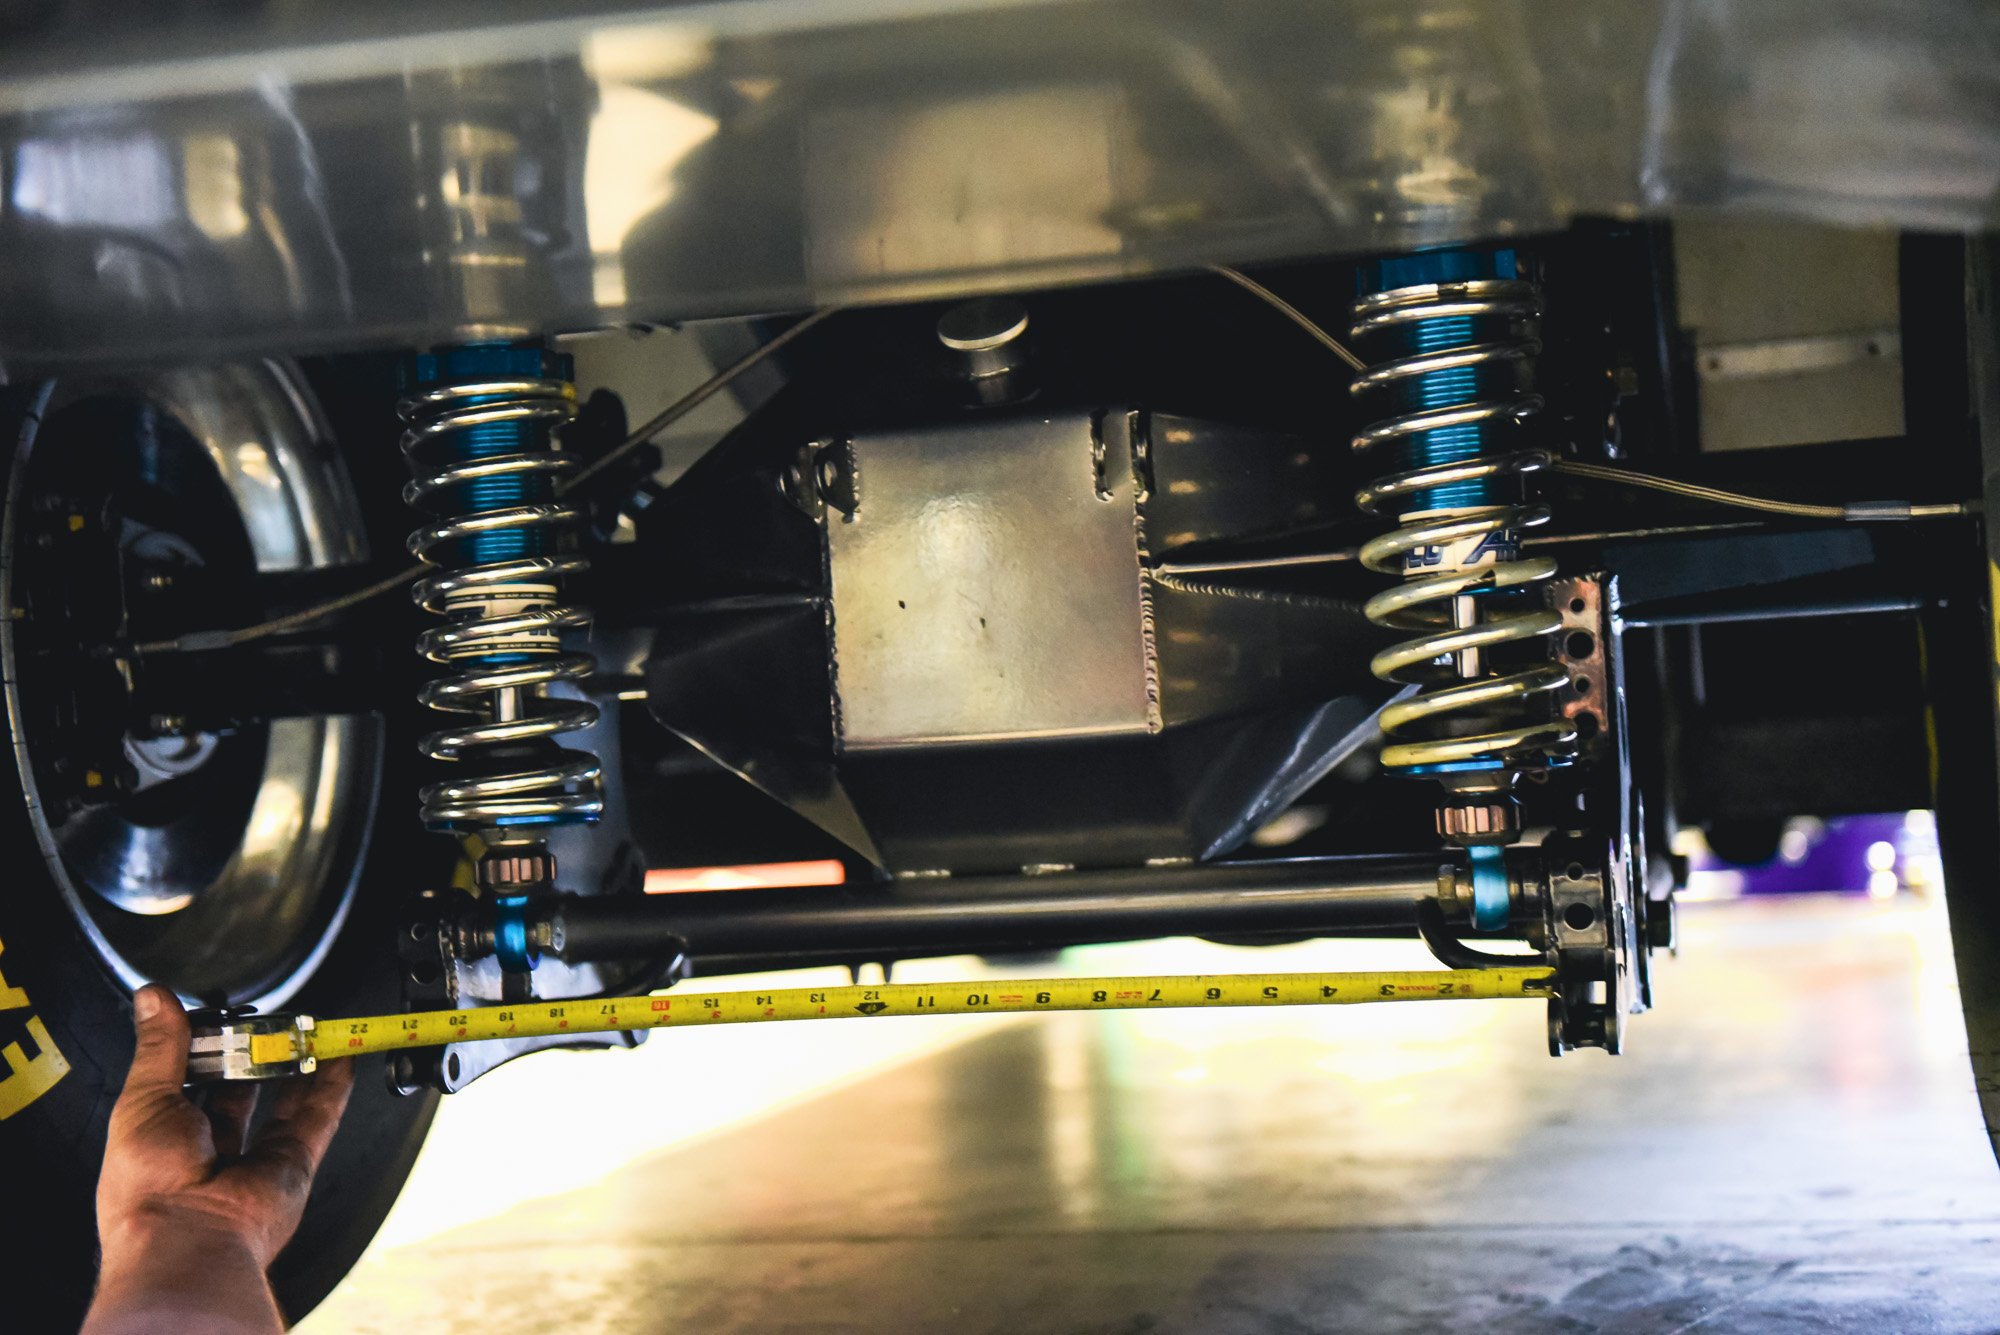
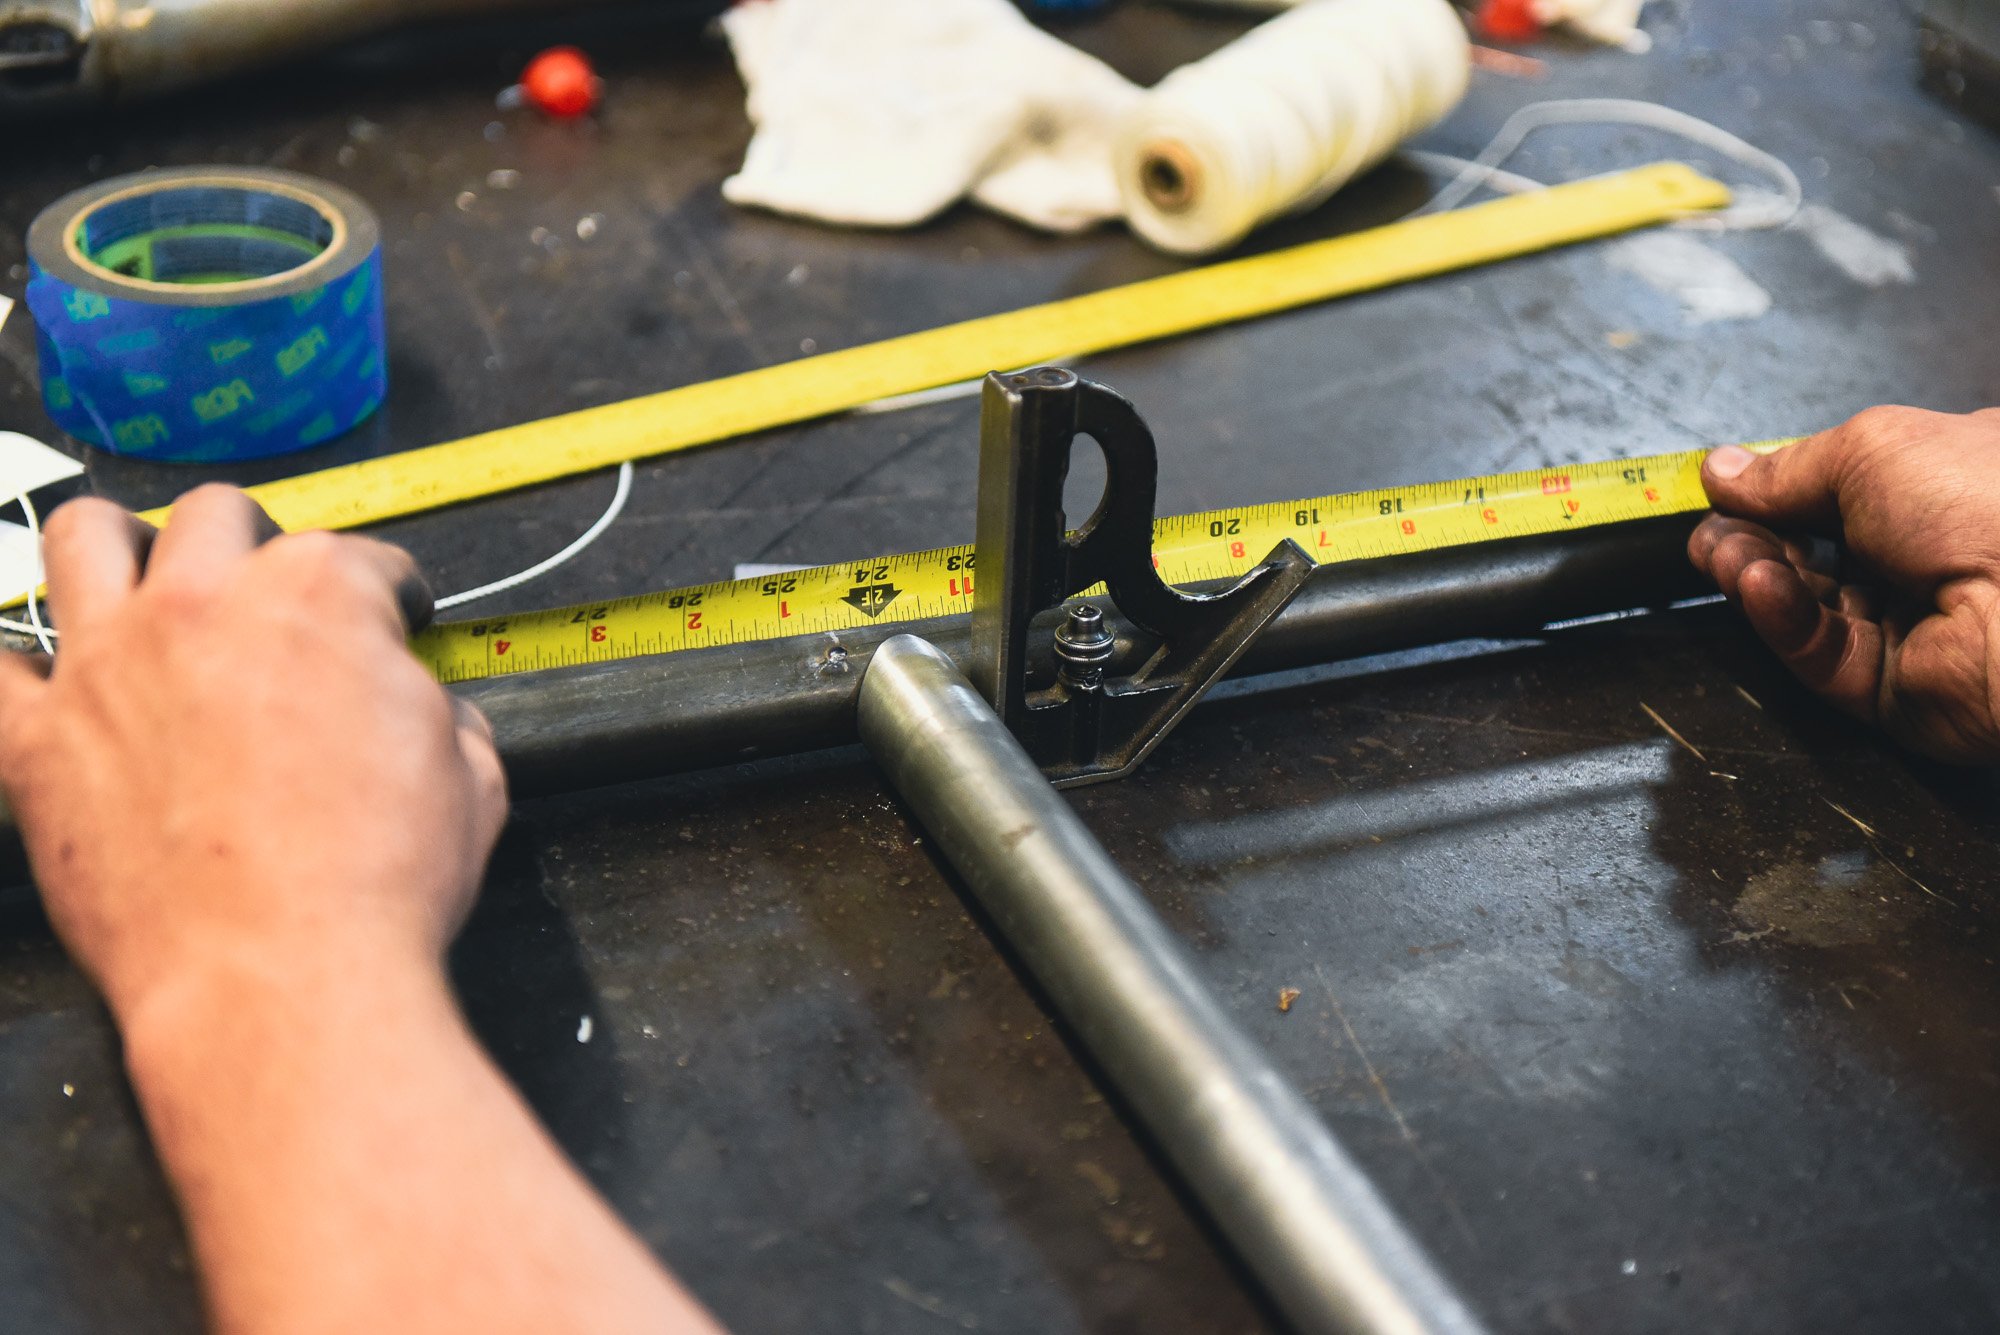
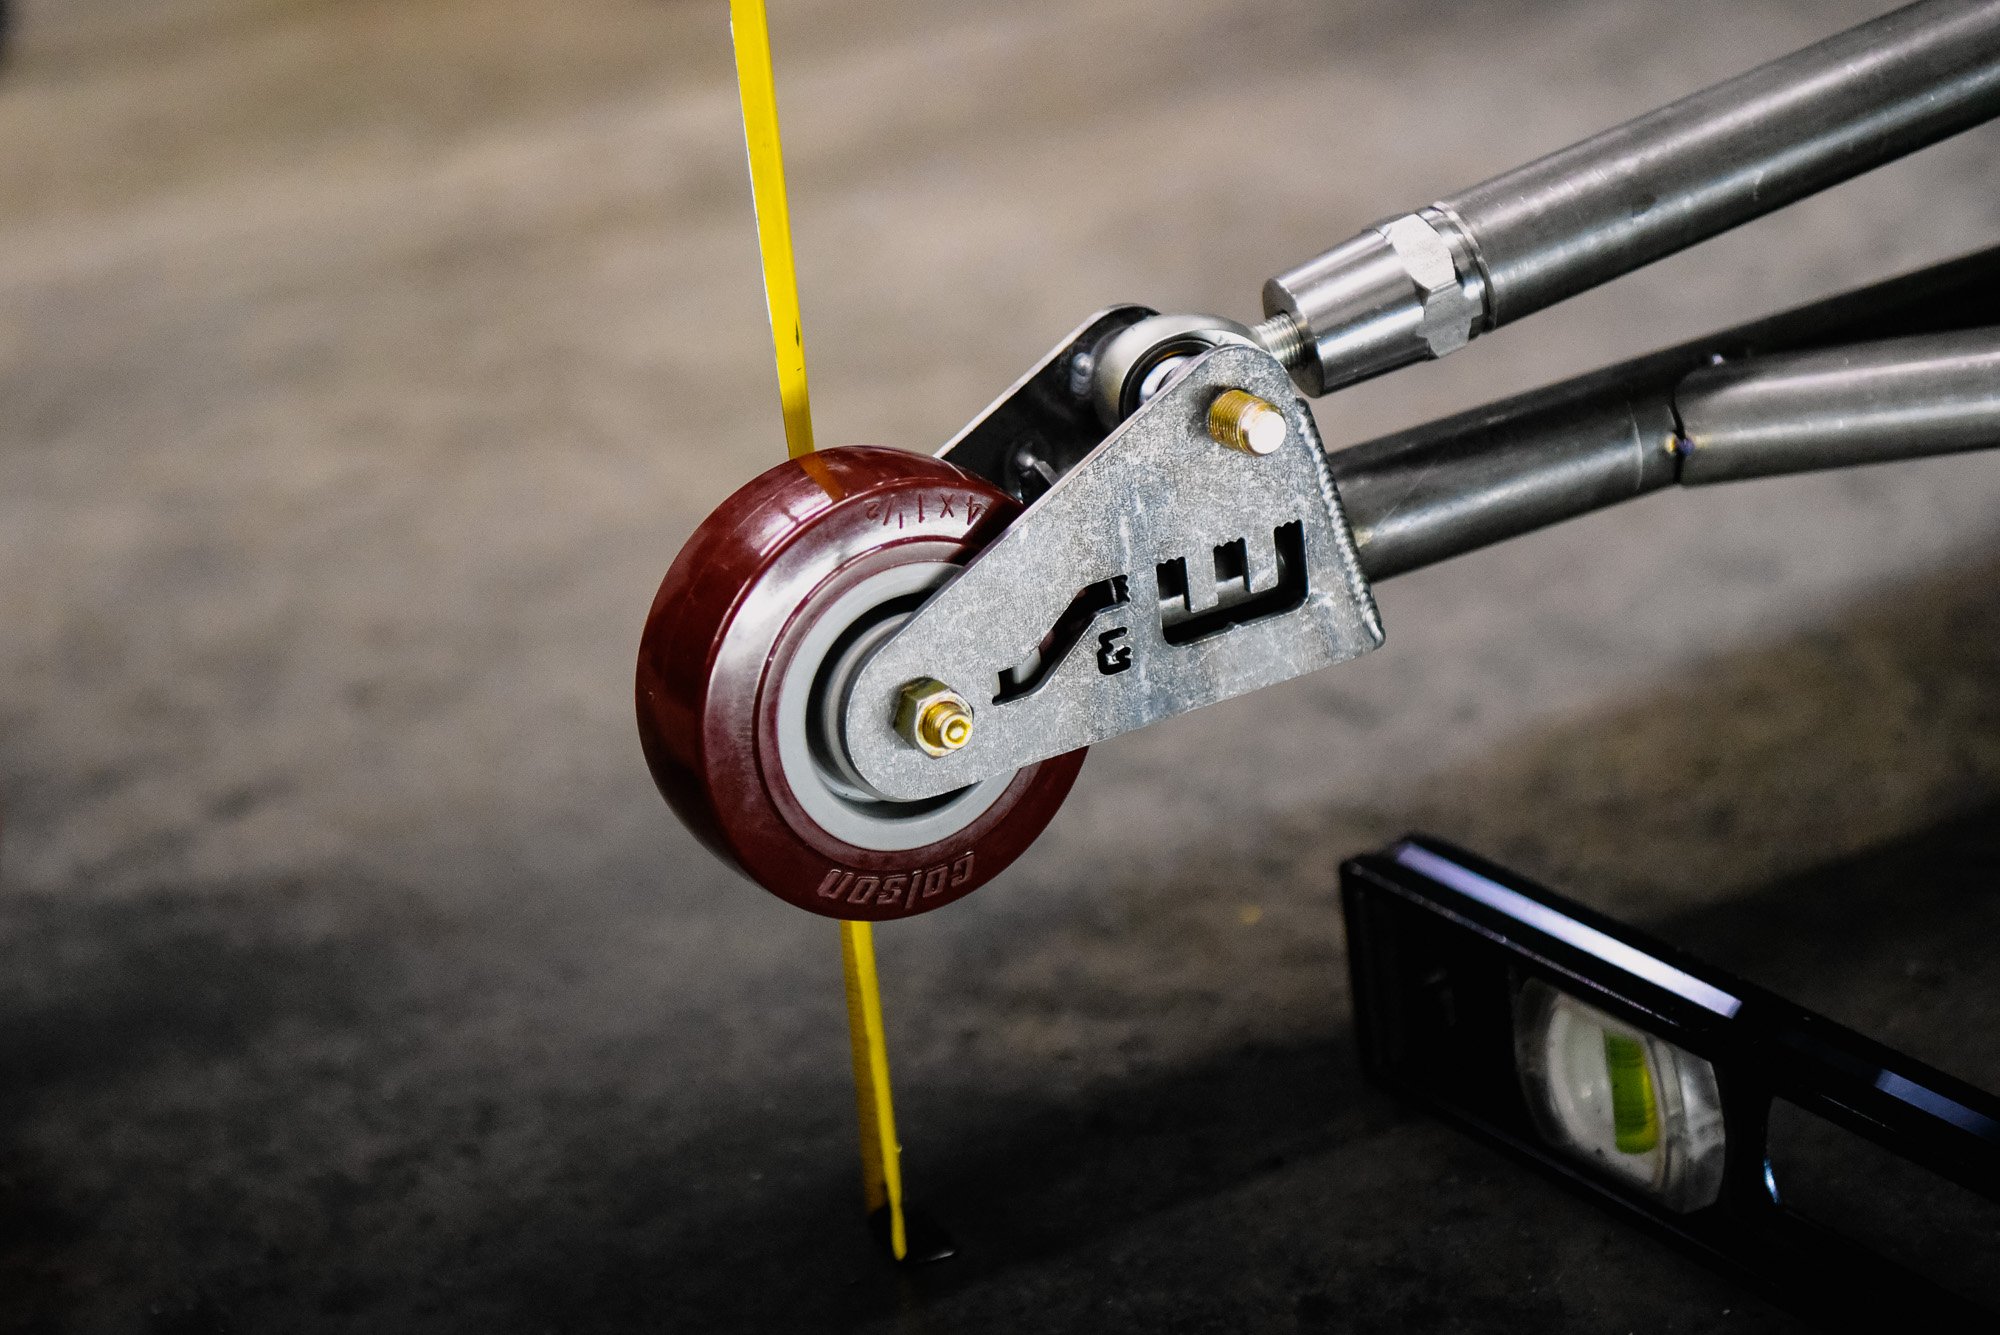
To start, wheelie bars are measured from the centerline of the axle housing to the bolt going through the wheel; Hoosigian says most wheelie bars will end up between 54- and 60-inches. “Normal bracket racers don’t want the front of the car to go up too high…to wheelstand too much,” Hoosigian adds, “so they’ll set the wheelie bar height to go, we’ll say, 5-inches off the ground. They’ll set the bar height so that when the car is up that high, that the wheel is starting to hit the ground.”
Hoosigian continues, “Most cars really don’t need one, the guy just likes how it looks. So when you’re determining how long the bars need to be, your question should be if it will fit in the trailer, and do you want to be tripping over it while working on the car in the pits. A lot of people think the long wheelie bar is cool-looking, but it could be a real pain, especially if you don’t need it.”
Most cars, taking into account the trunk length for a proper appearance, usually end up under 60-inches in length — that will take them a little beyond the back bumper. Hoosigian says, “that’s really the right length for most people that don’t have to have a wheelie bar — who just want it there for insurance so the car doesn’t go up too high.”
As Hoosigian confirms in his explanation, there’s not necessarily a science to wheelie bars for bracket racing applications, as the goal is limiting the height of a wheelstand but not so much so that a weight transfer process fails to occur. This can be adjusted for regardless of length — that said, basic geometry tells us the longer the bar — wheel height from the ground being equal — is going to touch the ground before a shorter bar, thus, you may find yourself adjusting the bars above level if you want to get the front end of the car up higher. And so that 54-60 inch window is a solid area to fall within for the vast majority of door-cars, trucks, and roadsters to ensure proper operation without dramatic adjustments.
“If you have the wheel too low, what will happen is as the car starts coming up, the wheelie bar hits the ground and doesn’t let the weight of the car transfer back and forces the front end back down again. At that point, you start inducing wheel-spin like a heads-up car would. This is referred to as unloading the chassis — this is what Pro Mod and Top Sportsman racers want; their cars are designed to go up to a certain point and start spinning the tire a little bit, but in a bracket car you don’t want to do that,” Hoosigian explains.
In effect, while there’s nothing wrong with building wheelie bars that are too short or too long — it’s a matter of preference at the bracket-racing level — but be mindful that the characteristics of the bars and associated adjustments will be a direct result of their length. We’ll get into those in the next section.
Building A Set Of S&W Bars
We sourced one of S&W’s ready-to-assemble wheelie bar kits at what turned out to be the perfect time. Our subject, a ’72 Monte Carlo, had undergone a transformation to a lift-off fiberglass nose and doors, had had lighter front wheels installed, and both a larger and lighter aluminum-headed 632 installed over the winter, and we weren’t quite sure what it was going to do when the transbrake button was released. As we kind of expected but hoped wouldn’t occur, the front end came up about a foot and a half and carried out to 60-feet, and upon returning to earth, bent the factory control arms at the shock seat — so naturally, we were either going to need wheelie bars, add ballast to the nose, or both.
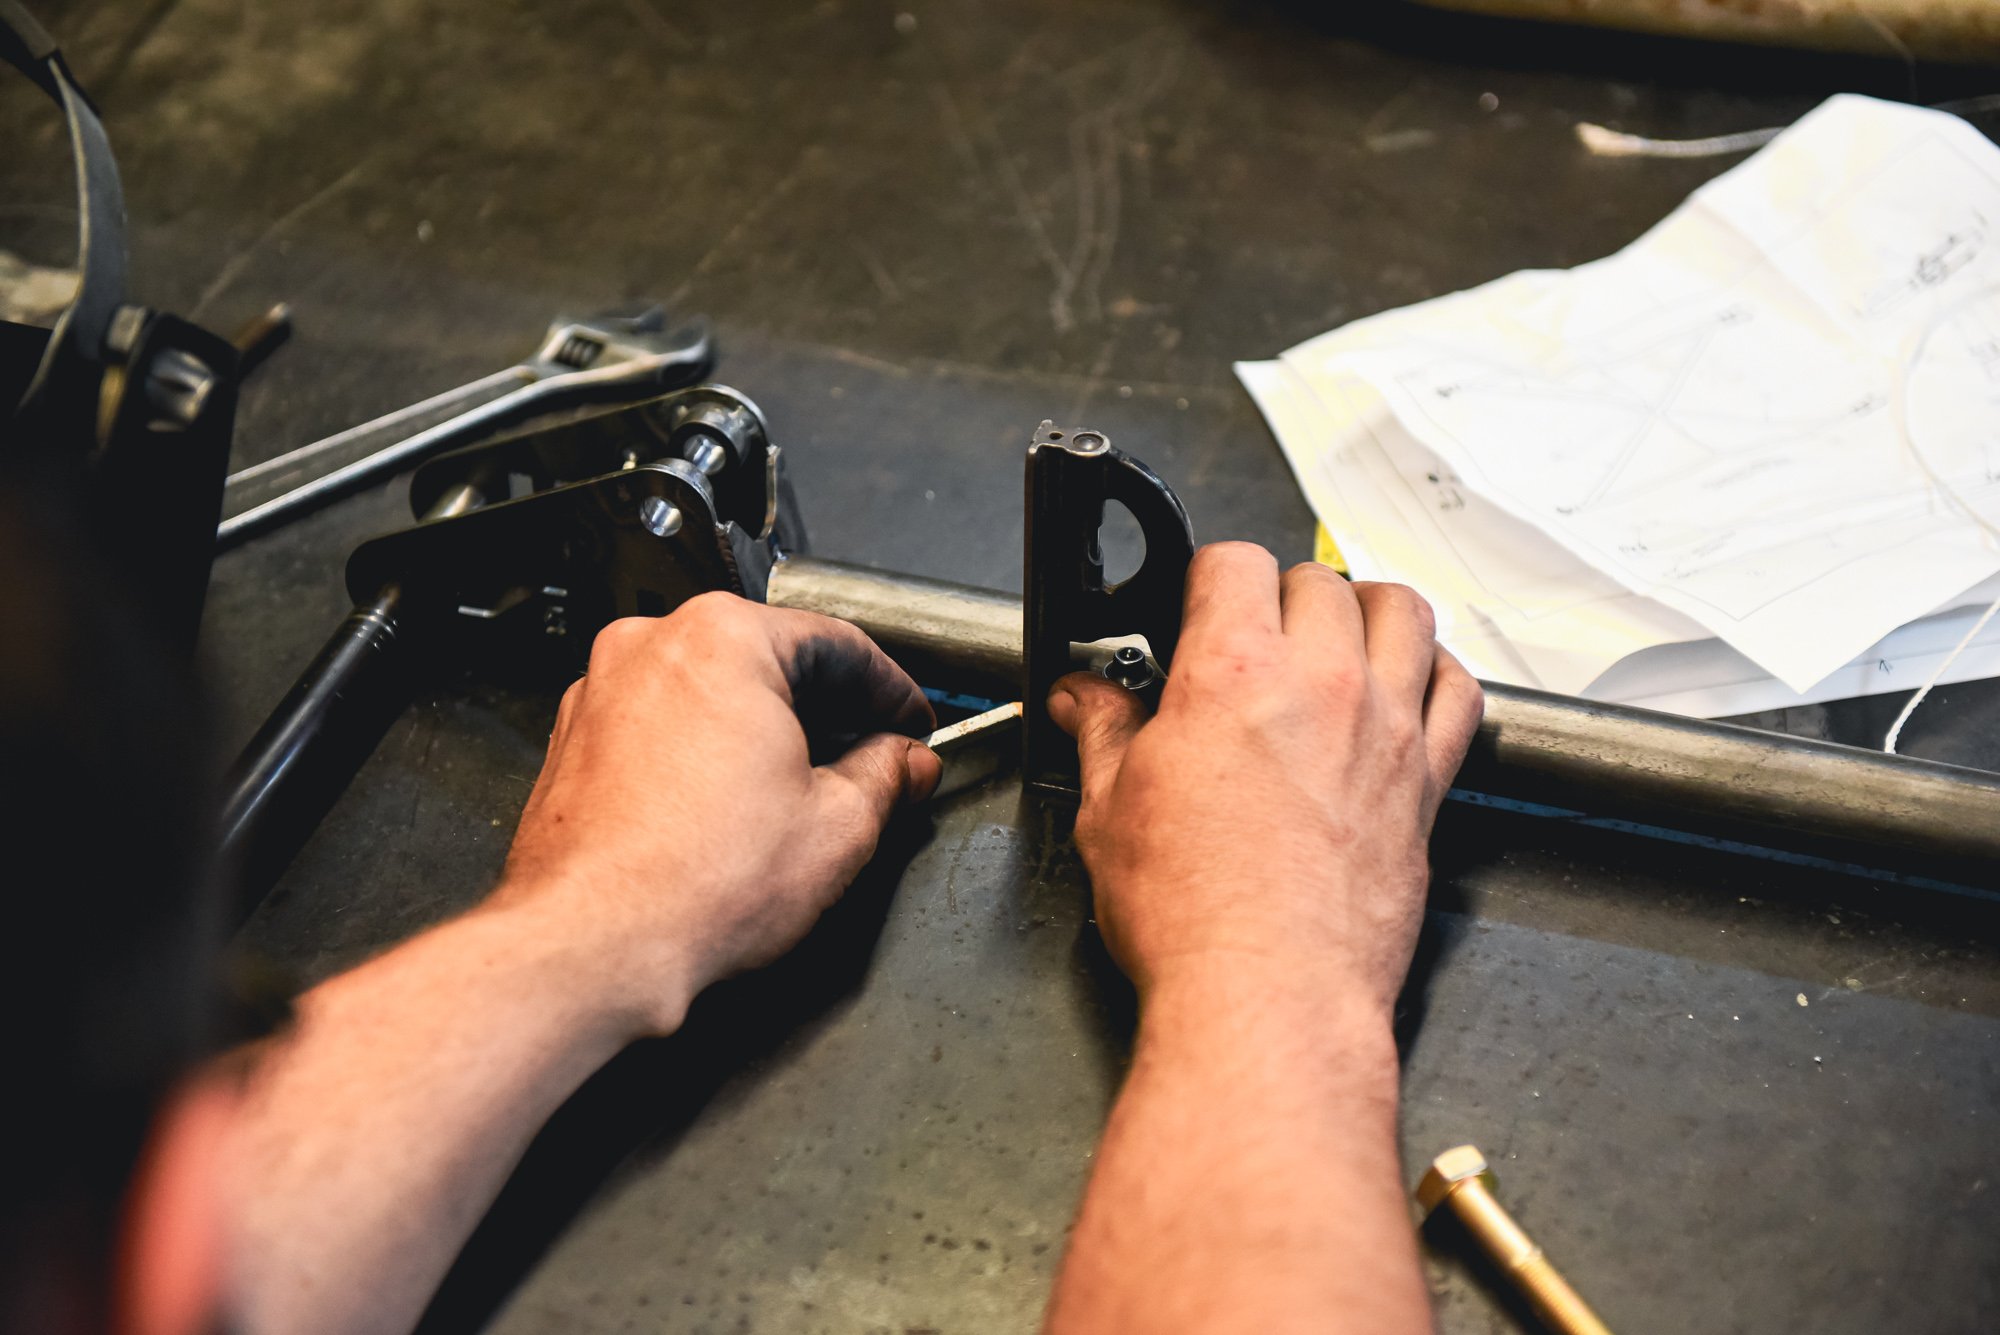
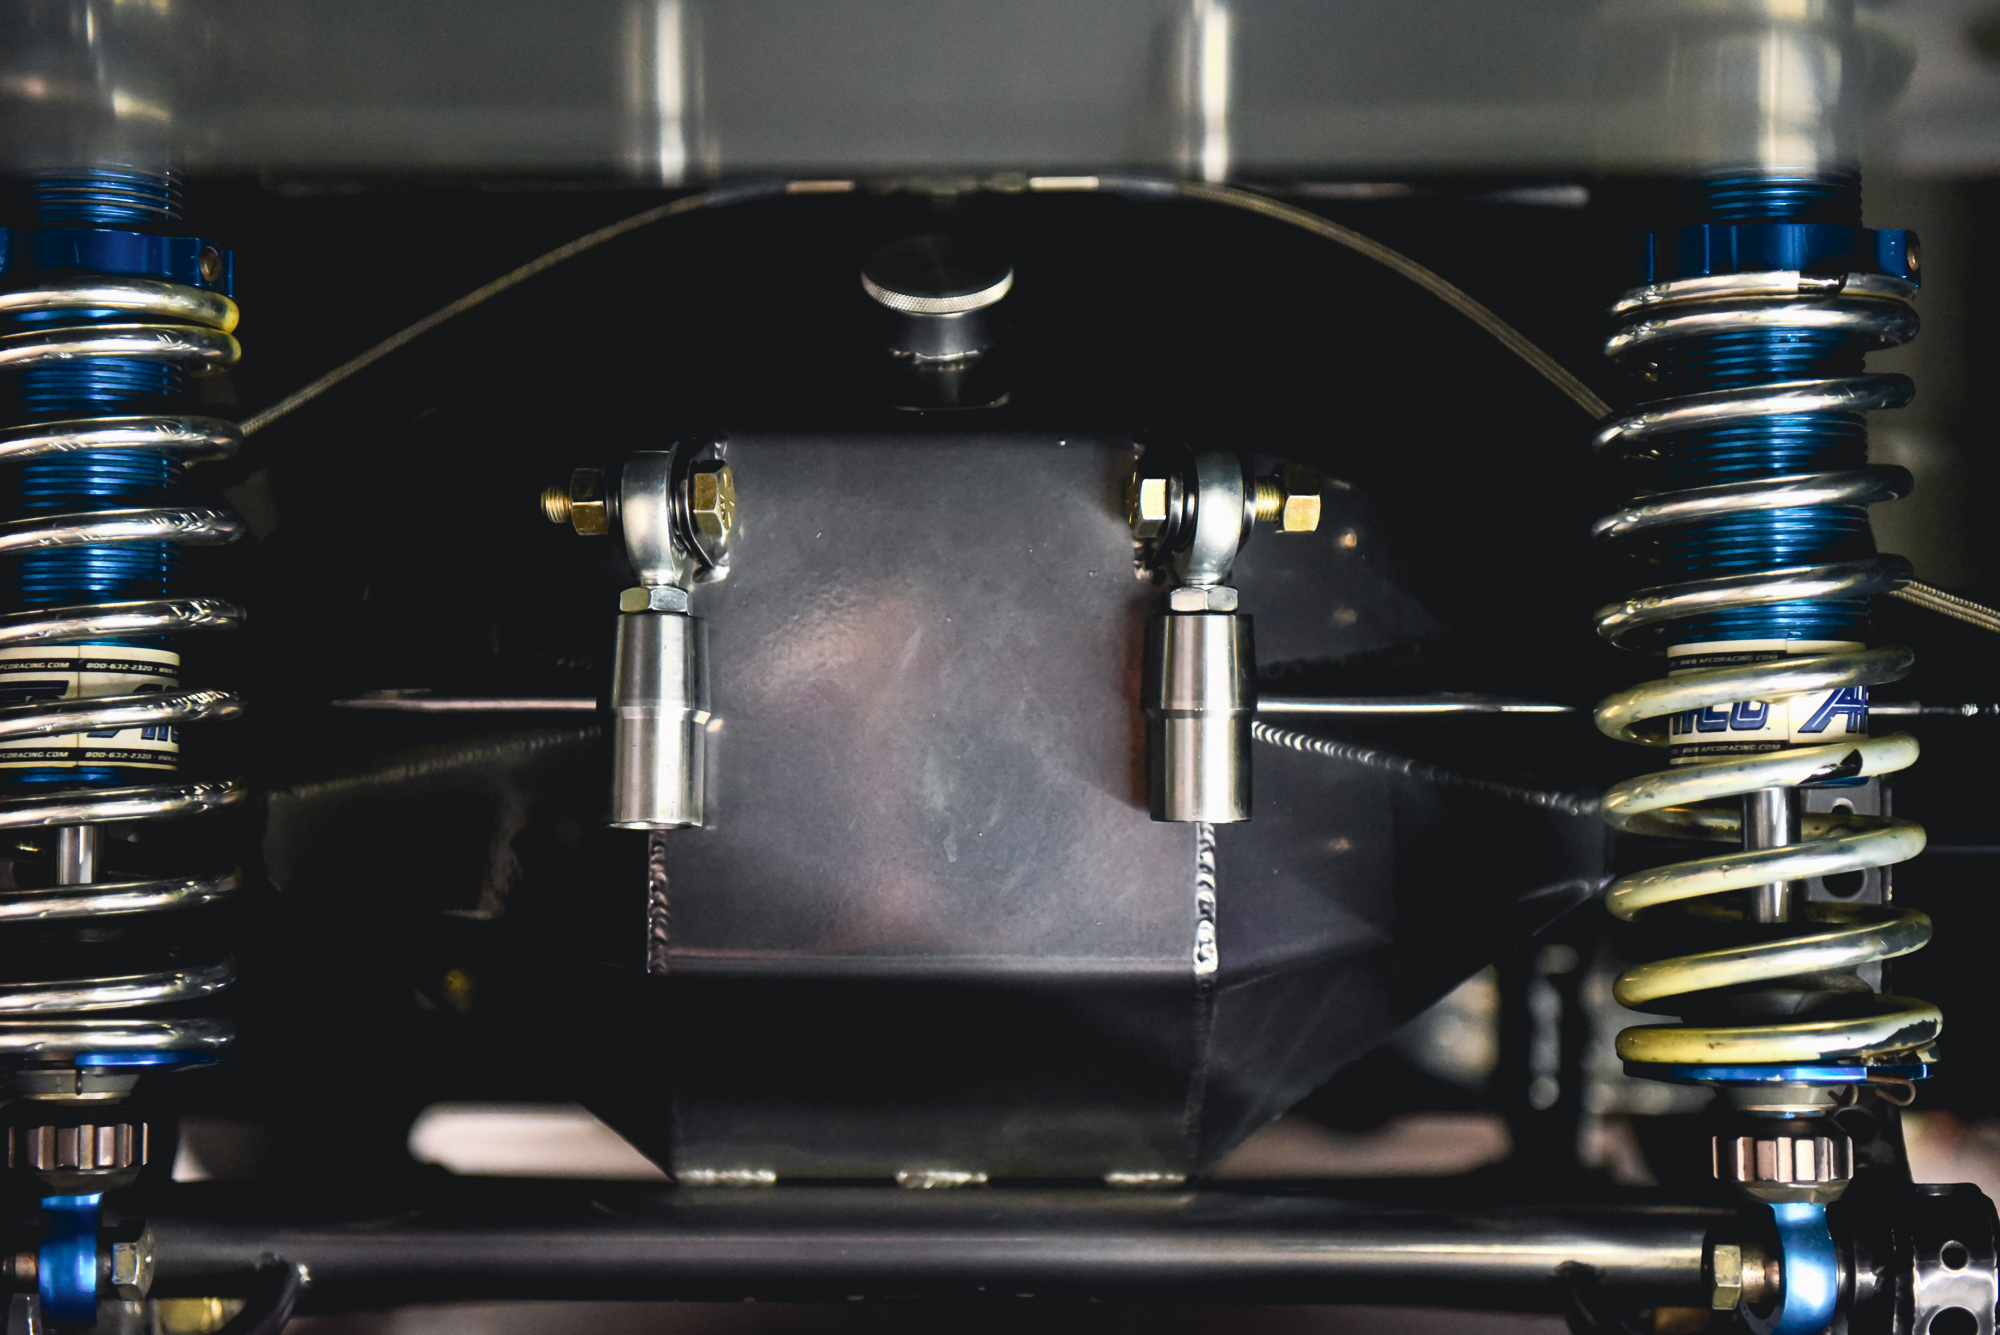
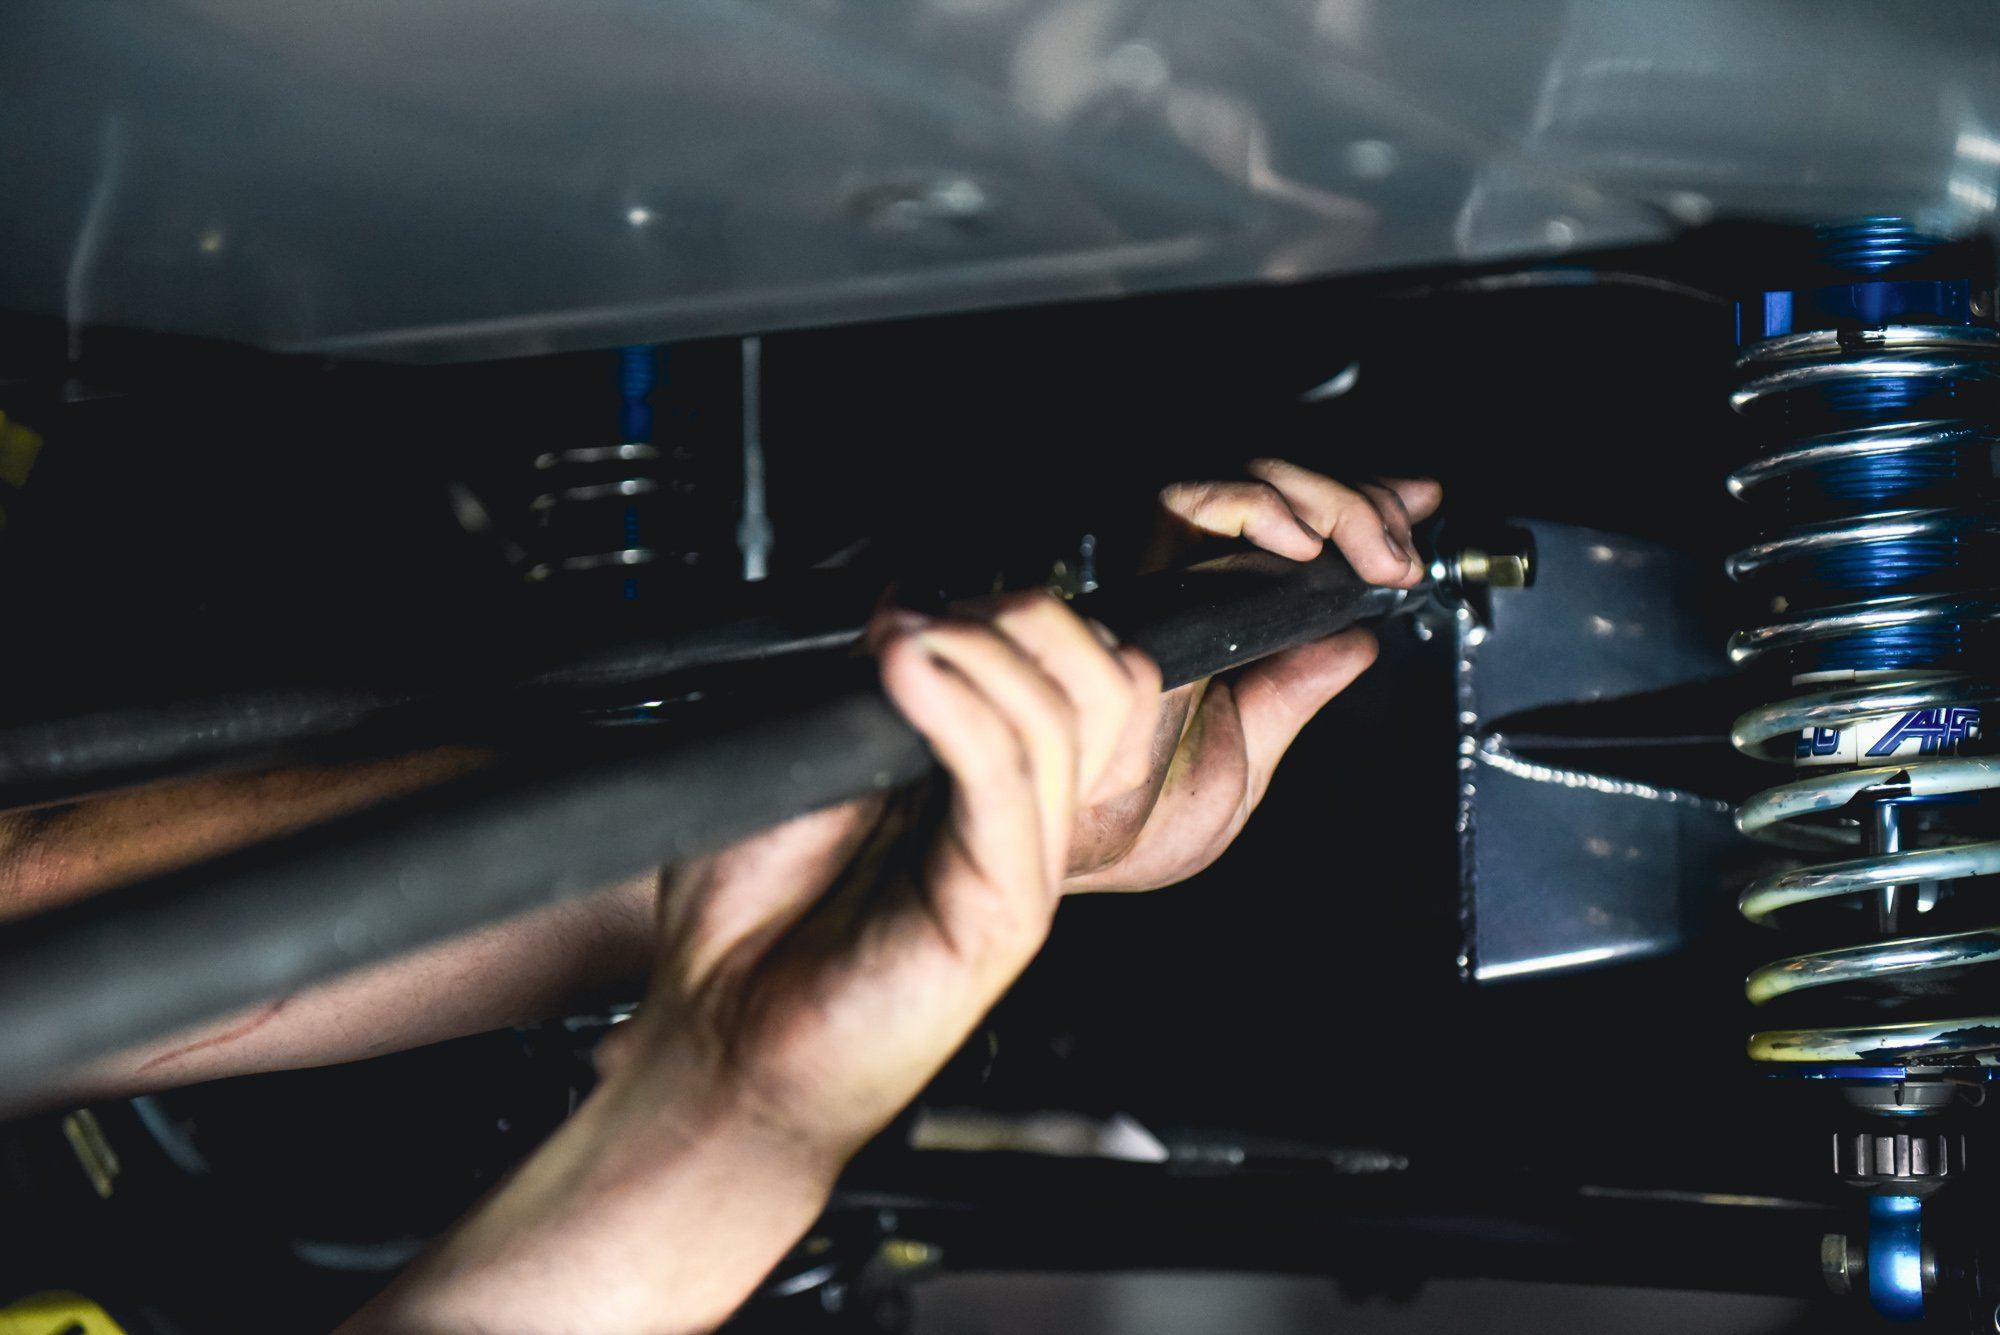
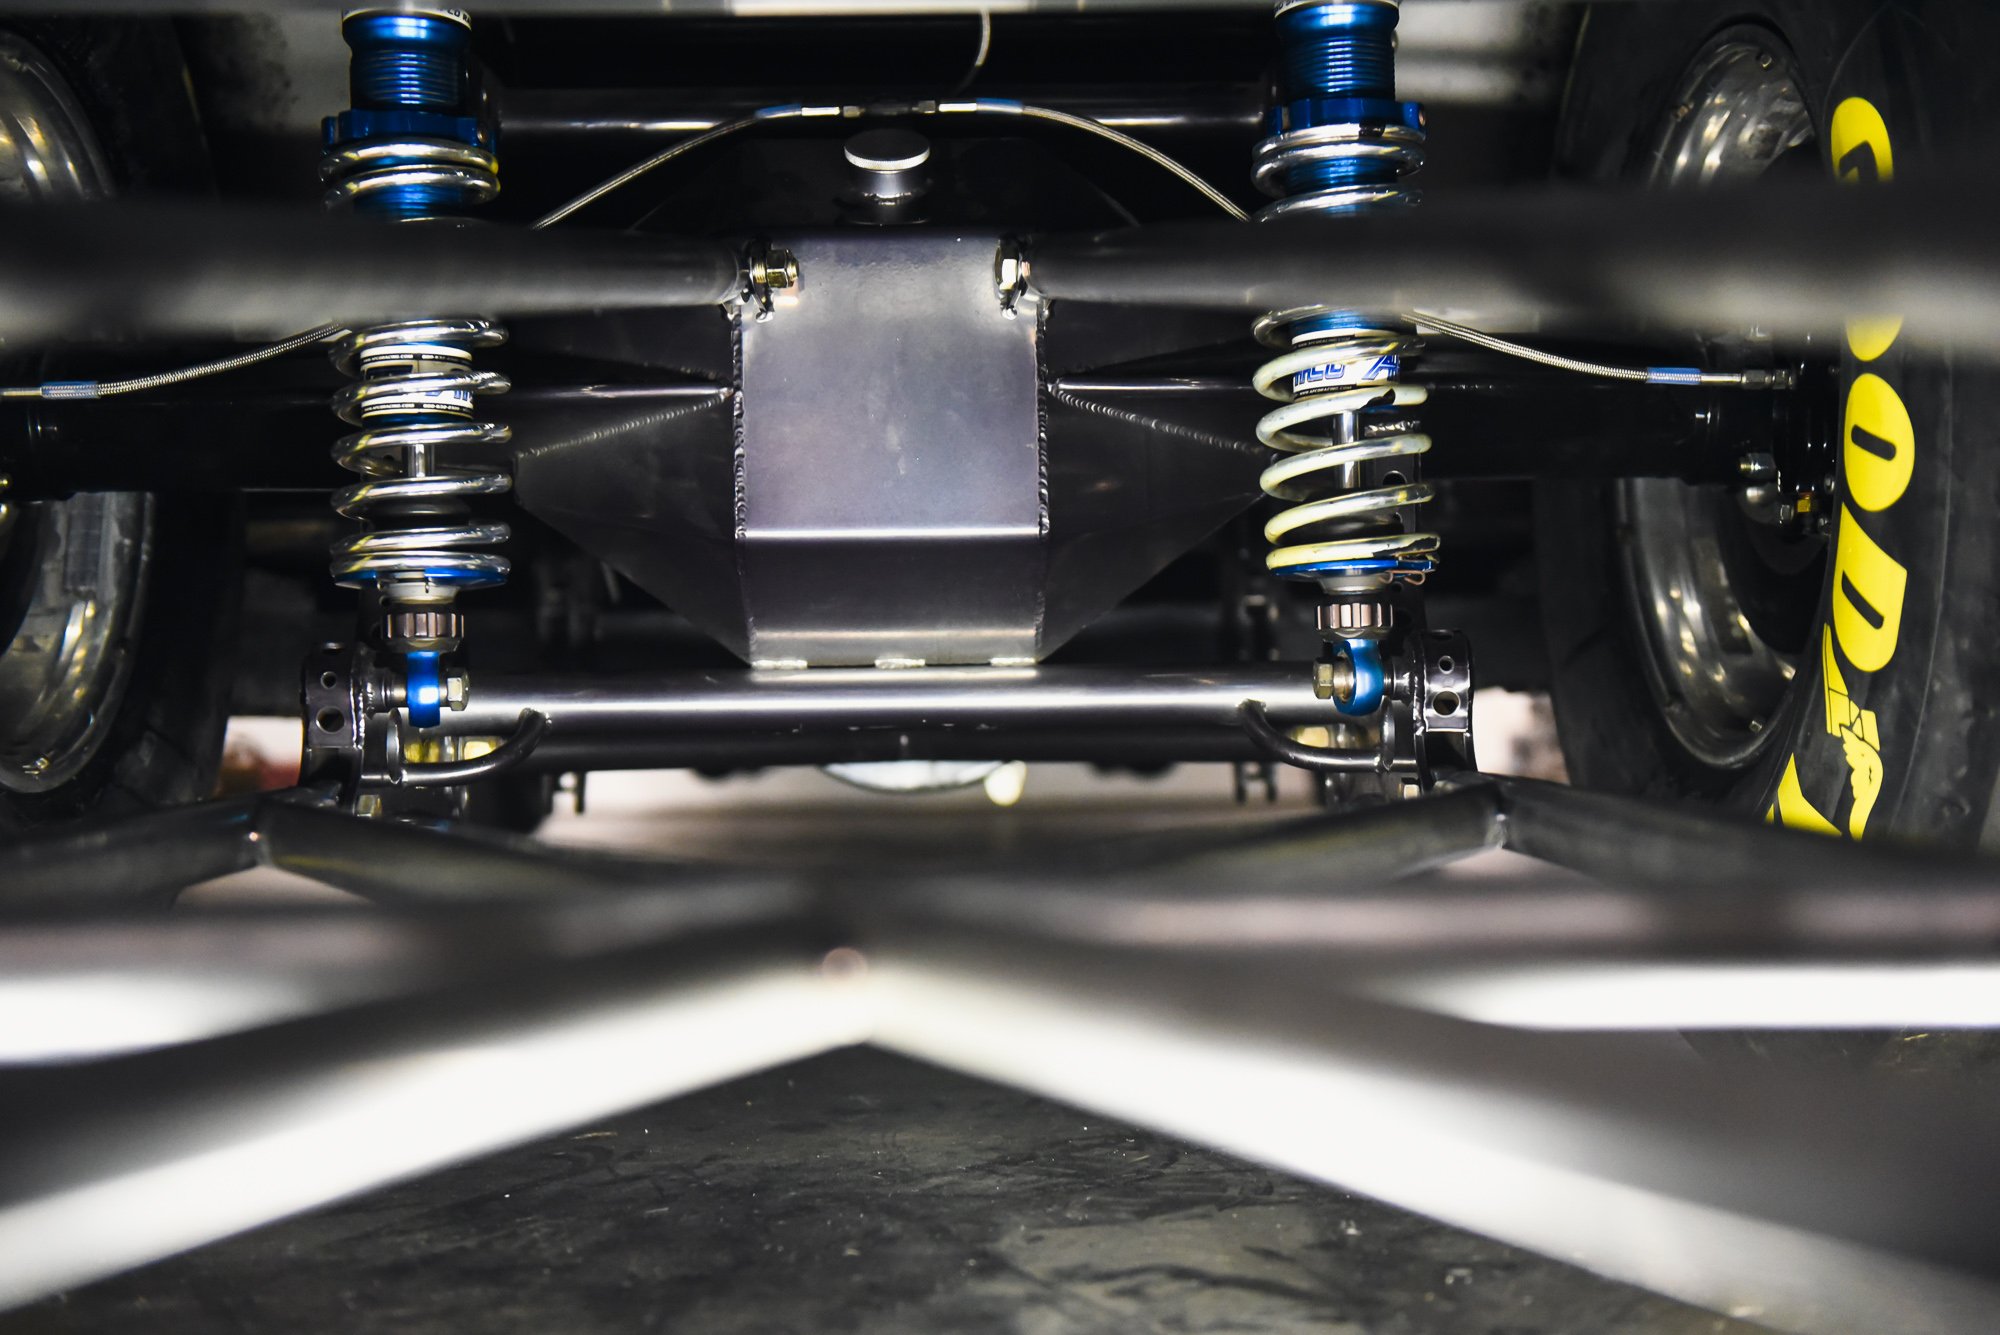
The kit we sourced from S&W features independent wheelie bar brackets for cars that require the upper bars to angle inward to avoid the shocks. The brackets are provided as part of the kit, and installation will vary on your application; we had already installed brackets previously, so we were able to skip this step in the process. We used holes already machined into the 4-link lower control arm brackets for the lower bars, and then fabricated upper mounts and welded them to the center of the 9-inch pumpkin. We did this by bolting a rod end and a pair of shims (we’d recommend around .15-.30-inch on each side so the rod end won’t bind when you’re done) sandwiched in between the two plates, and then set our rough angles, height, and separation. One important thing to be mindful of as you’re doing this is to ensure that your brackets aren’t positioned where the wheelie bars will hit the tin-work under the trunk of the car when the car launches.
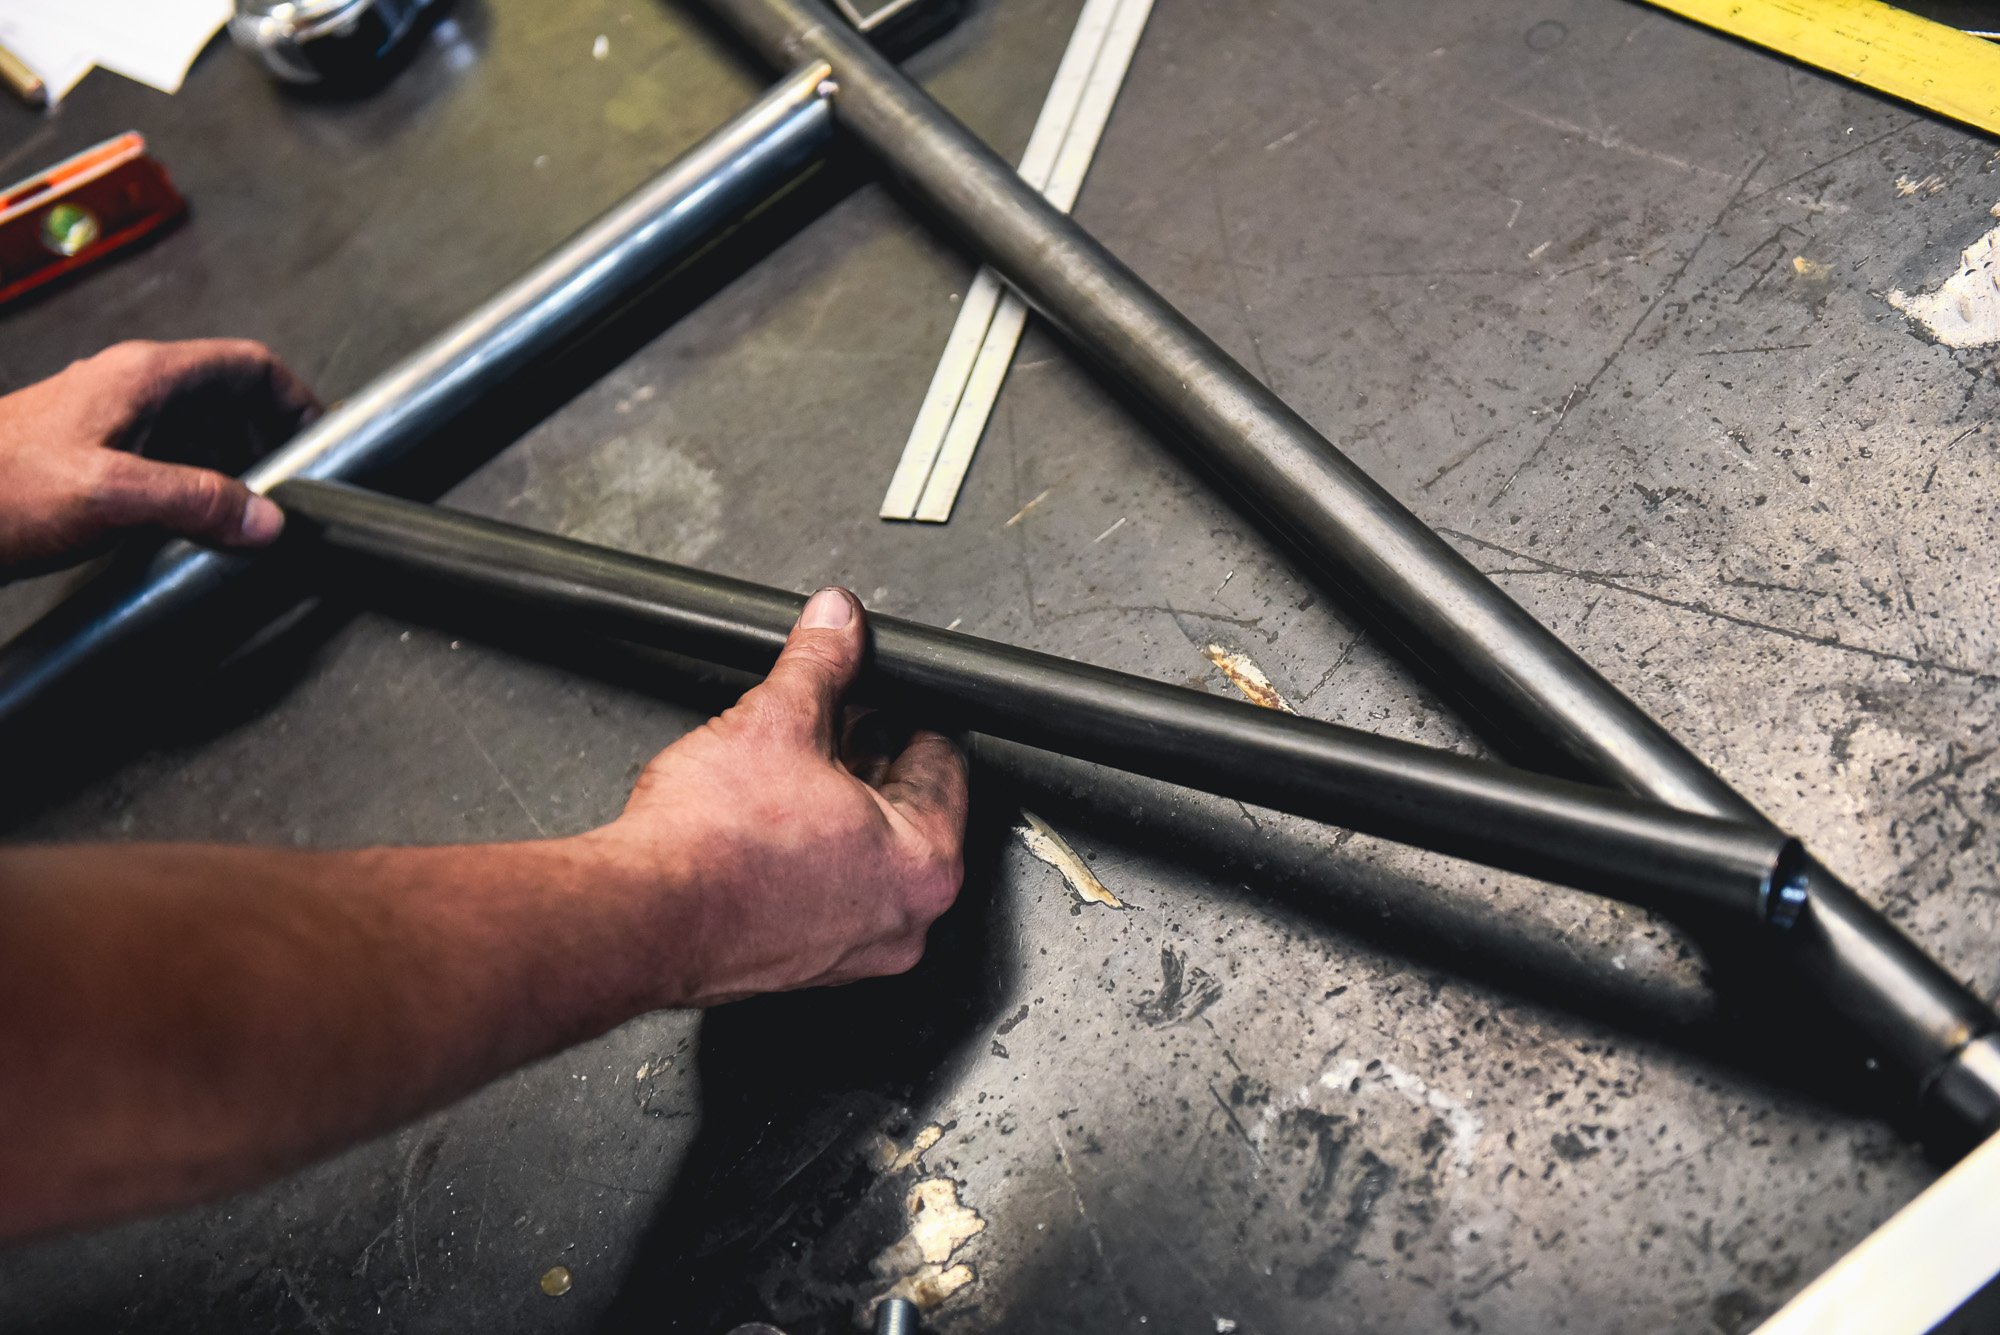
We measured between our lower brackets and then placed a threaded rod, cut accordingly and placed it between the wheel brackets. We then test-fit the lower portion of the wheelie bars before getting to work on the X-member.
Now, you could obviously attempt to build your own wheelie bars from scratch — get some 1-1/4 and 1-1/8 tubing, cut it all to length, find your angles, and build the bars…but then you’ll have to source the wheels, the threaded rod ends, fabricate the wheel brackets and the housing brackets. At that point, you’re much better off buying a complete kit from the get-go from S&W and simplifying the whole process (and likely saving yourself money). The kit we chose is S&W’s un-welded kit with quick adjustments (Part# 40-384U), which comes at 85-inches in length out of the box so you can trim it down to length for virtually any vehicle.
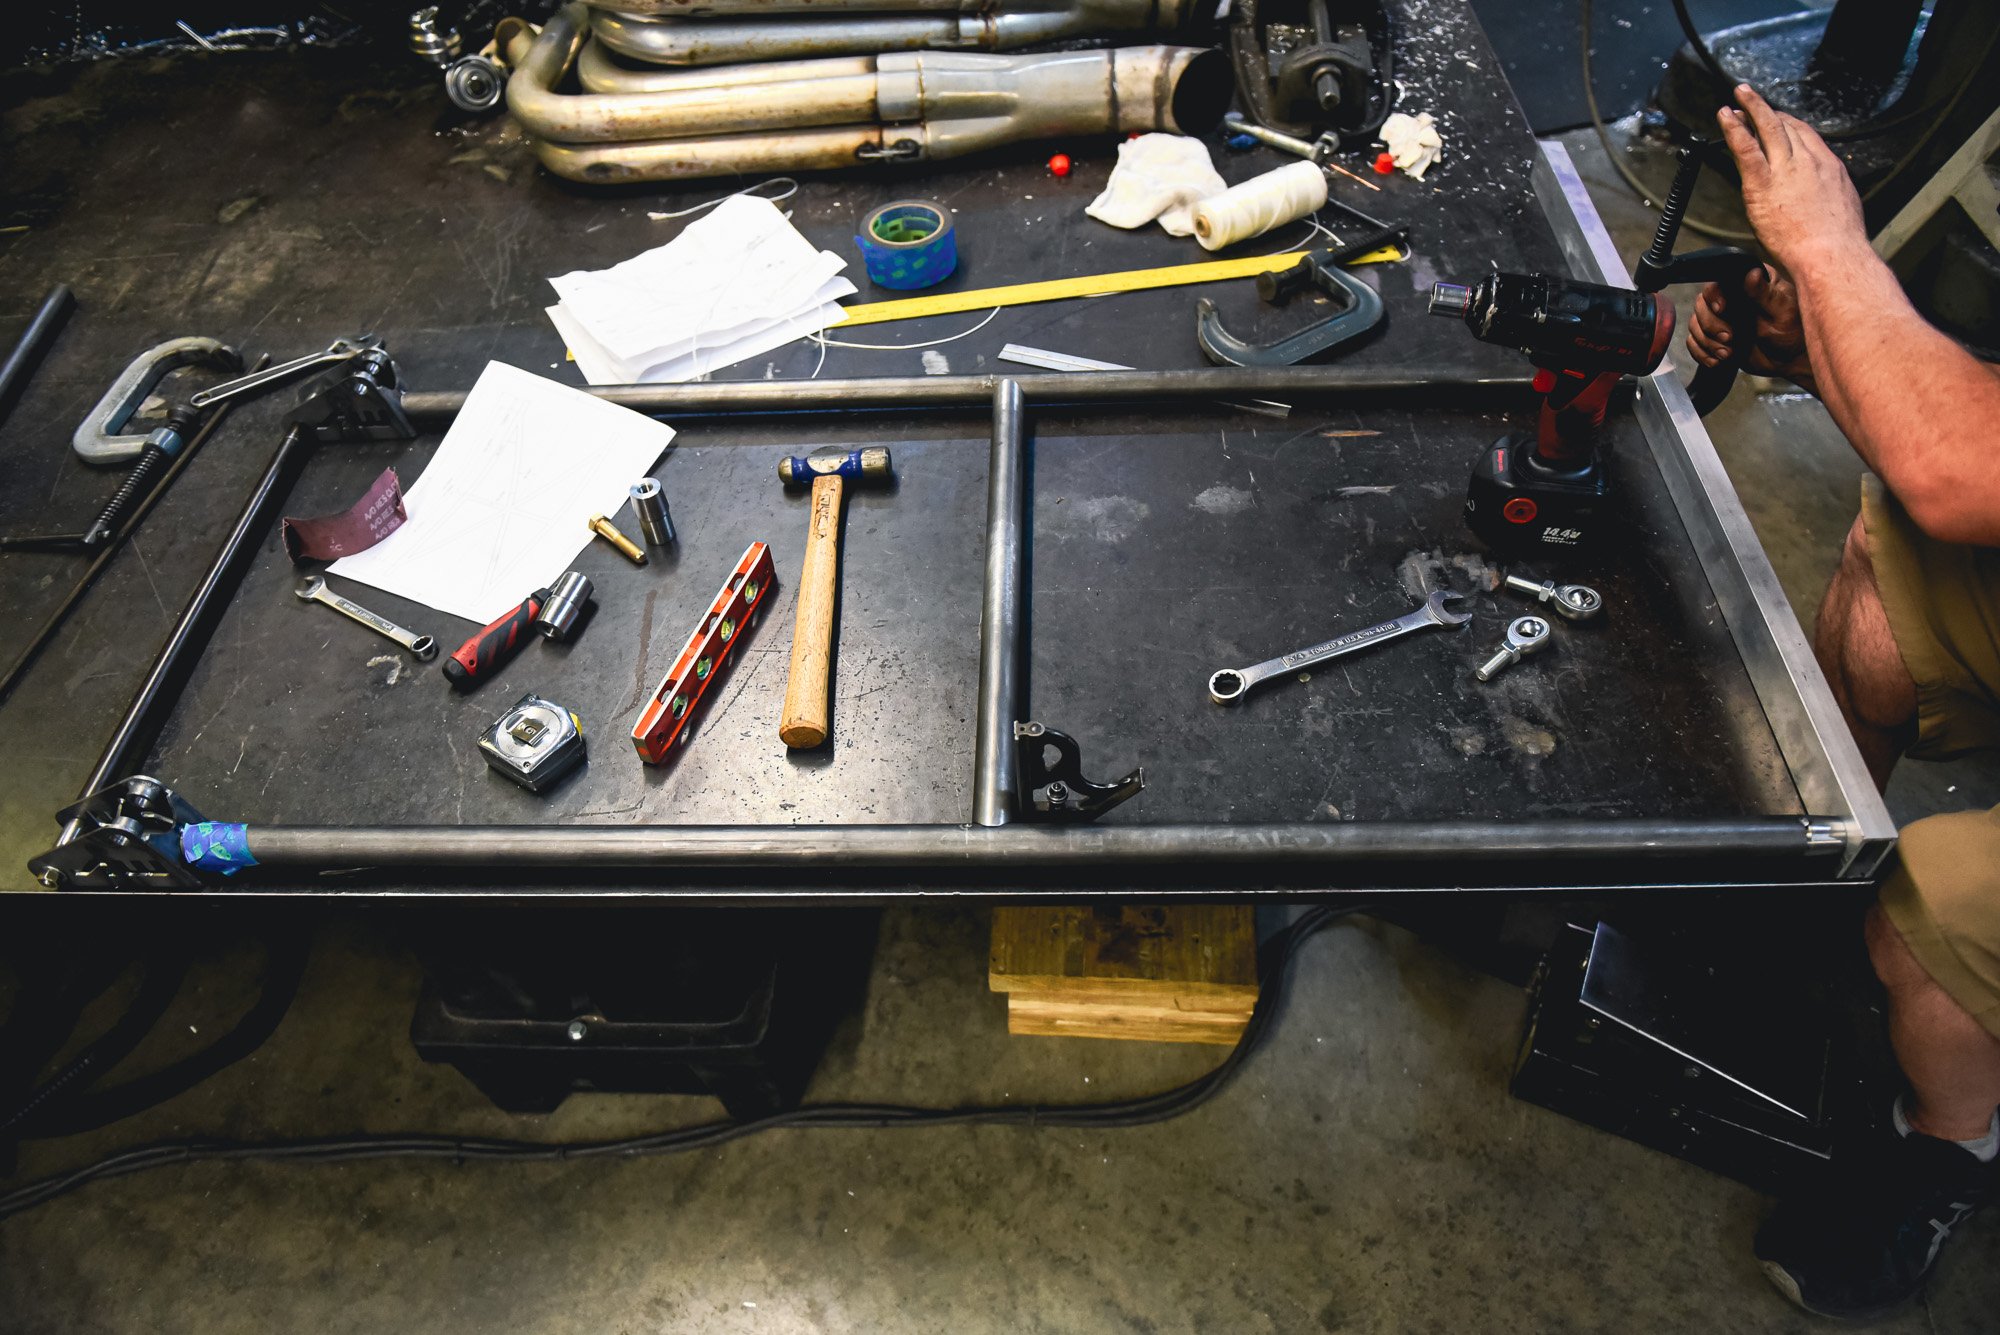
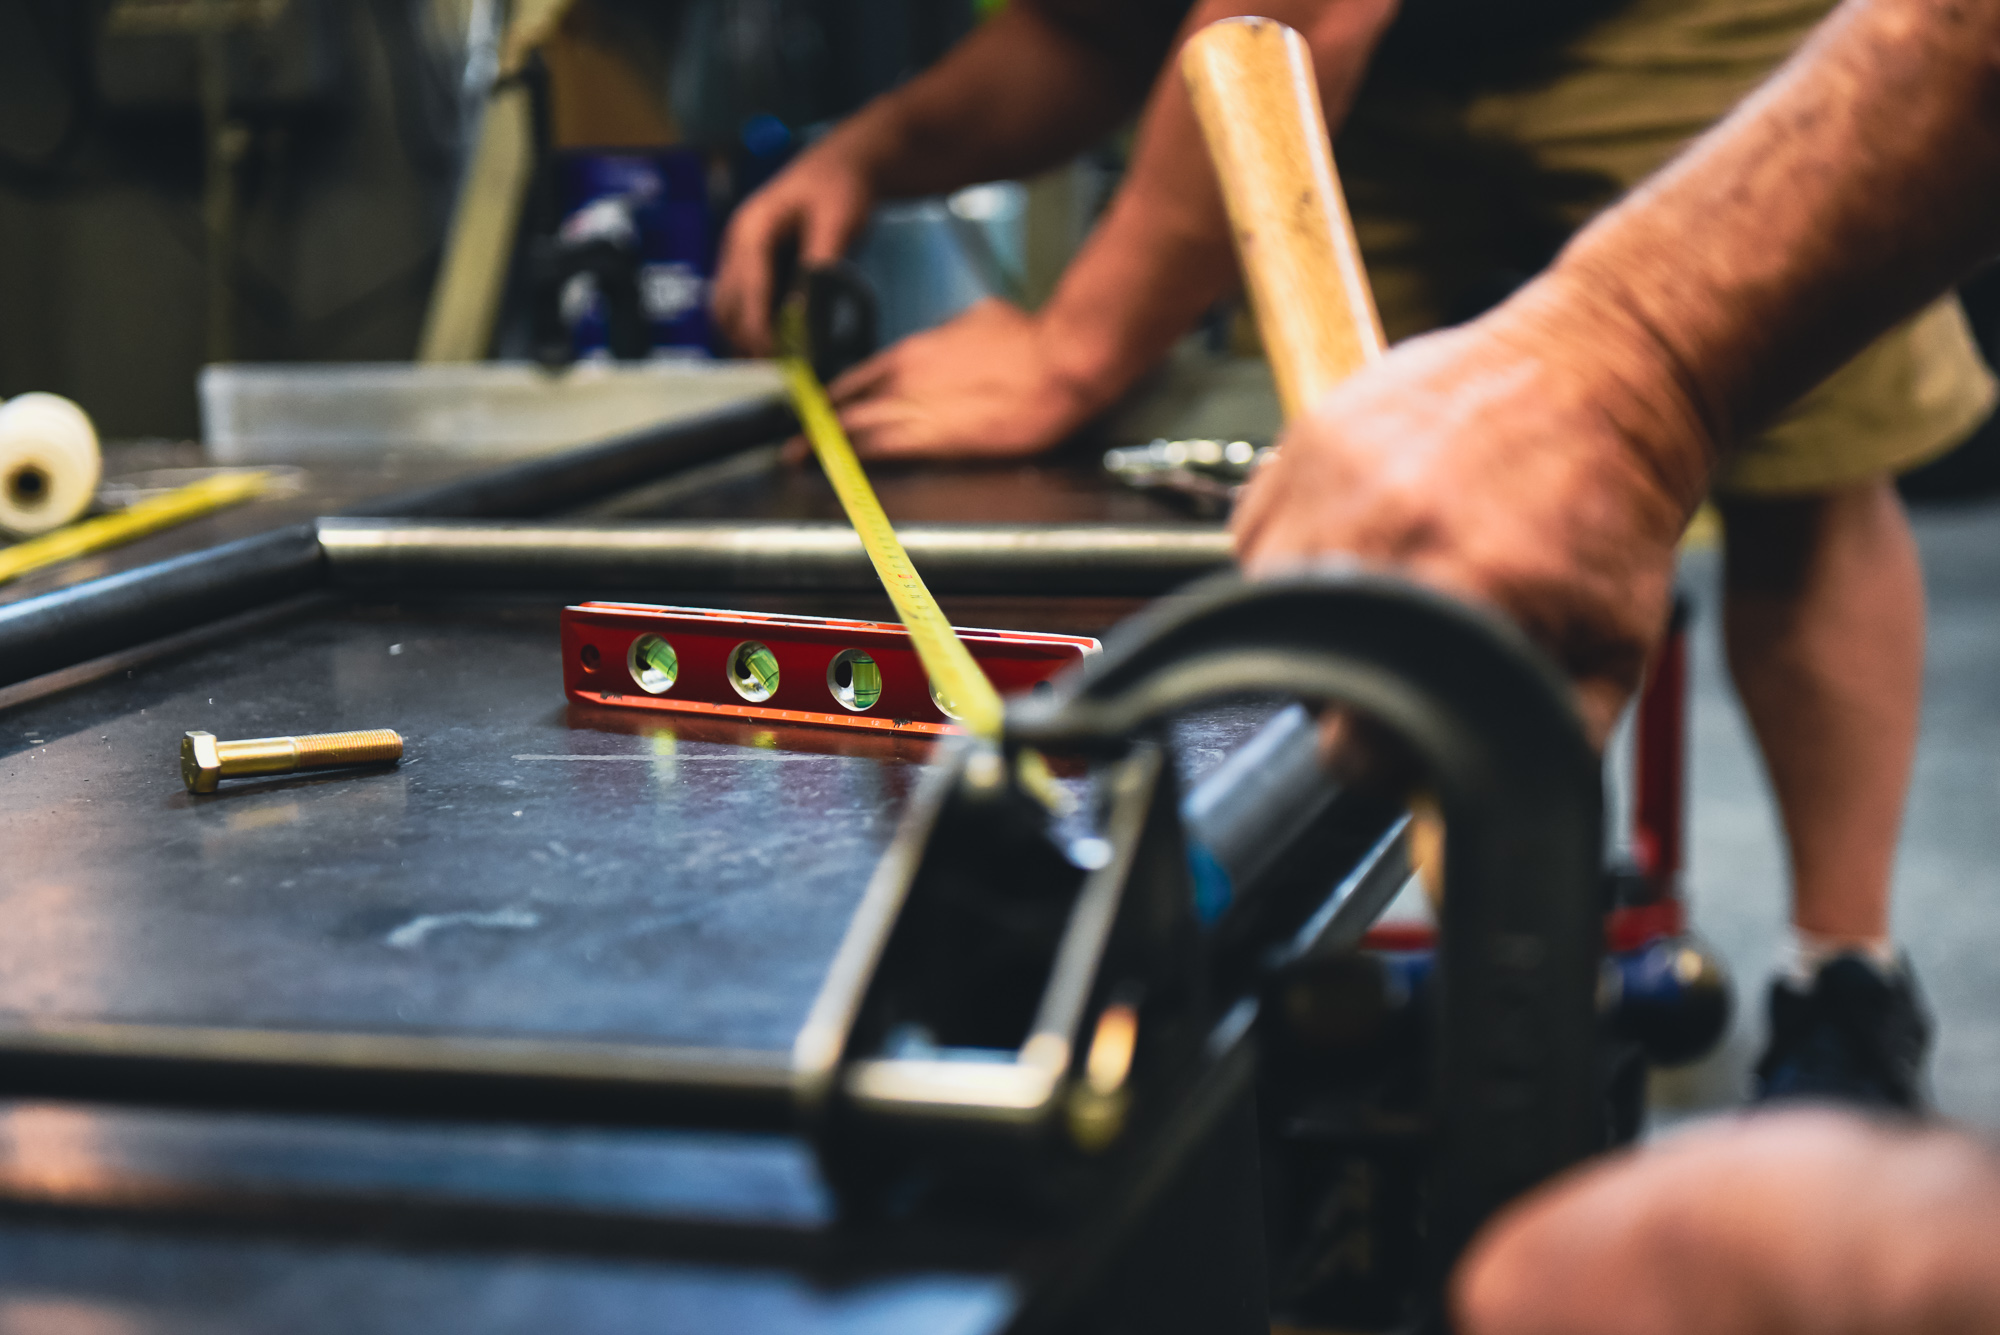
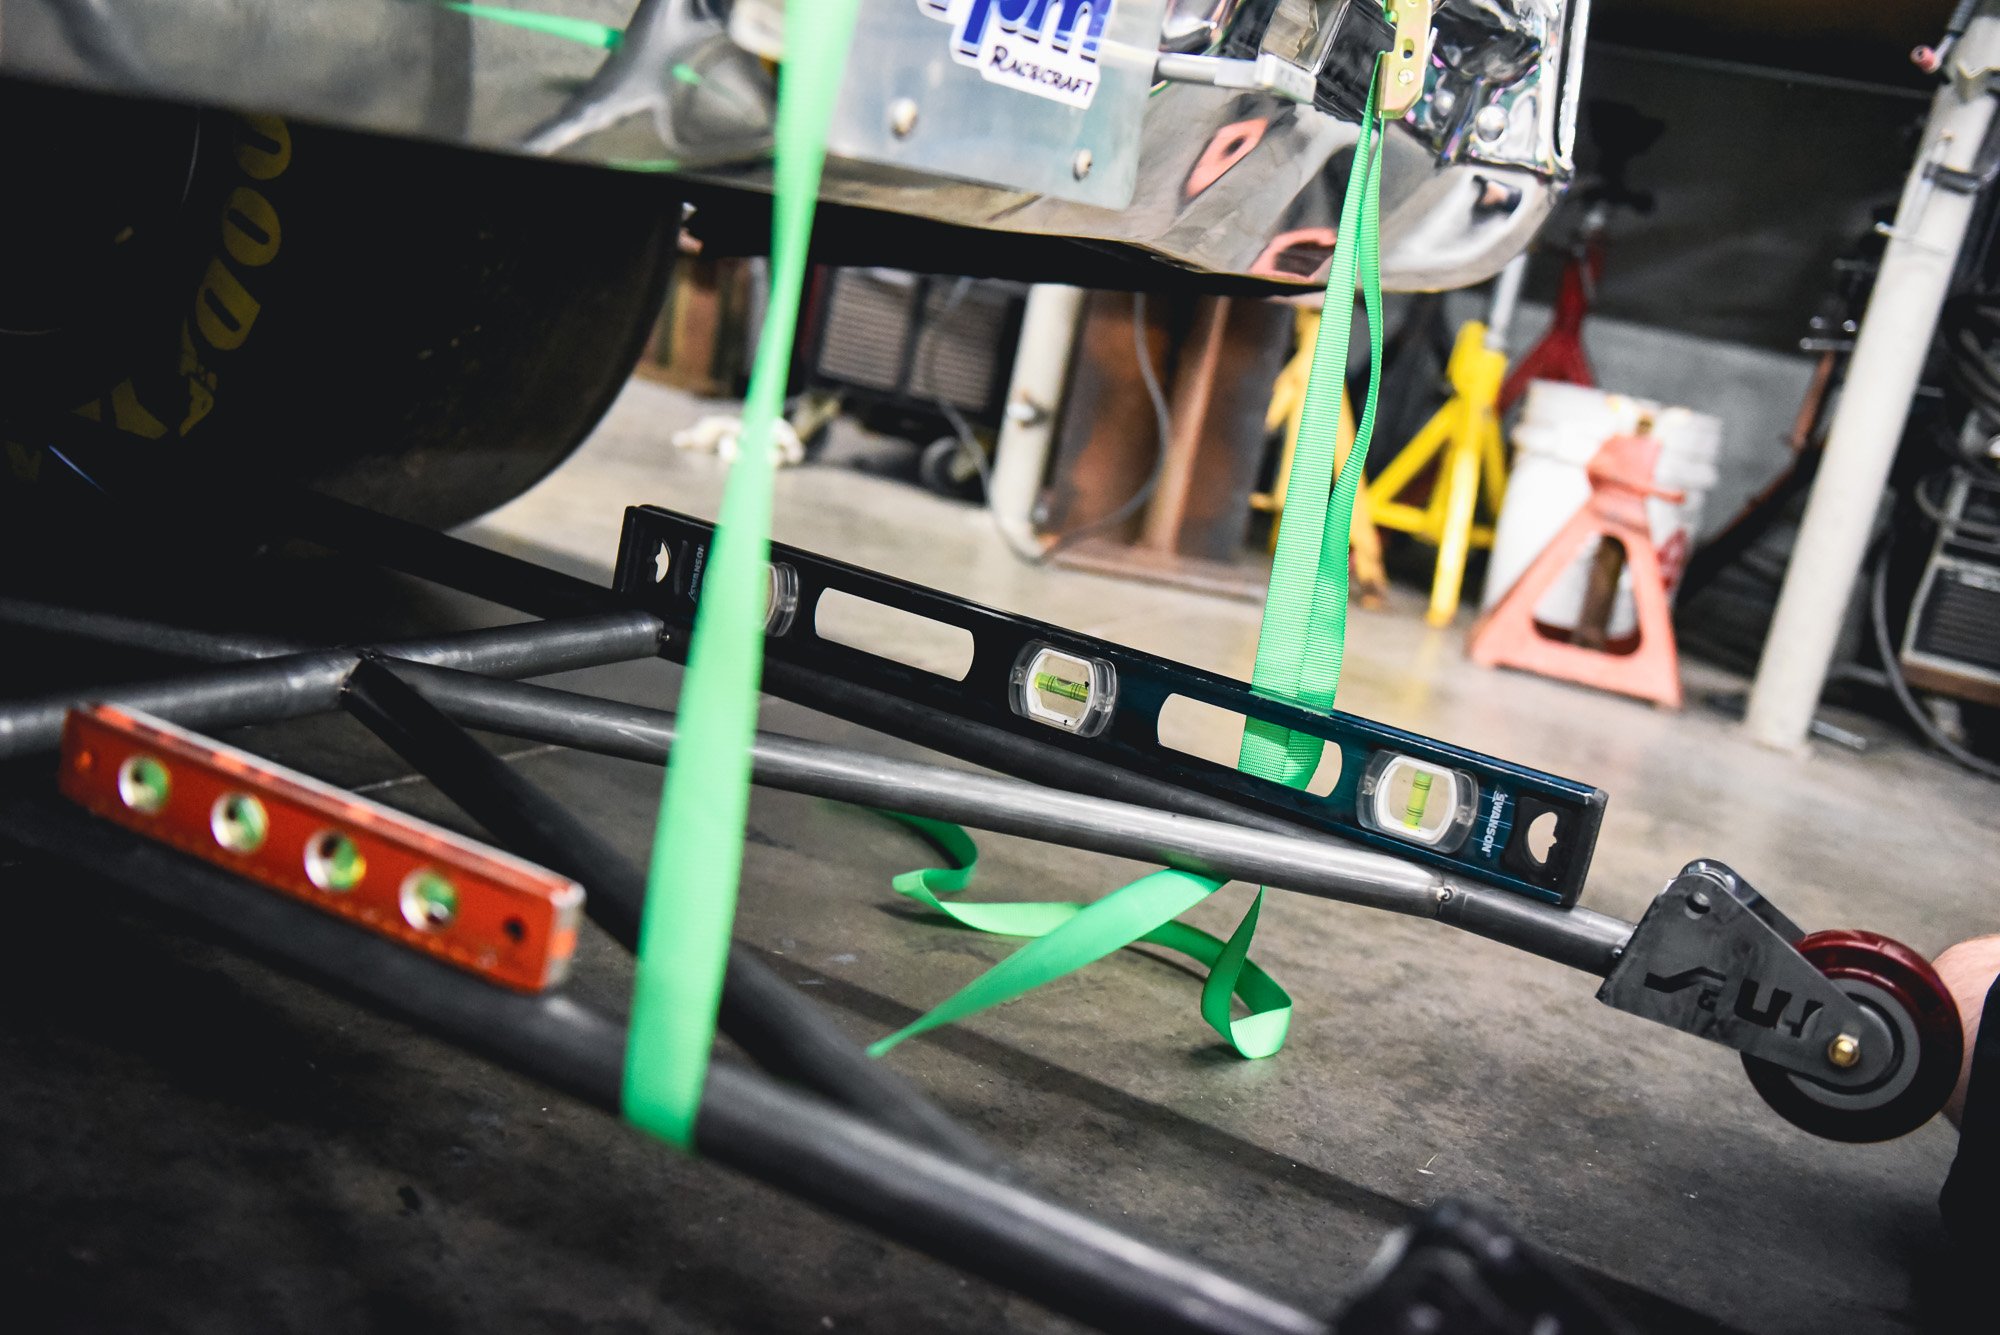
Here's the temporary jig we concocted to keep our lower bars square on the table while we worked to get the X-member bars perfectly cut and placed.
With some basic fabrication, welding, and trig skills, you can easily build this kit at home in your own garage. We did have a little headstart on the process, as we had already built in/installed brackets on the housing when it was fabricated a couple of seasons ago, so that step was out of the way.
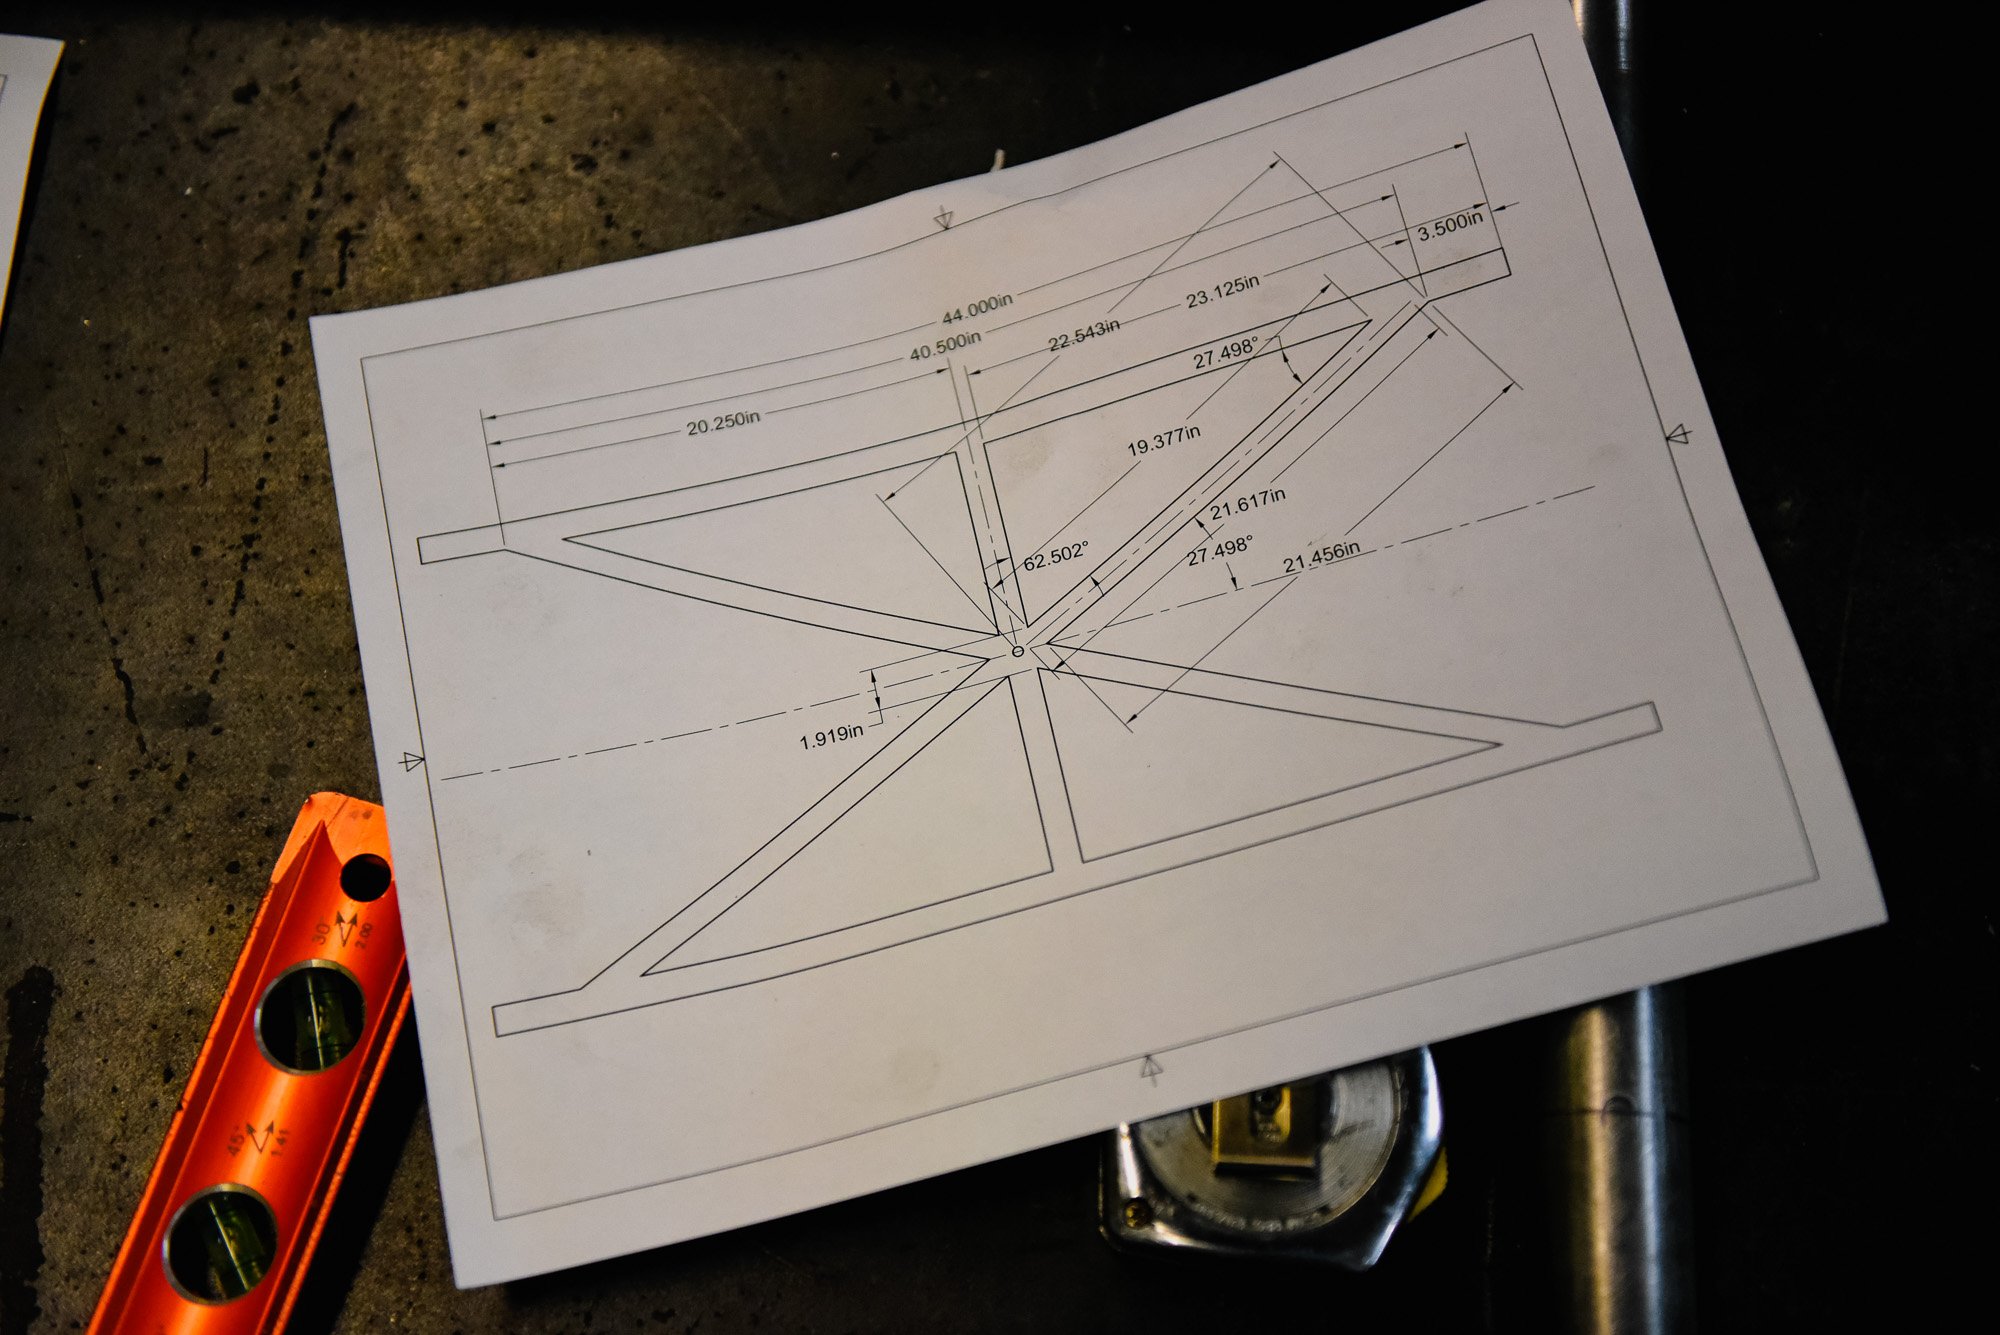
At left is the schematic we drew up in AutoCAD. As you can see, we went in 3.5-inches at each corner, and then using the center-point of the crossbar, we arrived at the necessary angles to make the bars intersect.
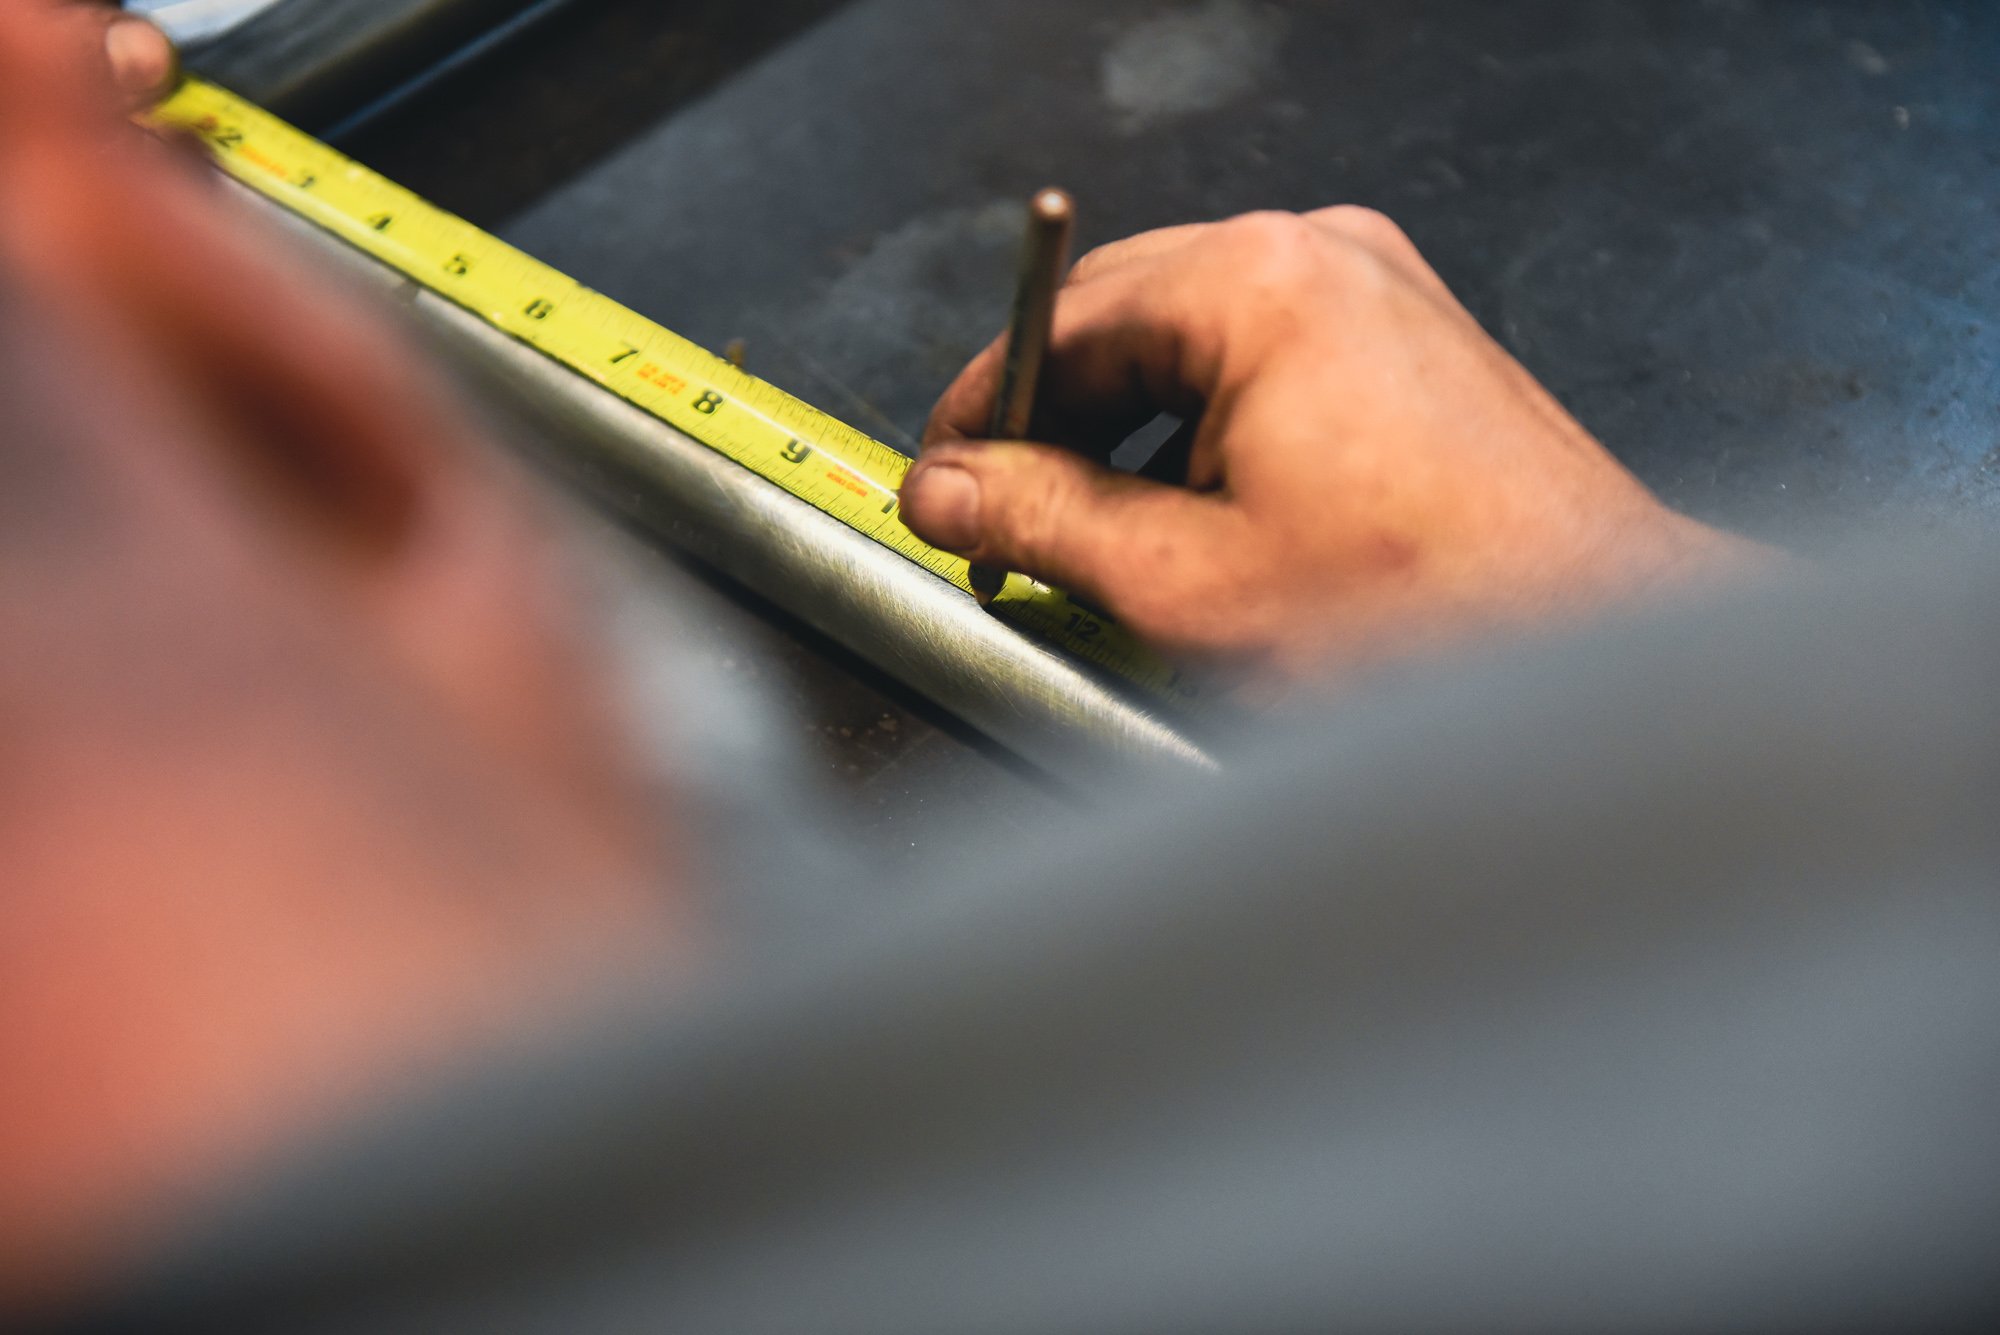

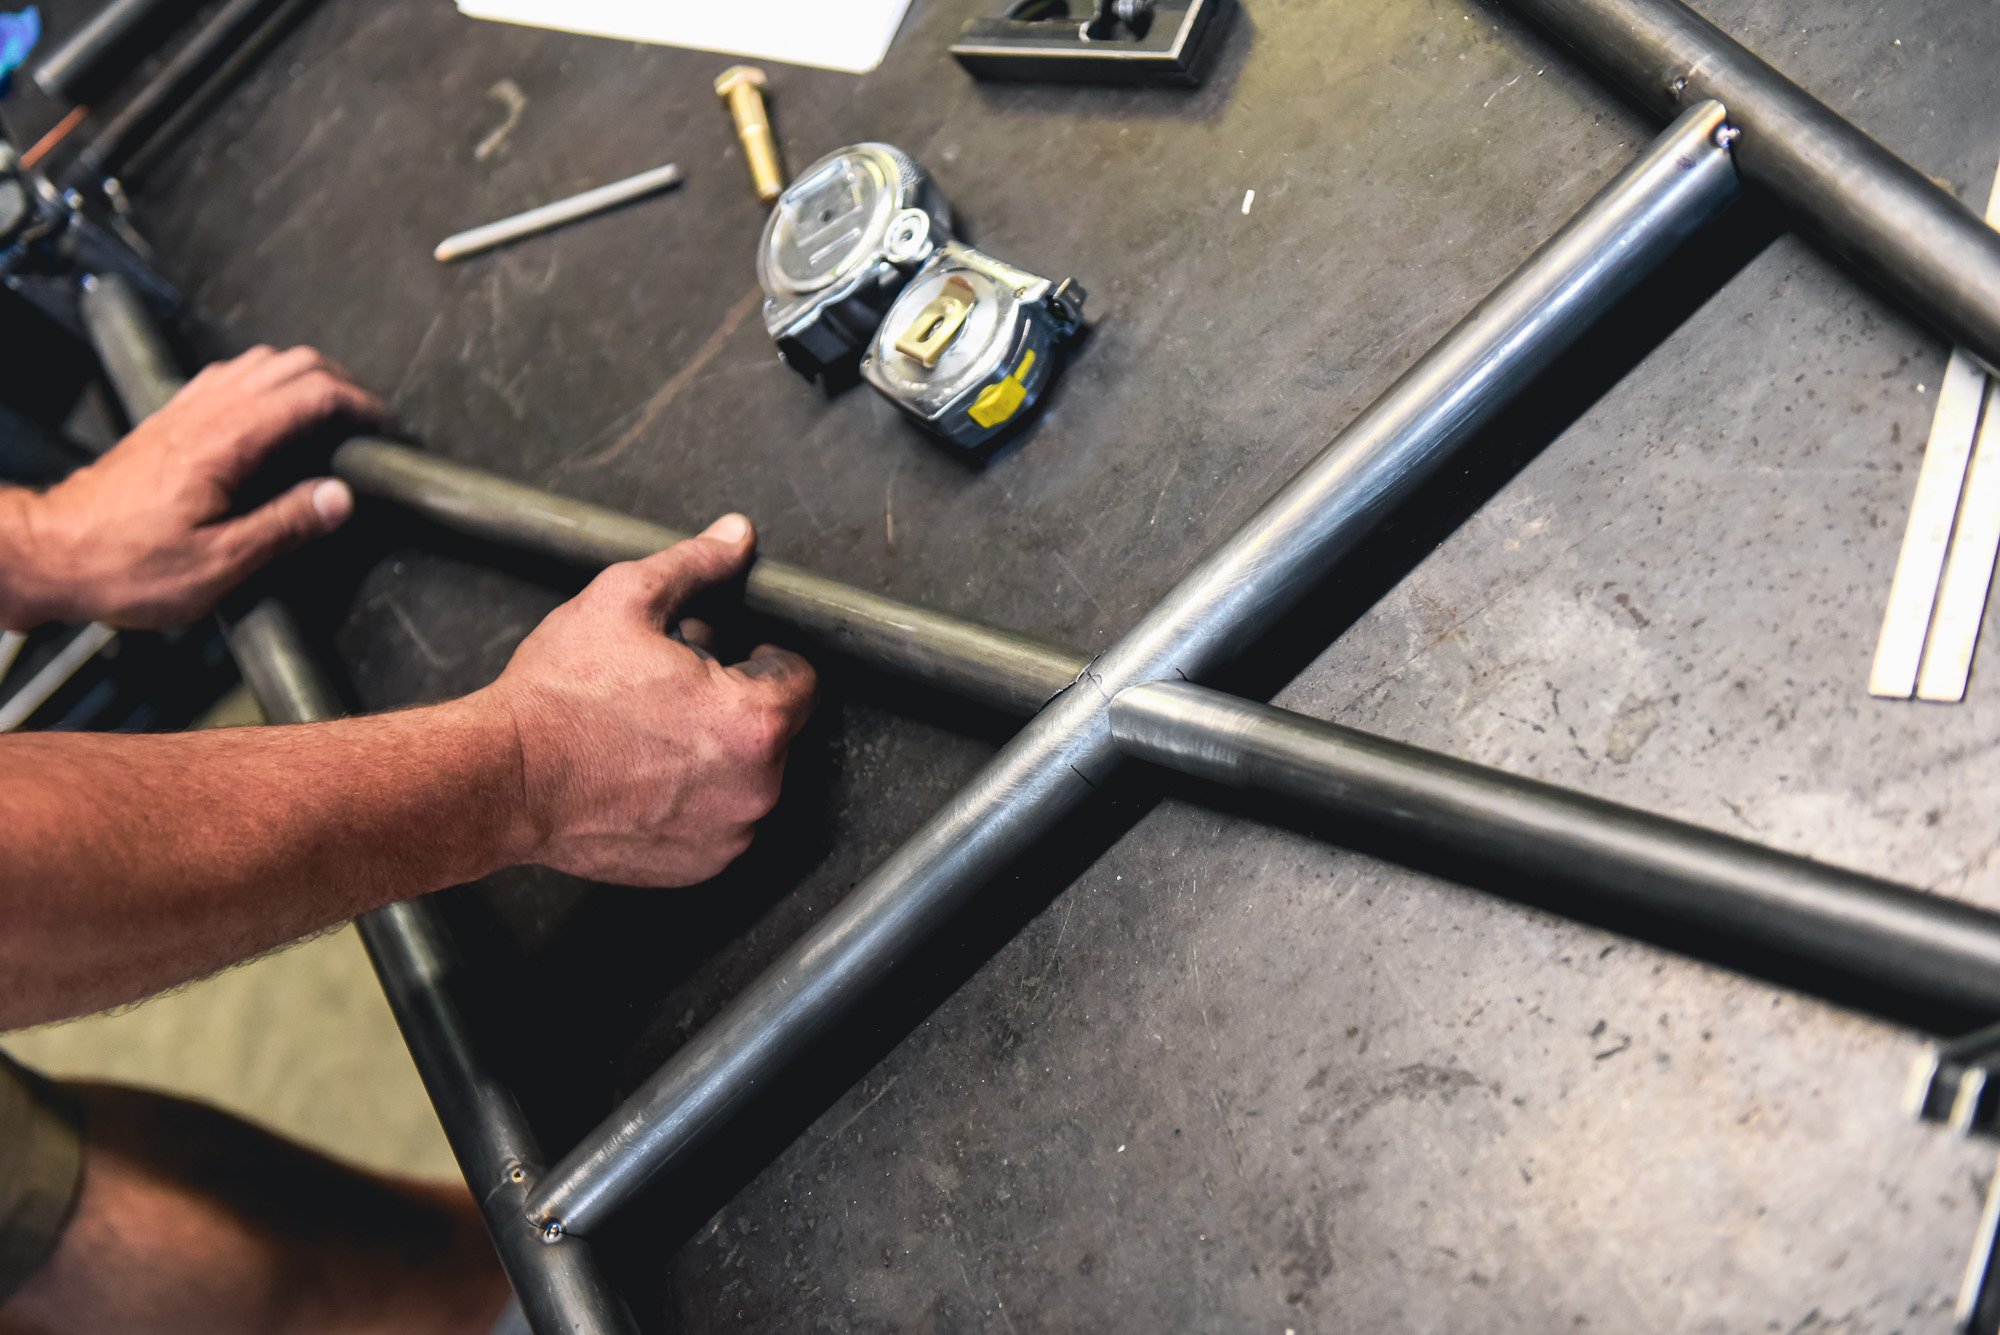
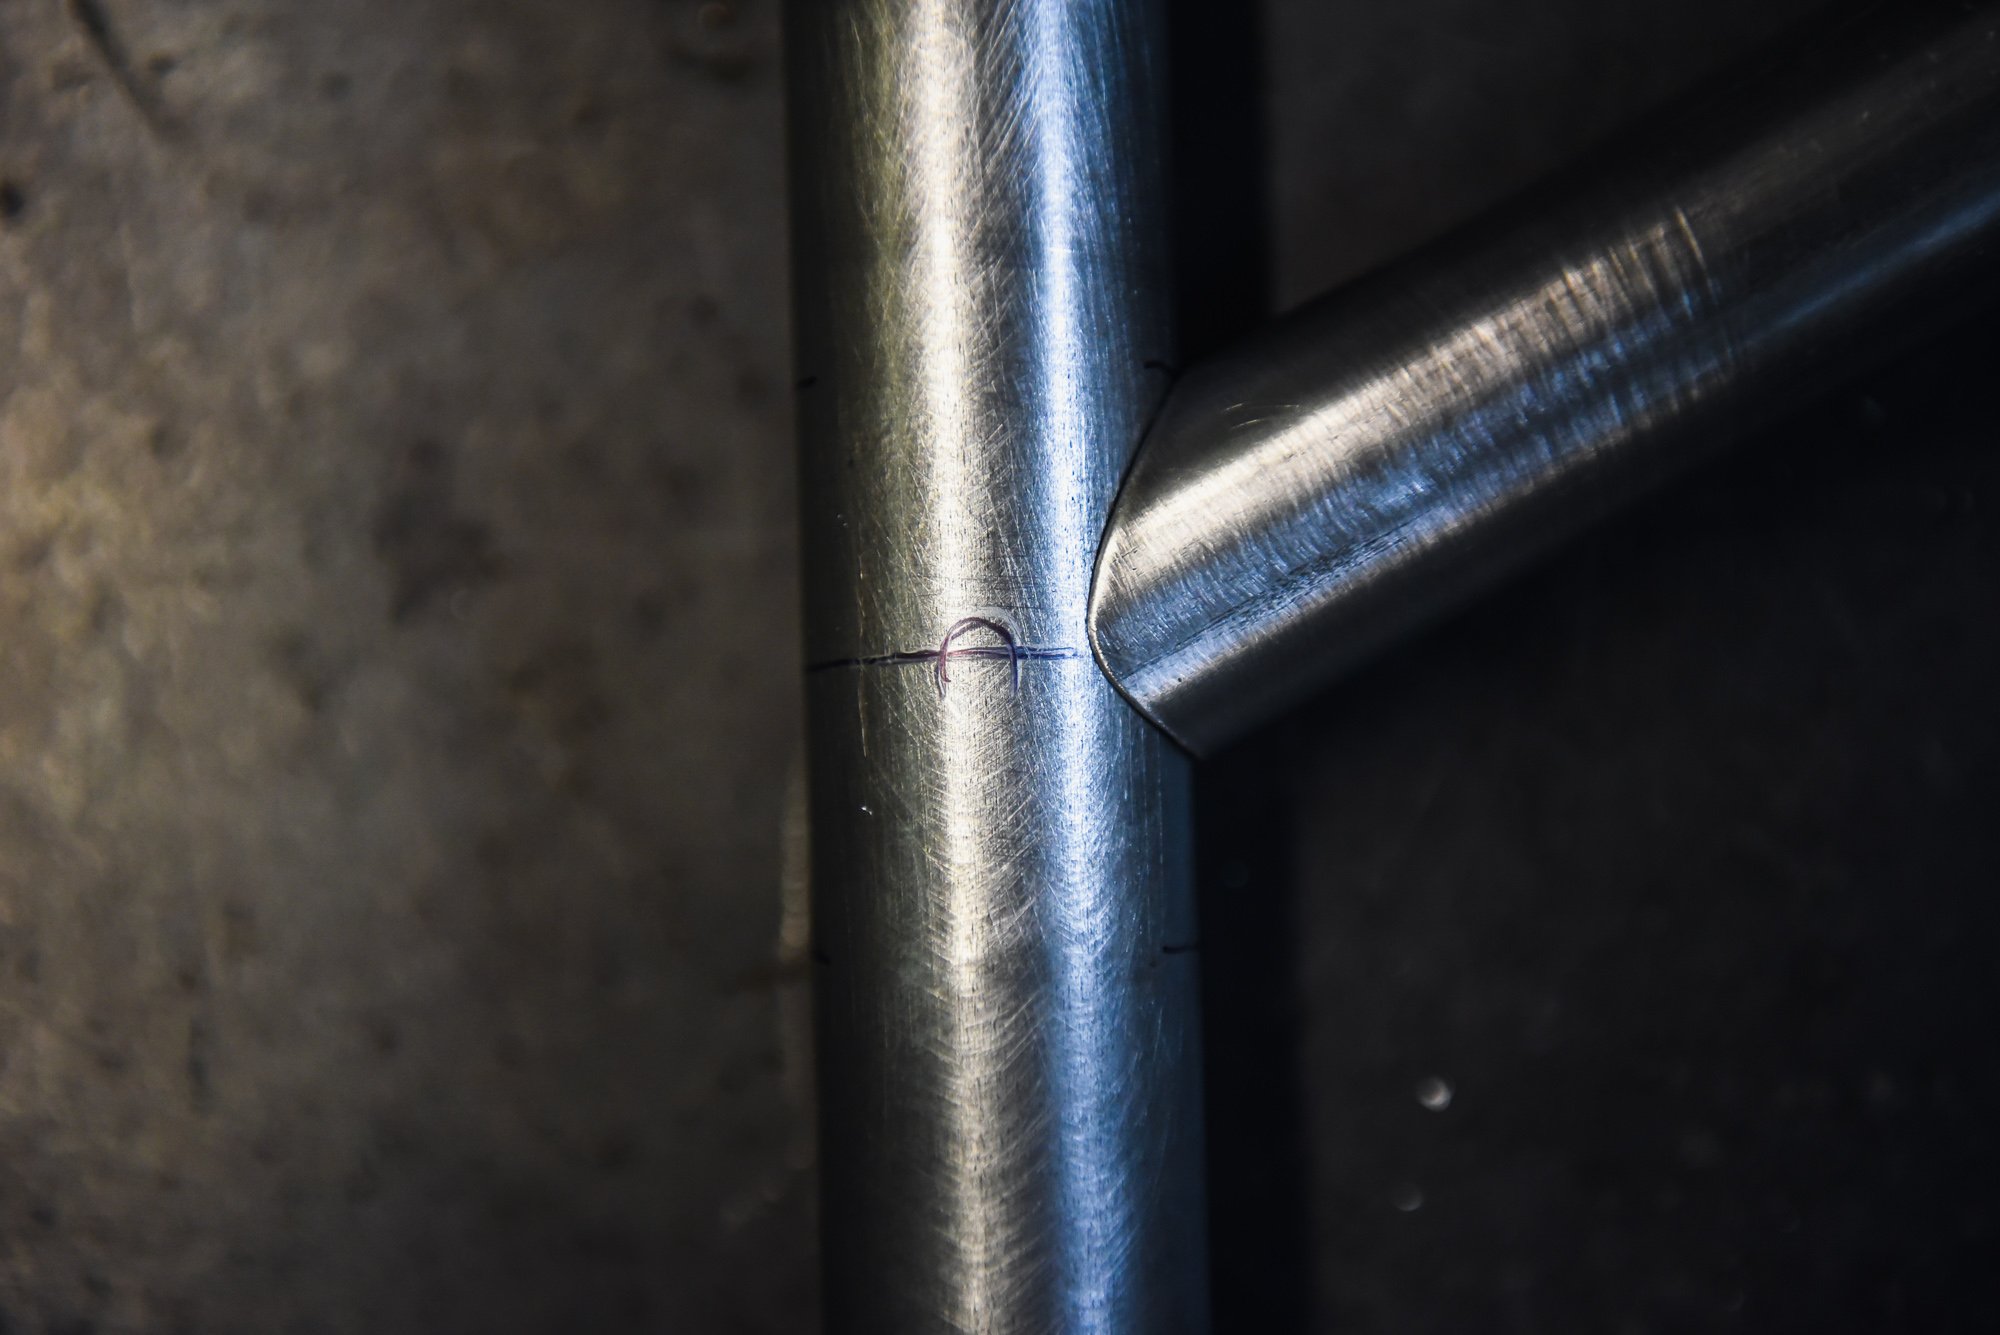
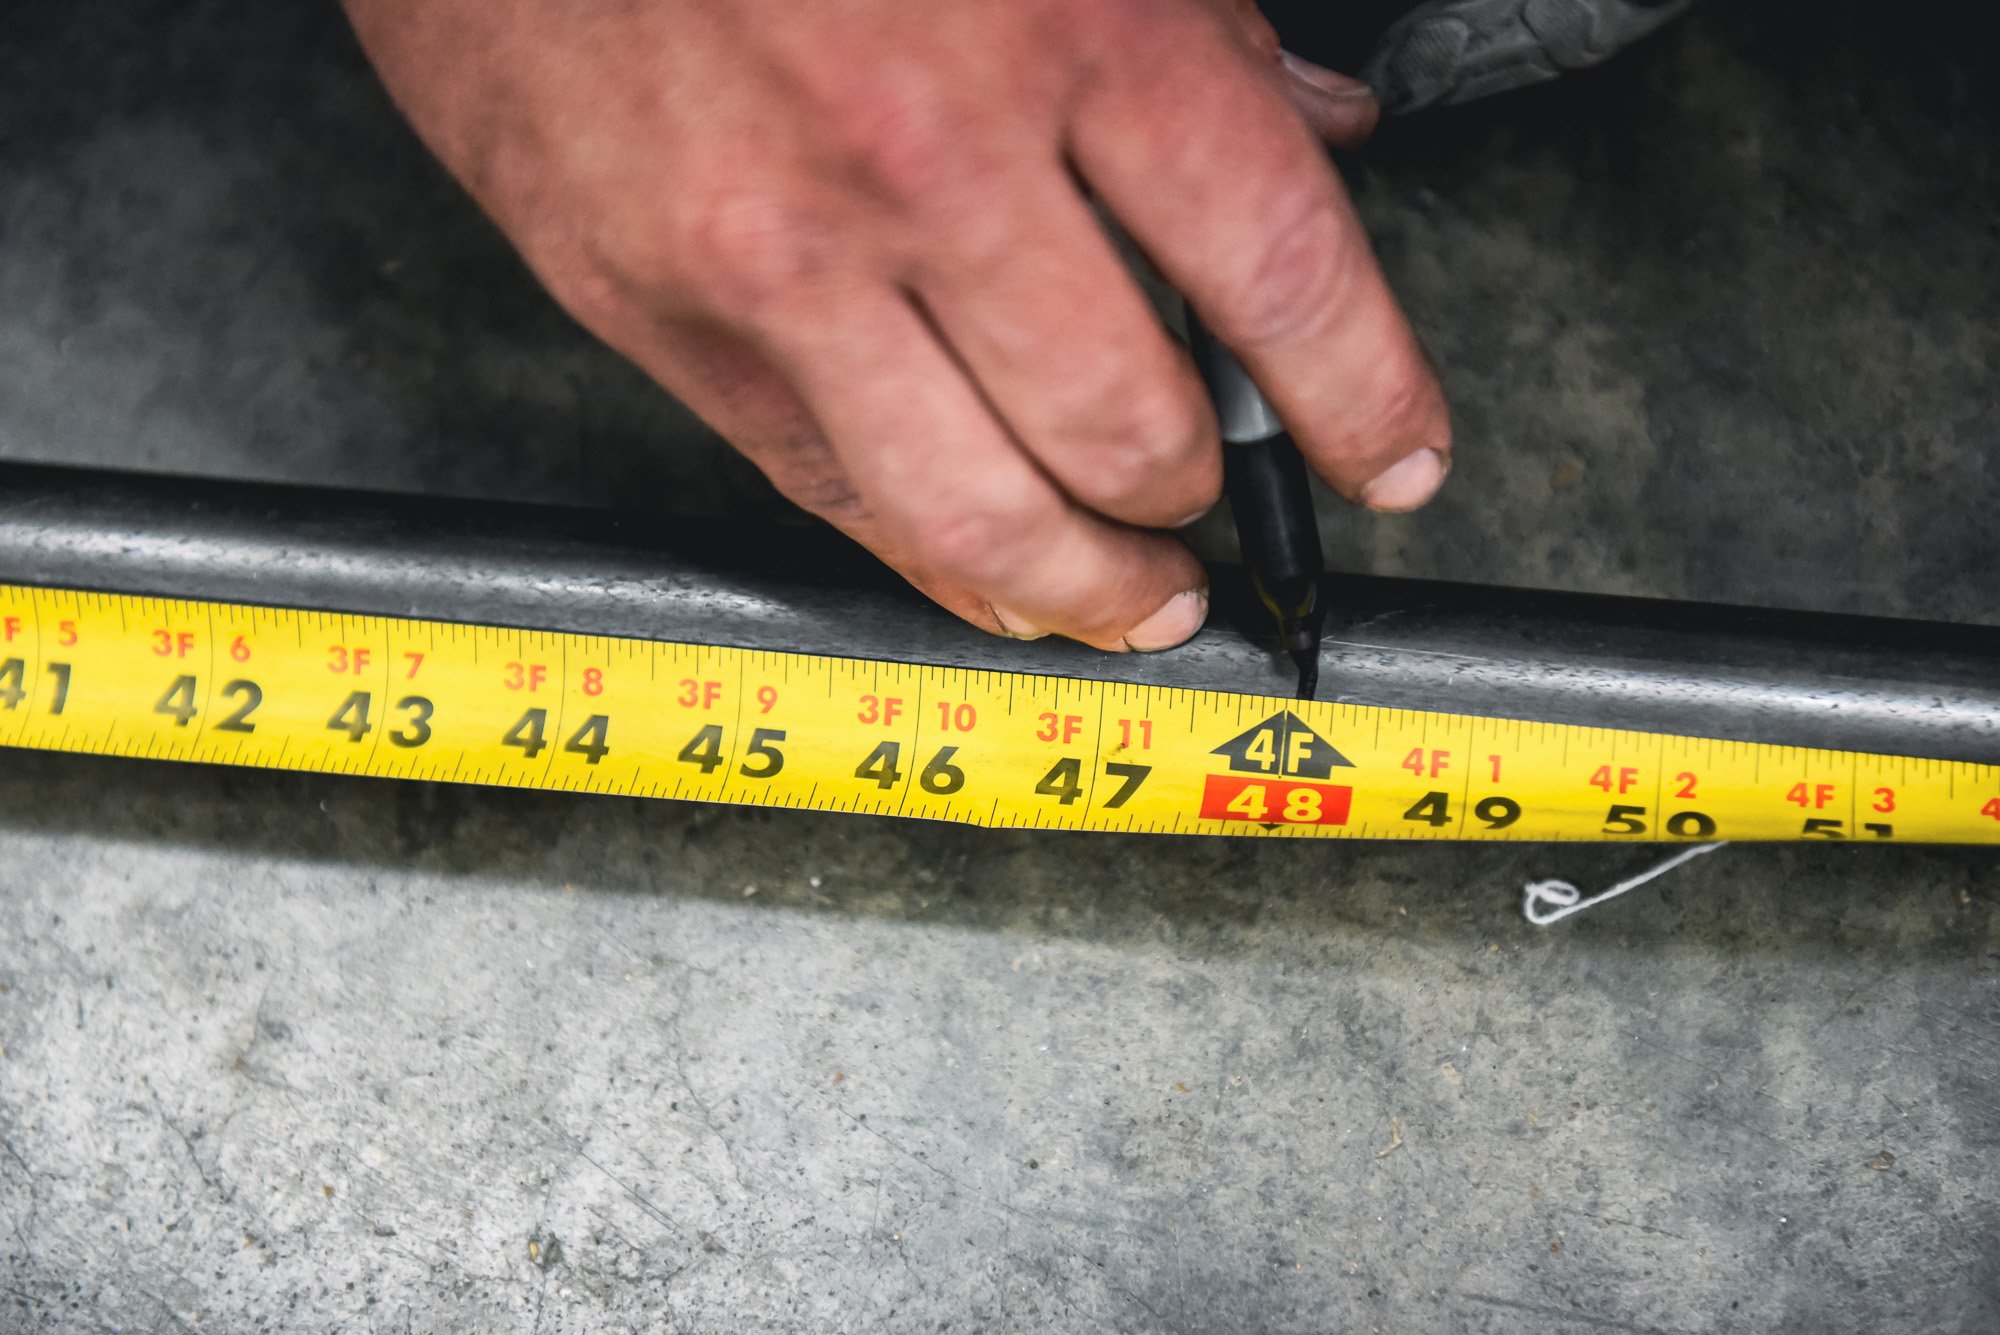
Measure twice, mark once. We marked each location where a bar should land with an inner and two outer markings so we could line up the very edge of each bar in the exact location.
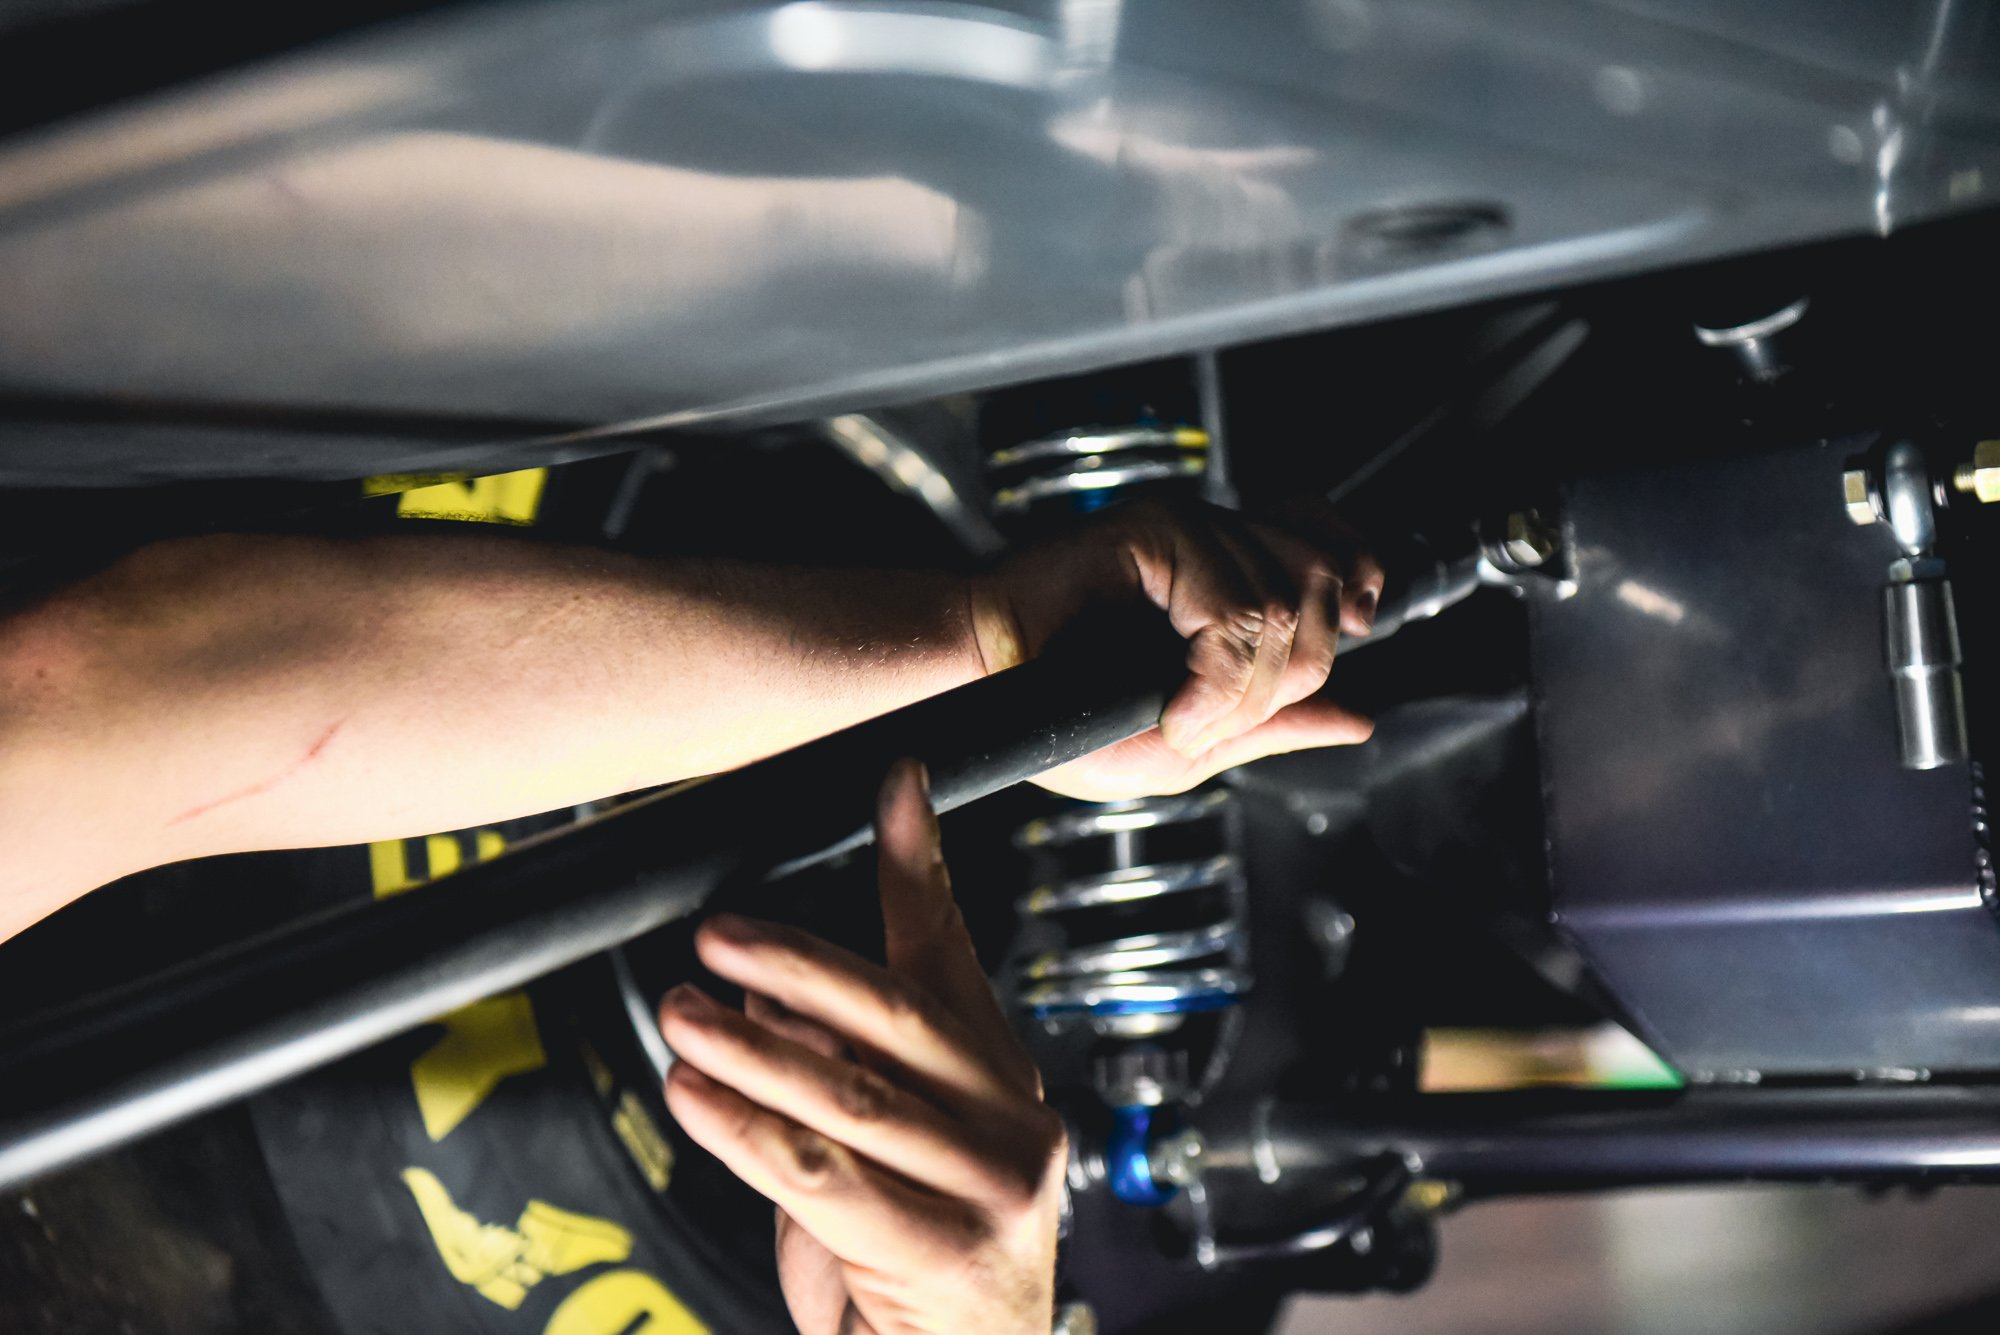
As Hoosigian alluded to earlier, in a bracket racing application, there isn’t an exact science to bar length — it’s largely about obtaining the right length without going too long or too short. We opted to run the bars just beyond the edge of the rear bumper, so they wouldn’t be in the way or hit the trailer door. You’ll also, at this point, want to jack the front of the car up to your desired maximum launch height, to ensure your length and height of the bars are adequate; most racers, for the sake of looks, prefer the bars to sit roughly level, so if you skip this step you may find yourself later adjusting the wheelie bars above level for proper function.
“When you’re putting a set of bars on a car, when the car is at level ride height, the wheelie bar is a certain distance off the ground — there isn’t really one number that’s the right or wrong number,” he says.
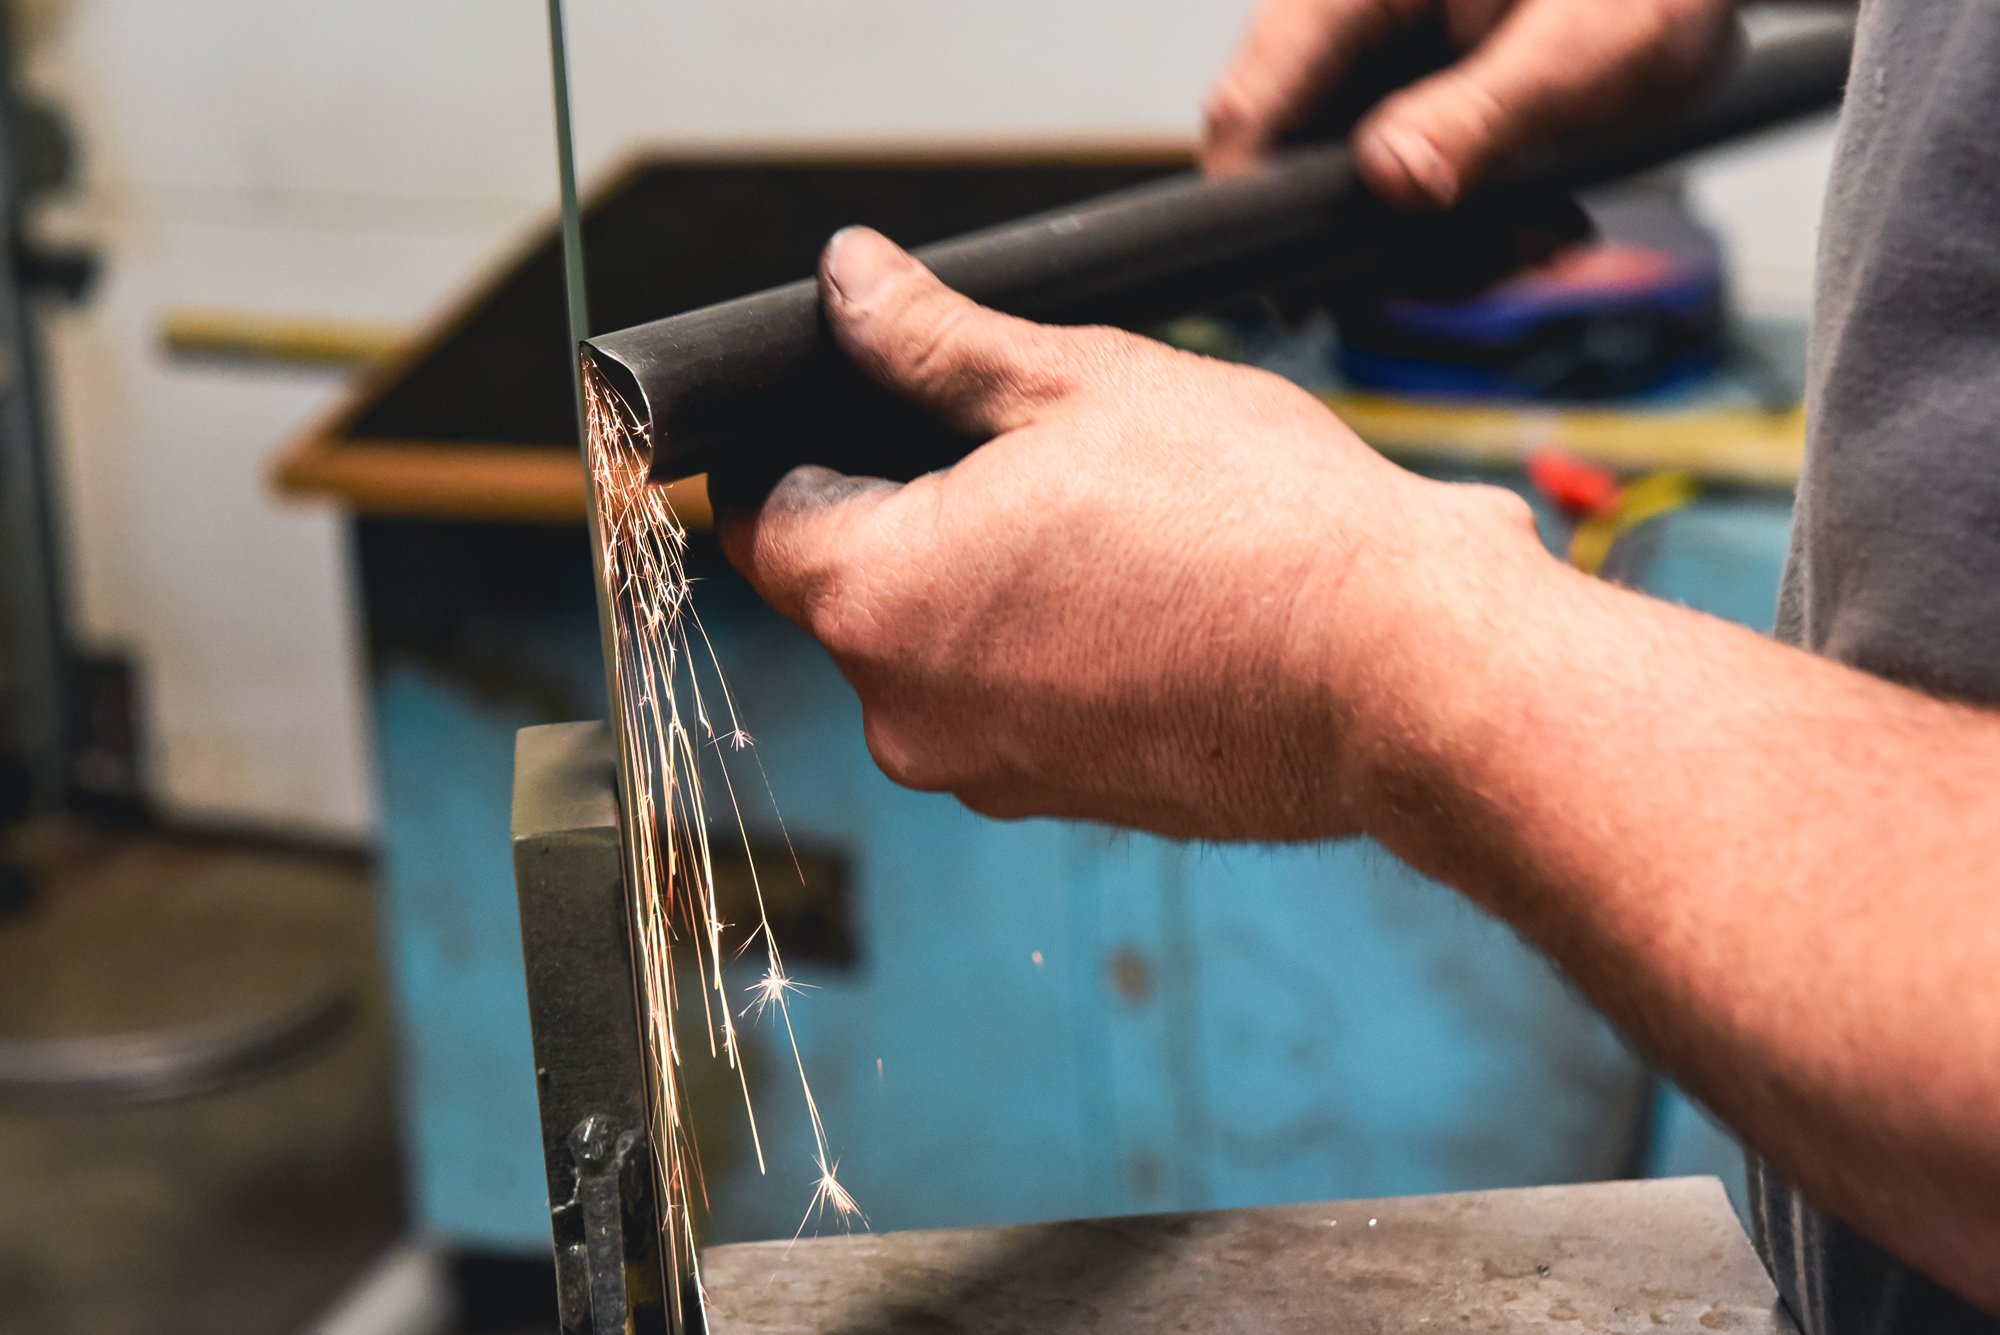
Just like marking locations...measure twice, cut once. And always trim short, walk over and check your work, and trim again little by little. You're better off spending the extra time than trim too much off and end up with an X-member that looks wonky.
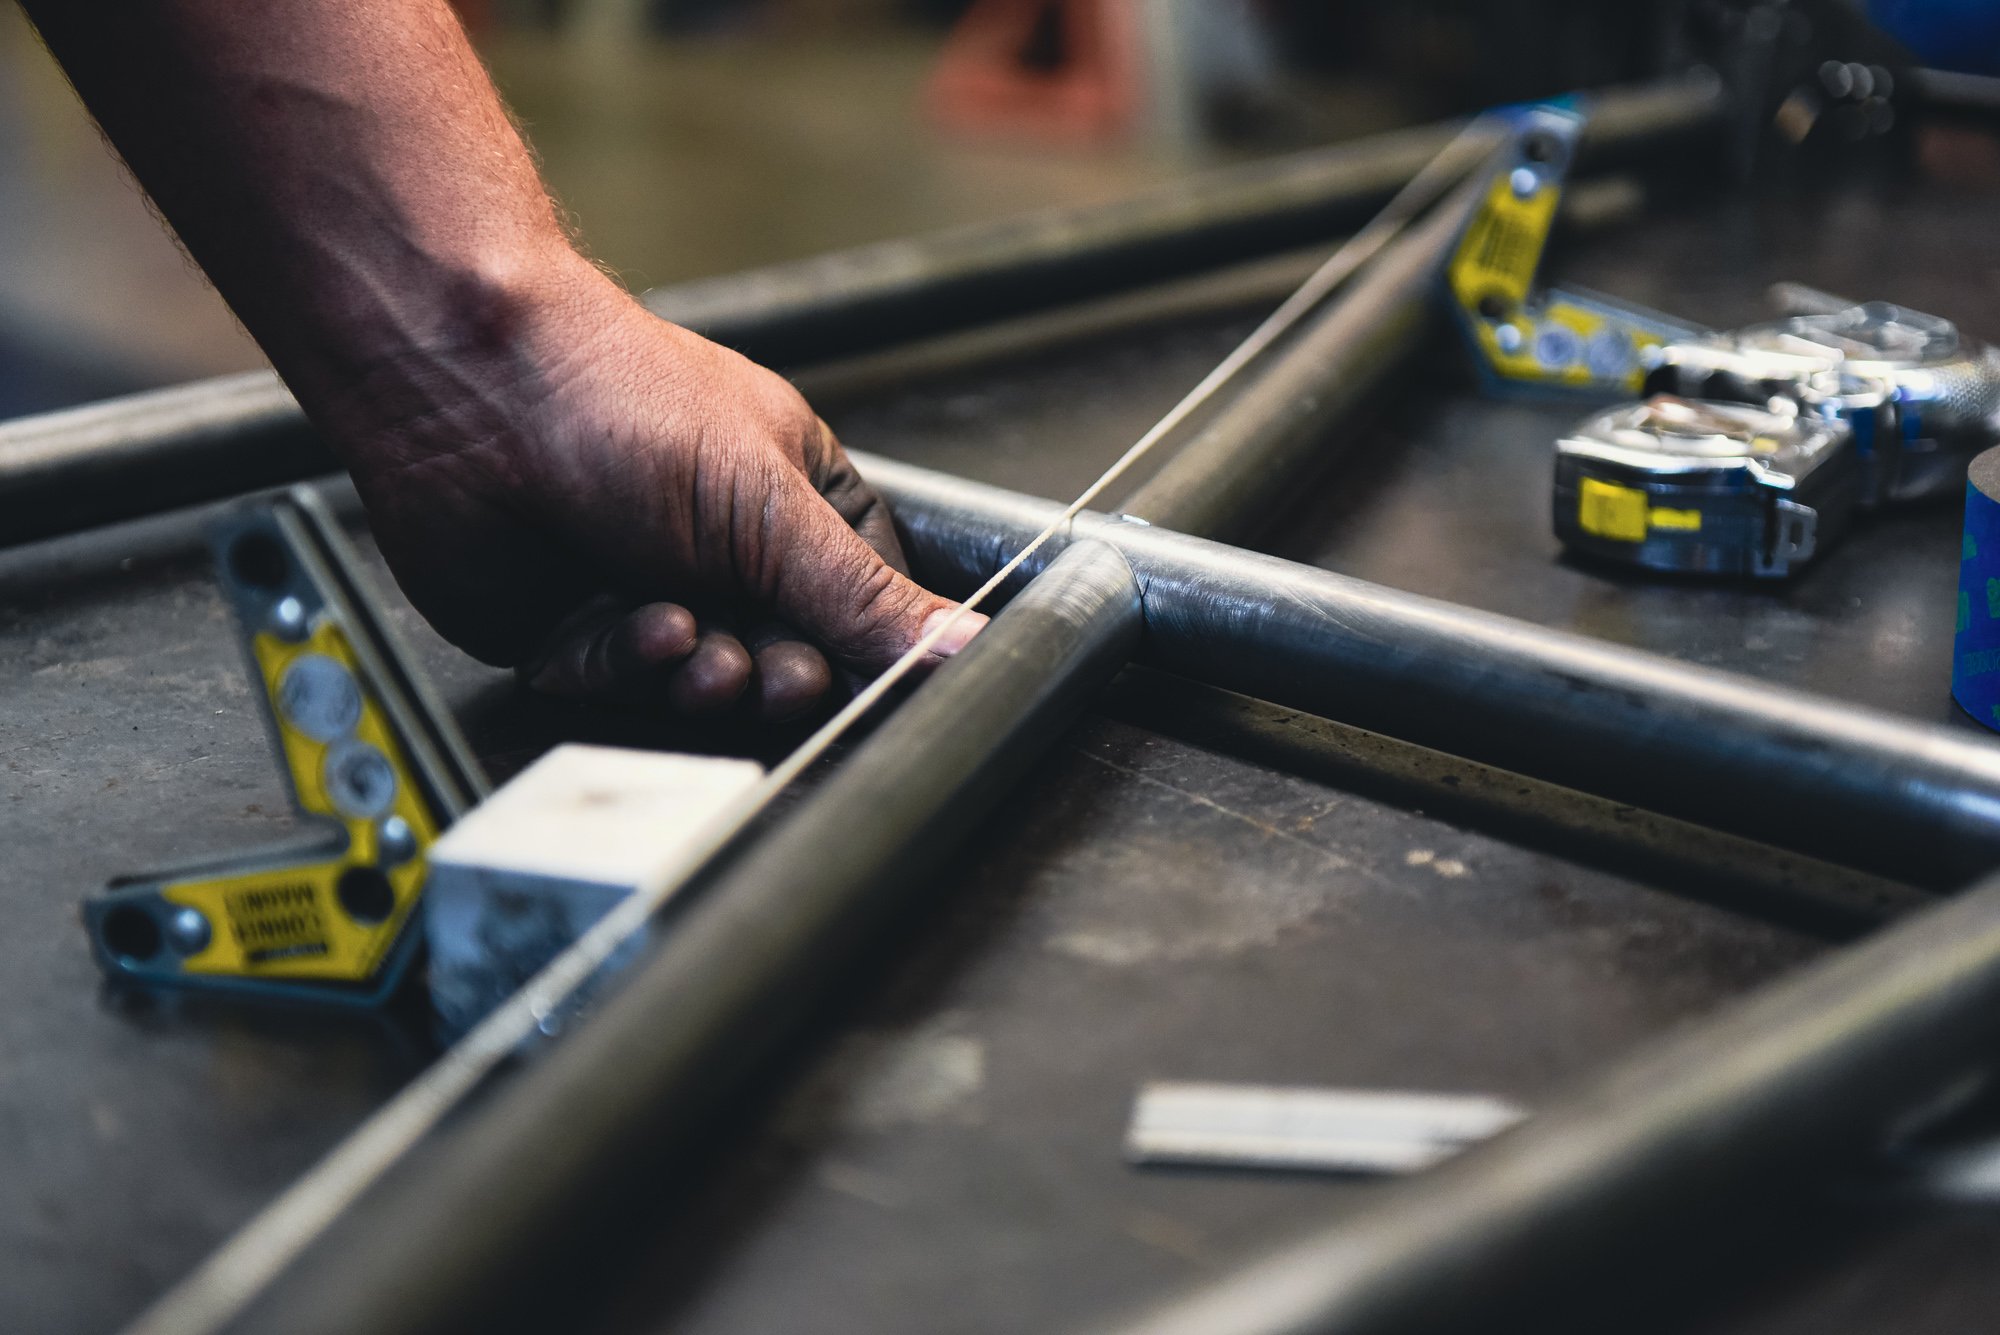
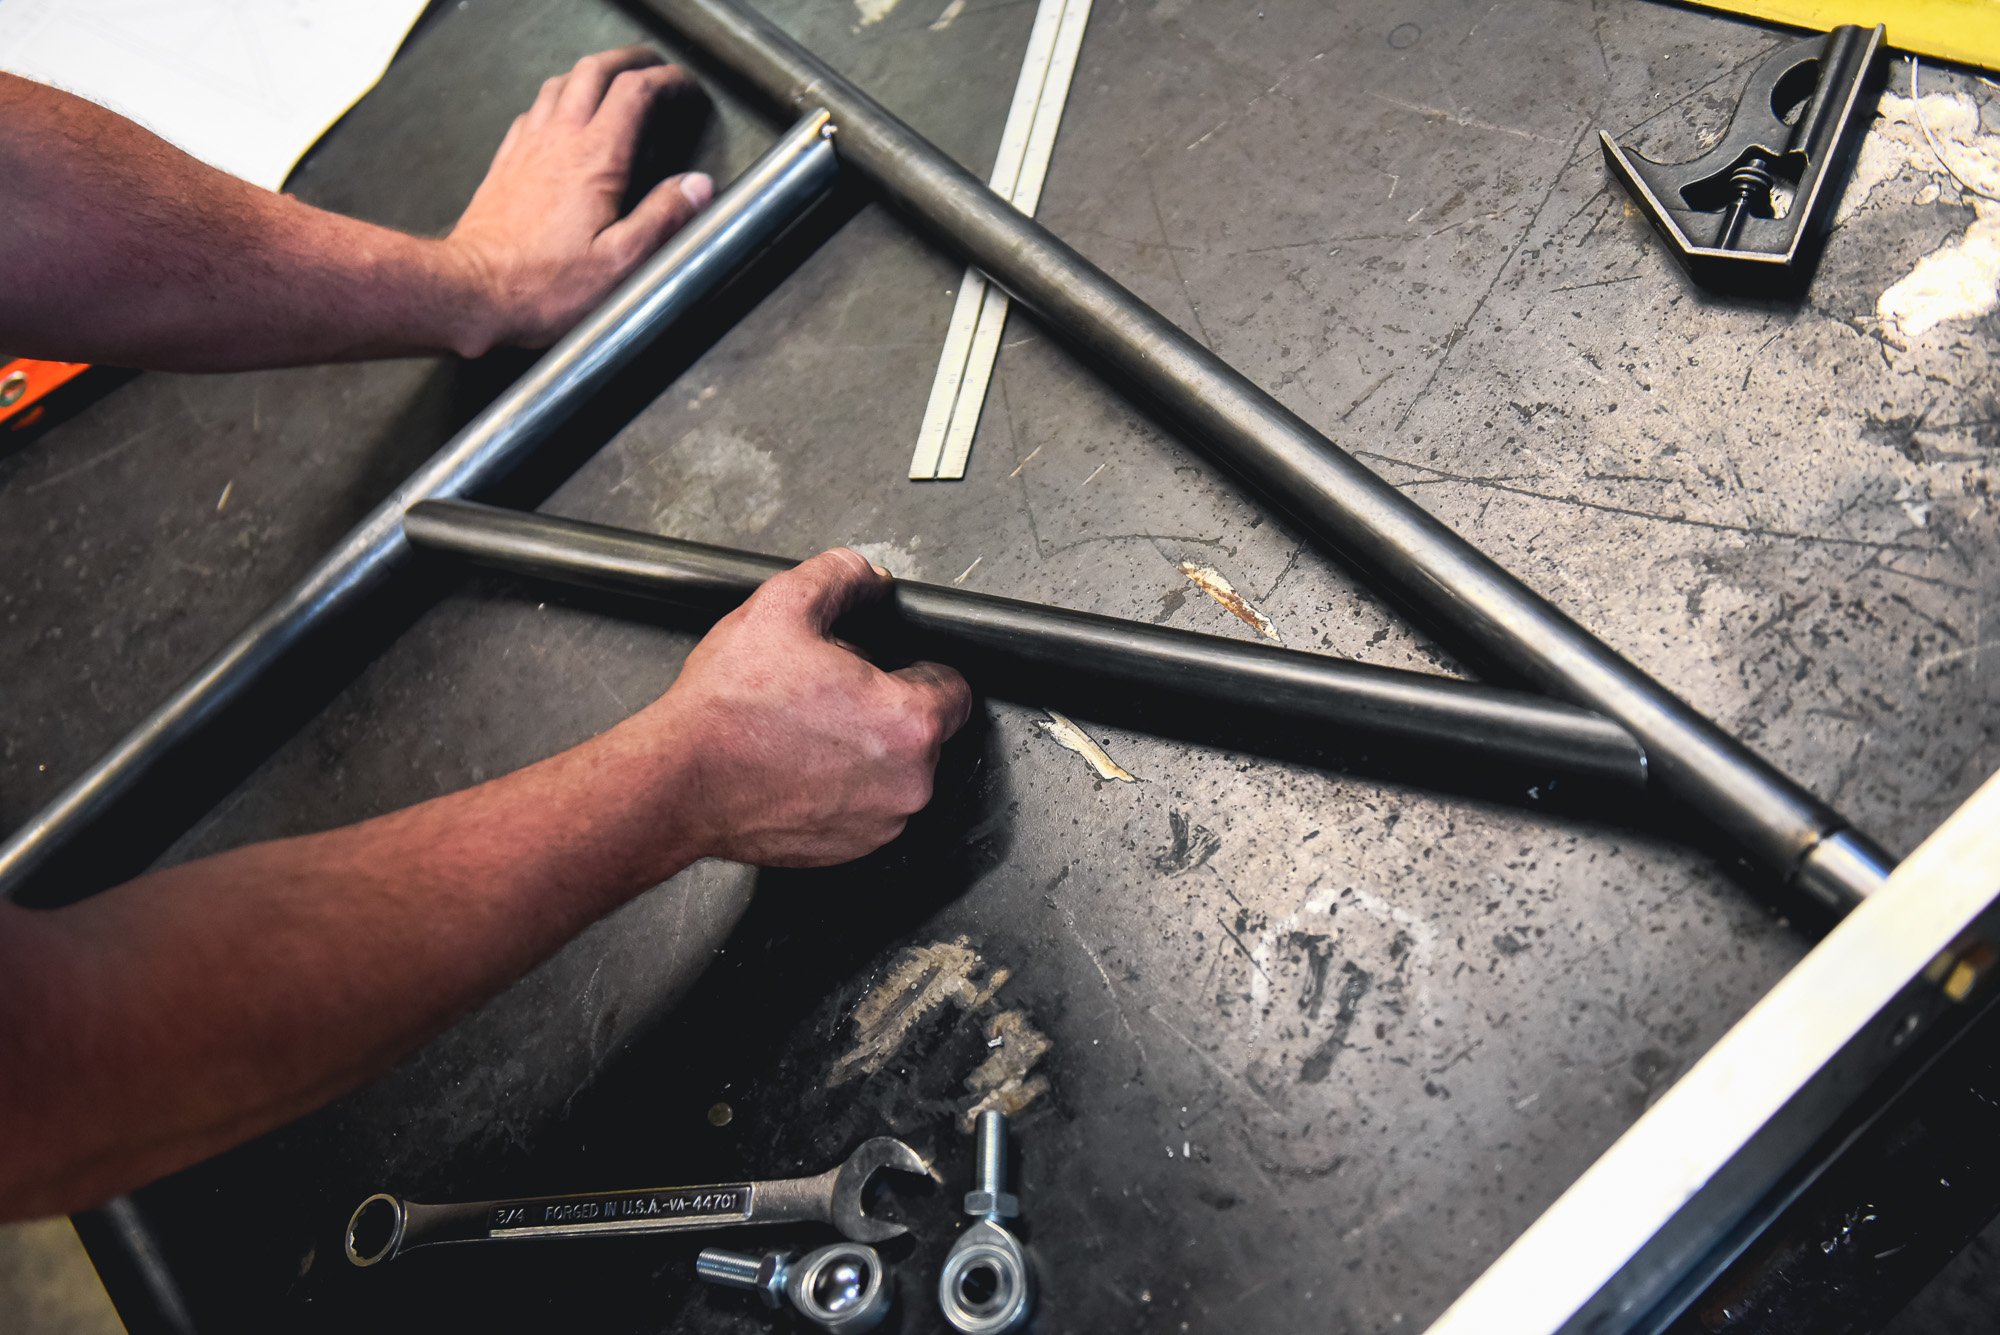
We slowly worked out way from "almost there" there to near perfect symmetry. We confirmed our angle with a string run the length of the two bars.
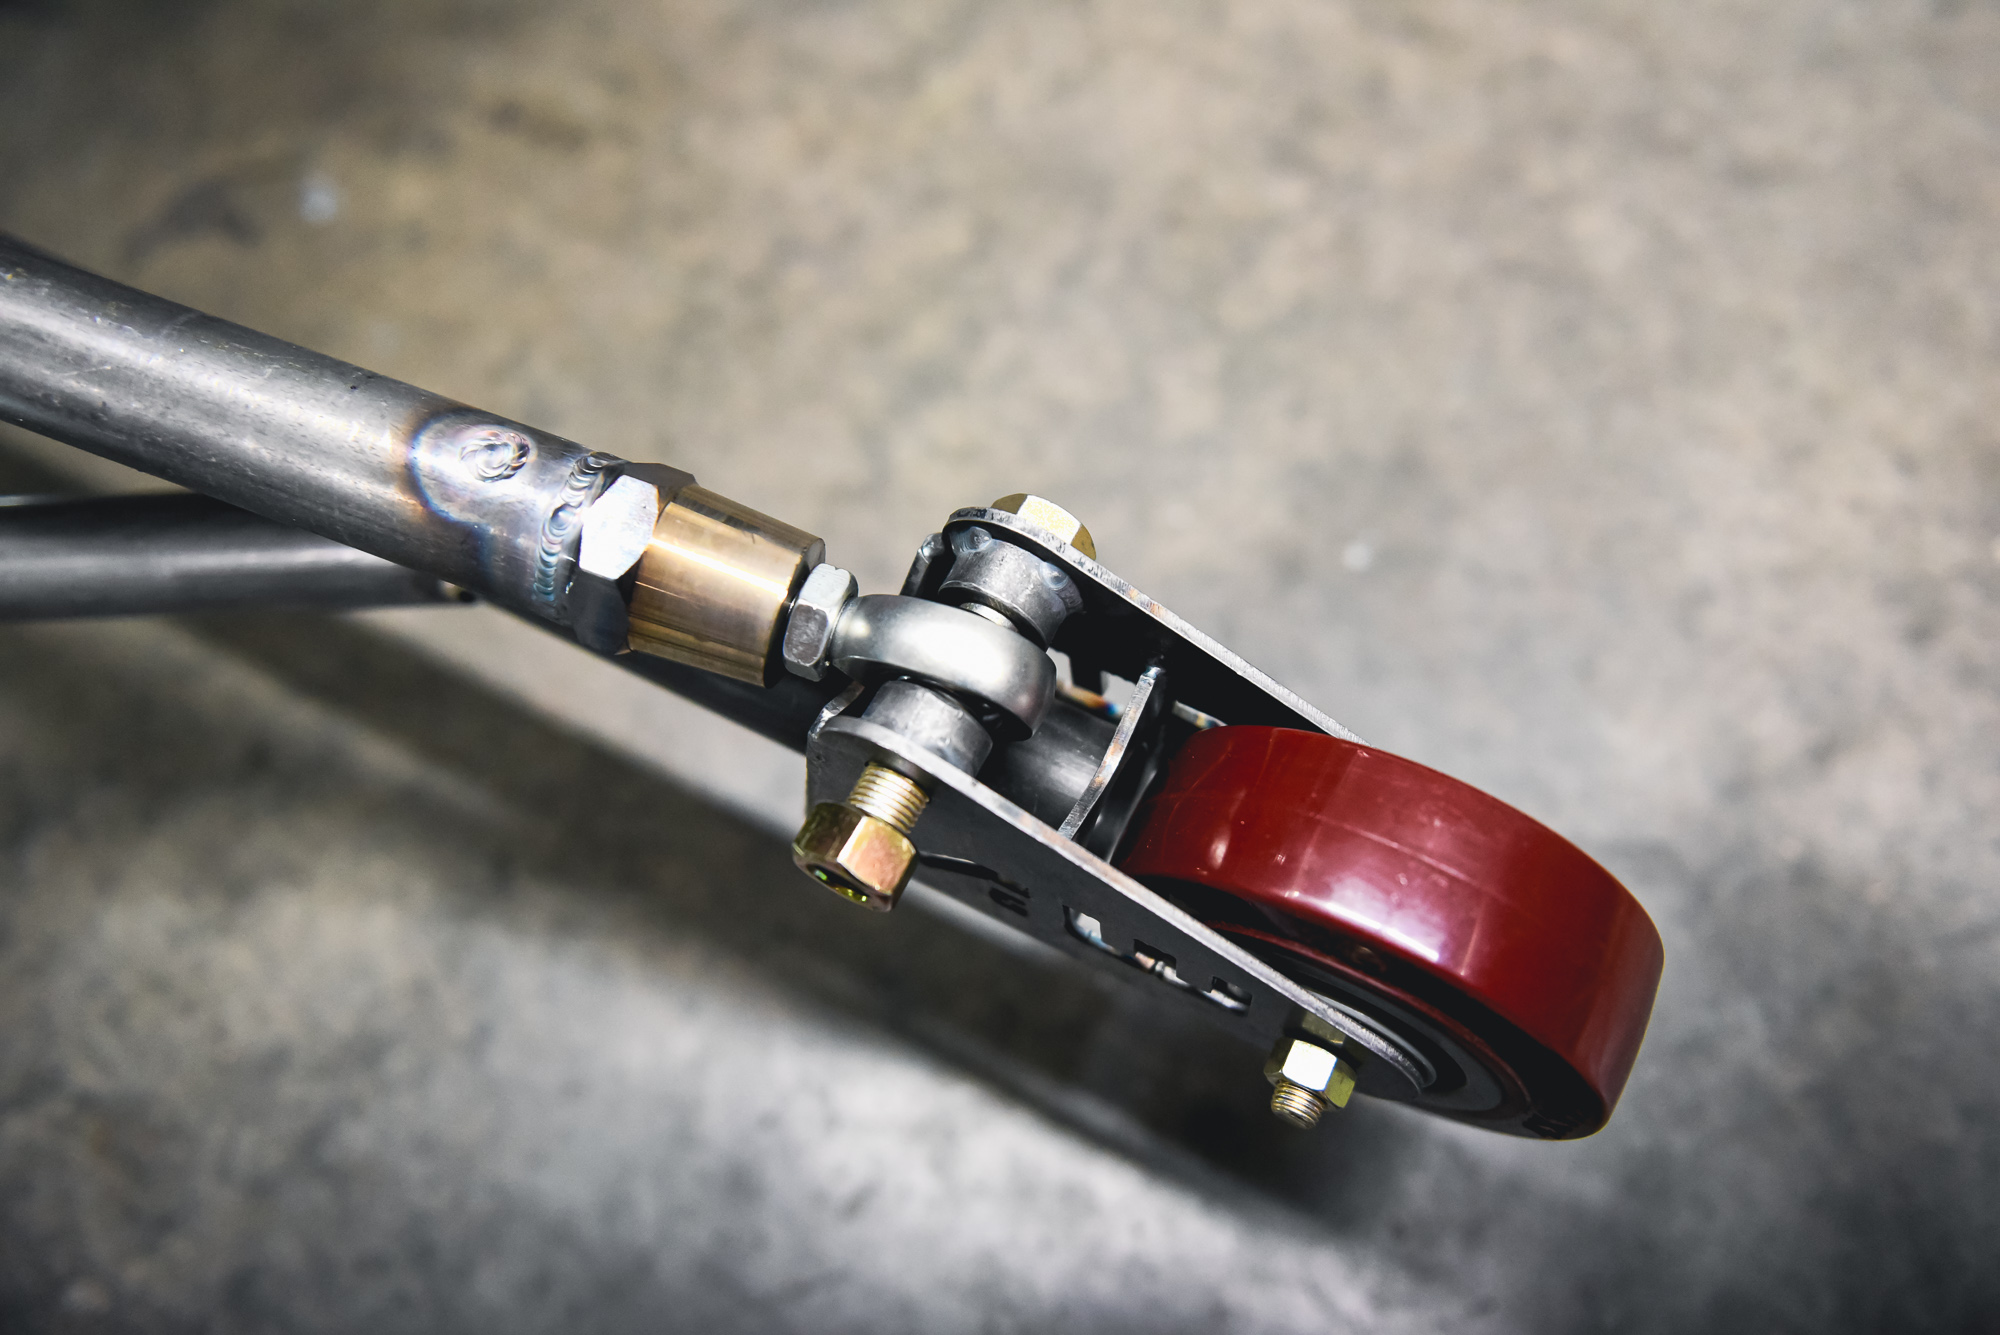
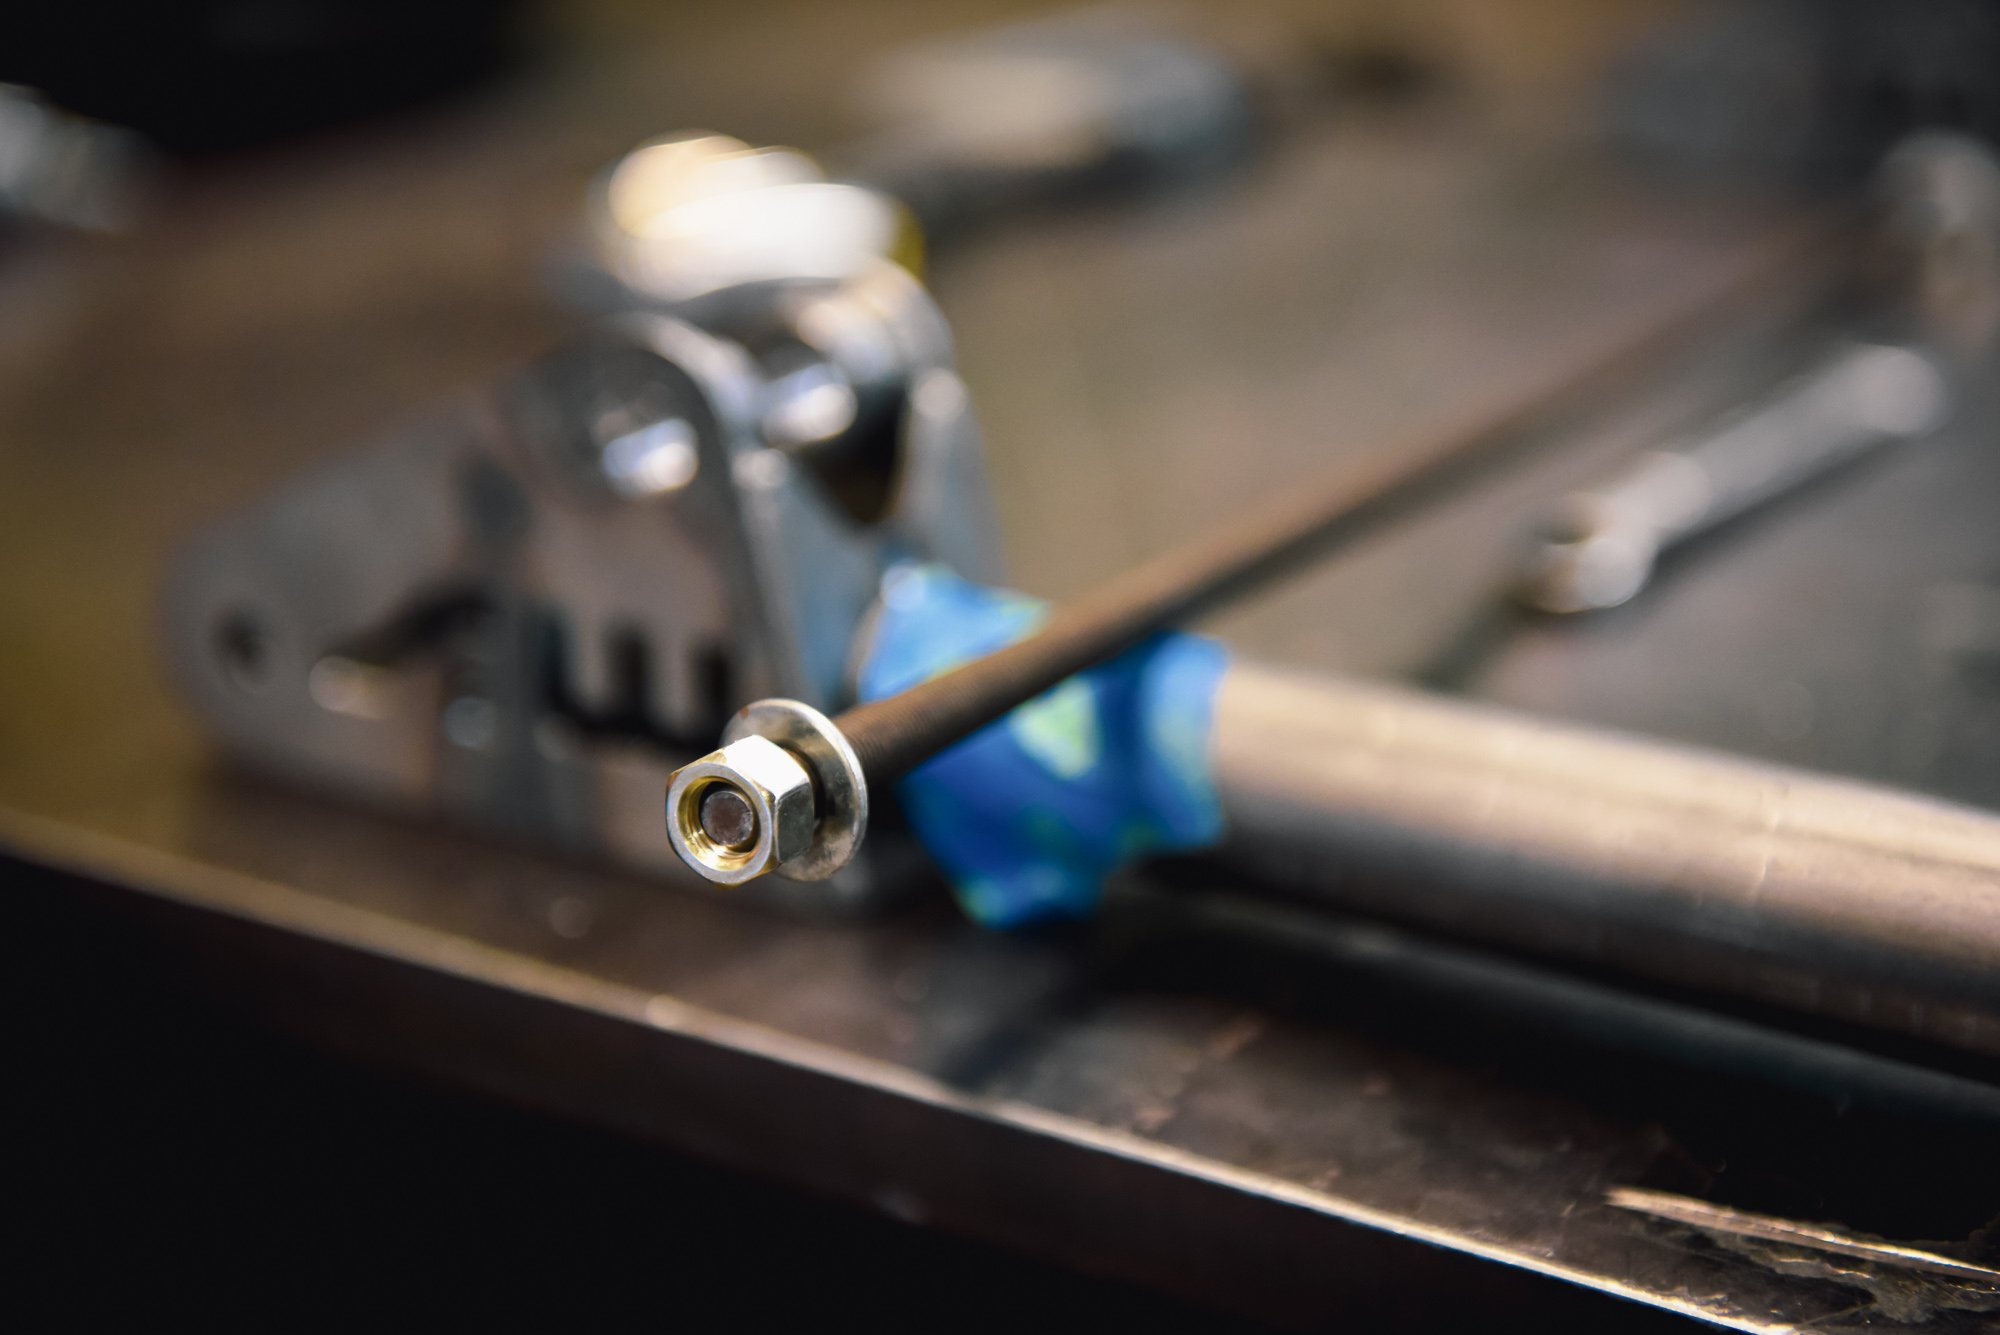
The rod ends are placed on the housing and ready for fitment and trimming of the upper bars. Before you do this, you’ll want to thread the rod ends halfway out, so that once the bars are cut and welded on, you have half your maximum adjustment height in either direction.
We ended up with a length of 54-inches on our bars (axle centerline to wheelie bar wheel centerline, a bottom bar length of 47-inches), and from there, took advantage of access to Autodesk AutoCAD to draw up the angles and dimensions on a computer. To find our angles for the X-member, we went inward 3.5-inches at each end of the lower bars and then measured to the center, where a cross bar is placed. From there, AuotCAD will determine your angles from the lower bars to the center of the crossbar. If you don’t have computer software to do this, you can do the same process by laying it all out in chalk on a jig table or on the floor and drawing it out.
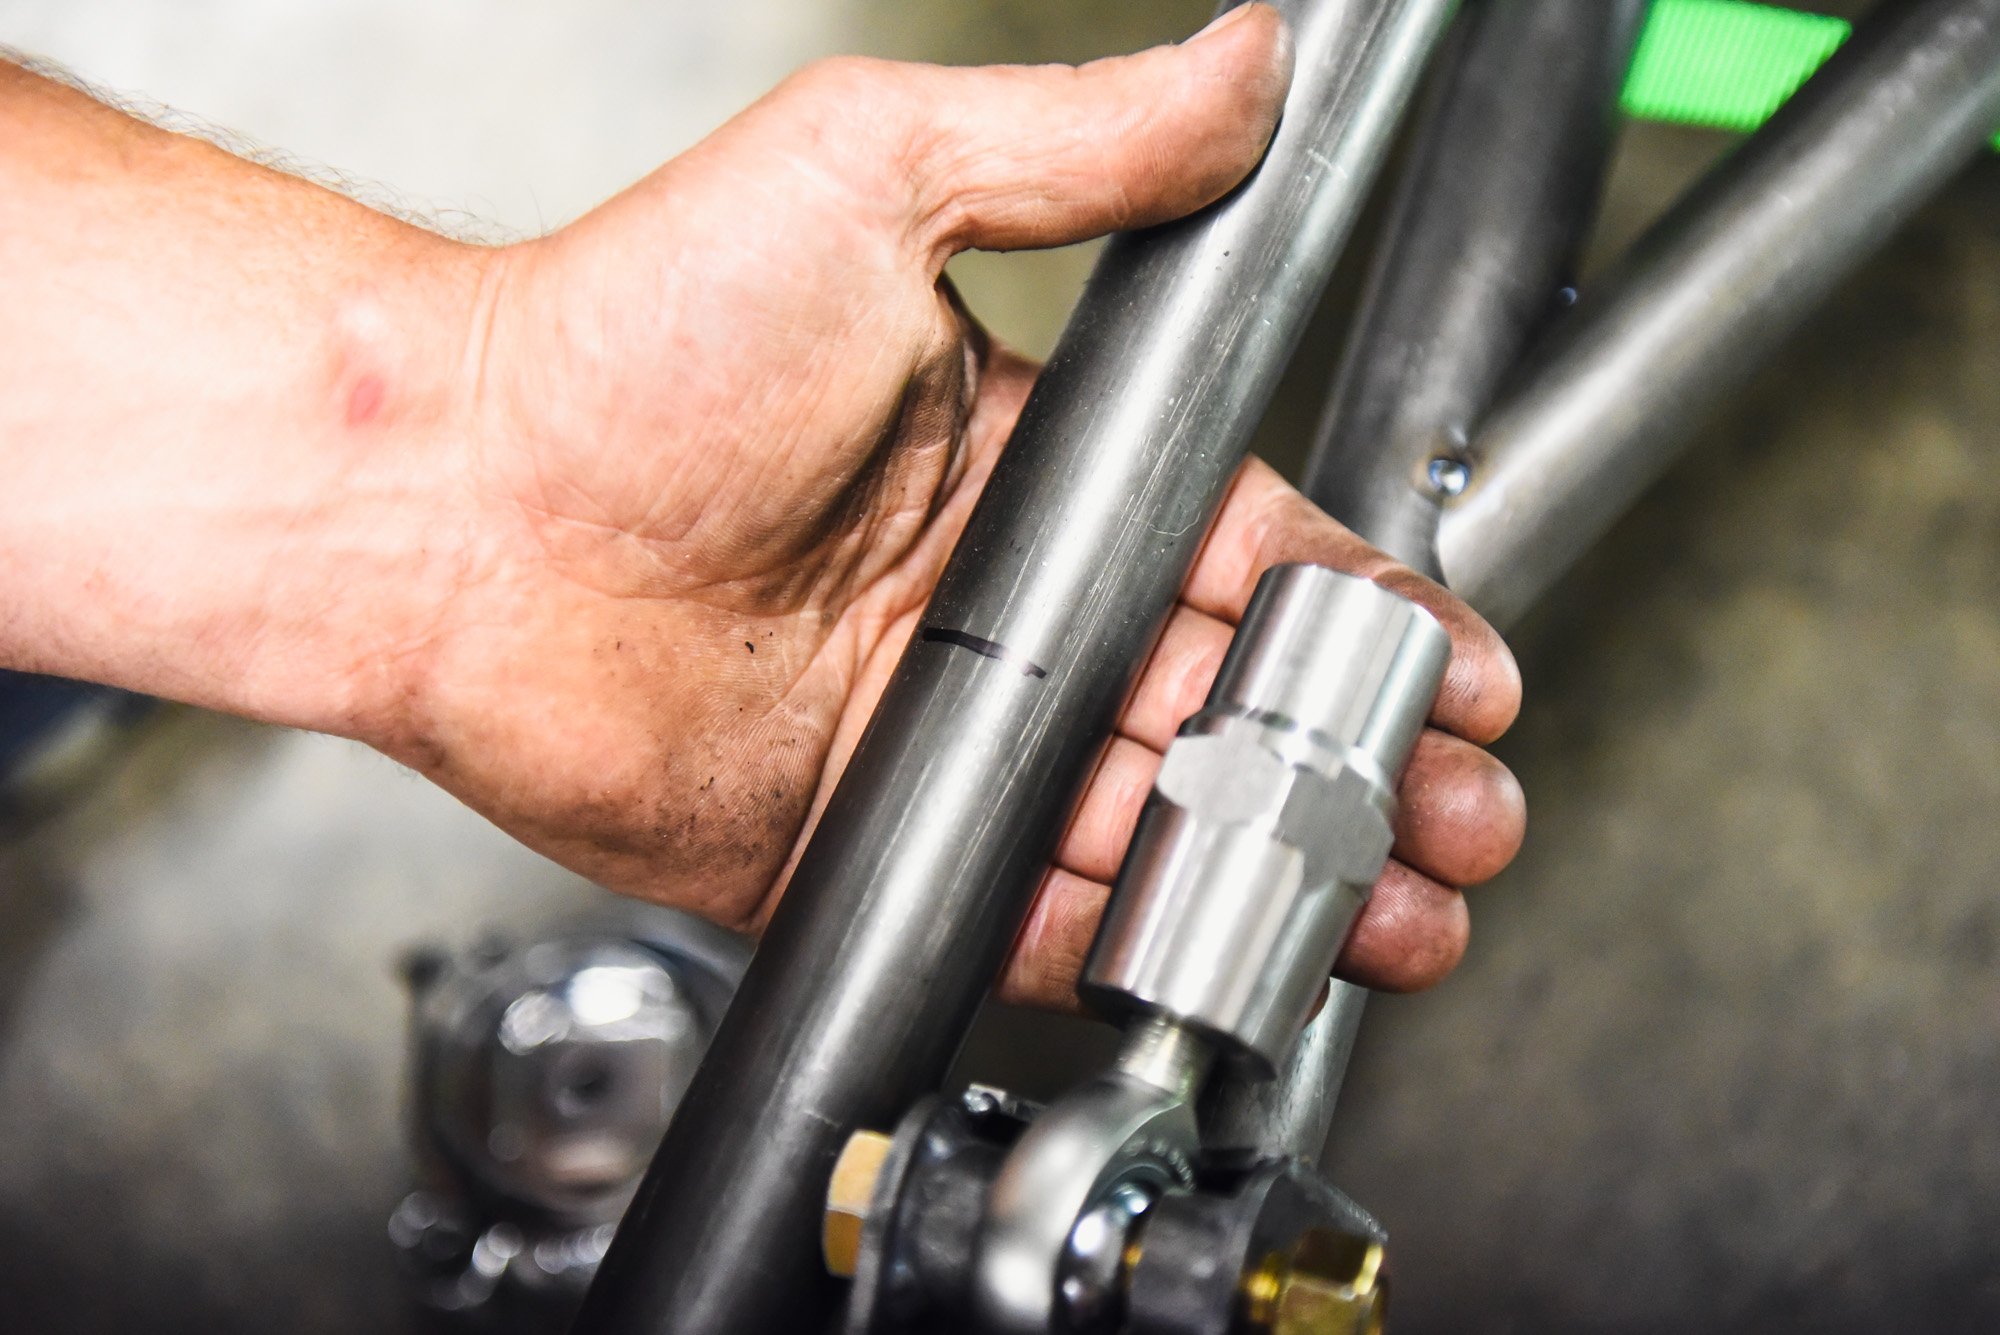
We bolted up the lower bars, checked they were level, and then simply eyeballed the tube up against the rod end and made our cut.
Same thing on the other side: slip on the rod end, eyeball it, measure to confirm the length is the same as the other side, and cut. Take your time on these steps...the end product will be worth it.
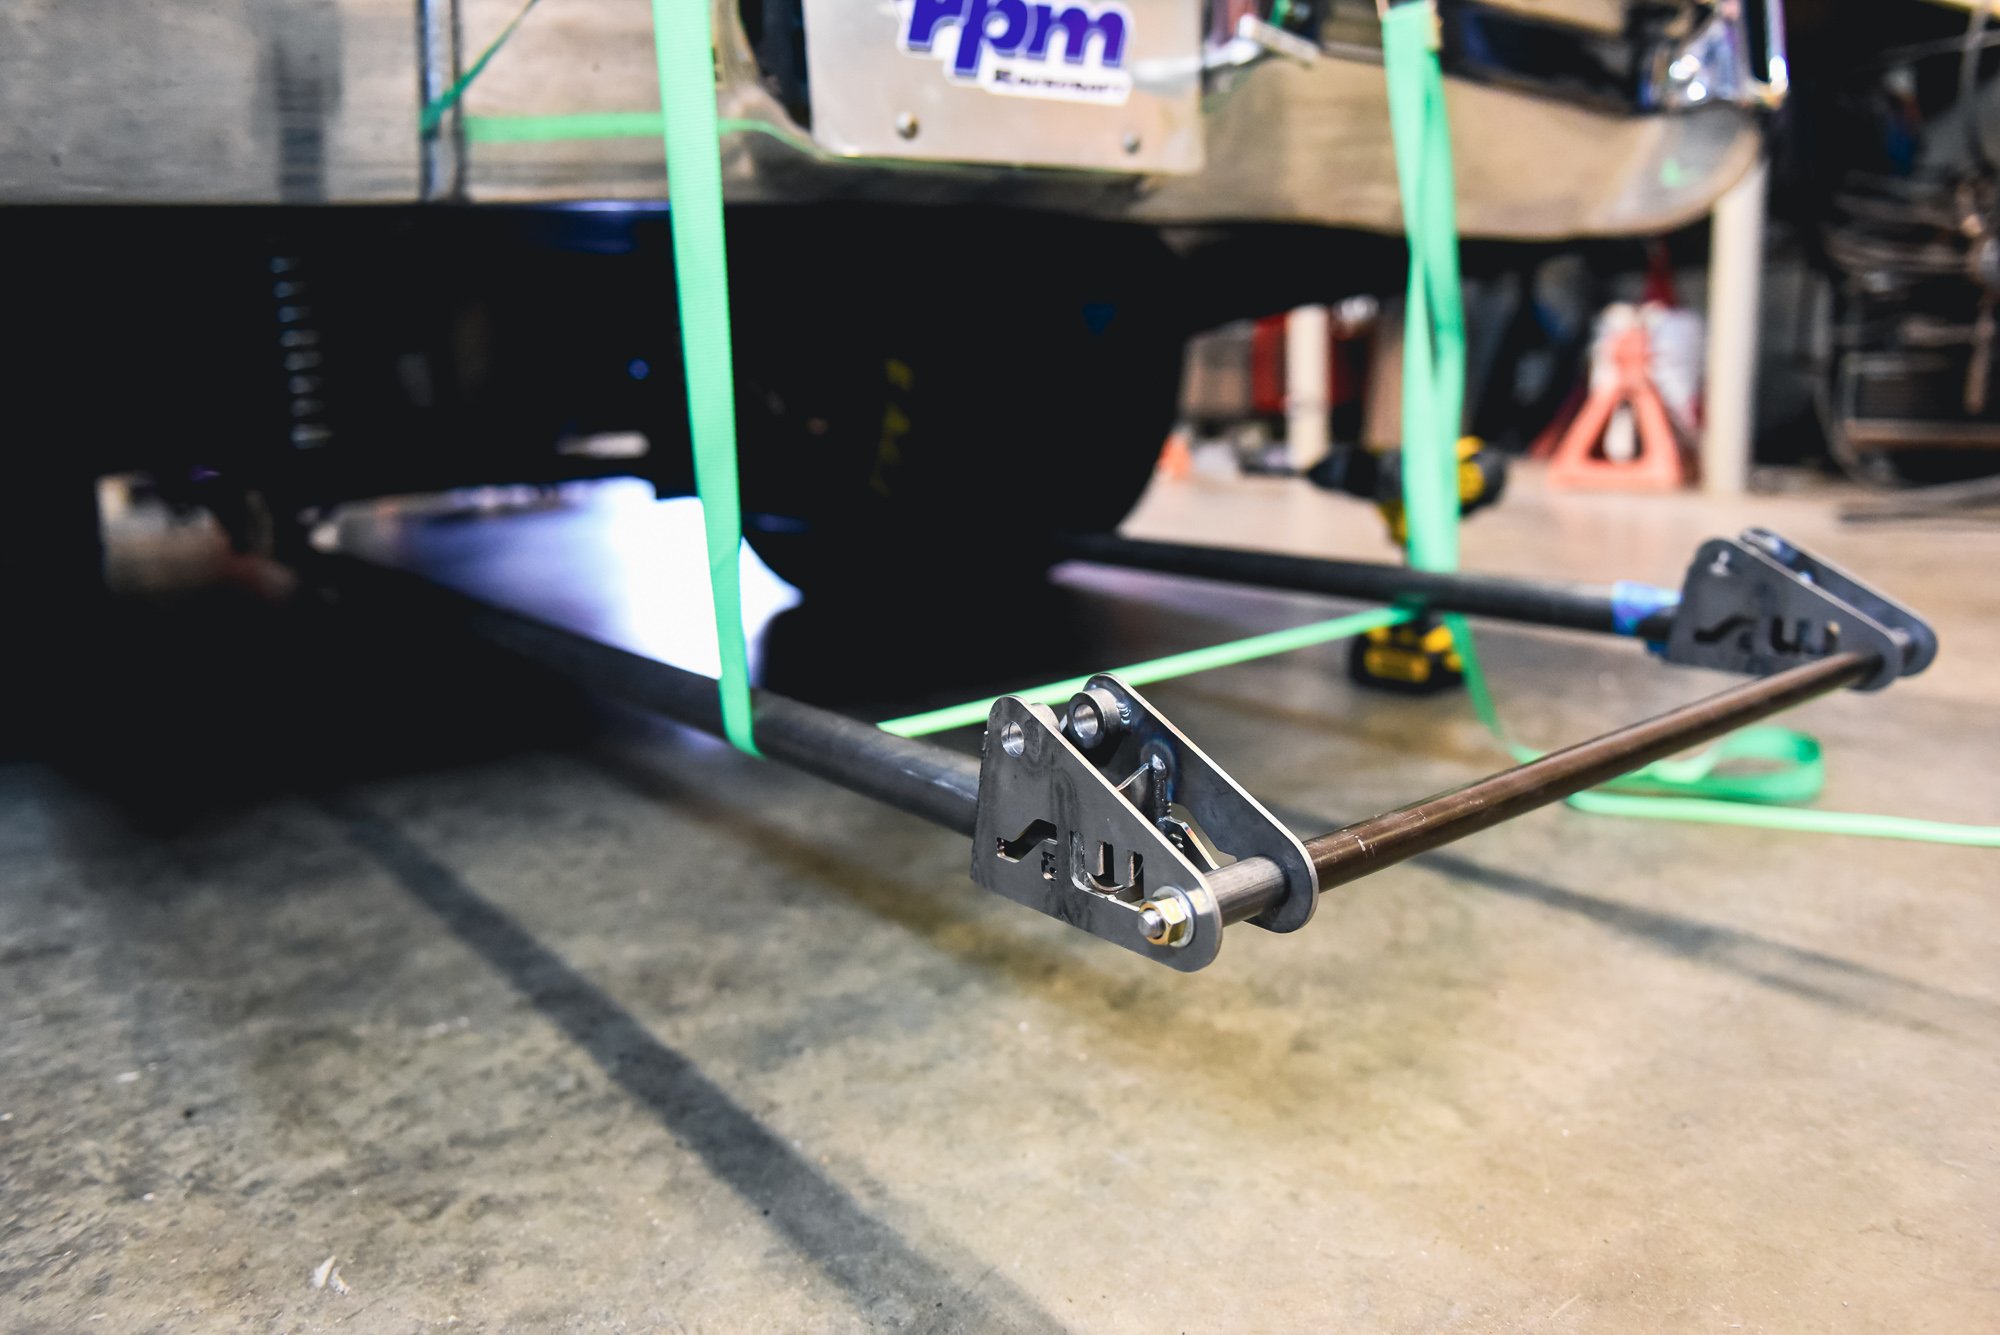
One liberty we also took — which we’d highly recommend to make your bars perfectly straight and easy to work on — is to build a simple fixture to hold the lower bars in position. To do this, we measured our lower wheelie bar bracket distance and took a bar of square aluminum and drilled holes at that distance. The rod ends were slipped into the bars and then bolted to the fixture. At the other end, we fitted the S&W wheelie bar wheel brackets on and slid a threaded rod through the wheels, along with a piece of tubing cut to the proper width to run between the two brackets. With that, our bars were perfectly straight on the table so we could work.
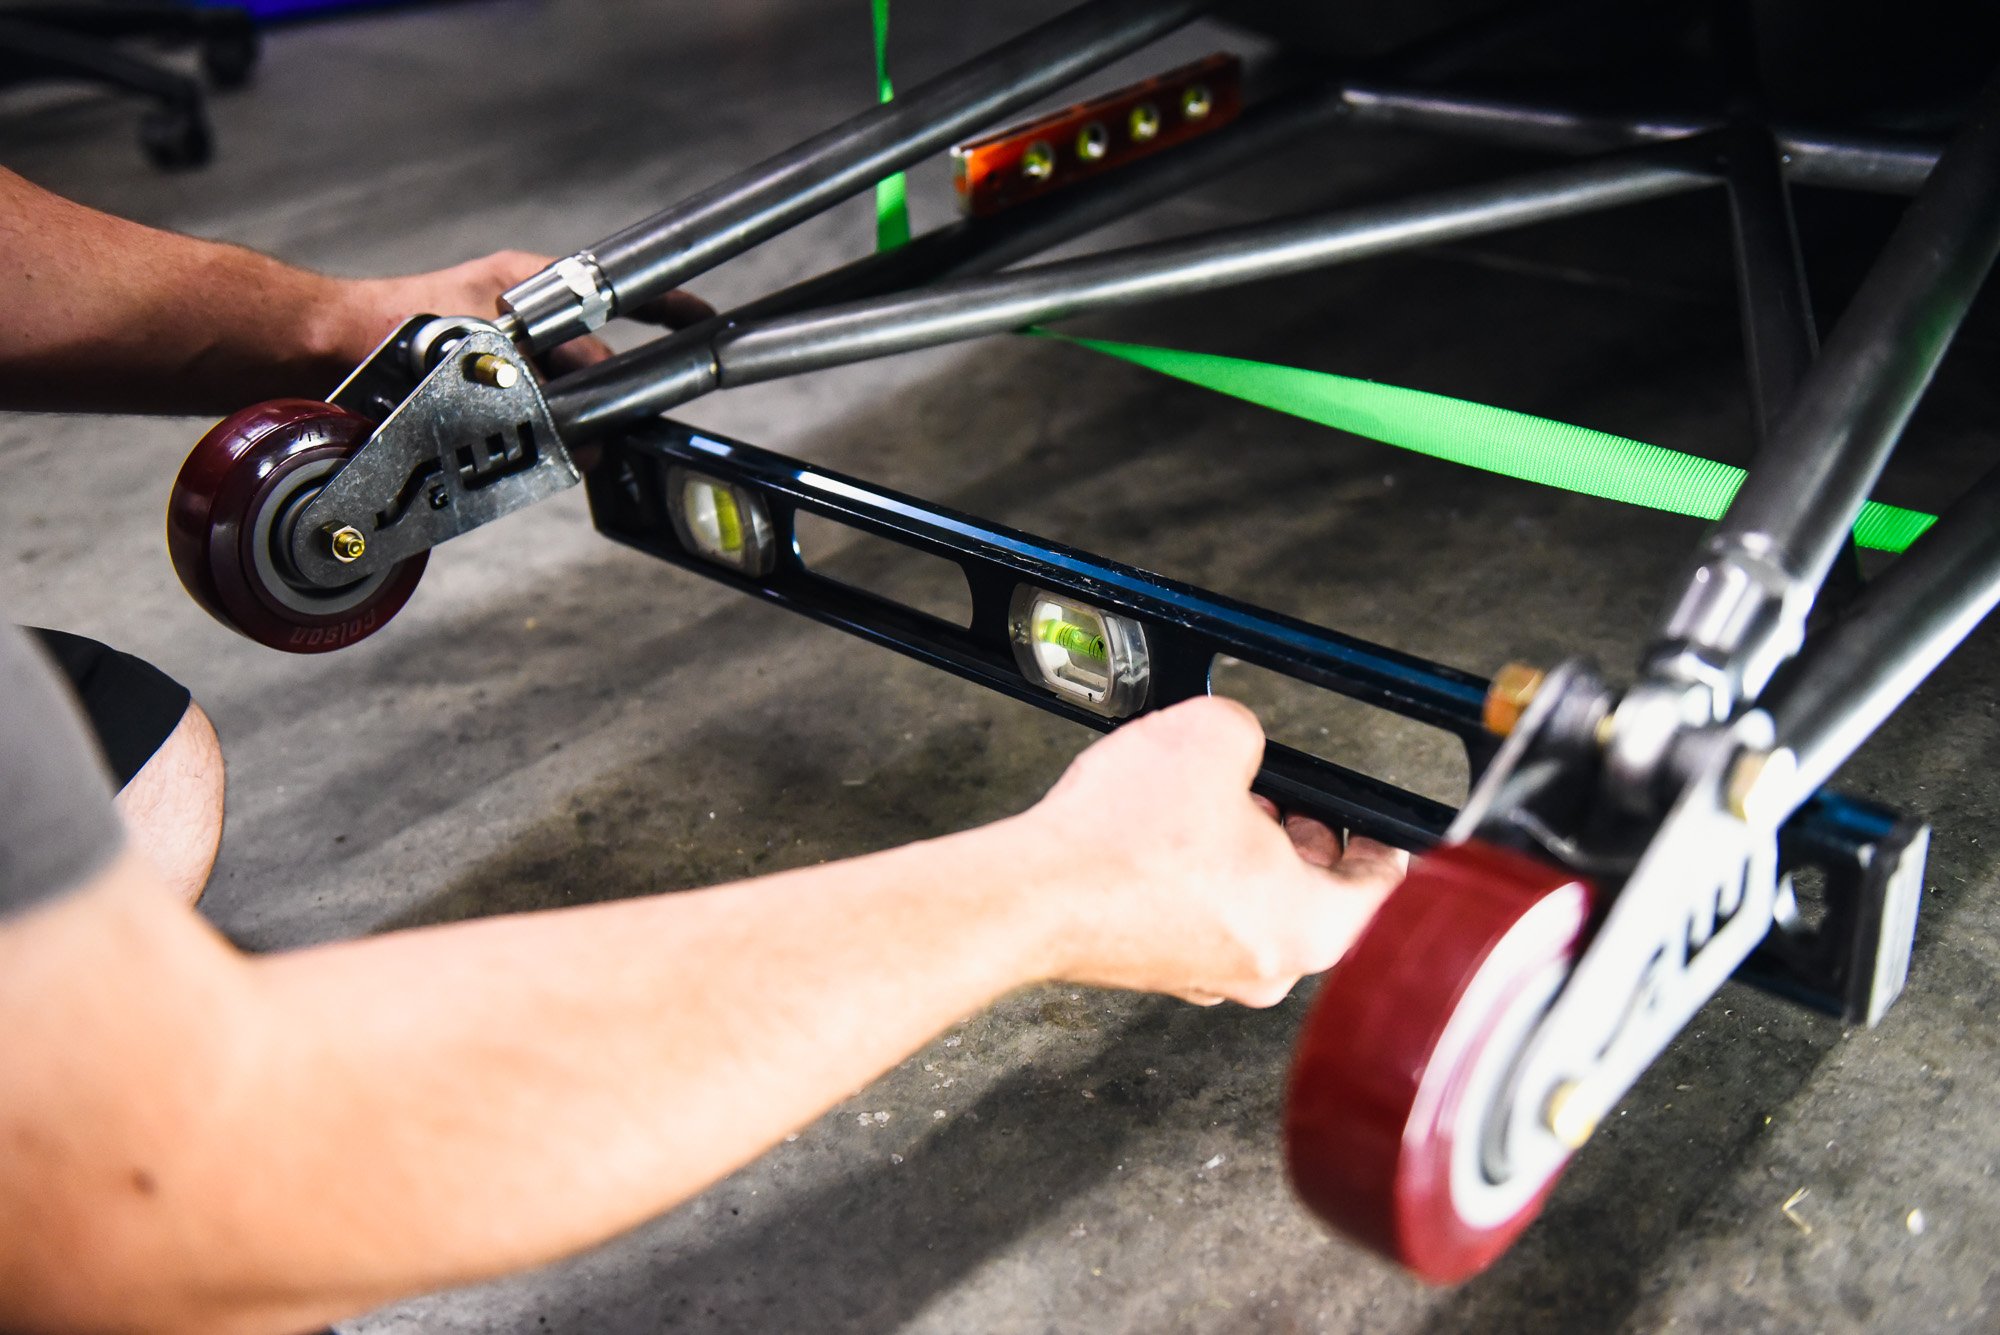

With both upper bars cut and everything tacked in place, we checked every bar for level and measured wheel height to ensure it was all square.
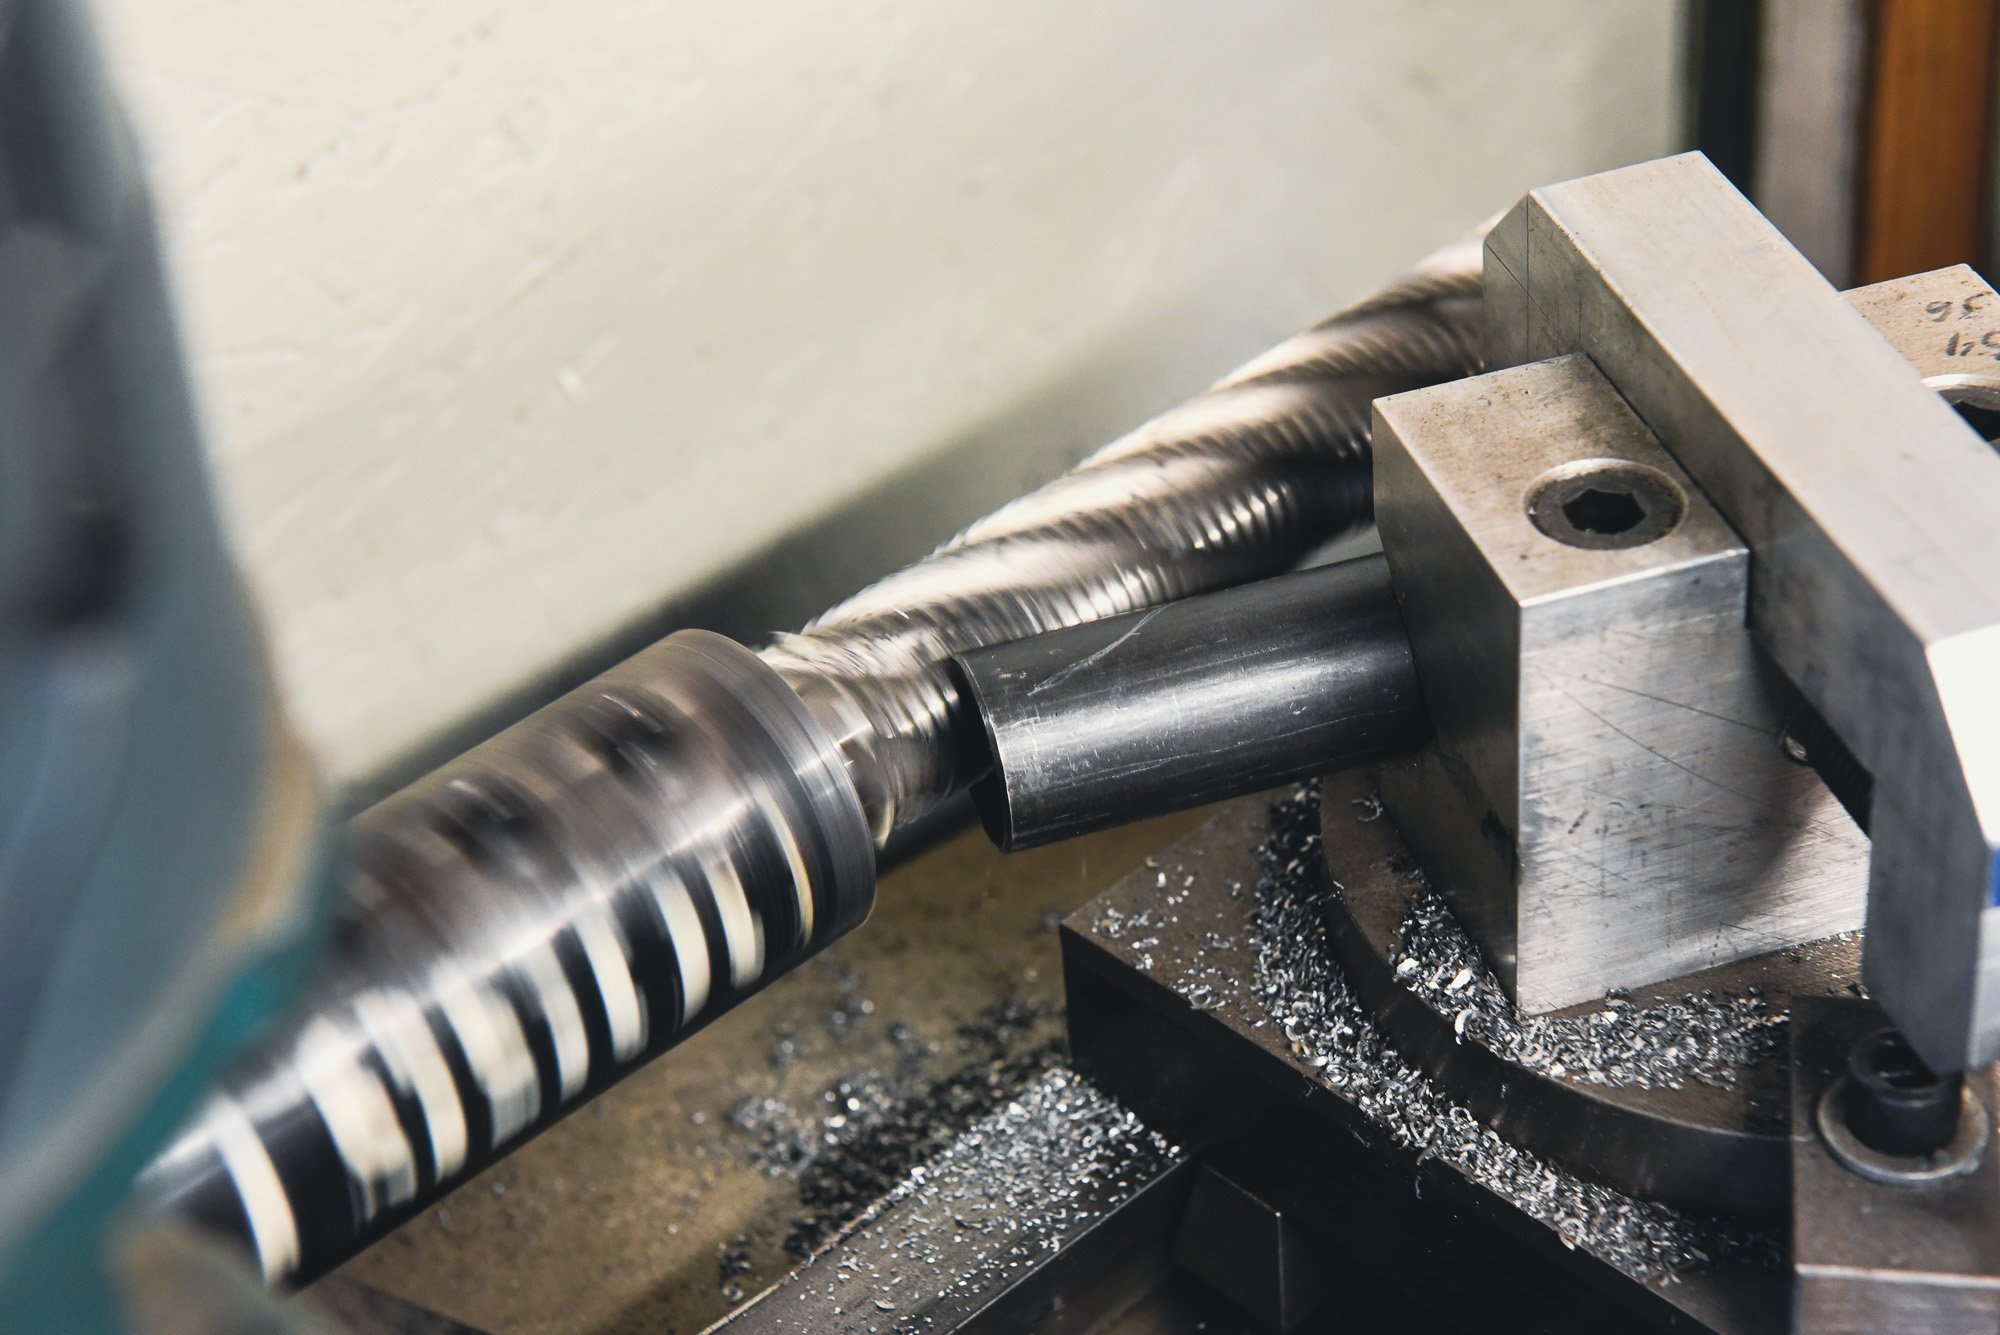
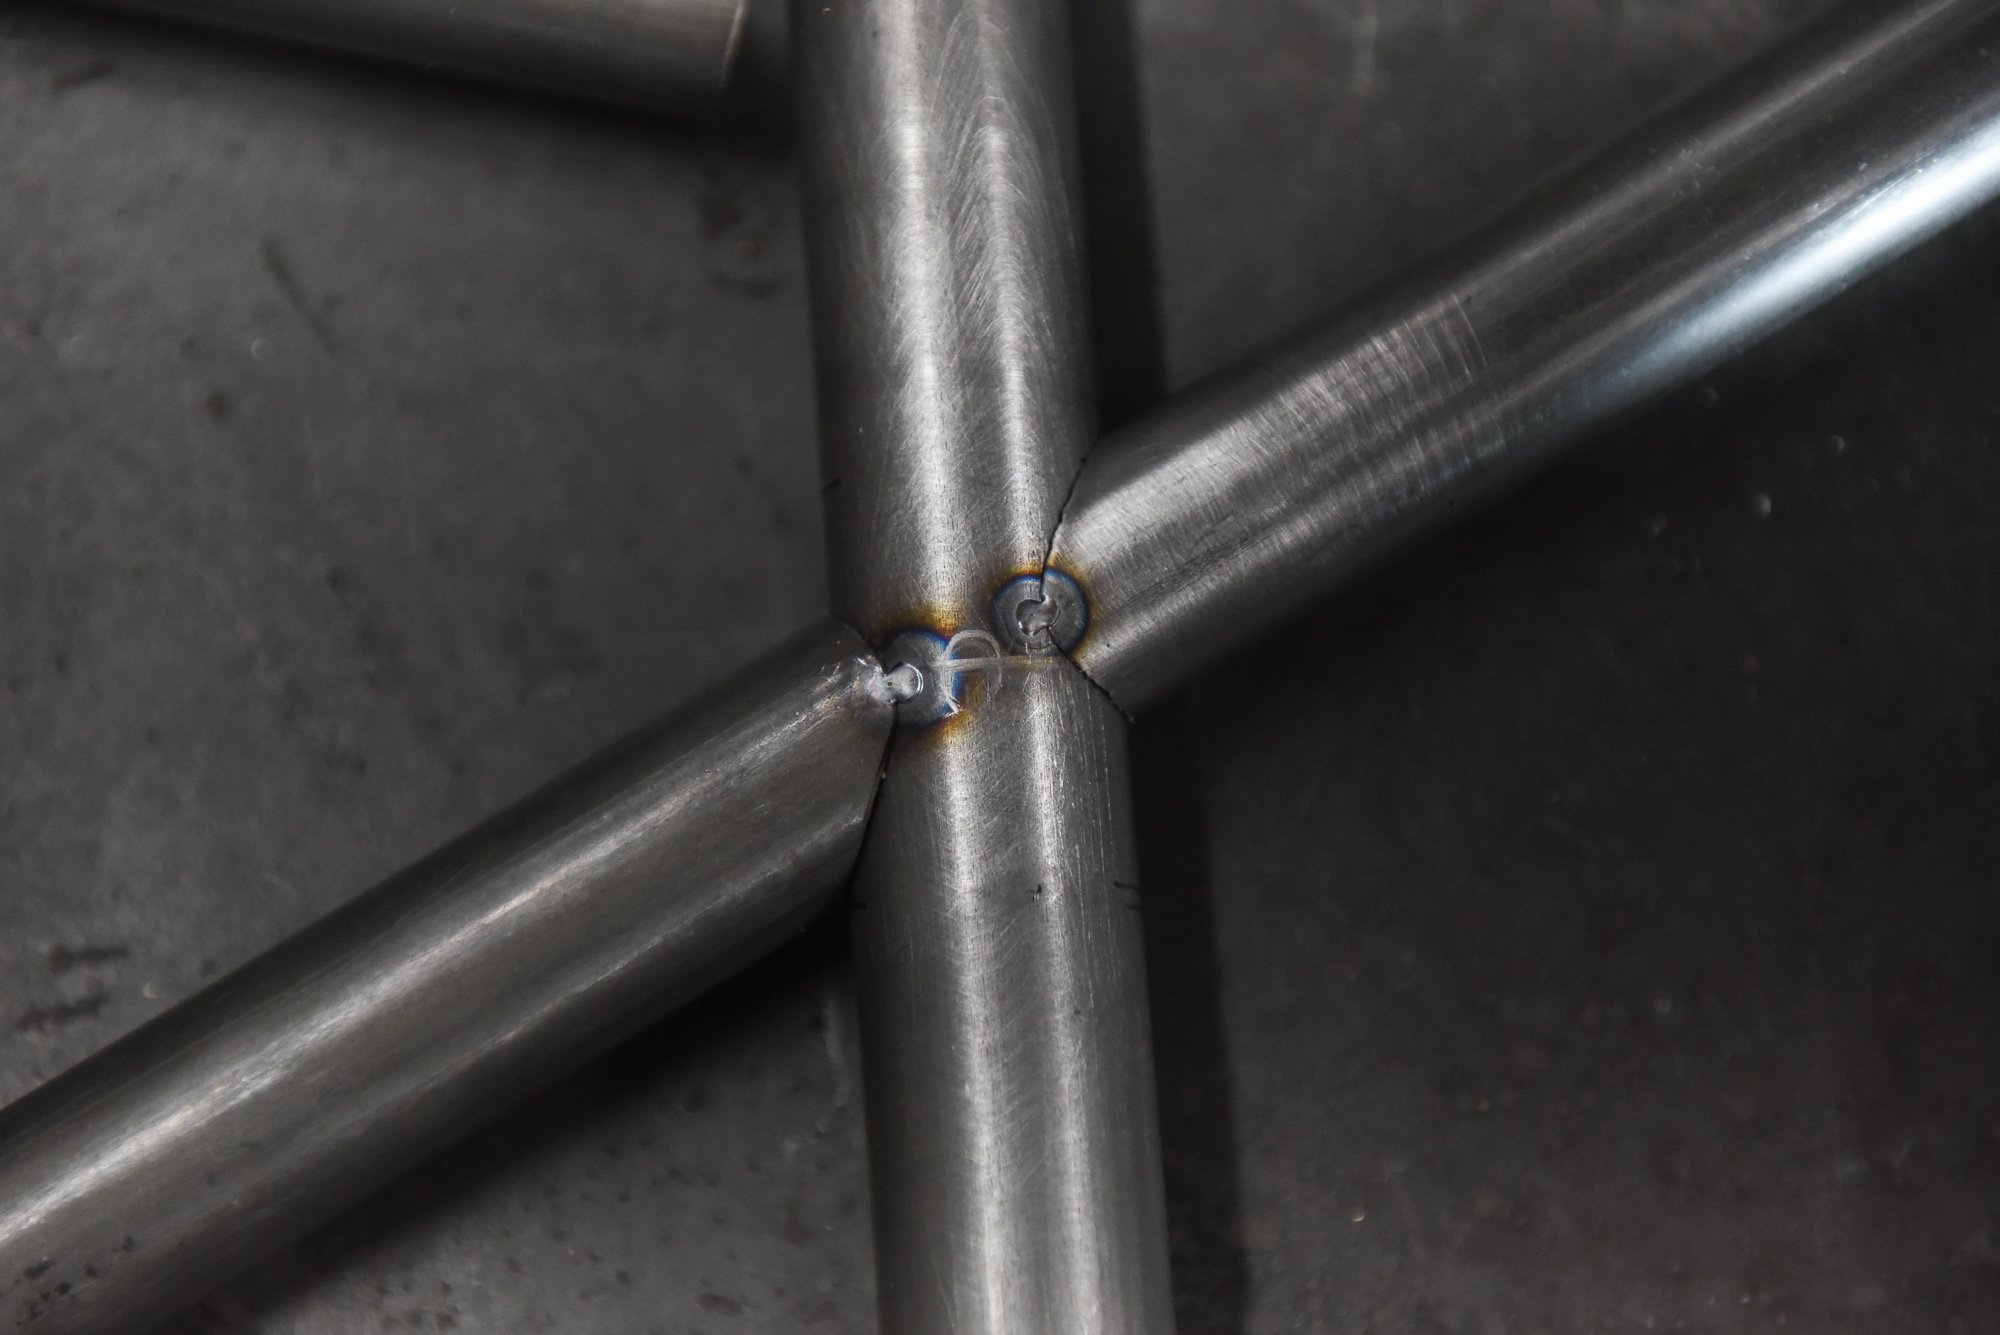
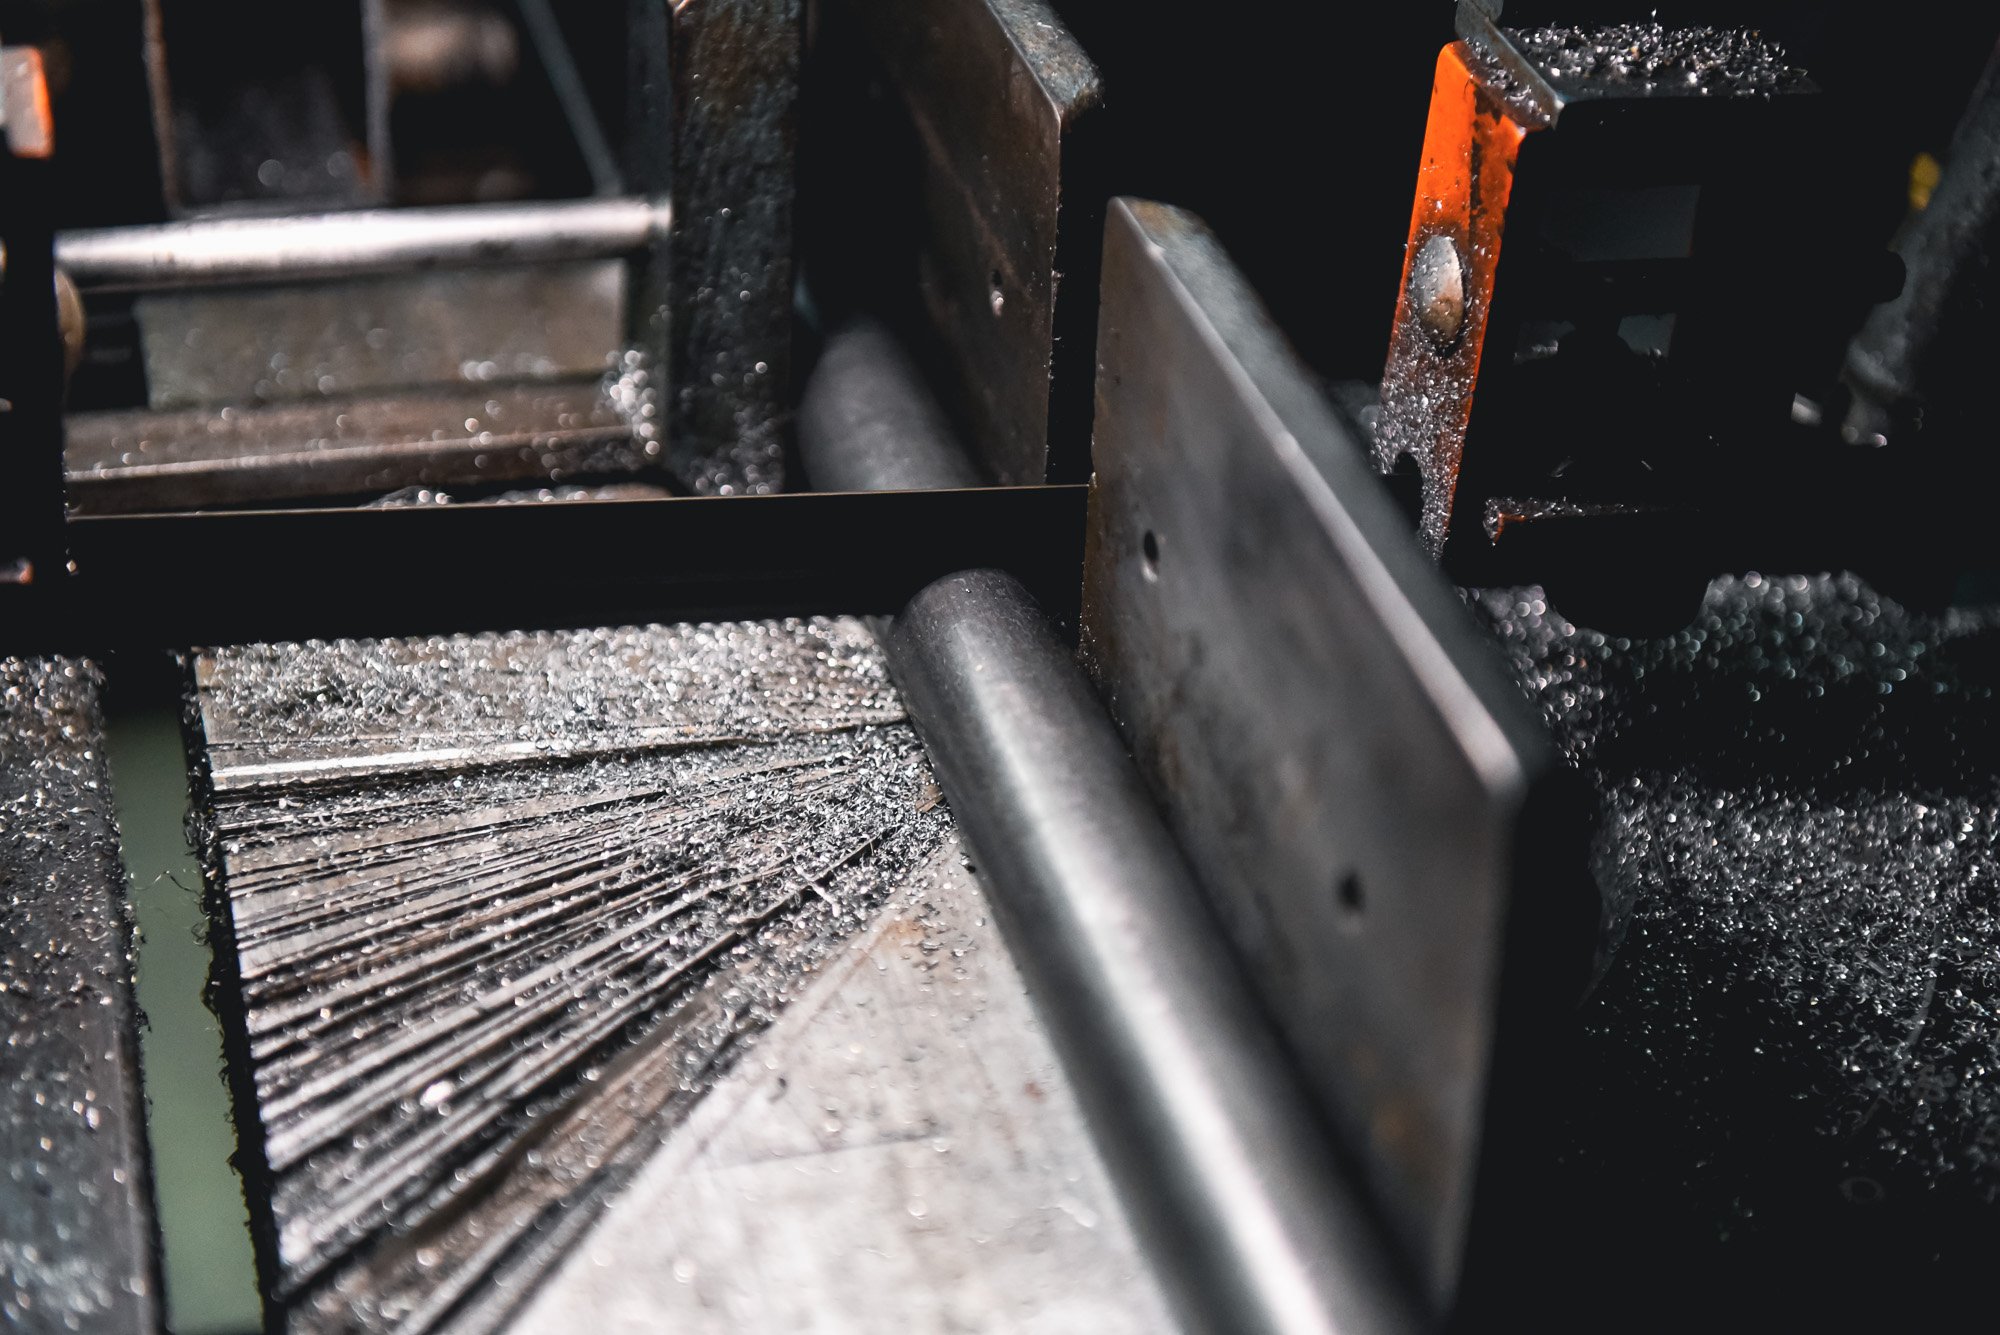
From there, with a tape measure, we carefully marked out all of our positions for the X-member to land and tack-welded the crossbar into place. We then headed over to the tube notcher, and with the appropriate angles dialed in, made our cuts, being careful to measure twice, cut once, and to trim it a little short and keep checking our work. As you lay each straight section of tube up with its correlating tube in the “X,” run a piece of string the length of the two bars to be certain they line up.
Once you have all your X-member bars complete, tack them into place — along with your rod ends and the wheel brackets — and bolt them up to the housing. Here, we used a tie-down strap from the bumper to raise the bars up into position, checked to ensure they were level, and then slipped the upper bars onto the housing brackets. To get our top bar length, we eyeballed them on the upper rod end, marked it, and made our cut. One important note here is that you will always want some adjustment both up and down, so position the rod on the upper bar and leave yourself half of the threads exposed at both ends; this will change the length of your top bar, so ensure you’re doing this step first.

With everything square and level, it was time to final-weld everything together.
After you have the first upper bar cut, you’ll want to measure both uppers to be certain they’re of equal length; if they are, you know your wheelie bars and the housing brackets are square.
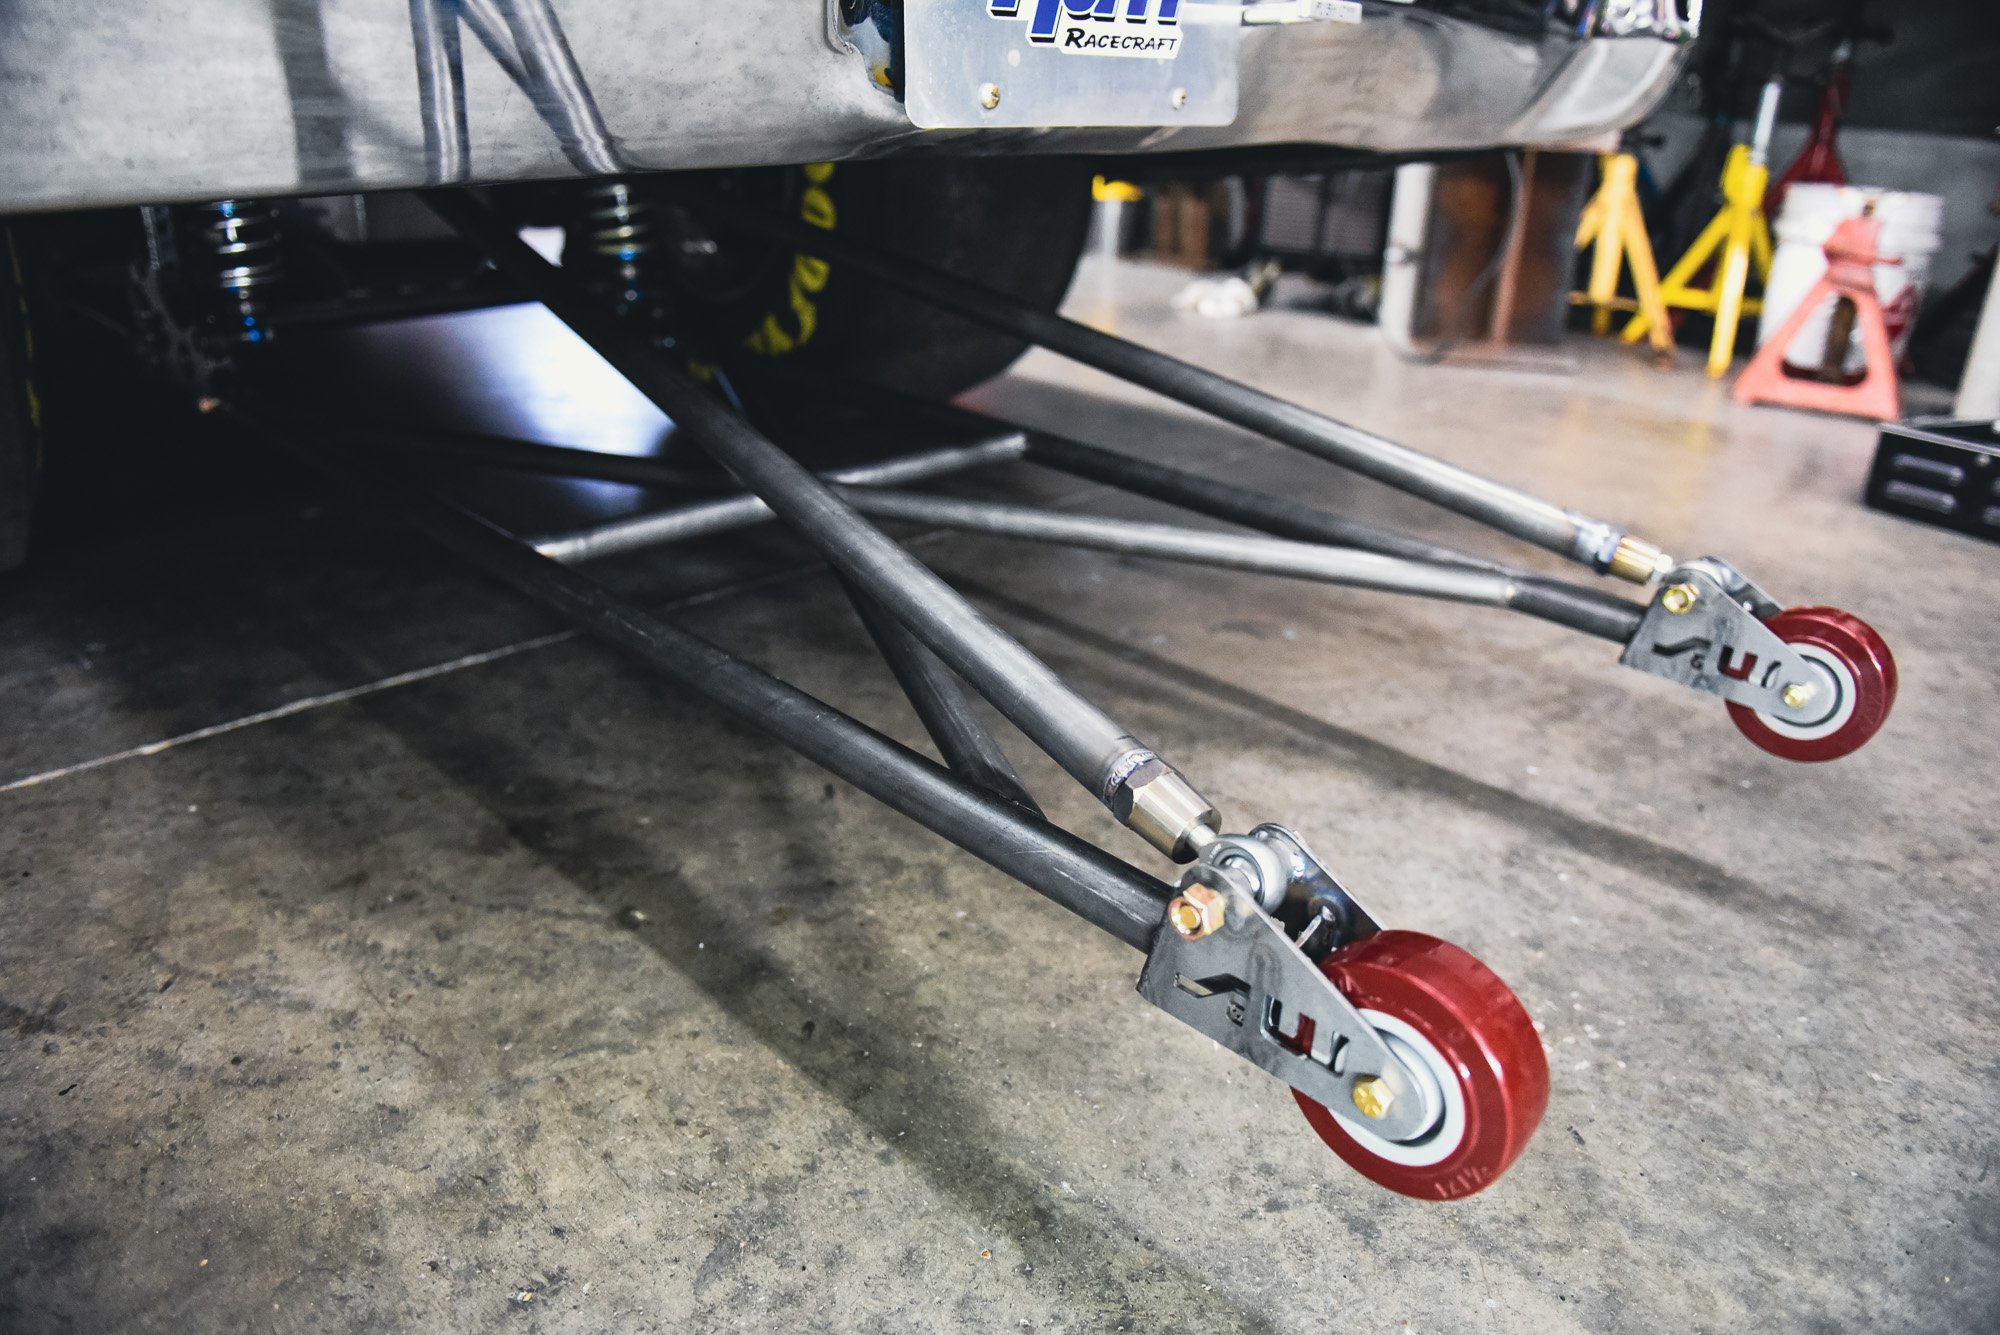
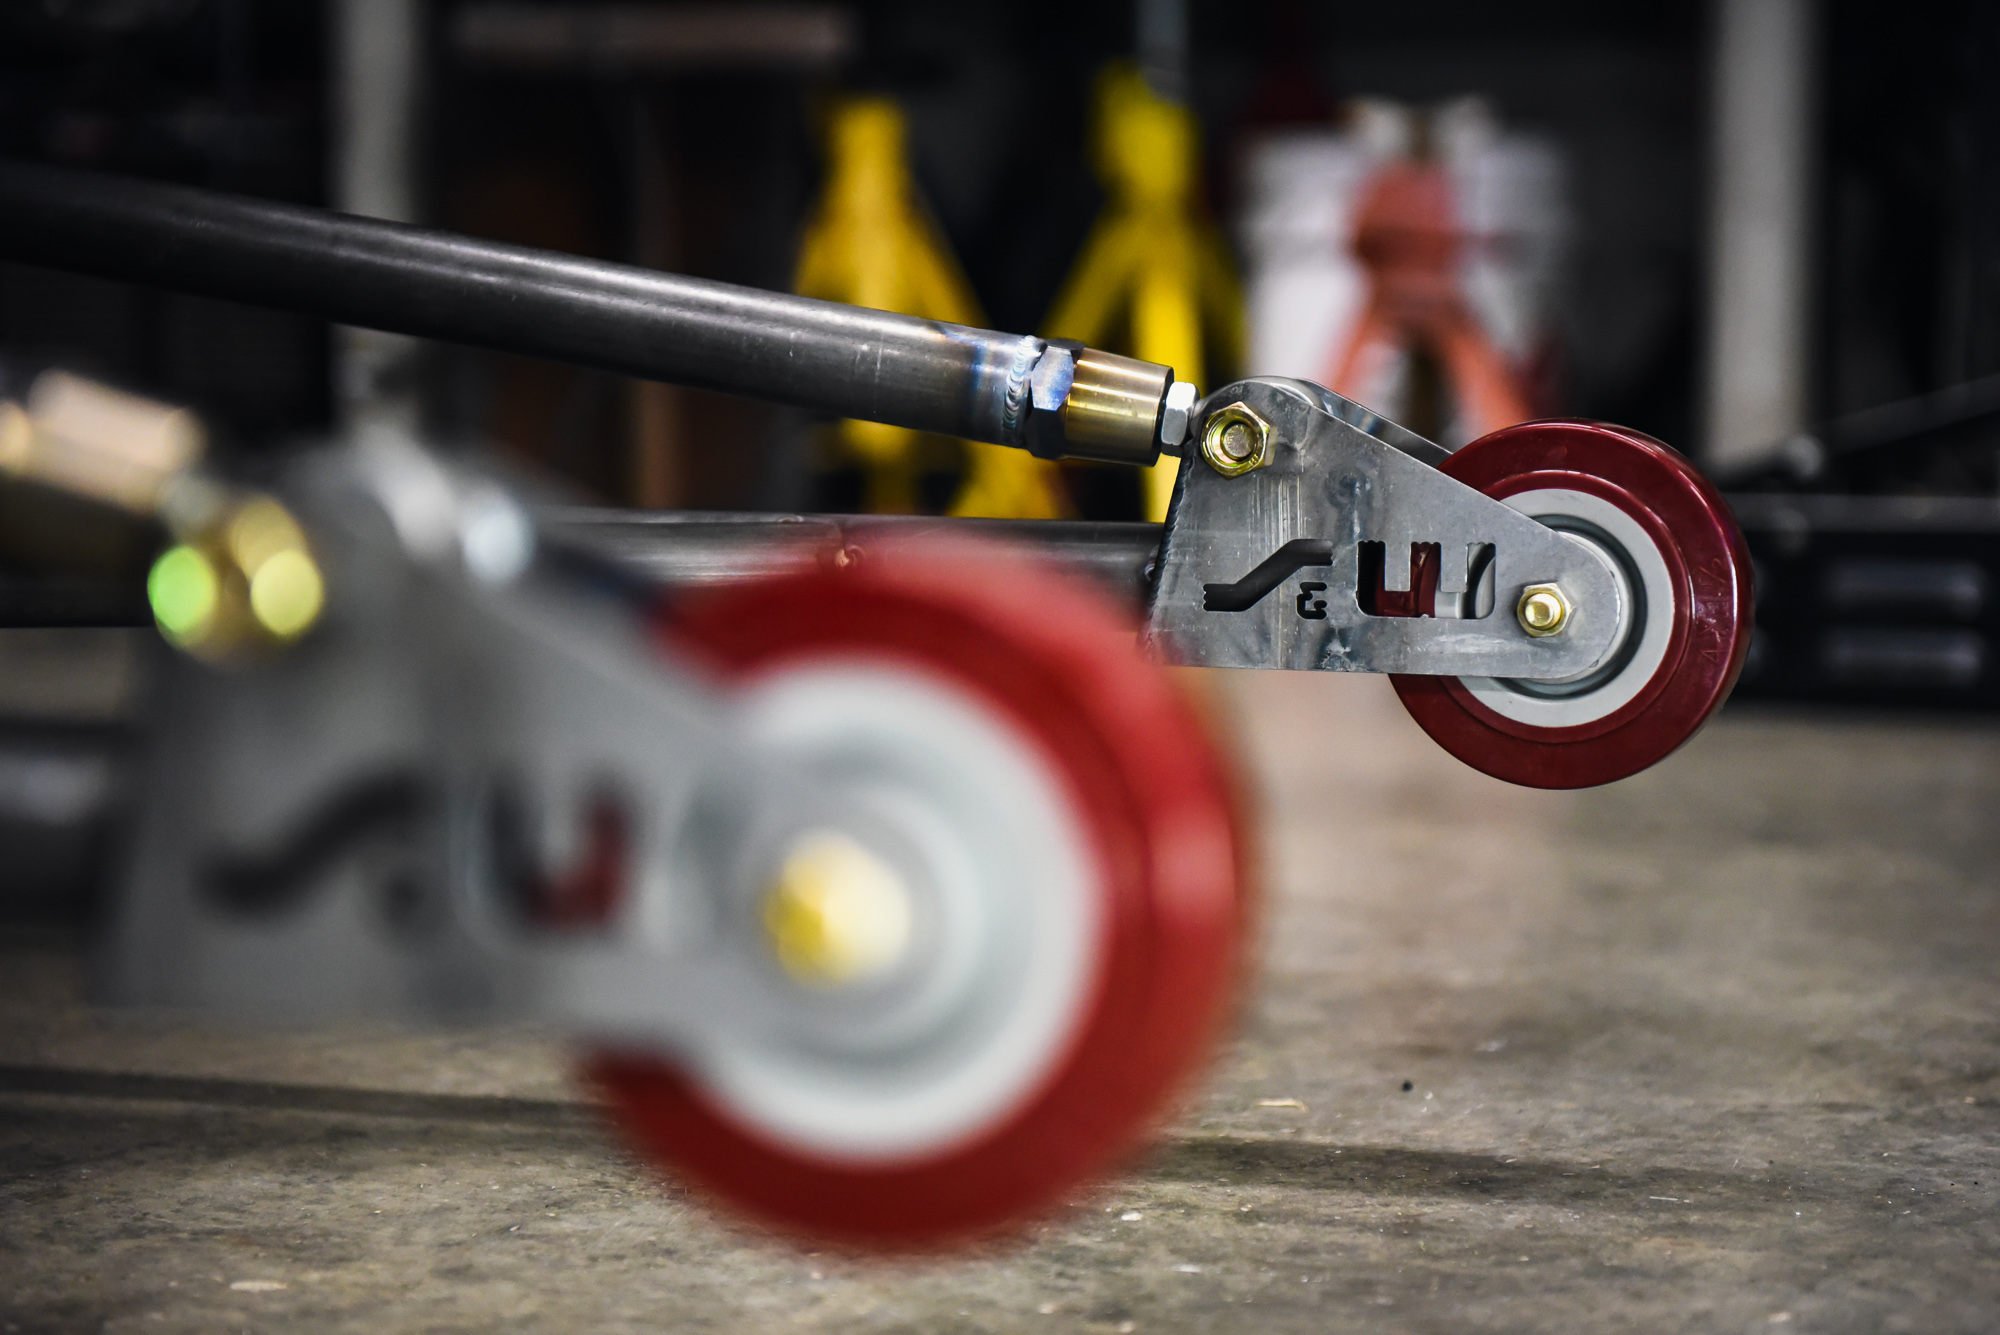
From here, simply check everything over to be certain nothing has moved, test-fit the wheels, use a level to confirm everything is square, and then you can final-weld and powder-coat and/or paint the bars and be on your way to consistent, controlled dragstrip launches.
Our on-track testing highlighted the points Hoosigian made earlier. On a track with good grip, we encountered a scenario where the bars weren’t positioned quite high enough, and slow-motion video clearly showed the car hitting the bars with enough force to push the nose back down prematurely and briefly unload the chassis, leading to visually imperceivable tire-spin but a nevertheless slower 60-foot time. With some adjustment, we now have the bars positioned where on a good surface the car will, at most, touch the bars but allow it to gently transfer the weight and set the nose back down; on a marginal track, we find that it will lift the front wheels, but won’t quite plant the wheelie bar wheels on the surface.
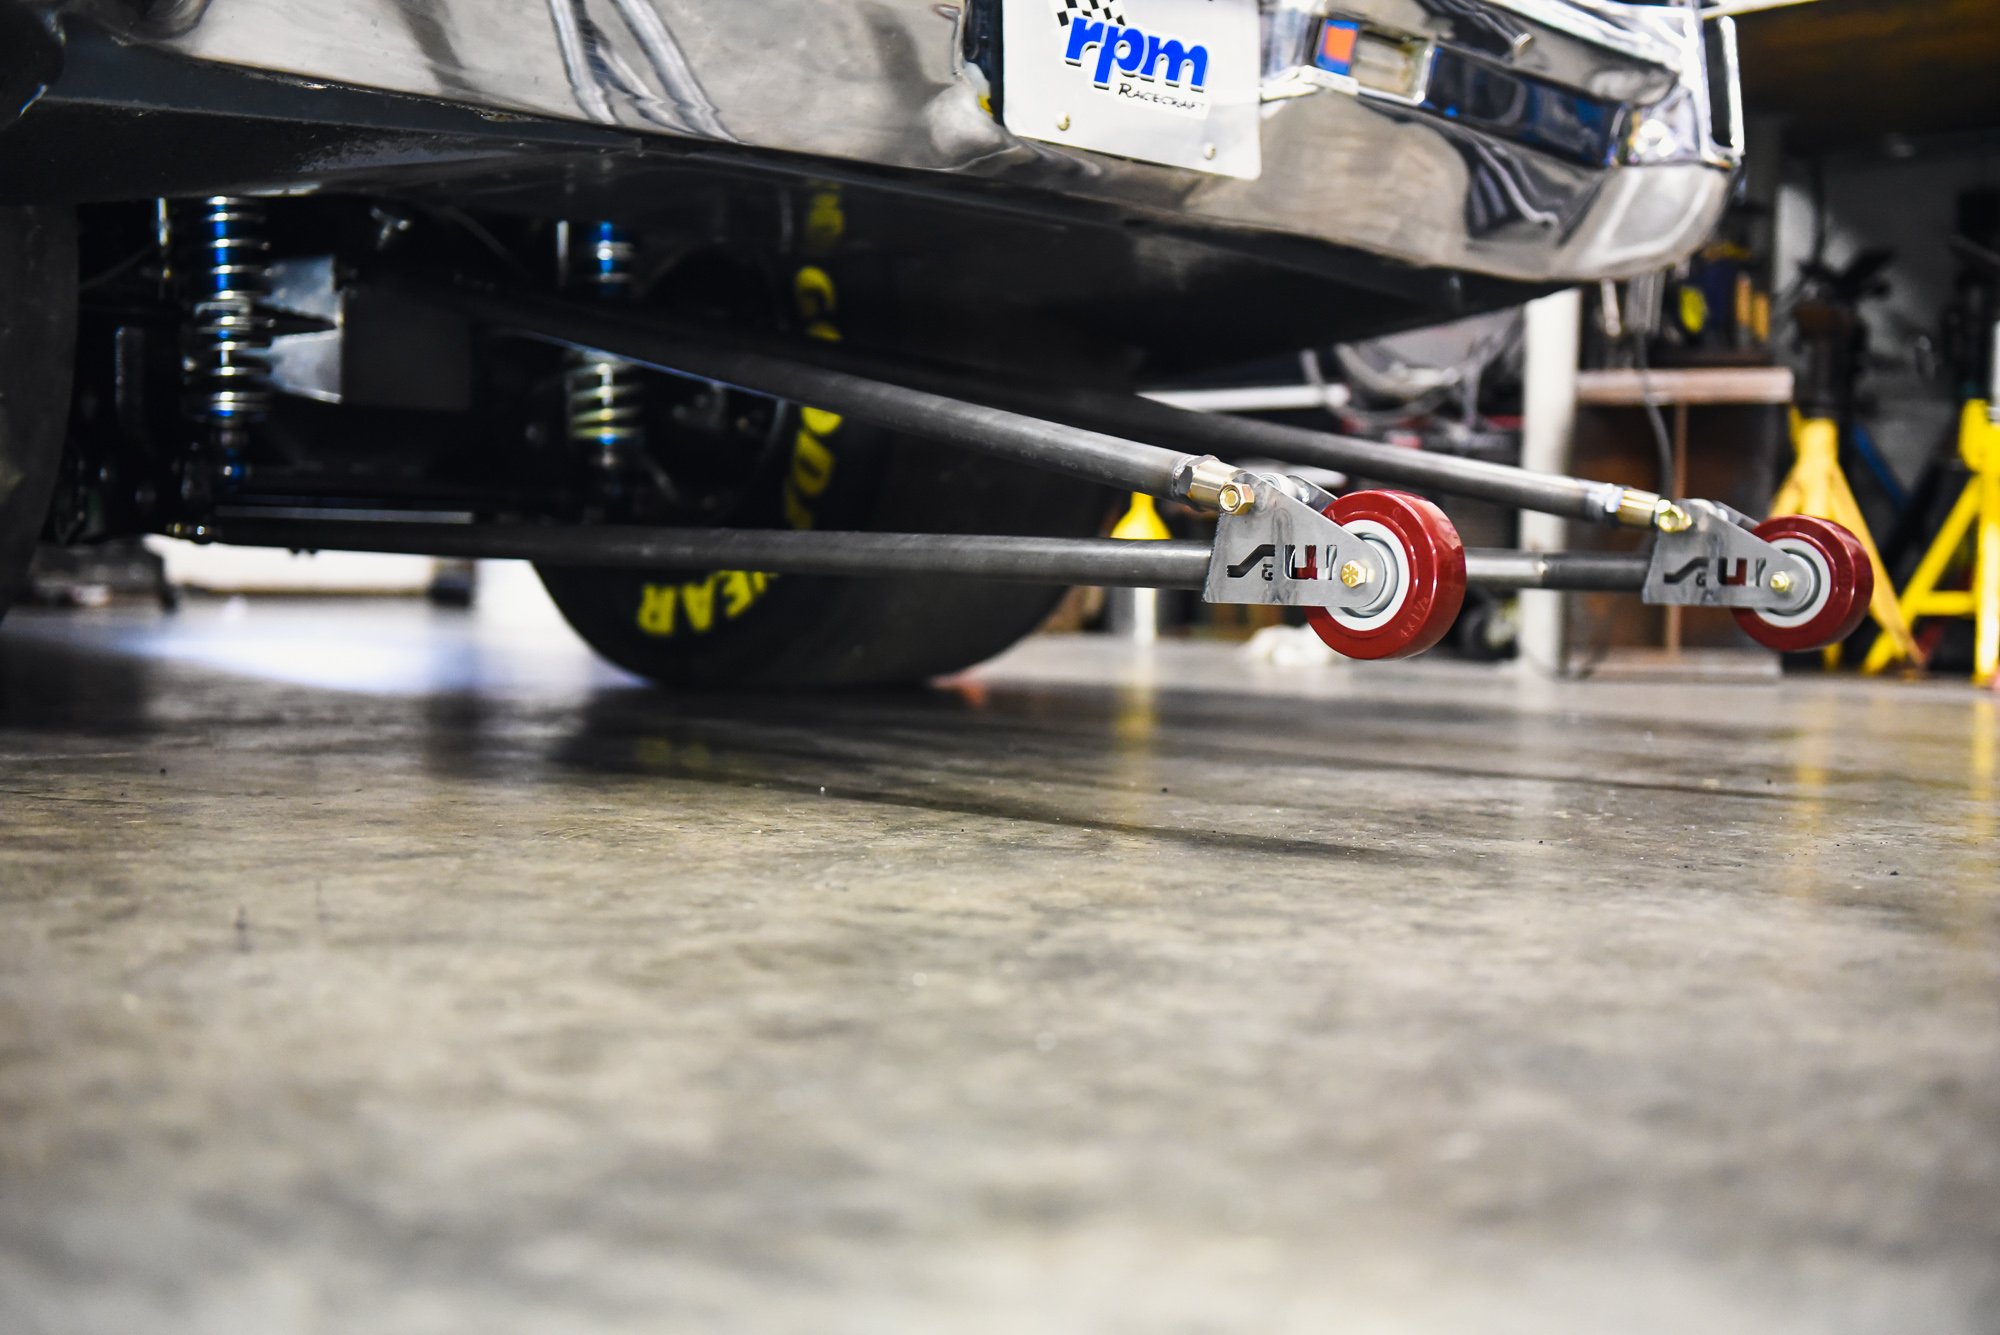


The finished product. Before we powder-coated them to match the chassis, we took the car to the track to test everything to ensure no corrections were required.
A set of wheelie bars is relatively inexpensive and hassle-free insurance for your racecar, improving consistency and peace of mind. All it takes is some planning and understanding of the characteristics of your combination to ensure the car will merely utilize the wheelie bars for assistance in controlling the launch, and not depending on them entirely — and likely unloading the chassis and ruining your run — to get them right. With some skills and a few common fabrication tools, it’s a project can you easily undertake at home. As always, if you run into trouble, the experienced team at S&W is available to answer your questions over the phone should you need advice to get projects like this one done right.