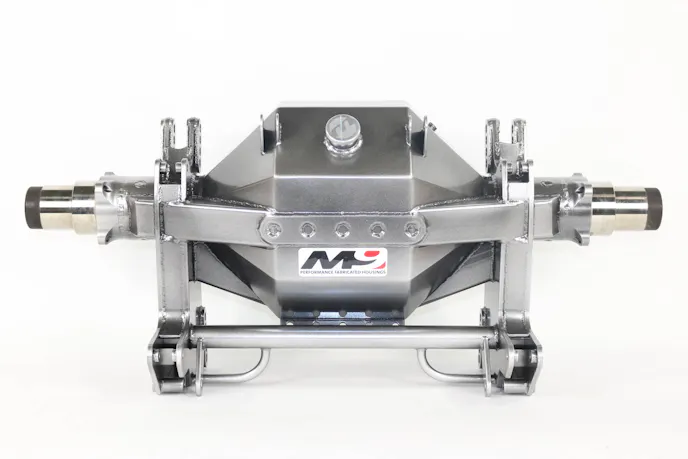
Horsepower is really good at doing two things: putting a smile on your face at the track, and breaking parts when the operational limit has been exceeded.
The rearend under your vehicle is treated like a punching bag by the horsepower created by the engine. So, when you’re making a ton of horsepower, you need a strong punching bag to absorb that abuse, and that’s where a floater-style rearend comes into play.
We’re going to cover what a floater rearend is, how it works, and what applications these beefy rearends are designed for.
Semi-Floater Rearends vs Full Floater Rearends
If you look under the rear of most vehicles at the race track, you’re going to find what’s known as a semi-floating rearend setup. This covers rearends like a Ford 9-inch, DANA 60, and many others. These all use an axle with a flange that’s designed to work with the rearend housing.
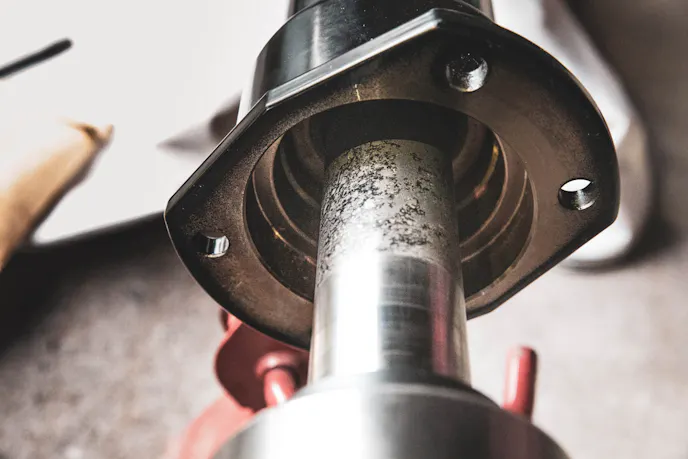
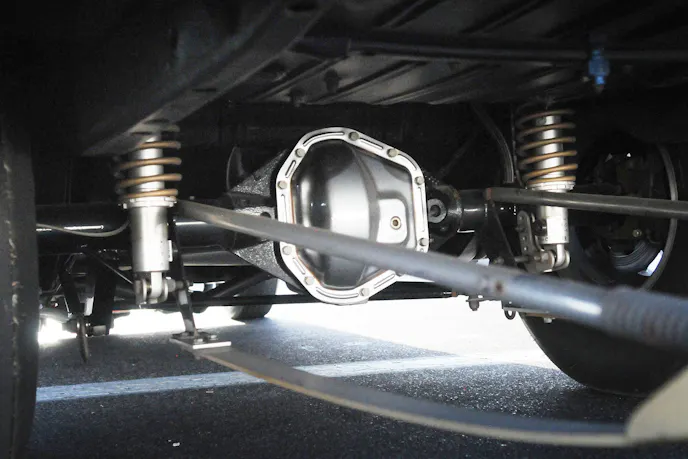
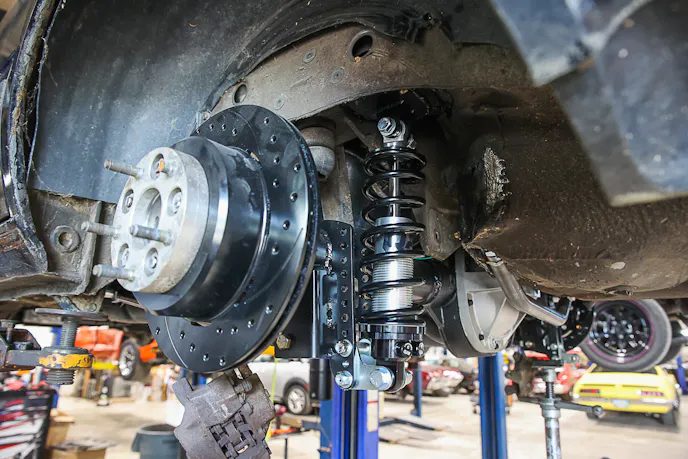
In a semi-floater setup, the flanged axles are doing all of the work and are exposed to the torsional forces of the vehicle, while also bearing the burden of the vehicle’s weight. The drive flange is attached to the axle itself, and that’s where the wheel studs are attached.
Every bit of horsepower that’s generated by the engine is transmitted to the axle. This puts immense stress on the axle itself. It creates a failure point since the load being generated is now being applied to a small section of the axle. That’s because the axle is doing two jobs. First, it is supporting the weight of the vehicle, and second, the axle is transferring all of the torque to the drive tires.
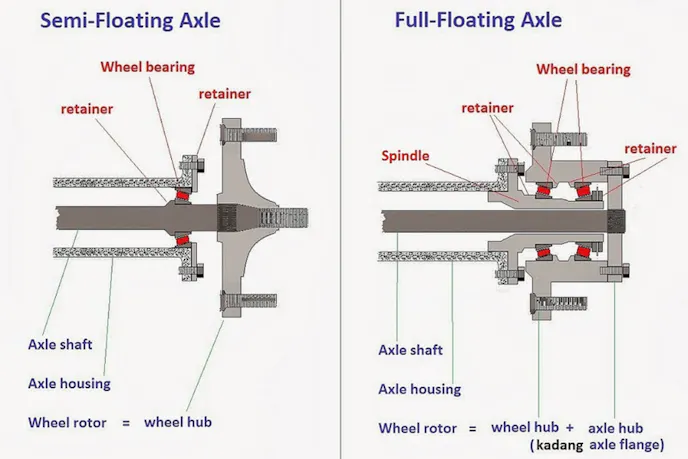
If your vehicle isn’t making the kind of horsepower that can rotate the earth, this won’t be a problem. But, as you cross into the 2,000-plus-horsepower region, the axle’s ability to handle the horsepower and the shock of it being unleashed starts to shrink.
A full floating rearend addresses the shortcomings of a semi-floater rearend.
“The biggest difference is how the load is handled. In a traditional non-floater rearend, the axle shaft helps support the vehicle and transmit power at the same time. In a floater setup, those jobs are split apart. The hub and bearings support the car, and the axle shaft mainly handles torque. That design change is what gives a floater its strength, service advantages, and safety benefits,” explains Moser Engineering’s Jeff Anderson.
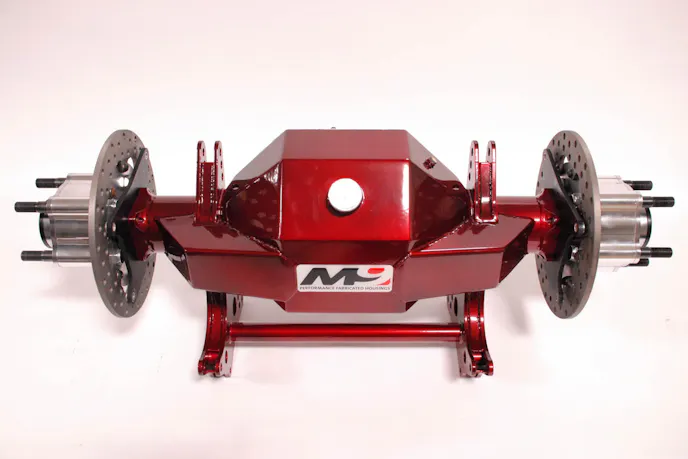
The full floating rearend is designed around the idea that the axle itself isn’t being charged with carrying the load of the vehicle. Instead, the weight of the vehicle is carried by the housing itself, hub assembly, and the bearings. The only thing the axle shafts are doing is delivering the power to the wheels.
What this means is a full floating rearend is going to do a much better job handling the vehicle’s weight, the torque transfer, and the load created by a high-horsepower engine combination.
When And Why, You Need A Full Floater Rearend

Vehicles that put a lot of stress on a rearend due to hard launches benefit the most from a full floater rearend.
“A floater rearend becomes worth considering when a car reaches a level where a conventional rearend is being pushed harder than intended. That usually happens as horsepower climbs, traction improves, vehicle weight increases, or safety expectations become more demanding. Racers choose a floater because it offers a stronger overall design, reduces stress on the axles, makes service easier, and provides added confidence in extreme racing conditions,” Anderson says.
Our Project Hustler drag-and-drive is the perfect candidate for a full-floater rearend. Since we plan on pushing the old Dodge hard at the track, and driving it a lot on the street, the benefits a full-floater provides are ideal for this application. We’ll cover installing Project Hustler’s full-floater rearend in a future article.
What Makes A Full Floater Rearend Better
Now that we know what makes a full floater rearend different than a standard semi-floater rearends, it’s time to dig into what makes the full floater better.
You mostly see full floater rearends being used in high horsepower applications like fast bracket cars, radial tire class cars, Pro Mods, and in the NHRA nitro classes. These rearends are actually a safety requirement for these classes because of how strong they are.
The reason is that if there is an axle failure during a run, the full floater’s design acts like a wheel retention system. This is because the wheel is attached to the hub, versus being attached to the axle flange like in a semi-floater rearend. This prevents the wheel from leaving the vehicle, causing a crash, or even going into the crowd.
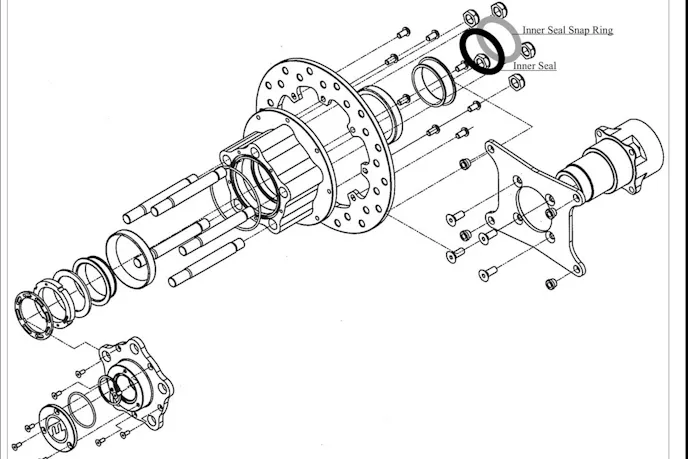
“Because the wheel hub is supported by the housing and bearings instead of relying on the axle shaft to hold everything in place, the design adds an extra level of protection compared with a typical semi-floater arrangement. In fast drag cars, that added security is one of the main reasons floater rearends are widely used,” Anderson says.
When you walk through the pits, you’re going to notice something: all of the fast, high-horsepower vehicles are always getting some type of attention. Racers need to be able to make adjustments or perform maintenance on these vehicles quickly. A full floater rearend actually makes all of that easier.
“A floater rearend is easier to service because the hub assembly and axle shafts are separate pieces. That allows racers to remove axles more easily for inspection, repairs, or center section service without dealing with the same kind of disassembly common in many non-floater designs. For racers, that can save valuable time in the pits and make maintenance more straightforward, especially in cars that see frequent tear-downs or setup changes,” Anderson states.
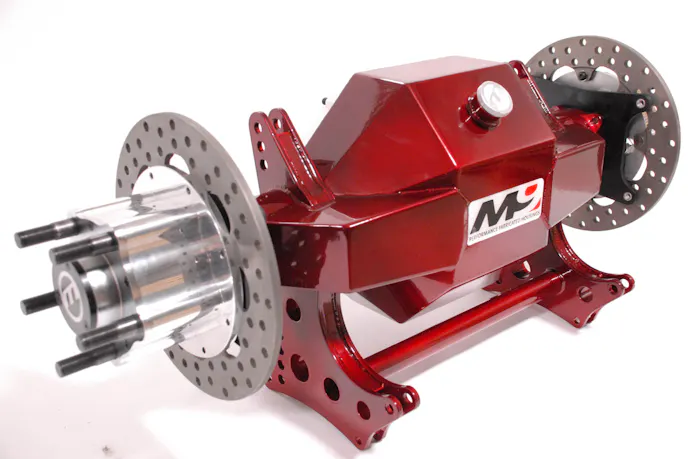
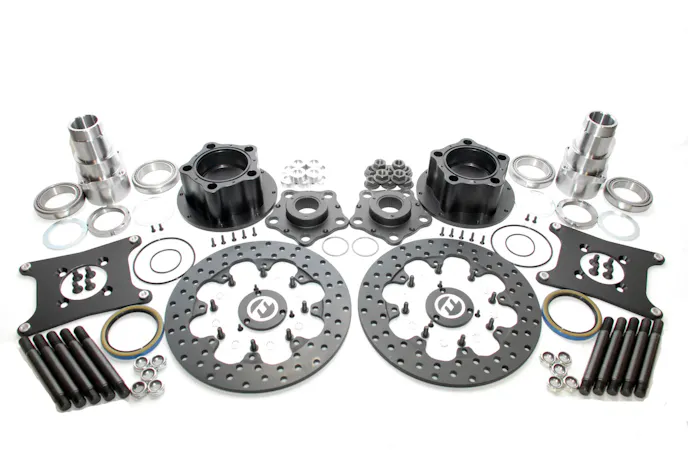
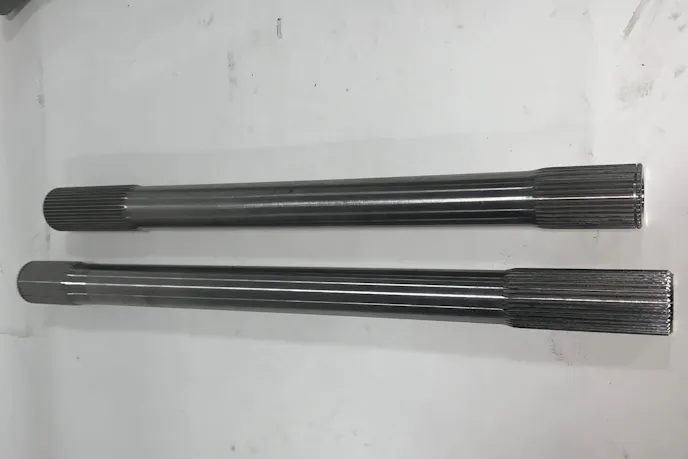
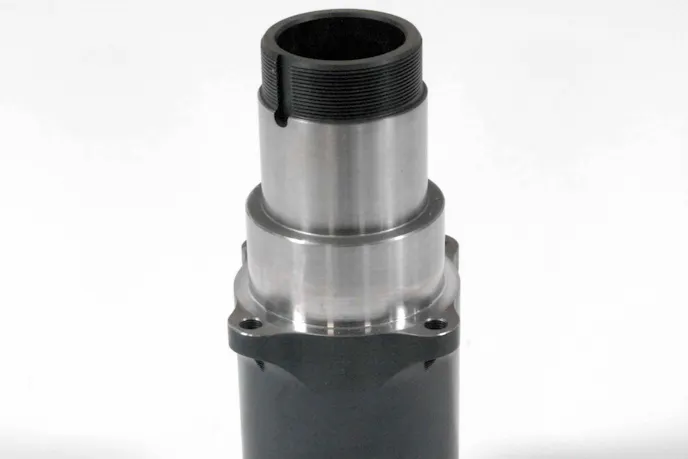
The safety and maintenance benefits a full floater rearend provides make it an attractive solution for those with high-horsepower vehicles. But, at the end of the day, the biggest benefit a full floater rearend brings to the table is its unmatched strength.
“A floater rearend offers several advantages in high-performance drag racing. It helps reduce the amount of stress placed on the axle shafts, improves durability in high-horsepower applications, and gives racers a more robust rearend design for severe launch conditions. It is also easier to work on than many conventional rearends, which matters when a team needs to inspect parts, make repairs, or change components quickly between rounds,” Anderson explains.
Full floater rearends aren’t a luxury item, they’re a necessity for racers who push their vehicles to the very limit. A full floater rearend is a solution for applications that are on the cutting edge of horsepower production and need to be able to get all of that power to the surface of the track safely and reliably.
You might also like
Tony Stewart Racing Brings Dodge Home-State Push To NHRA Great Lakes Nationals
Leah Pruett and Matt Hagan are ready to wave the Dodge flag at U.S. 131 Motorsports Park. Both drivers are pushing for NHRA championships.