When we decided to move Project Red Dragon from the OEM ECU, to an aftermarket unit, a wiring harness change was required. Since Haltech’s Nexus R3 didn’t have an LS harness available when we made the switch, a custom harness needed to be created. We worked with Haltech’s Andrew DiMartino to fabricate a harness and learn how to use a flying lead harness for any application.
So, what exactly is a flying lead harness? This type of wiring harness is partially terminated on the ECU side. What that means is the connections for your specific ECU are there and ready to be plugged in. The ends of the wires aren’t terminated, so you have to add your own connectors for your application. These harnesses will vary based on the ECU. Our Haltech flying lead harness did have the wires labeled and grouped together for most of the sensors and other items.


Before you pick up a pair of wire cutters, the first thing you’ll want to do is come up with a plan for your harness. You’ll want to think about possible wire routing locations, where you need to mount the ECU, and what materials you’re going to need to finish the job. Planning in advance will help mitigate the risk of wiring yourself into a corner later.
“Using a flying lead harness might seem intimidating, but with the right plan, it isn’t that bad. Planning is the most important part of the job so don’t rush things, taking your time will save you a lot of headaches later. You want to treat the planning phase like a game of chess, think of a strategy that will help you reach your goal. I look at how the vehicle is going to be used, and how I can build a harness that will match the application when I’m in the planning stage,” DiMartino says.

Besides planning where the harness will go, you need to think of a safe spot for your ECU. This location should be out of the way, but can still be accessed easily if you need to make any wiring changes or repairs. Electronics don’t like heat or moisture, so a spot that keeps the ECU from being exposed to the elements is going to work the best.
Now it’s time almost time to execute your wiring plan, but first, you’ll need to make sure you have the right tools and materials. You really only need some basic tools to make a complete wiring harness when you start with a flying lead setup. A good set of strippers, crimpers that will work with the terminals your harness is using, flush-cut cutters, and a multimeter are all you need for this job.
You’ll want to invest in good materials. This will not only make building the harness easier, it will also help the harness to last longer. You’ll need different sizes and color wiring based on your application. You’re also going to need more wire loom to hold the wiring harness after you’ve got it done. DiMartino suggests using a woven-style or wrap-style loom at the bare minimum. To assist with keeping all of your wiring organized, different colors of electrical tape is a good thing to have on hand as well. You can get all of these materials from a company like WireCare.


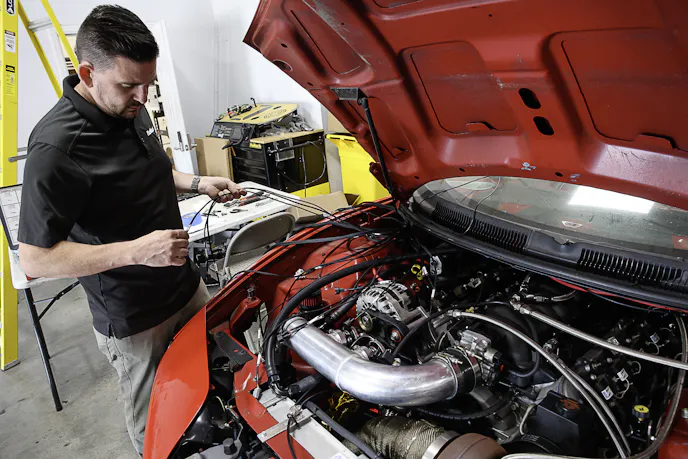
Where you route the harness is critical. There are a lot of things under the hood of a vehicle that can damage wiring and cause other issues that you need to route the harness around if possible.
“You’ll want to pay attention to where all the hot areas are and route the harness away from them. Heat management products are a good idea to help keep the harness safe. You’ll want to make sure the harness isn’t close to moving parts that could damage it. Another thing to avoid is running the harness close to accessories like alternators that generate interference,” DiMartino states.
Before you secure the harness after routing is complete it’s a good idea to check your work. You can use a multimeter to check for continuity throughout the harness. It’s easier to make sure all your connections are good to go now versus after the harness is in place.
You’ll want to check out the video we’ve included in this article. DiMartino goes into additional detail and has some extra tips that will make using a flying lead harness much easier.
You might also like
Team Kalitta’s Top Fuel Dominance Is Defining The 2026 NHRA Season
Shawn Langdon and Doug Kalitta are smashing the Top Fuel class this season. Here's a look at just how dominant they've been in 2026.