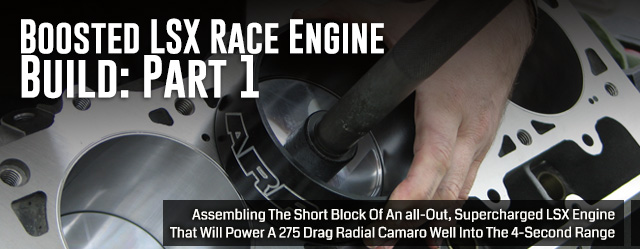
After speaking with some of the best minds in the automotive racing industry, we’ve been able to load the parts bin for our 275 drag radial LSX build with some of the top components offered in the industry. Earlier in the series, we discussed Dart’s LS Next platform, our Induction Priorities, and covered Mast Motosport’s massive Mozez cylinder head package, Late Model Engines’ one-piece billet top and a slew of valvetrain goodies from Comp Cams and T&D Machine, that will all be a part of our 440 cubic-inch LSX mill. However, parts alone are not enough to pull together the nearly 2,000 ponies we’re planning to stuff under the hood of our 1968 Chevrolet Camaro.
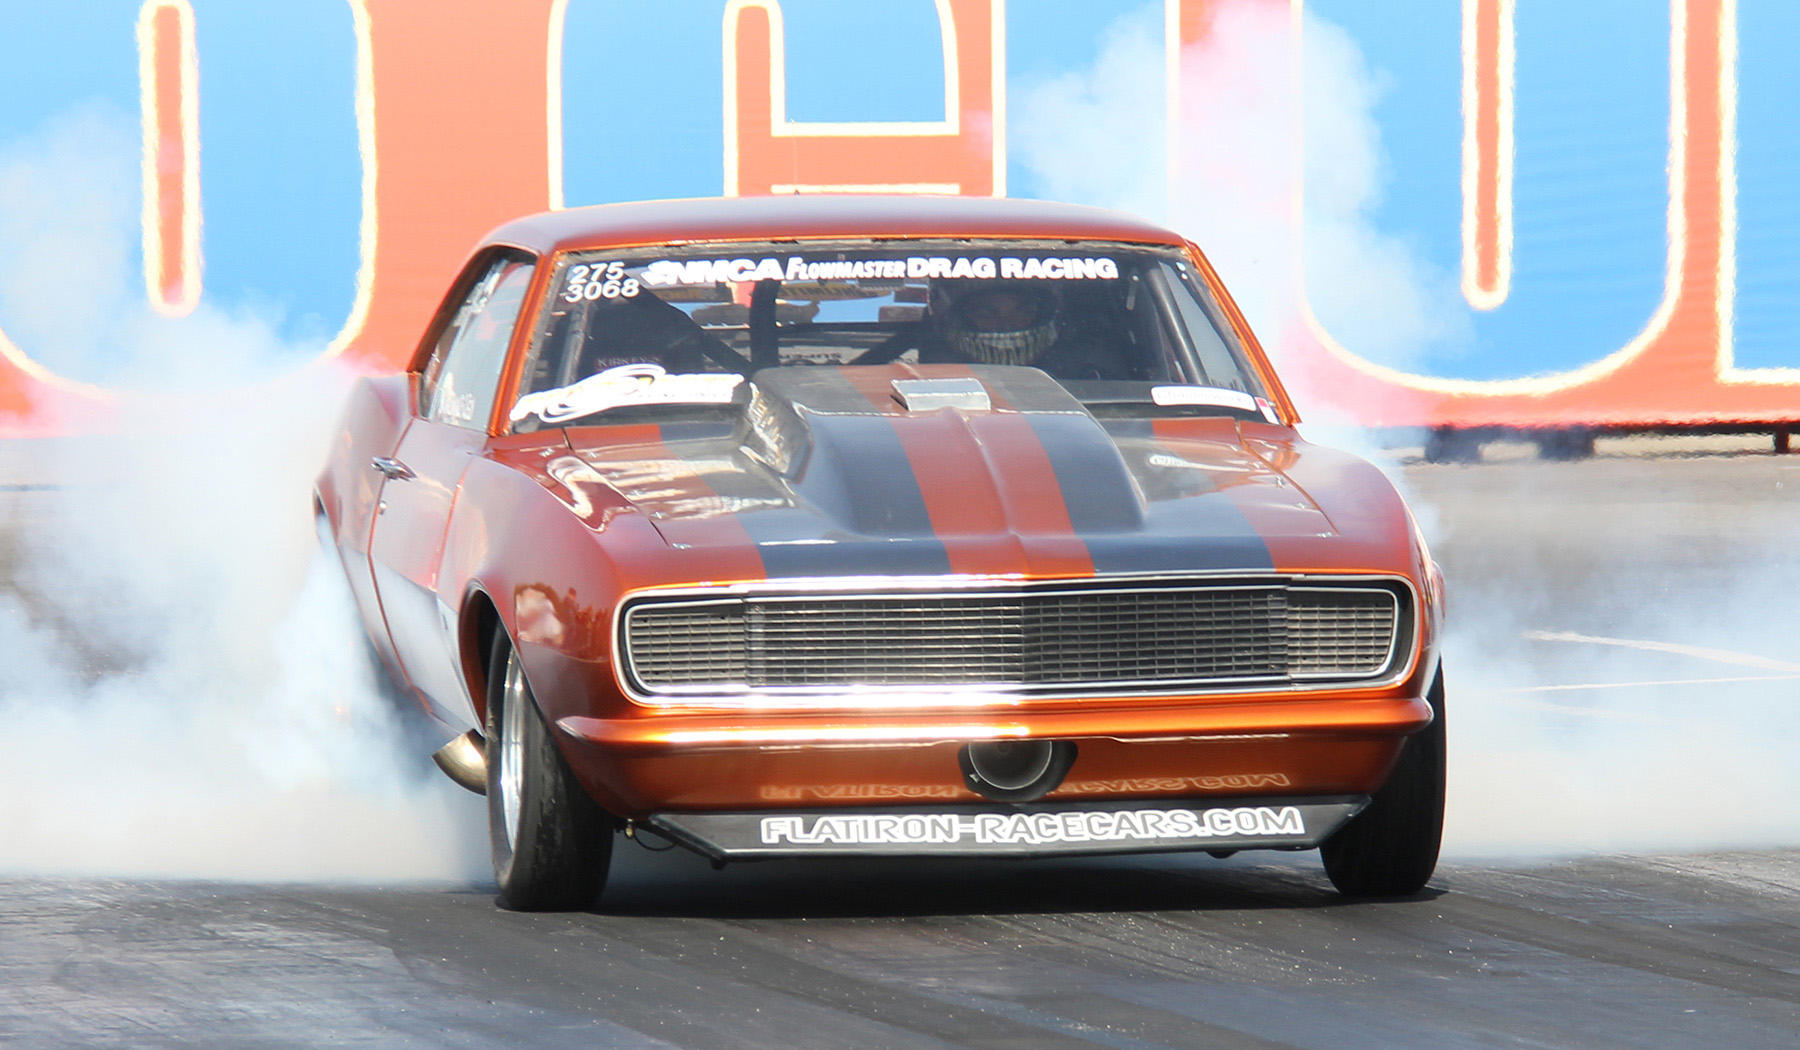
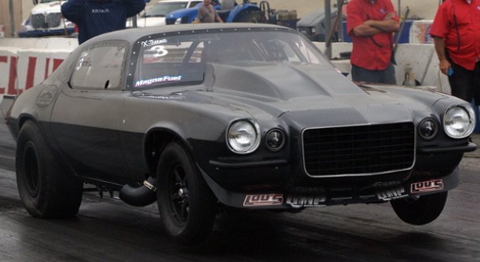
Once completed, the 436 cubic-inches of LSX power will be dropped into DJ Reid’s 275 radial racer 1968 Camaro.
To help us assemble the parts into an LSX mill capable of converting Vortech boost into Mickey Thompson 275 radial-shredding power, we contacted Mike Consolo at Quarter Mile Performance (QMP) Racing engines. Consolo and QMP have been responsible for the motivation behind serious racers like Xtreeme Drag Radial racer and Leaf Spring record holder Al Jimenez, Outlaw 8.5 racer and record holder Ryan “Toaster” Jones, and Pro Modified competitor Scott Oskas. Given their winning reputation, we had no concerns dropping off our bundle of go-fast parts for assembly at QMP.
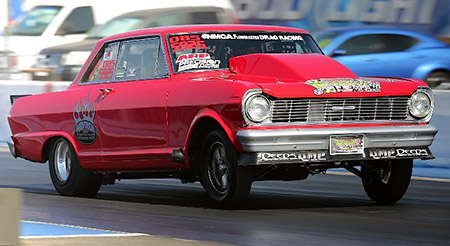
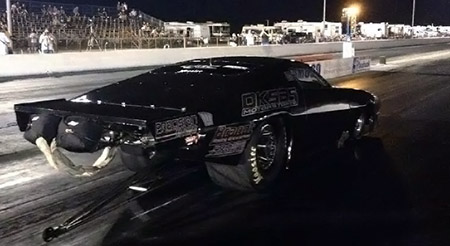
QMP has an impressive customer line-up, including (Left) Ryan Jones in his 1965 Chevrolet Nova, (Center) Scott Oskas in his Pro Mod 1970-1/2 Z-28 Camaro and (Right) Al Jimenez in his 1972 Chevrolet Camaro.
“Starting from scratch with one of these completely custom builds can be difficult at first, but once it’s all pieced together, it gets easier and is almost as easy as putting together any other common build,” Consolo shares.
Starting with a Solid Platform
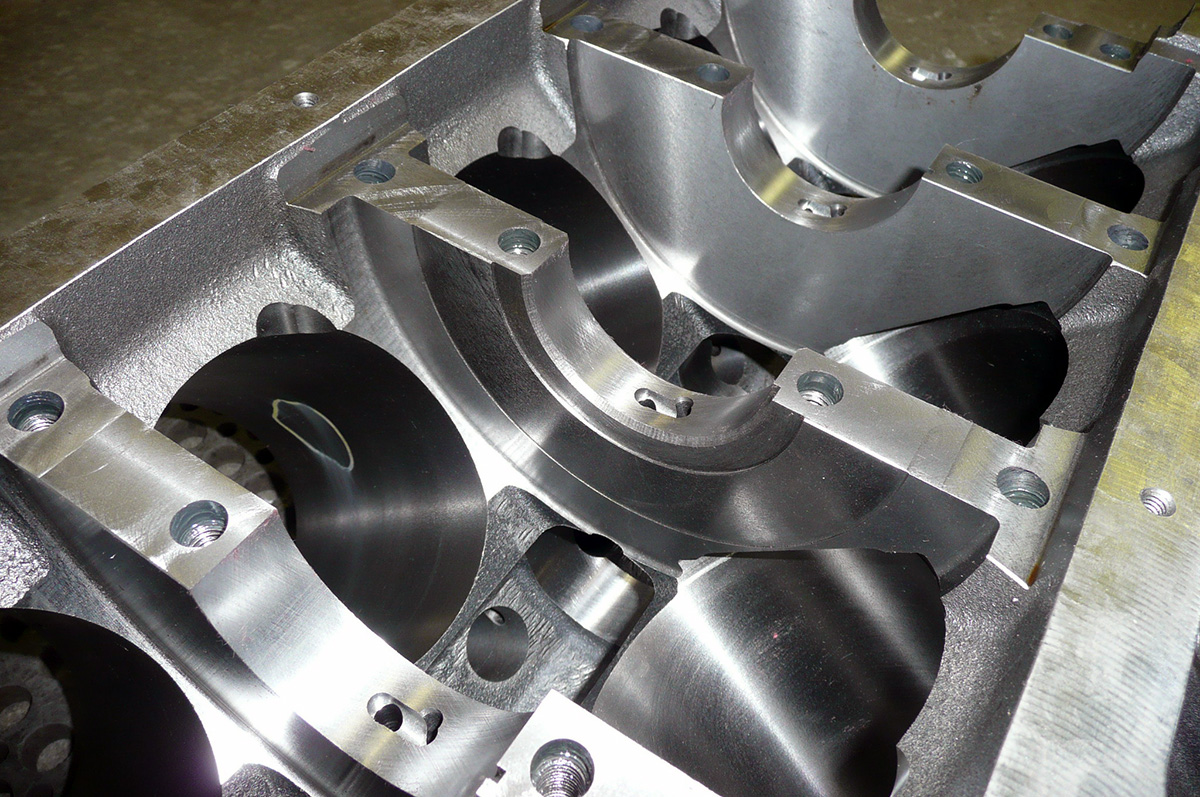
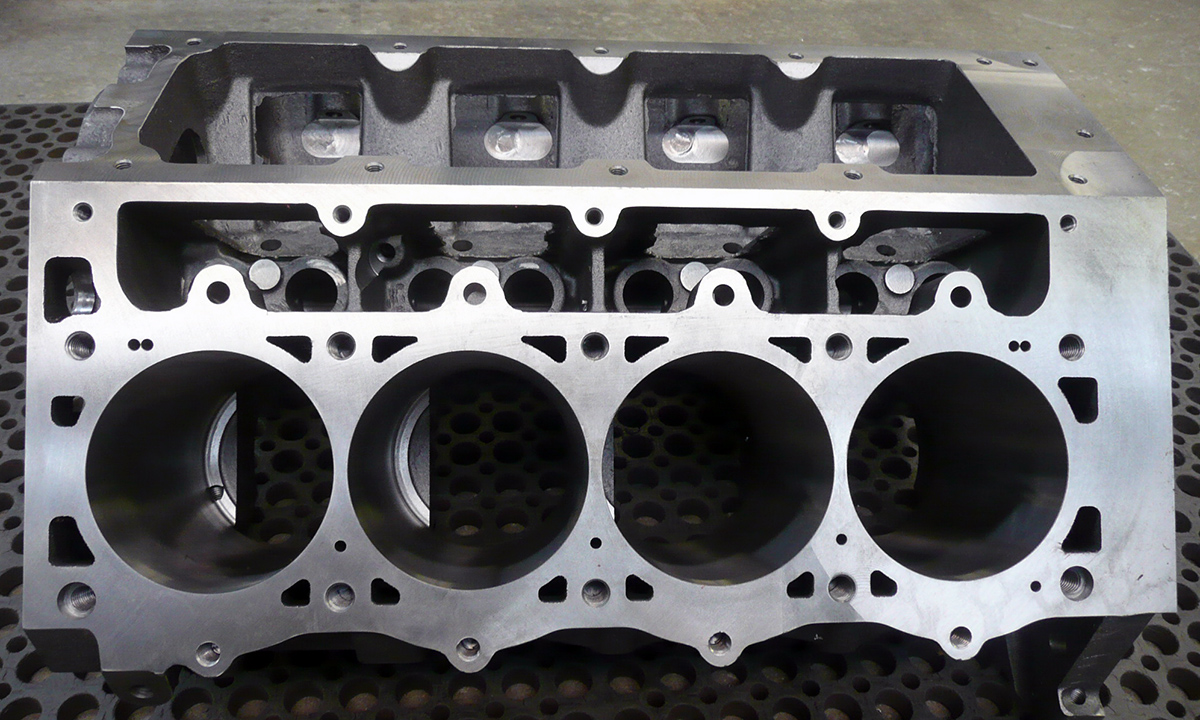
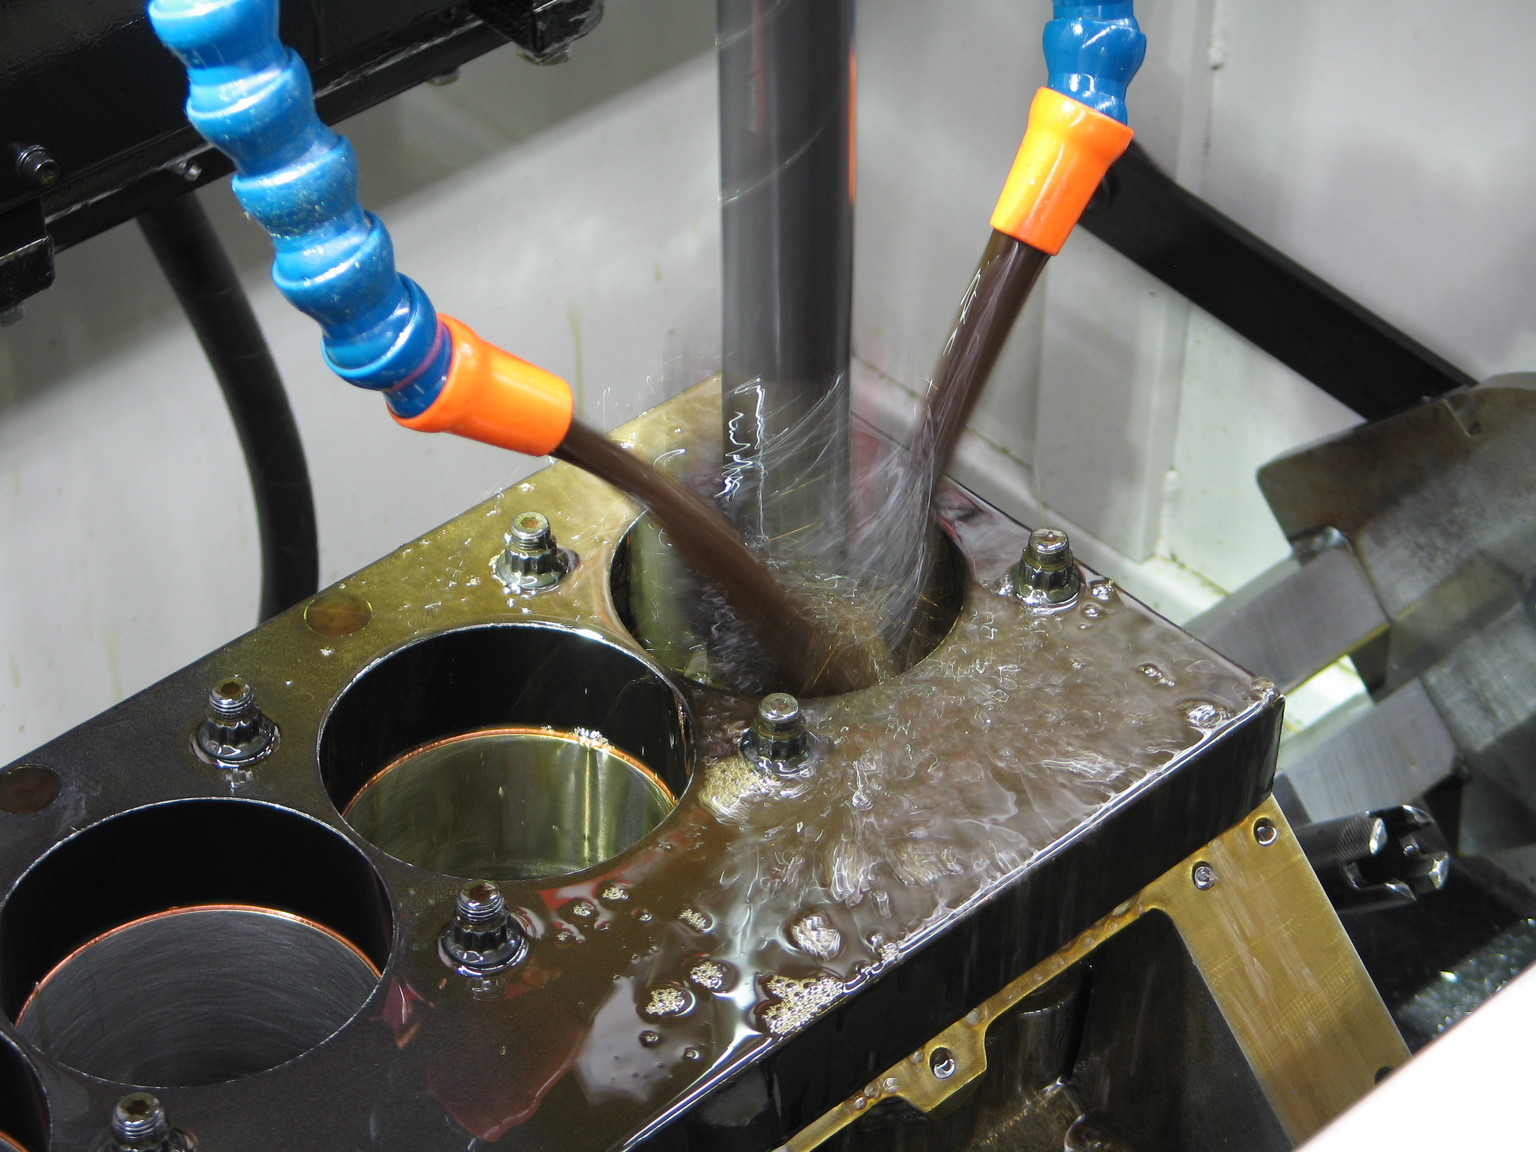
(Left) A view of the underside of Dart's LS Next block. Here, you can see that the traditional LS communication windows have been removed, which adds a considerable amount of strength to the block. (Right) A shot of the LS Next’s deck surface while sitting on an engine stand waiting for final prep at QMP Racing. The deck on the LS Next has a lot more material than a stock block. Dart’s Dick Maskin told us the material strengthens the block and cylinders while having no adverse impact on cooling.
Dimension Specifications
- Cylinders: 8
- Bore: 4.165 inches
- Stroke: 4.00 inches
- Head Volume: 50.0 cc
- Gasket Volume: 13.8 cc
- Deck Clearance: 0.115
- Piston Volume: -1.0 cc
- Top Land Volume: 0.9 cc
- Displacement: 436 cubic-inches
- Compression Ratio: 10.78:1
Slinging Metal
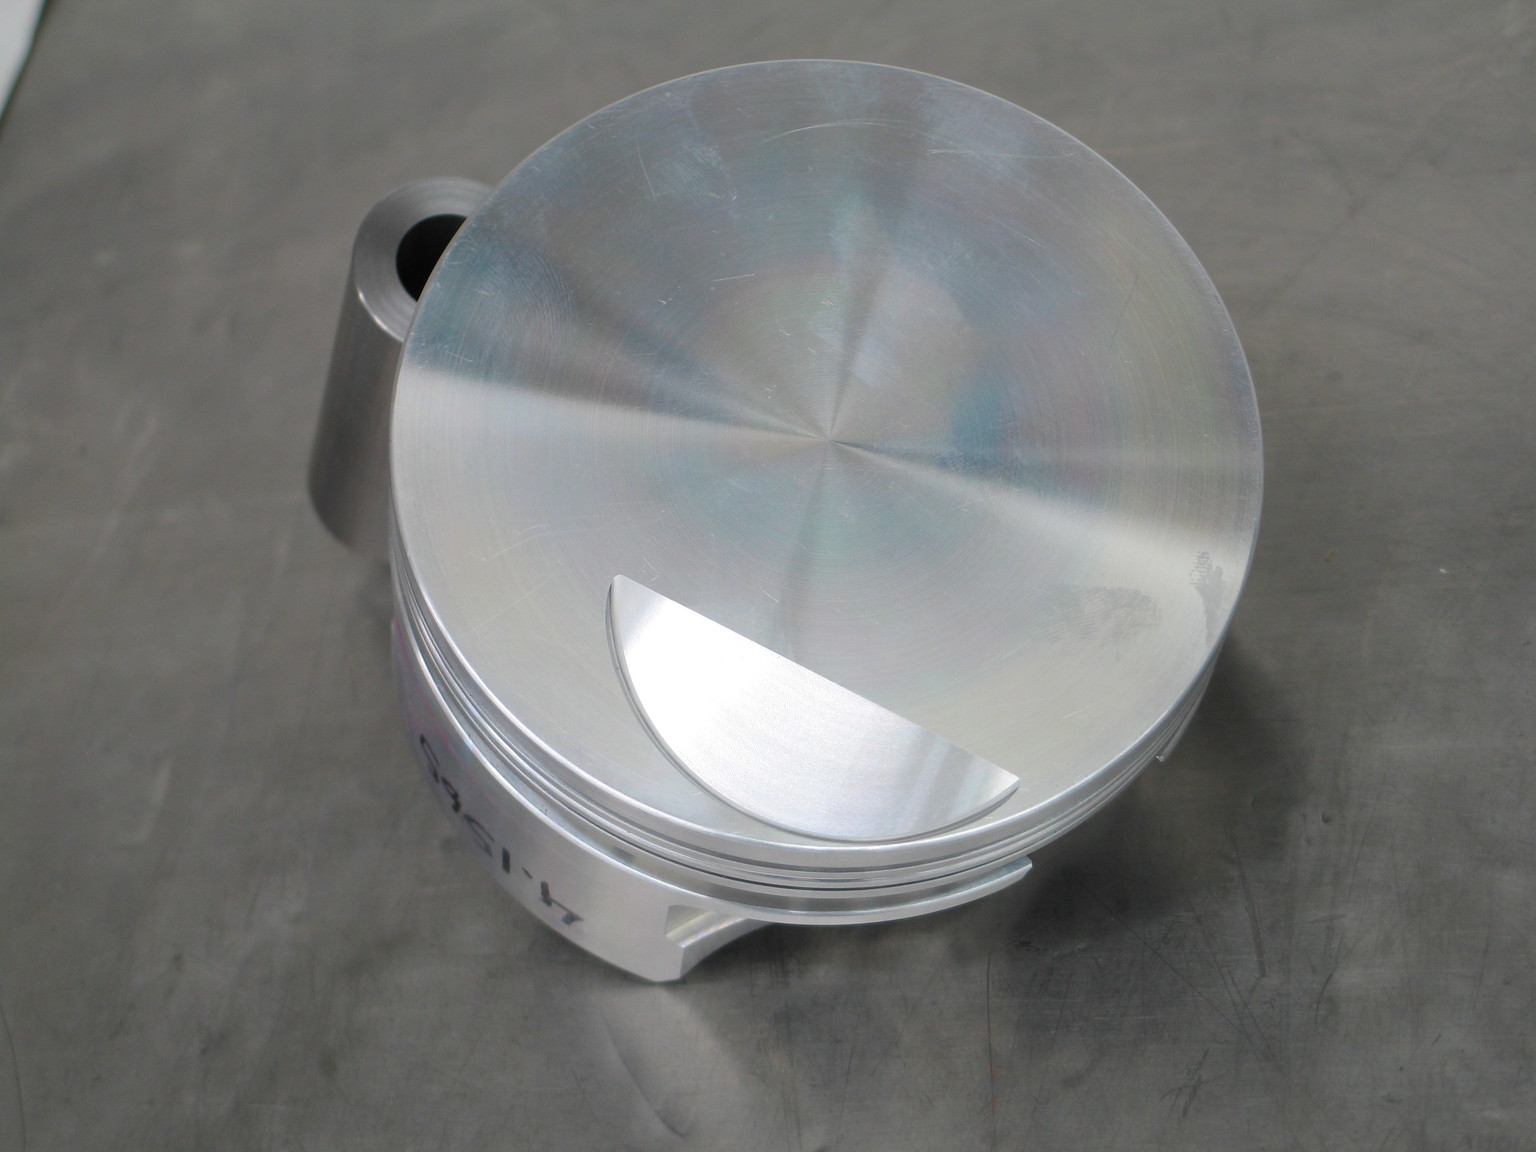
Ross flat top pistons. We attempted to get a truly flat top piston but had to make a concession for the canted intake valve.
As recommended by Maskin, Consolo, and nearly every expert we talked to, we pulled together a rotating assembly strong enough to power our horsepower objective and then some.
Typically, a boosted build would call for a dished piston to keep the compression ratio low, but in our build we aimed for a flat piston – we even removed the exhaust valve relief.
As our builder noted, “I prefer to keep the piston as flat as possible for an uninhibited flame front.”
A center counter weight crank is absolutely non-negotiable for a build of this caliber. – Dick Maskin, Dart Machinery

By The Numbers
- Rod length: 6.00 inches
- Rod weight: 645 grams
- Rod bolt: ARP2000
- Piston Weight: 492 grams
- Piston wrist pin diameter: 0.990 inches
- Piston wrist pin size: 0.220 wall/2.750
- Quench: 0.175
- Compression 10.47:1
- Head gasket thickness: 0.060 inches
- Crank clearance: 0.0033 – 0.0035 inches
- Rod clearance: 0.0031 – 0.0034 inches
- Pin clearance: 0.0015 inches
Last to the party was one of the most stunning crankshafts we’ve ever seen. We talked to Randy Winberg of Winberg Crankshafts at PRI about his LSX offerings and a couple of weeks later the brown truck dropped off a completely billet, center counter weight (CCW), 4-inch stroke crankshaft. We expect to see high RPM and serious horsepower, which made the center counter weight option a must. In fact, when speaking to Maskin at Dart, he shared with us that a center counter weight crank is absolutely non-negotiable for a build of this caliber.
Next, we opted to go with a traditional-style, short snout instead of the longer snout found in stock LS-based engines. Last, since we’ll be using the crank to spin a centrifugal supercharger, we had Winberg add an extra keyway to the crank snout. The extra keyway is designed to prevent the damper and blower hub from shearing the single keyway on the crank snout.
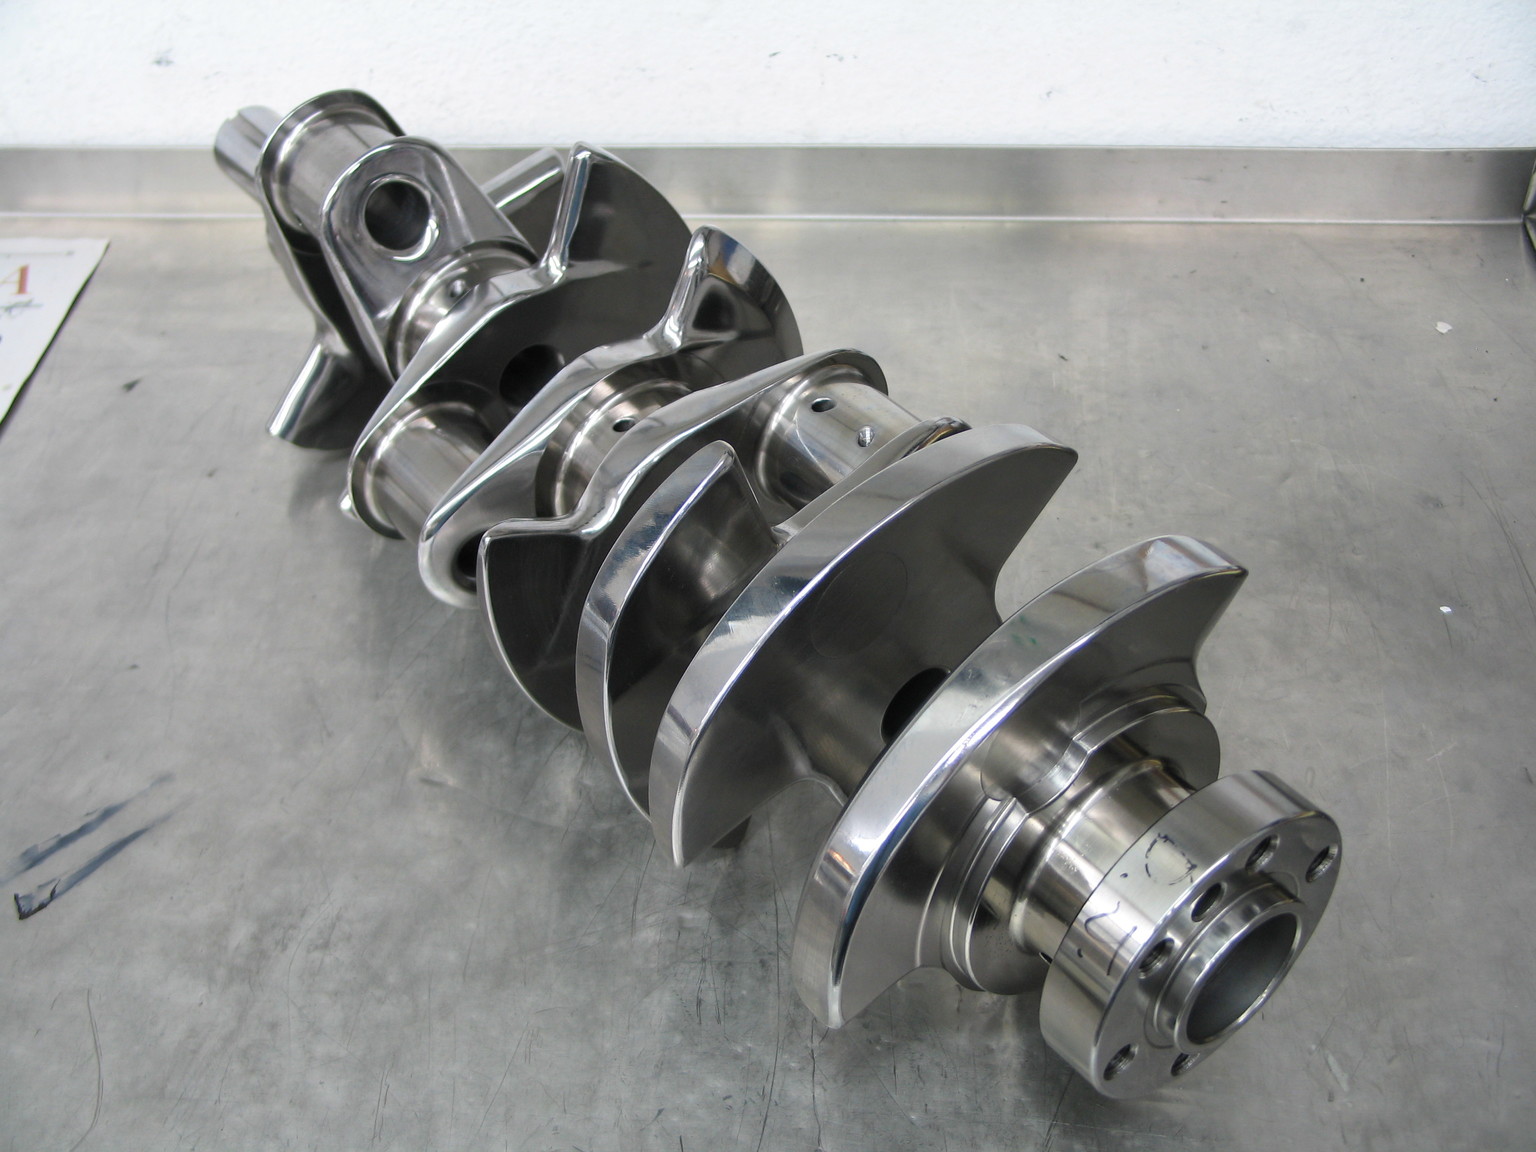
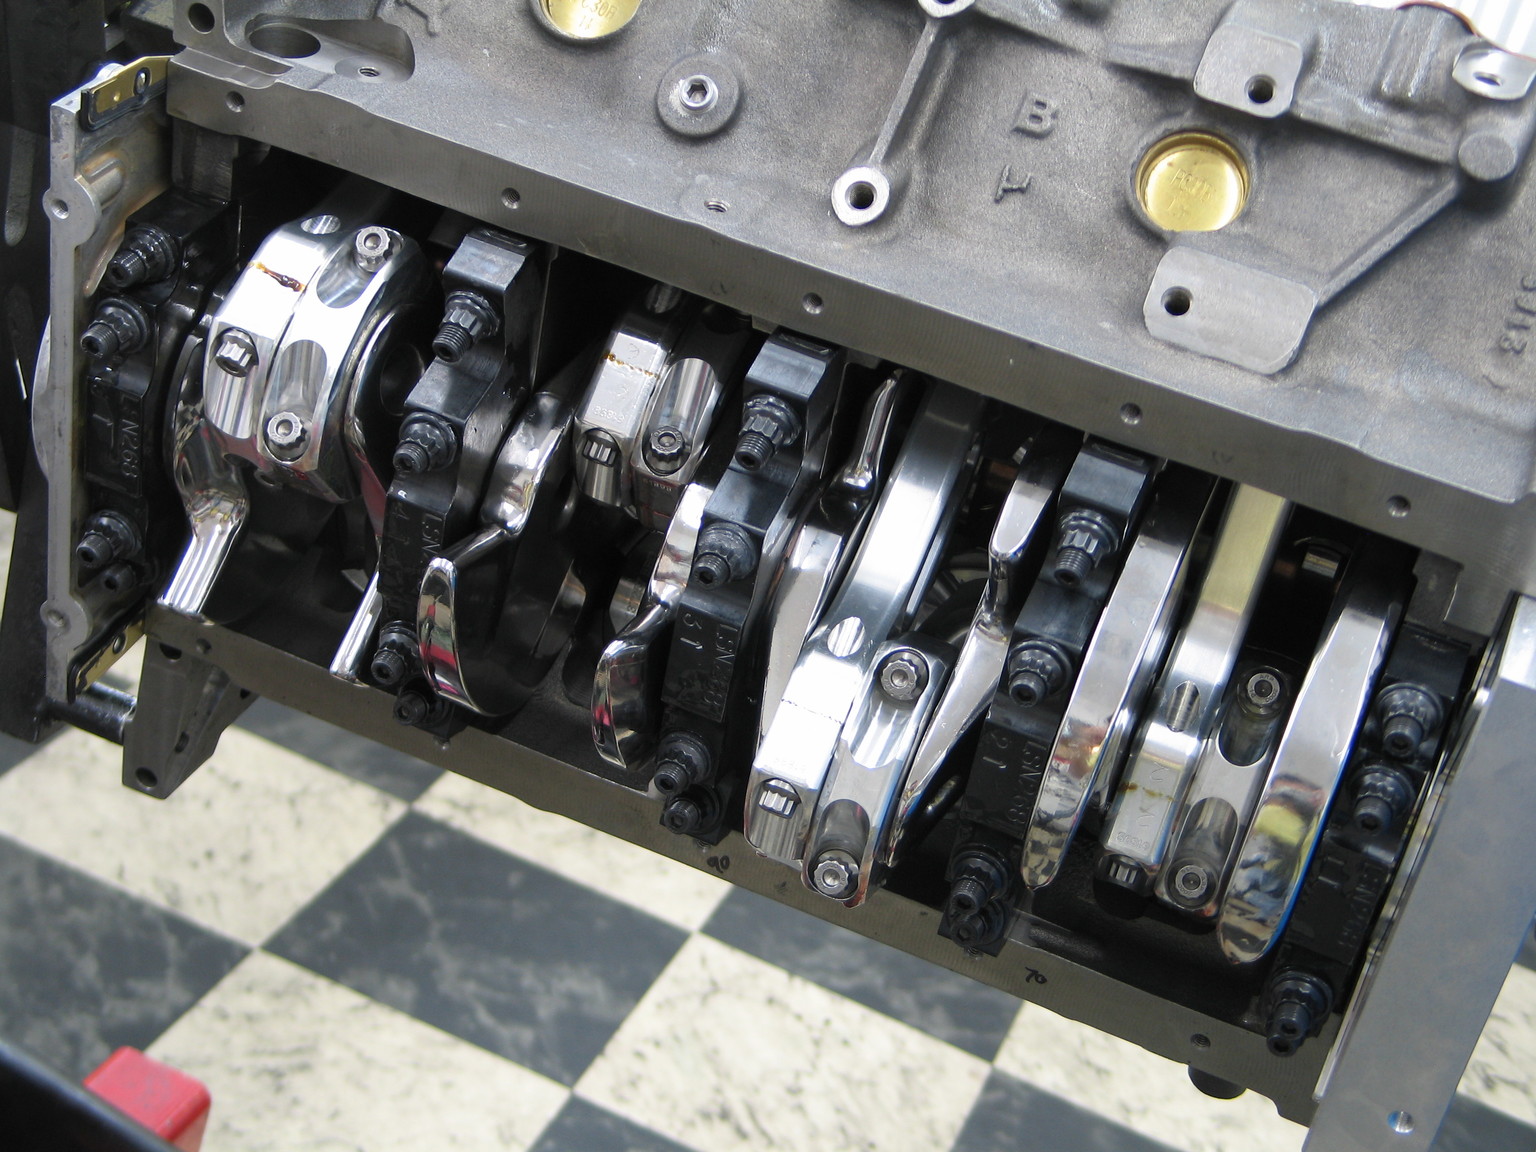
A bottom end full of bling. To match our billet rods and pistons, we picked up a billet crank from Randy at Winberg Crankshafts. The 4-inch stroke crank features all-billet steel construction, center counter weights, dual keyways, and a ‘shorty’ snout. This crankshaft is built to handle serious horsepower.
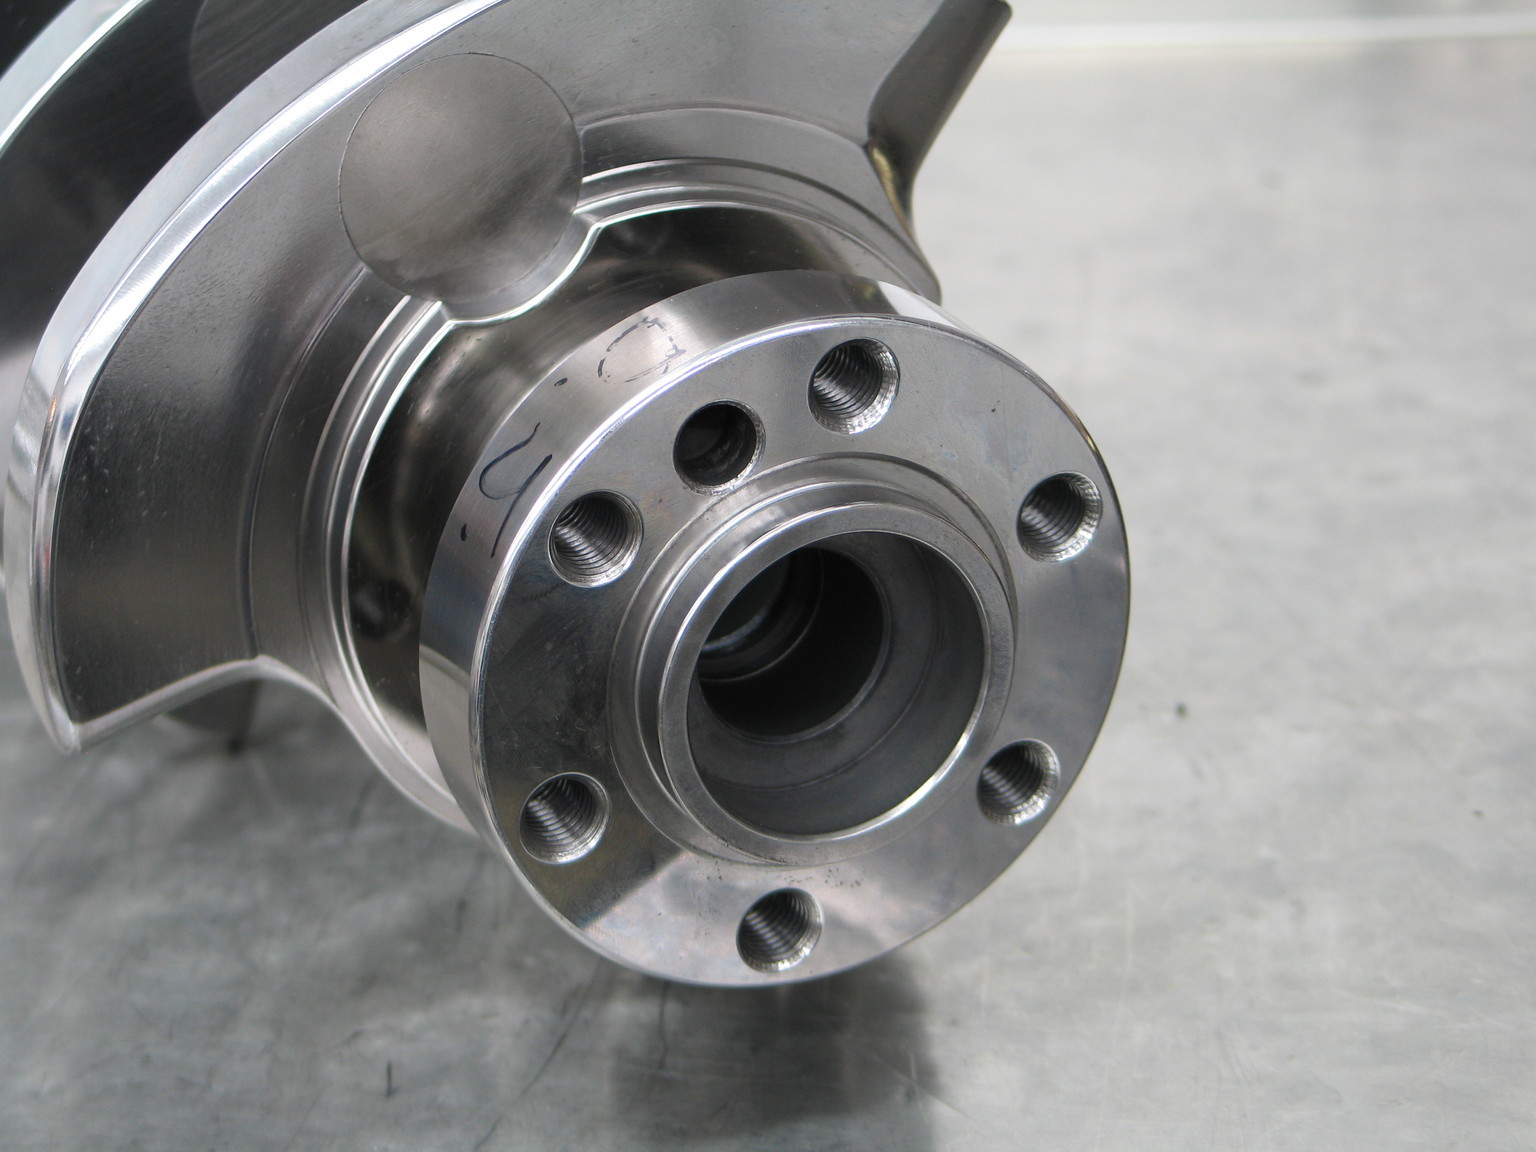
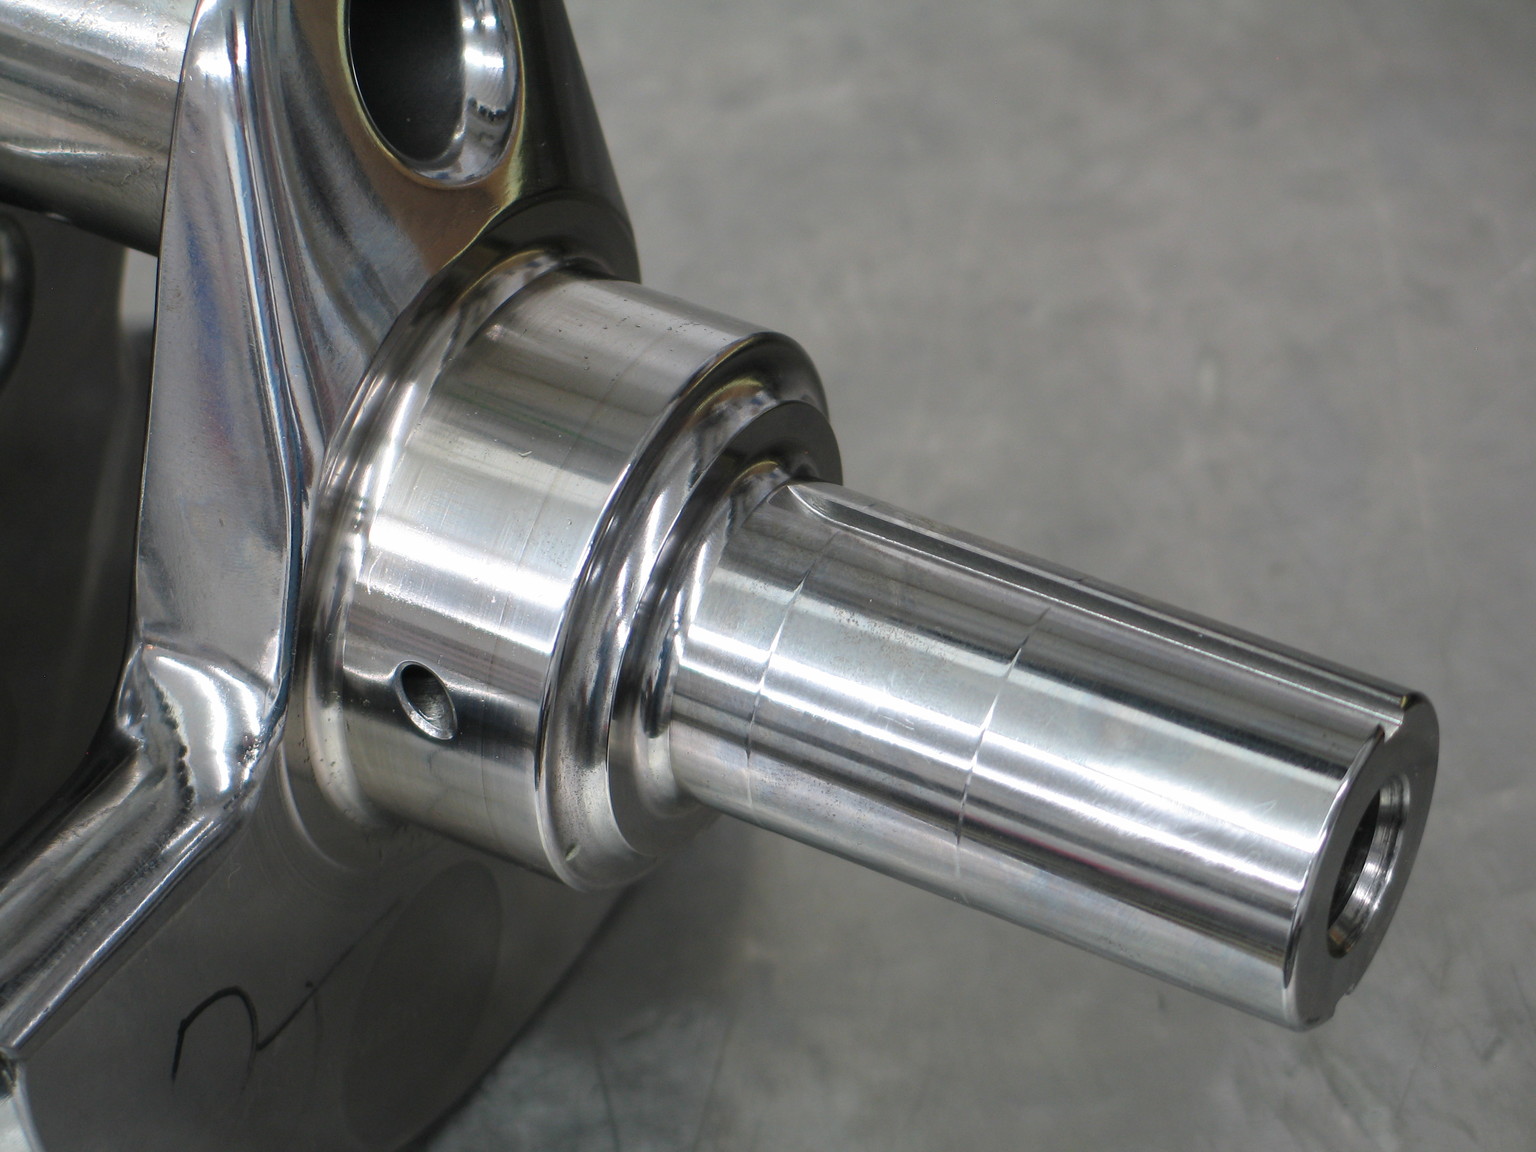
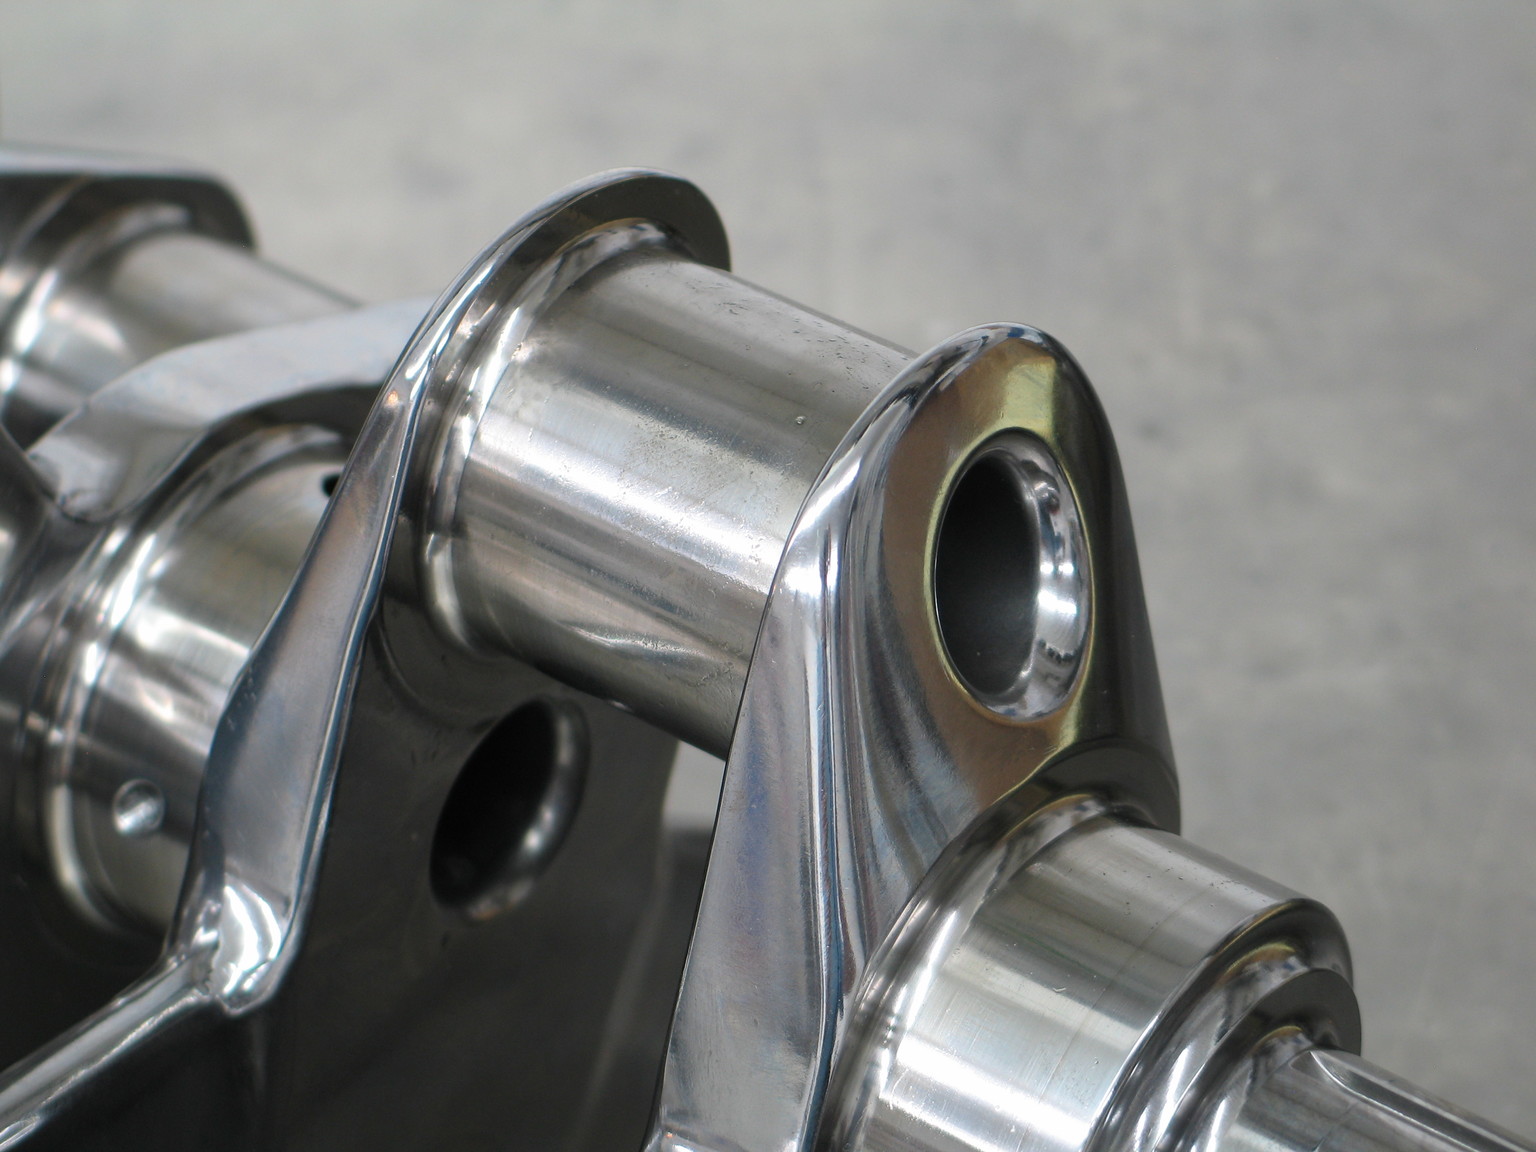
(Left) The LS-style, six-bolt flexplate flange. (Center) Standard LS cranks feature a longer shaft than the original Gen 1 small-block cranks. We opted for a space-saving 'shorty' snout. (Right) The crankshaft is machined, lightened, and polished at Winberg's facility in Denver.
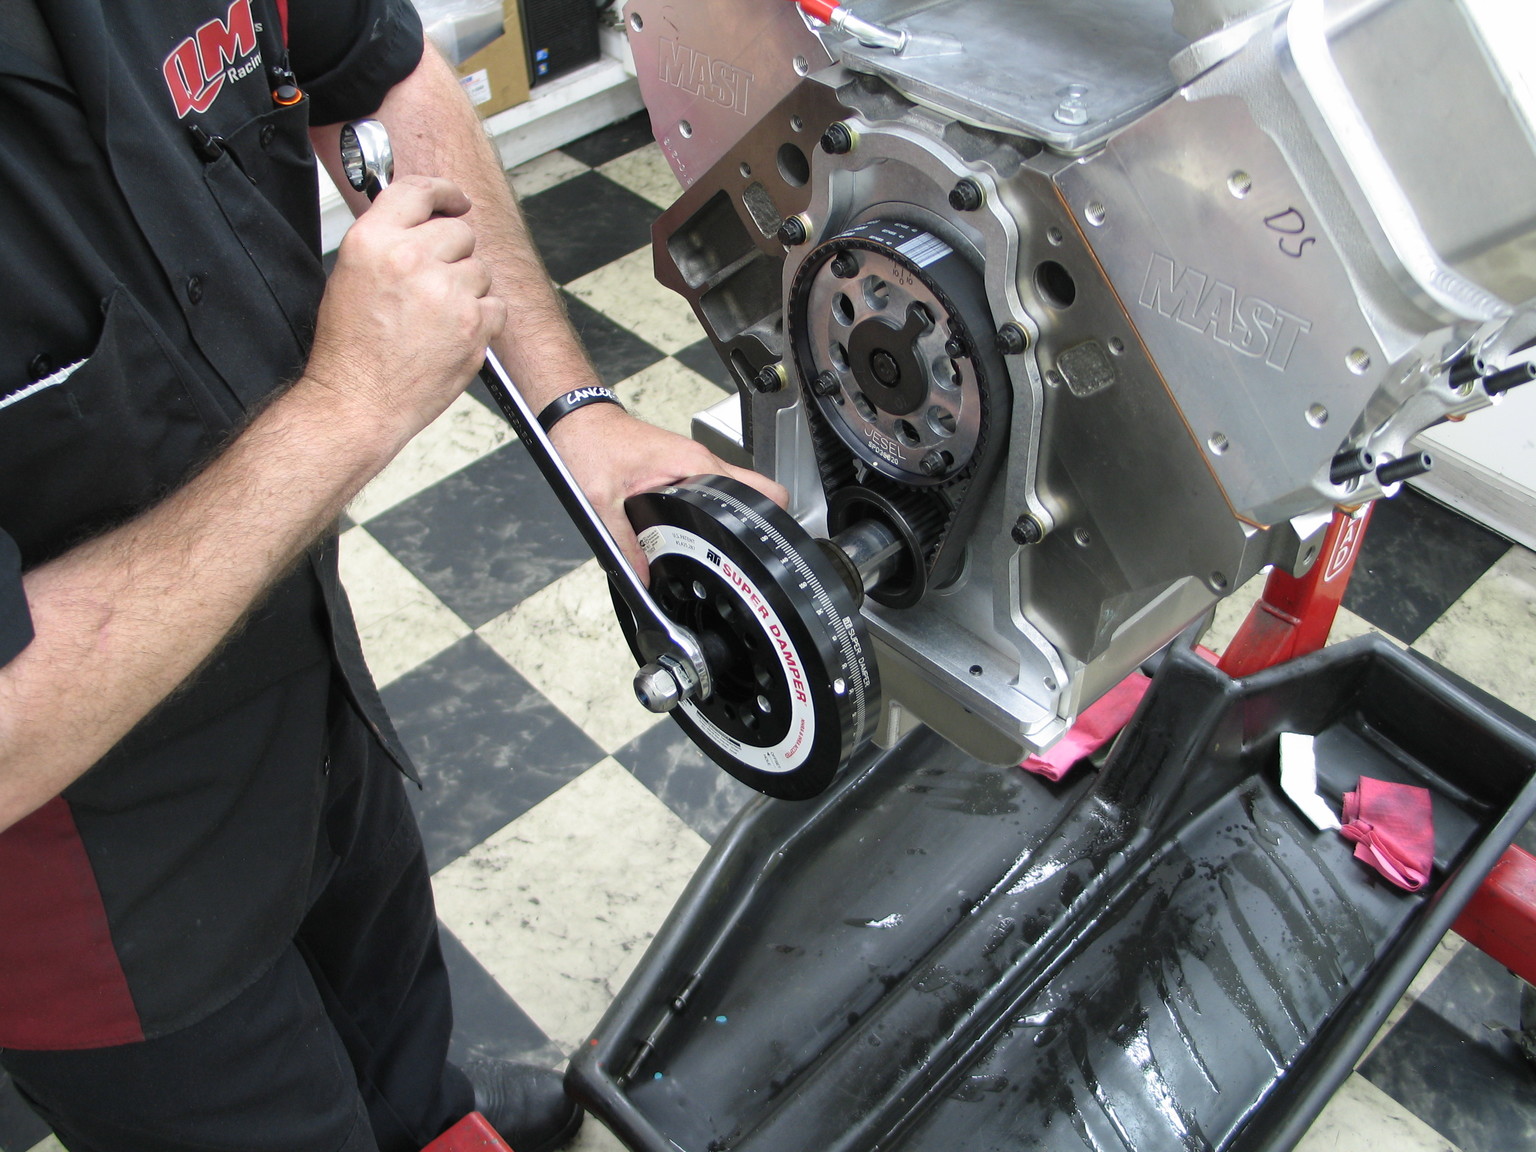
Mike at QMP installing the ATI Super Damper after short-block completion. The damper shell is equipped with four magnets that will instruct the Holley Dominator EFI system for spark timing.
Winberg offers an option to include the LS internal reluctor wheel, but we’ve seen trackside issues in the past with LS reluctor wheel failures that required dropping the pan to fix, and we wanted none of that. In lieu, we opted to send spark signals to the Holley Dominator EFI using an ATI Super Damper. ATI is able to arrange a damper for virtually any build and suggests giving them a call when putting together a custom combination. ATI set us up with a trick piece that included an LS hub, four-magnet aluminum shell, and additional 3/8-inch mounting holes to accommodate Chassisworks’ supercharger gear drive system that we’ll be using to spin our blower.
Packing It In
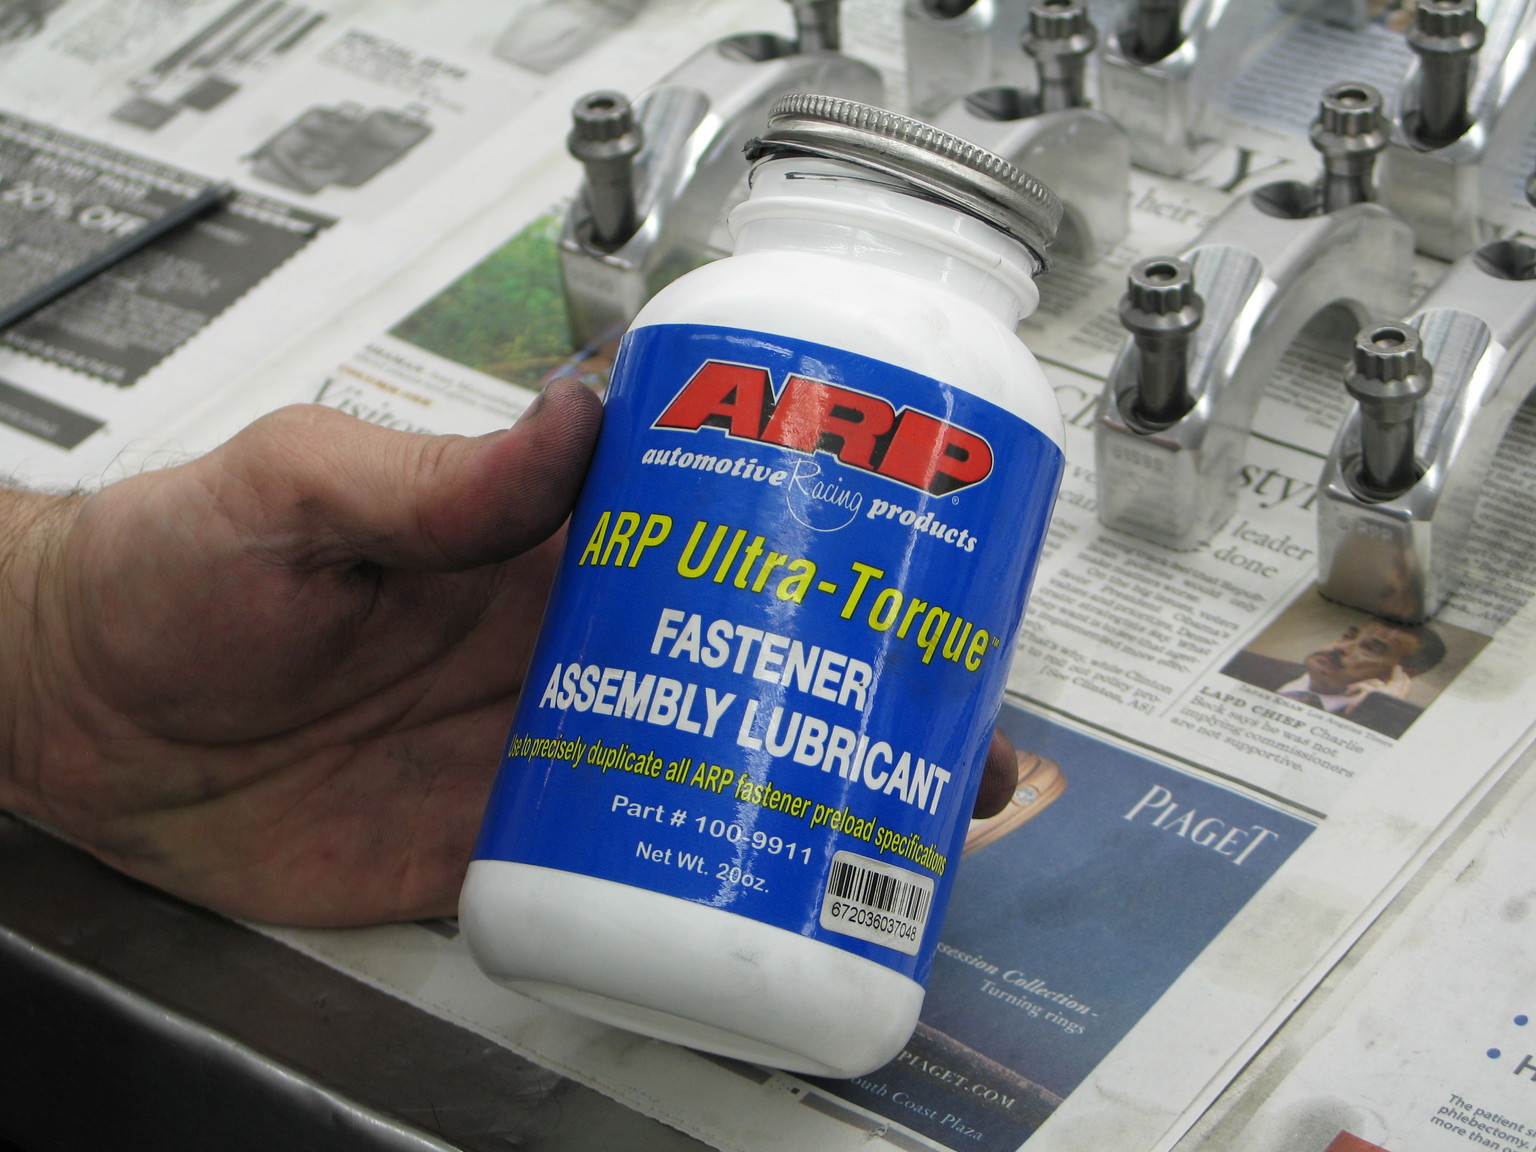
Once Consolo assigned our parts to the engine room, we knew completion was near. As he’d told us before the build began, “Once we get the parts in the assembly room, they don’t come out until the engine is finished.” Before we could get started, we contacted ARP and our friends at Clevite to order fasteners and bearings for the entire build. ARP provided us with its LS fastener kit (PN 534-9705) for the essentials. We did have to complement the kit with some custom lengths for custom parts, like Mast’s canted valve heads. For bearings, we went with Clevite’s coated offerings.
We followed along as he ran through the short-block prep and assembly process.
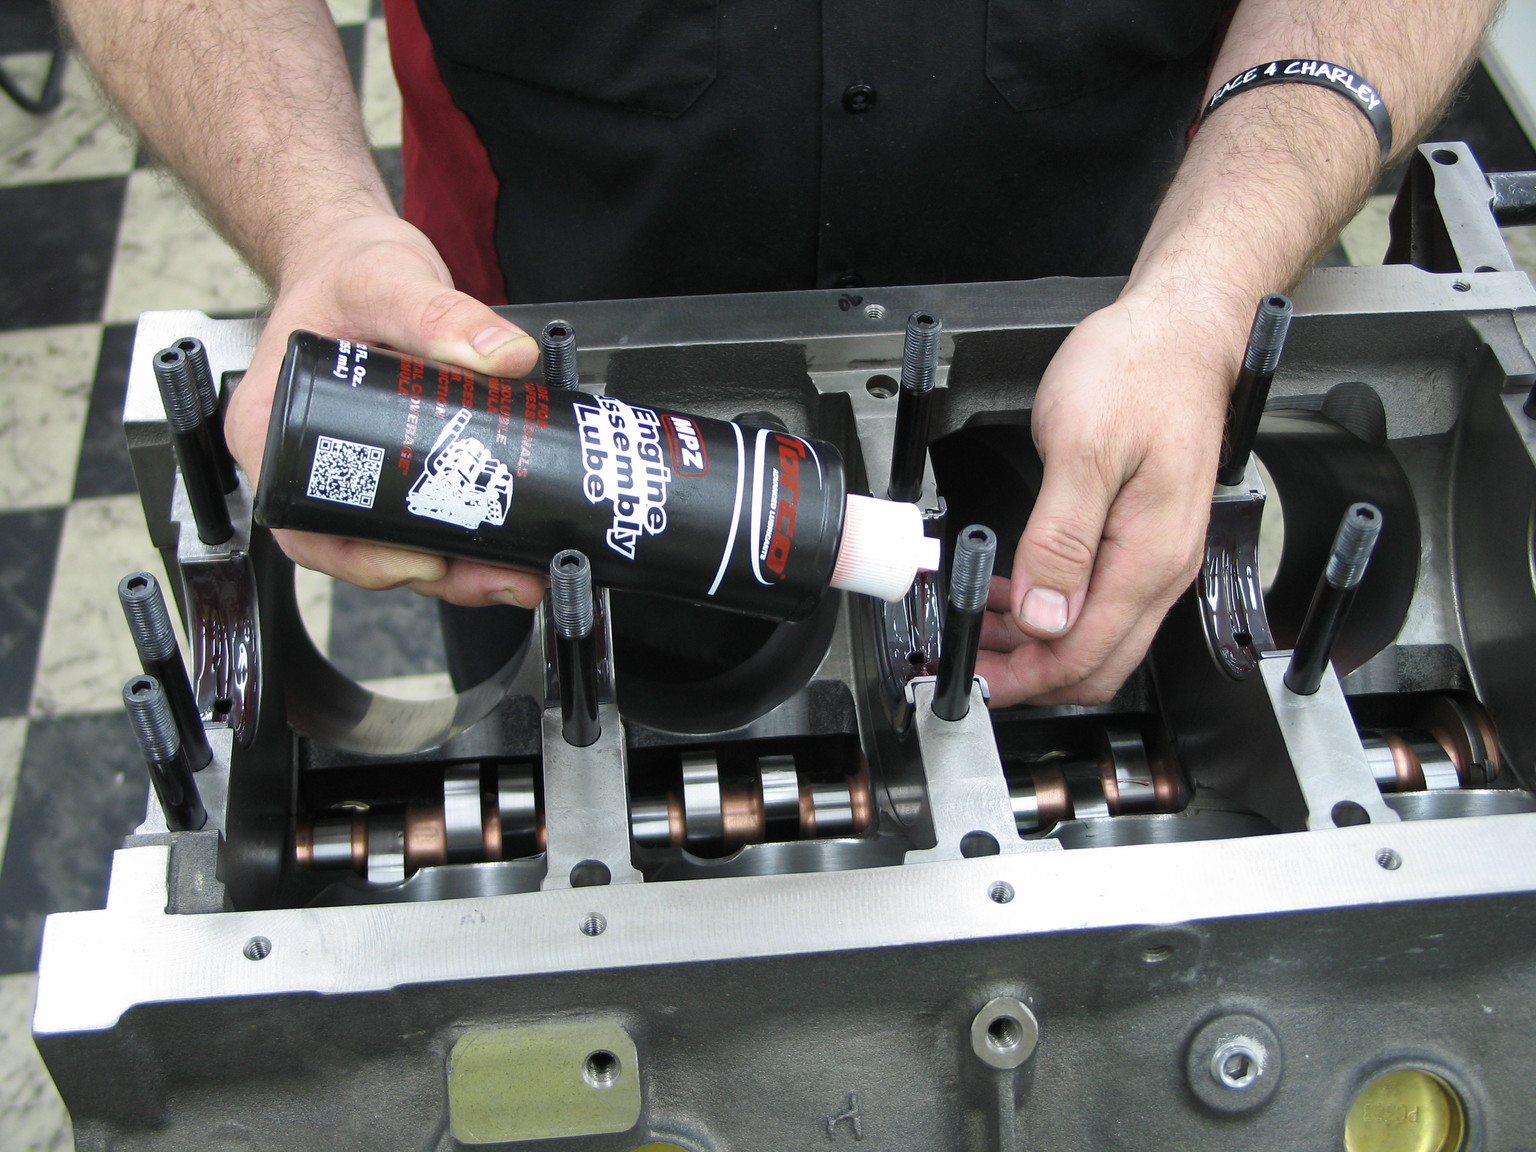
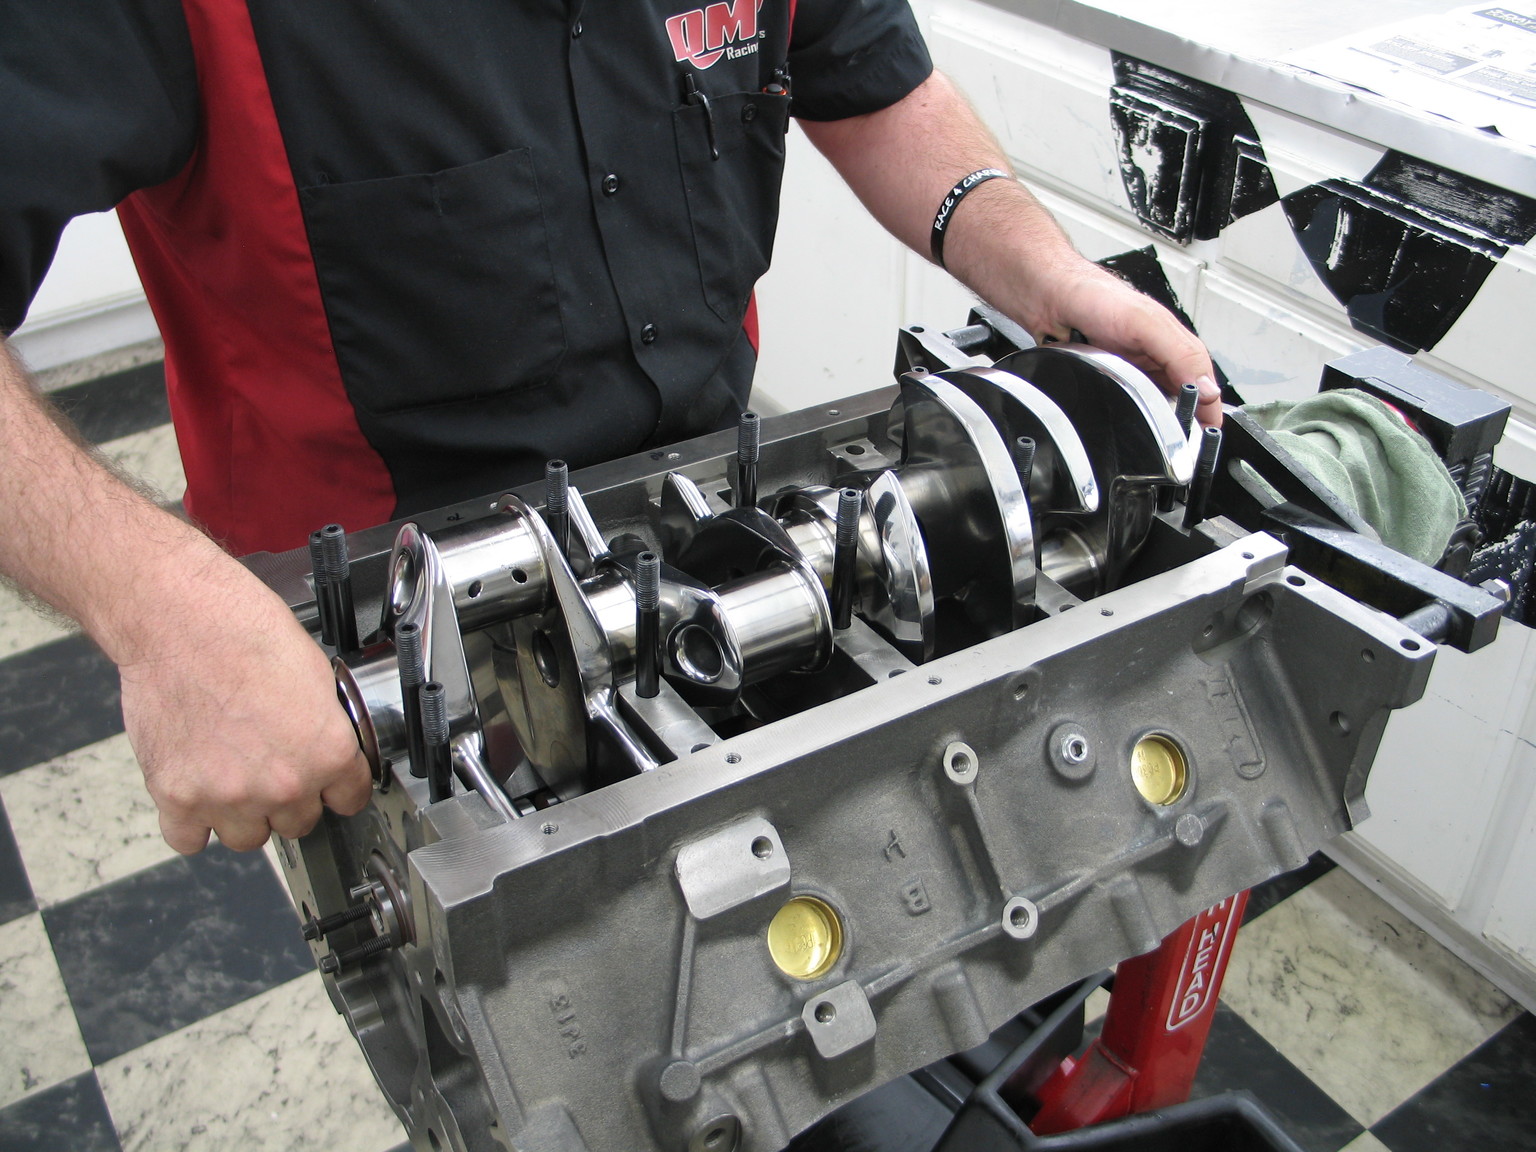
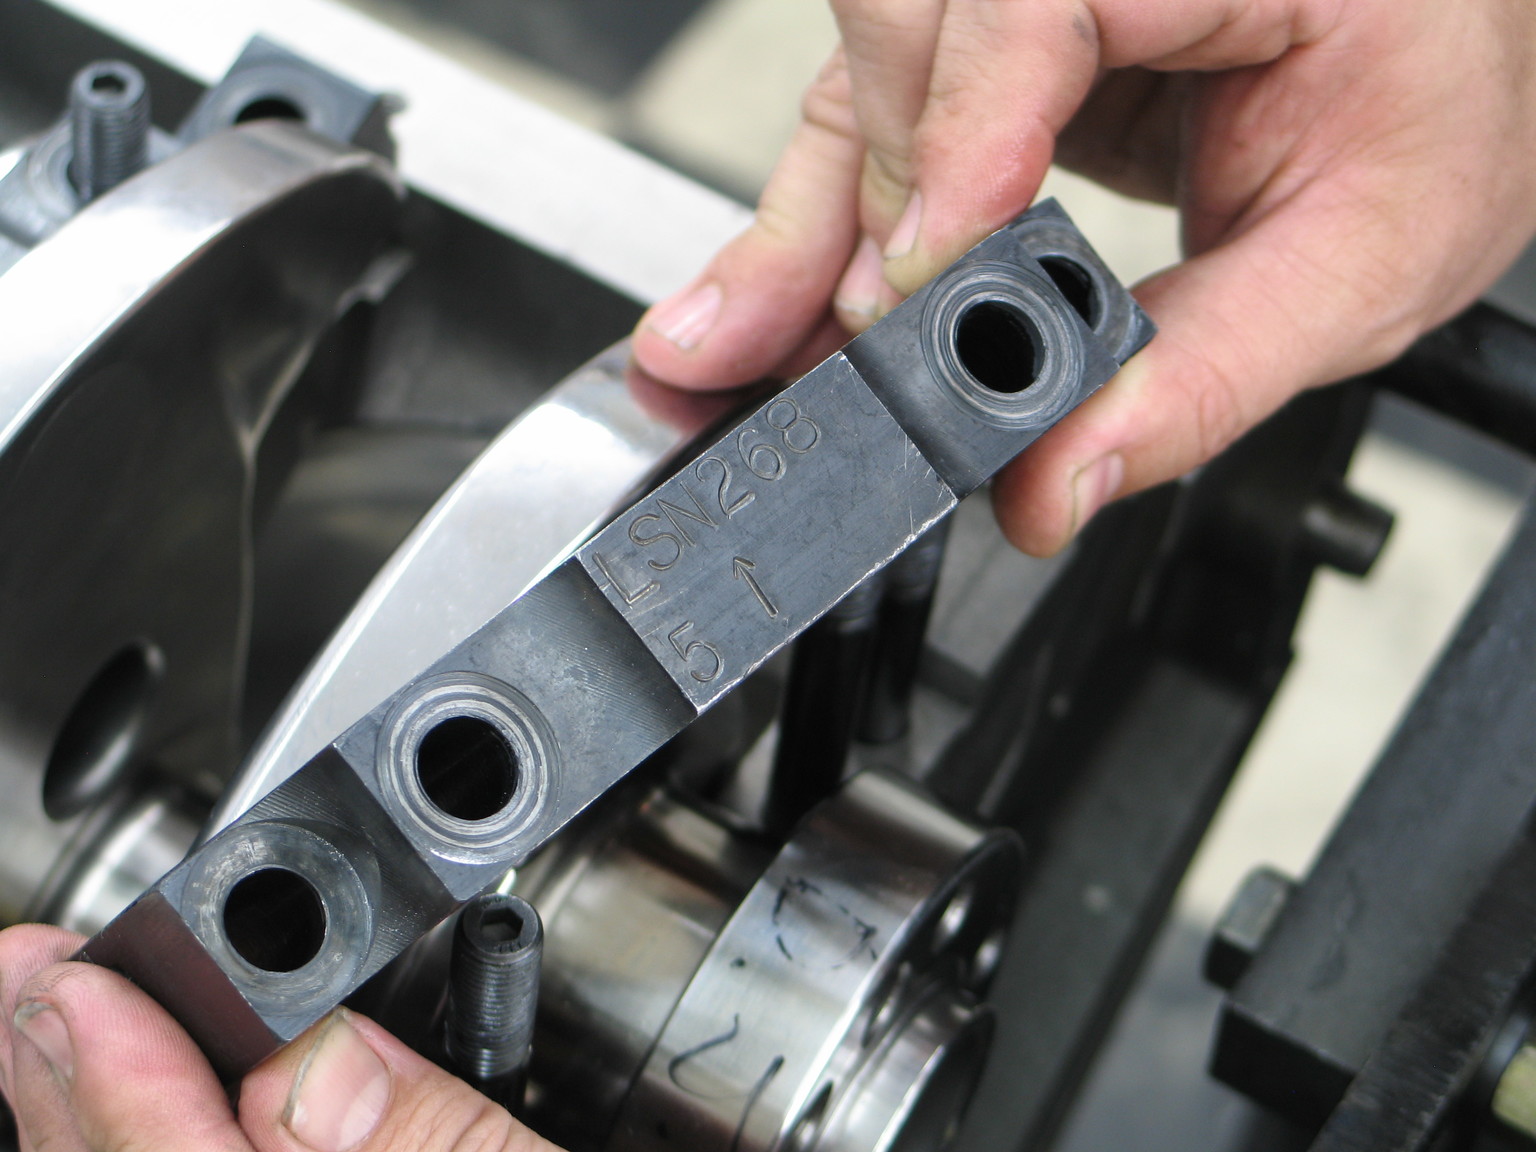

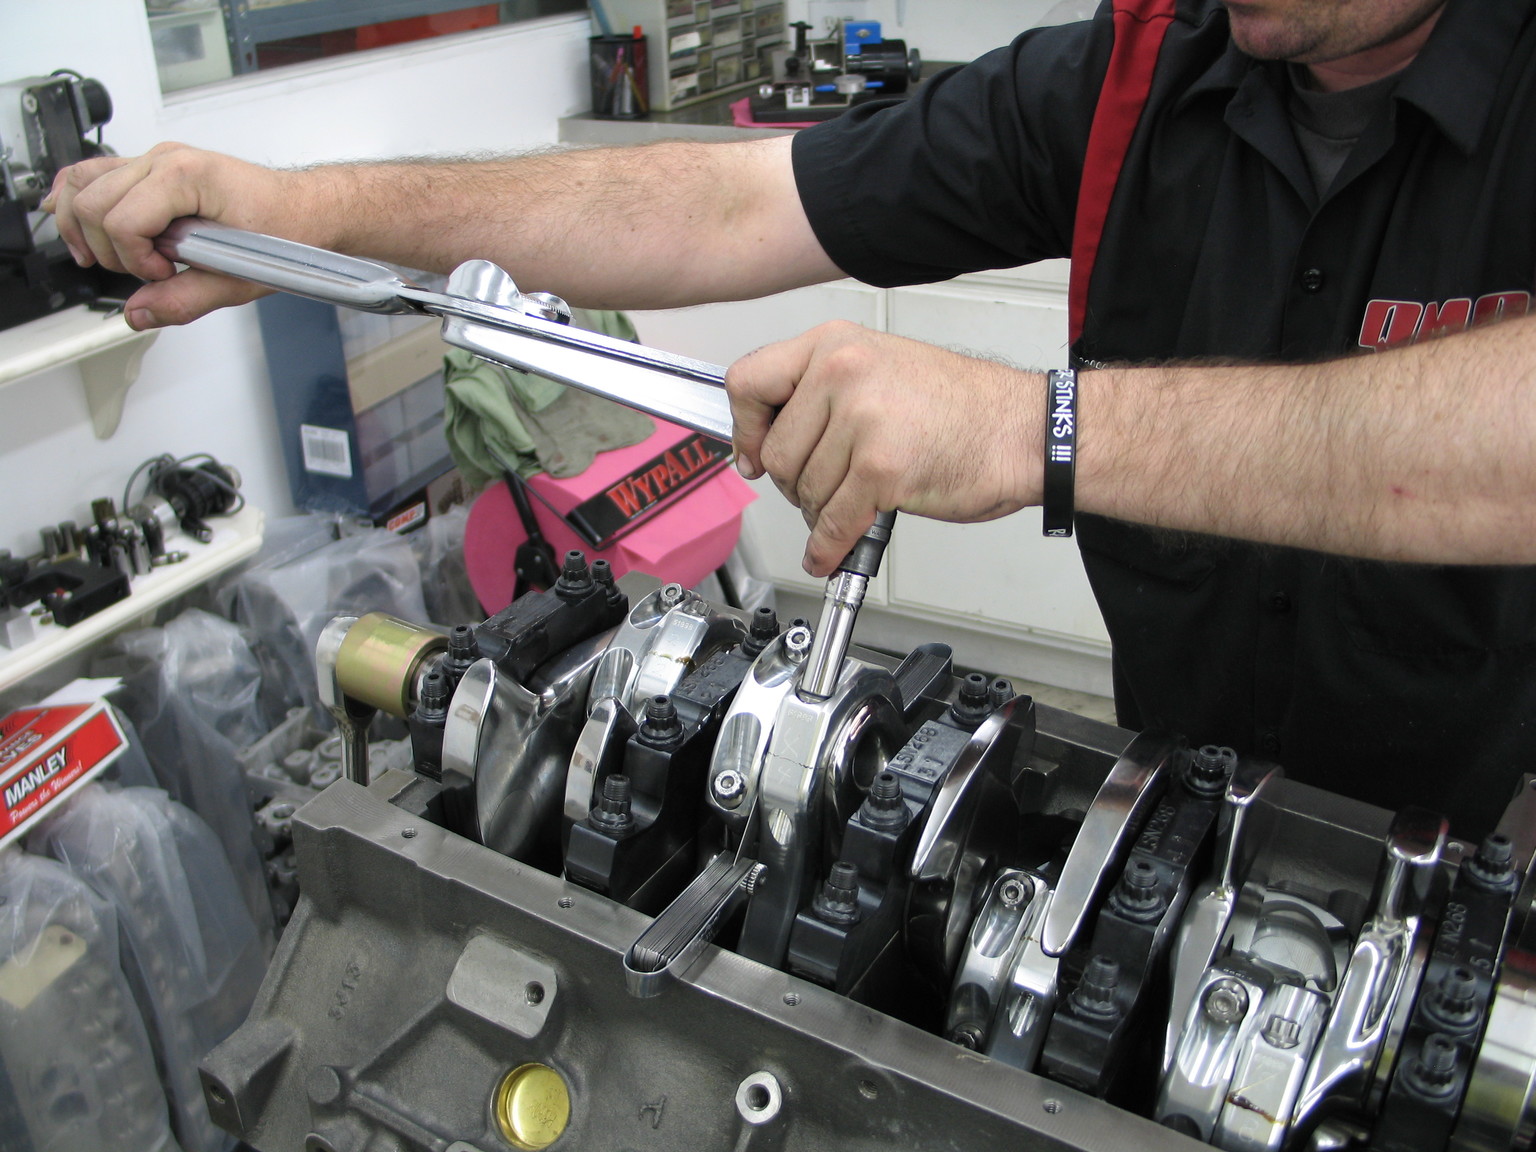
(Upper left) The first step is to clean the block and drop the main shells in the crank saddles. For this build, we used Clevite MS-2199HXK bearings. Pro tip: Add a 'K' to Clevite part numbers for the coated option. (Upper right) After the bearings are installed with assembly lube, the crank is dropped in the main saddles. (Lower left) The crank is held in place with Dart's billet main caps. To help make the process foolproof, Dart marks the caps with their matching saddle number and orientation. (Lower right) Consolo torques the main caps.

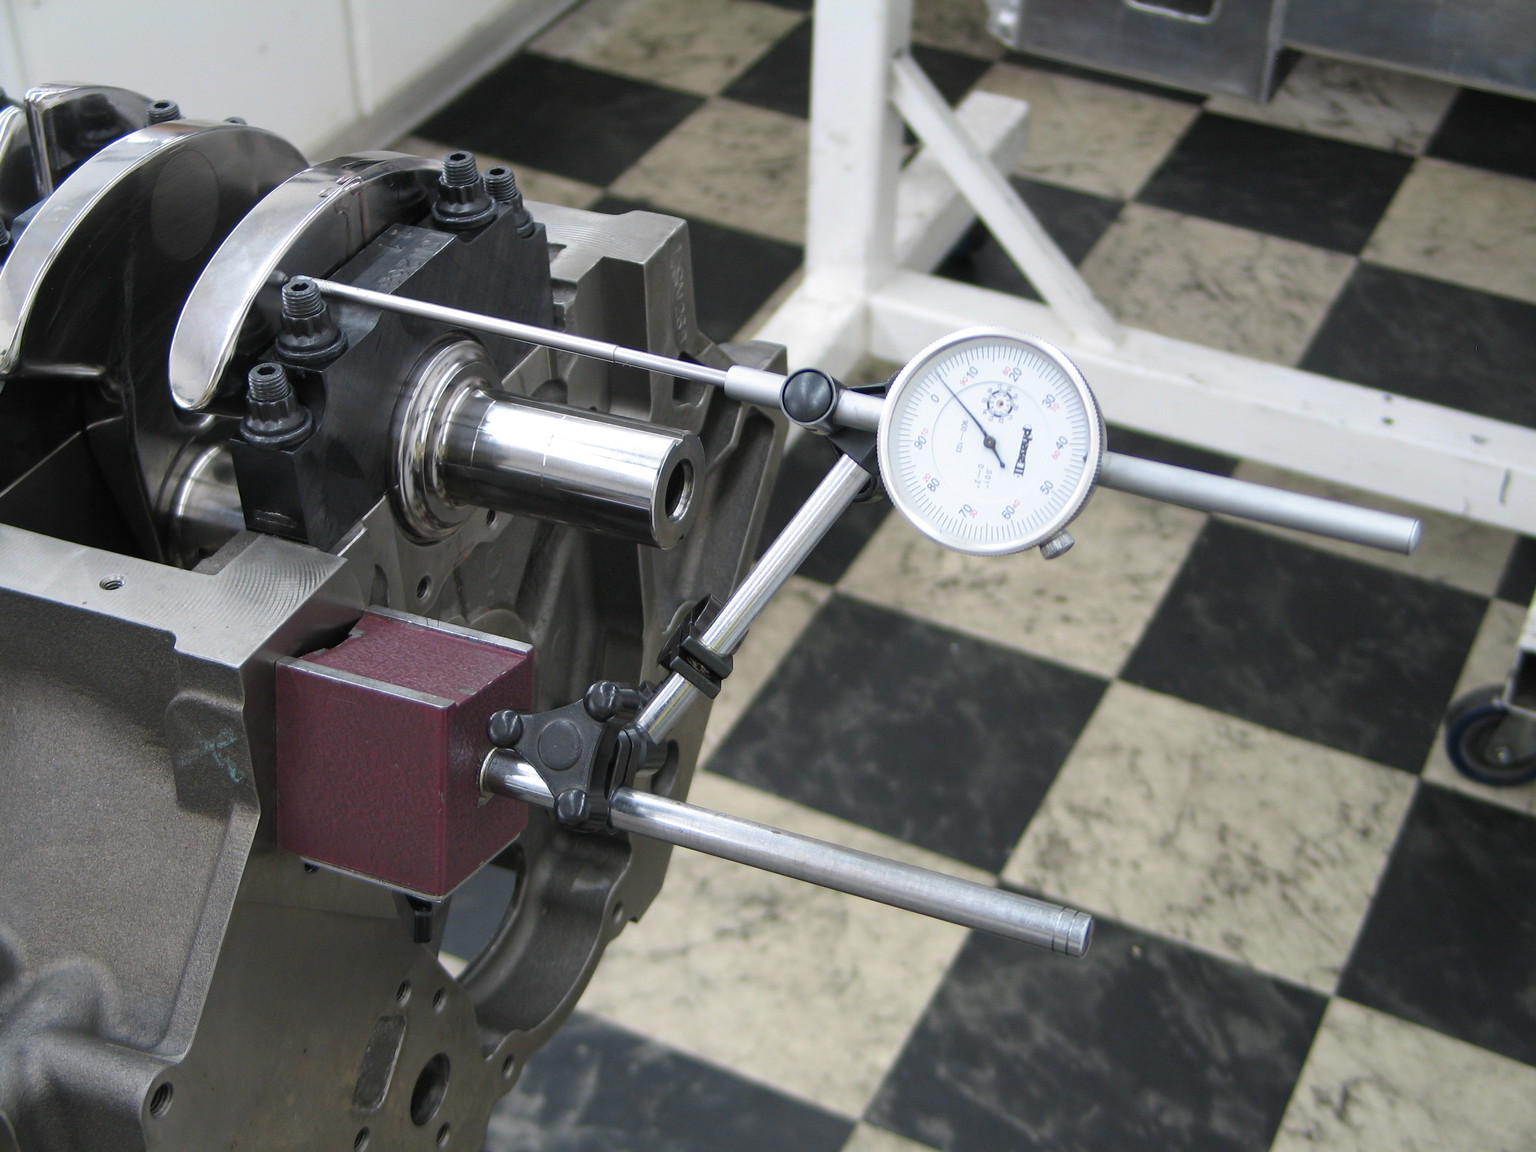
Once lubed, installed, and torqued, the crankshaft end play is checked.
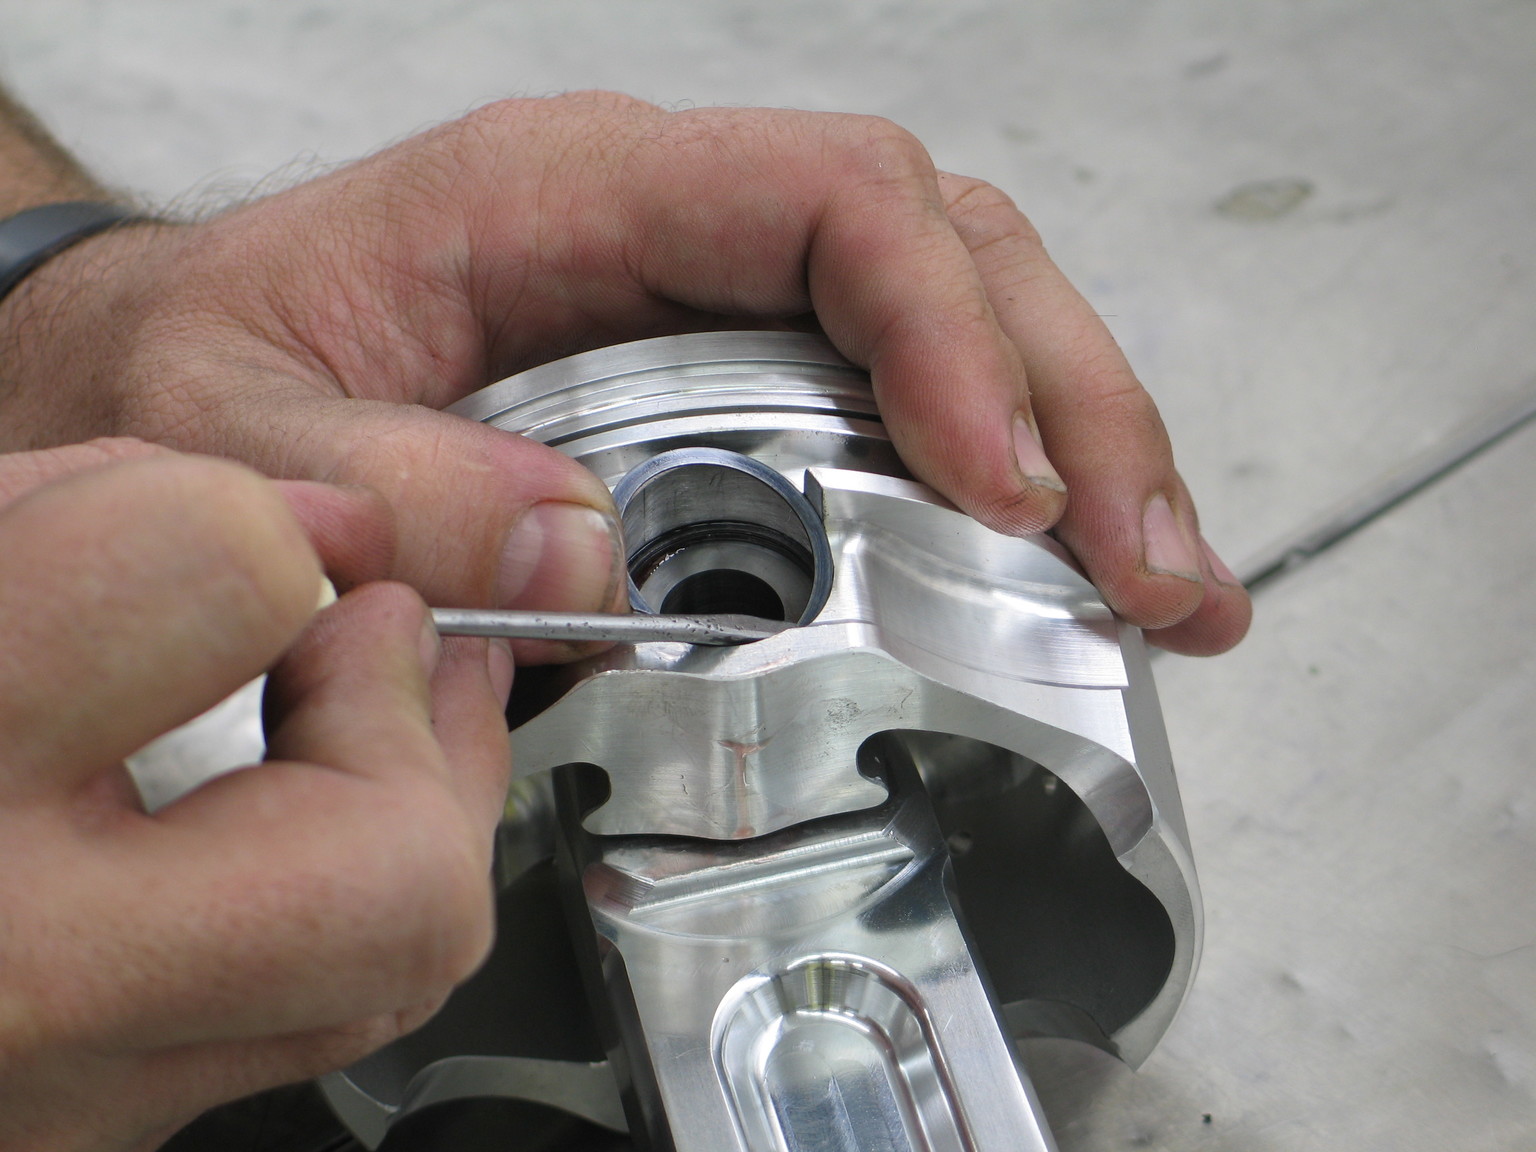
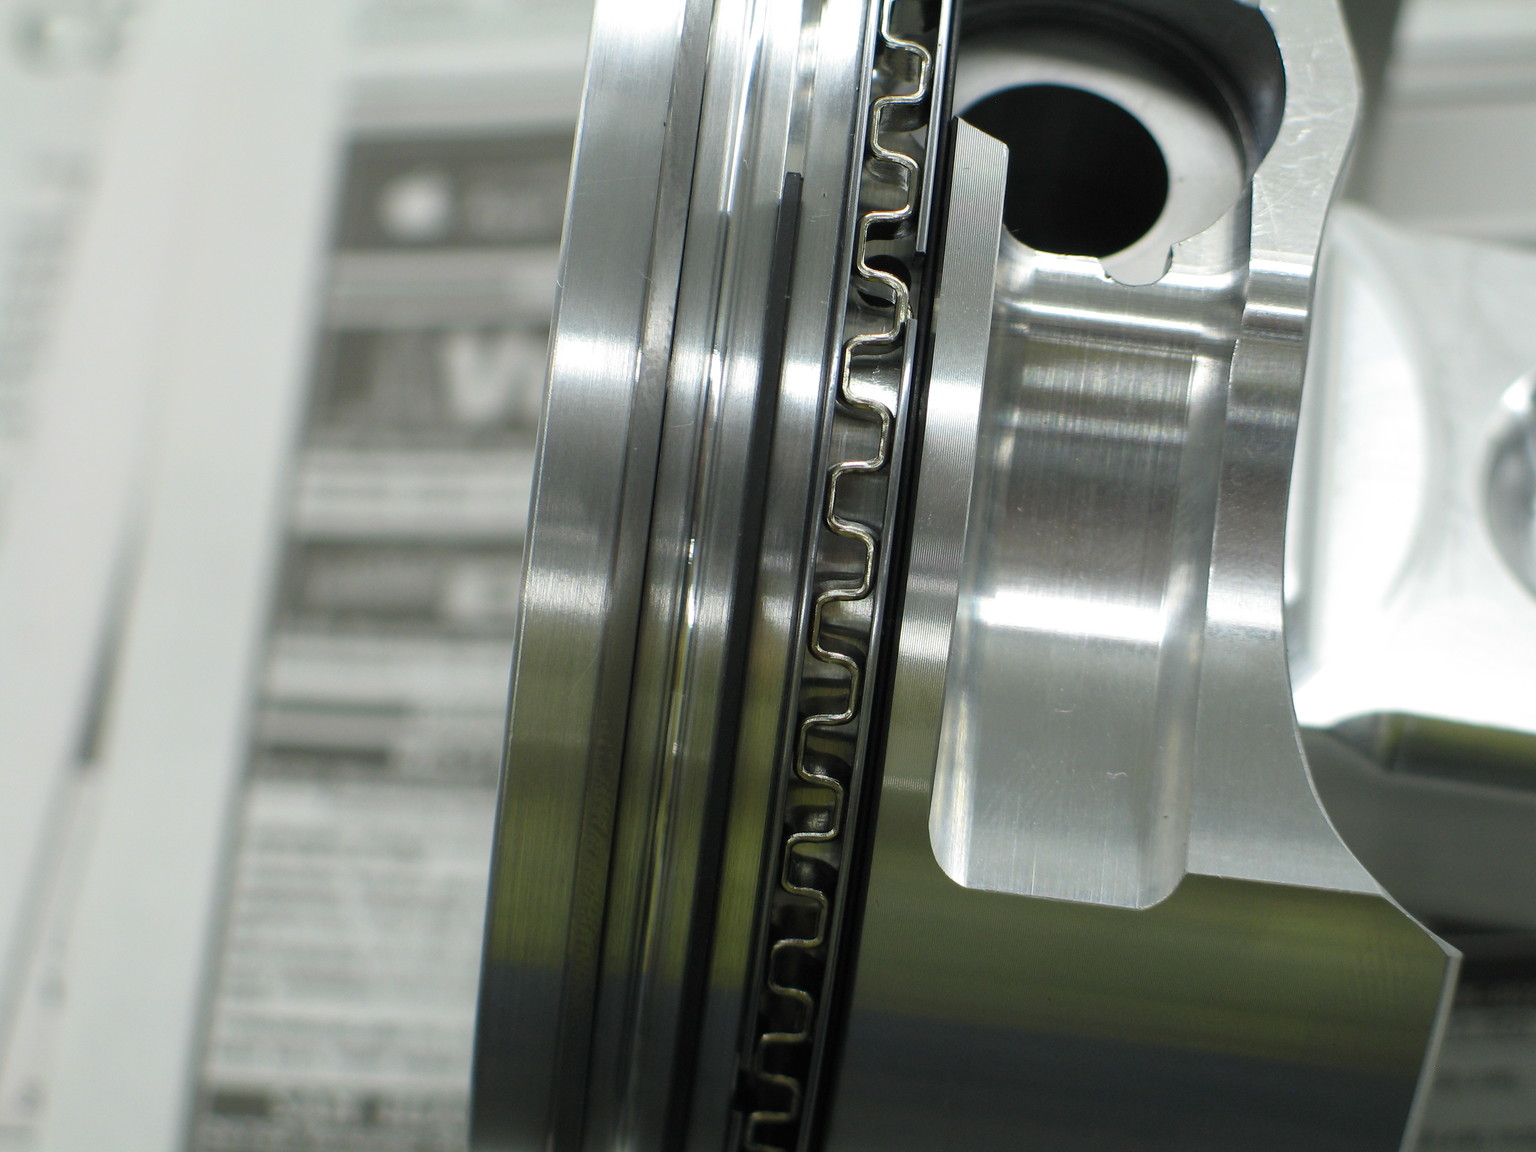
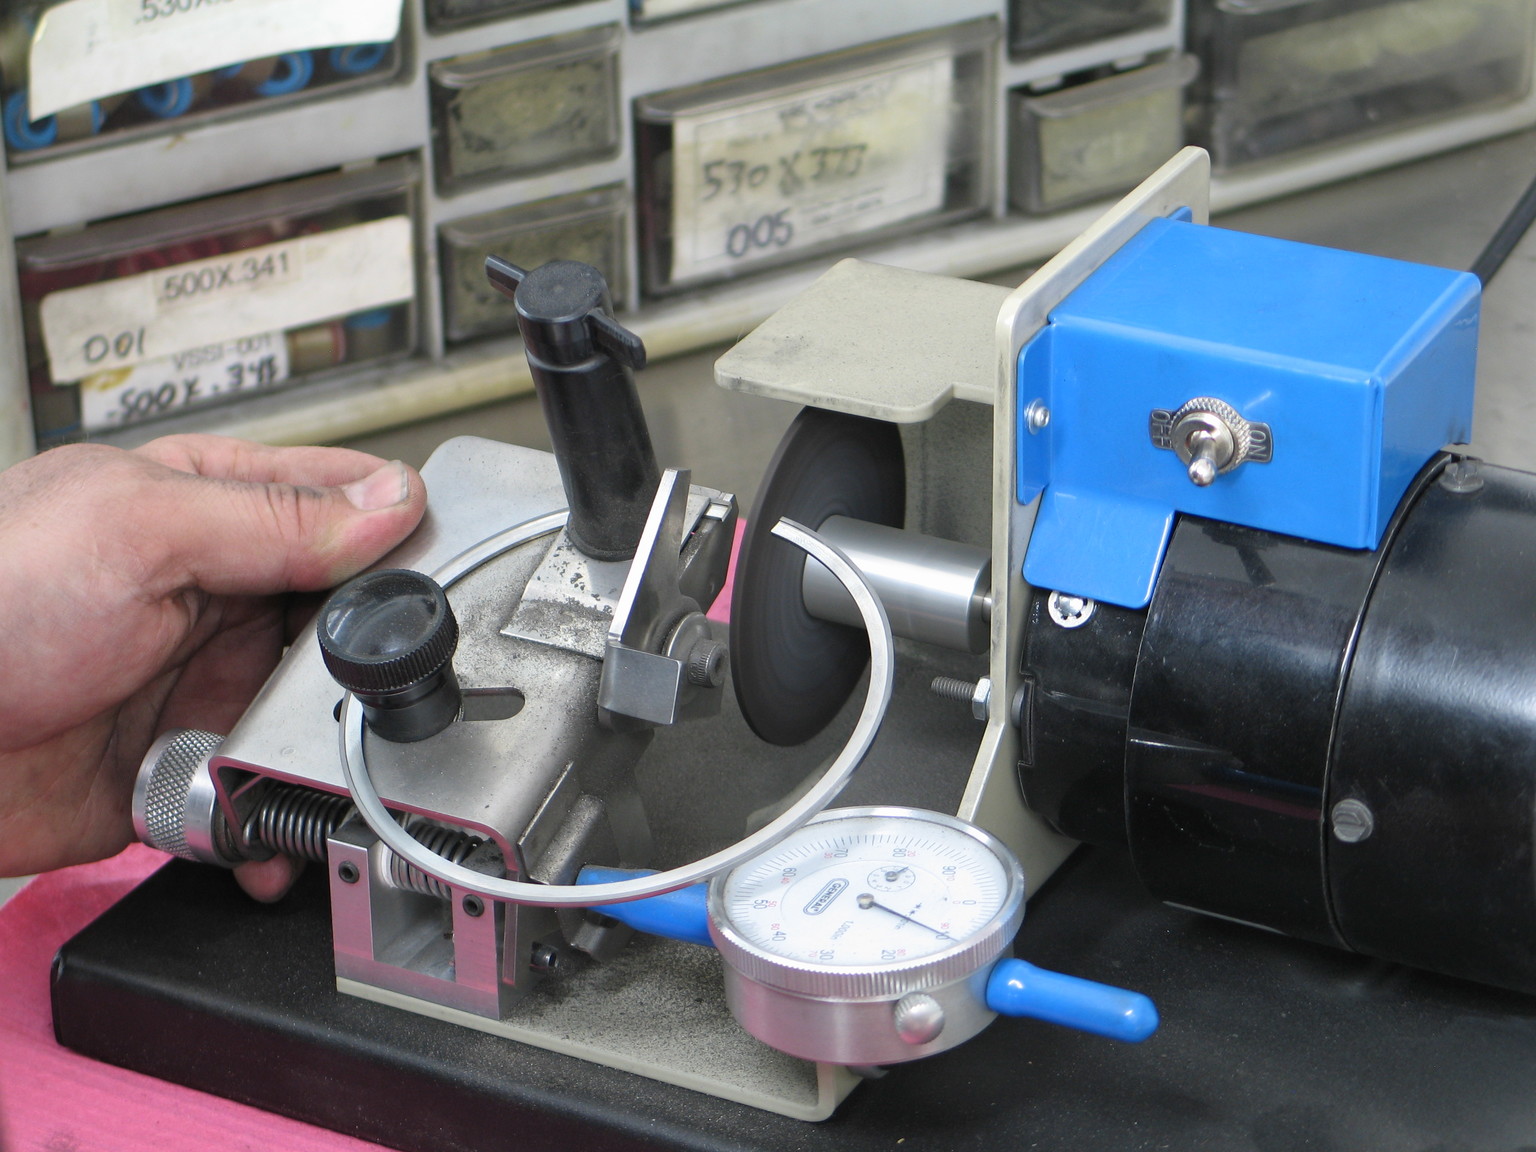
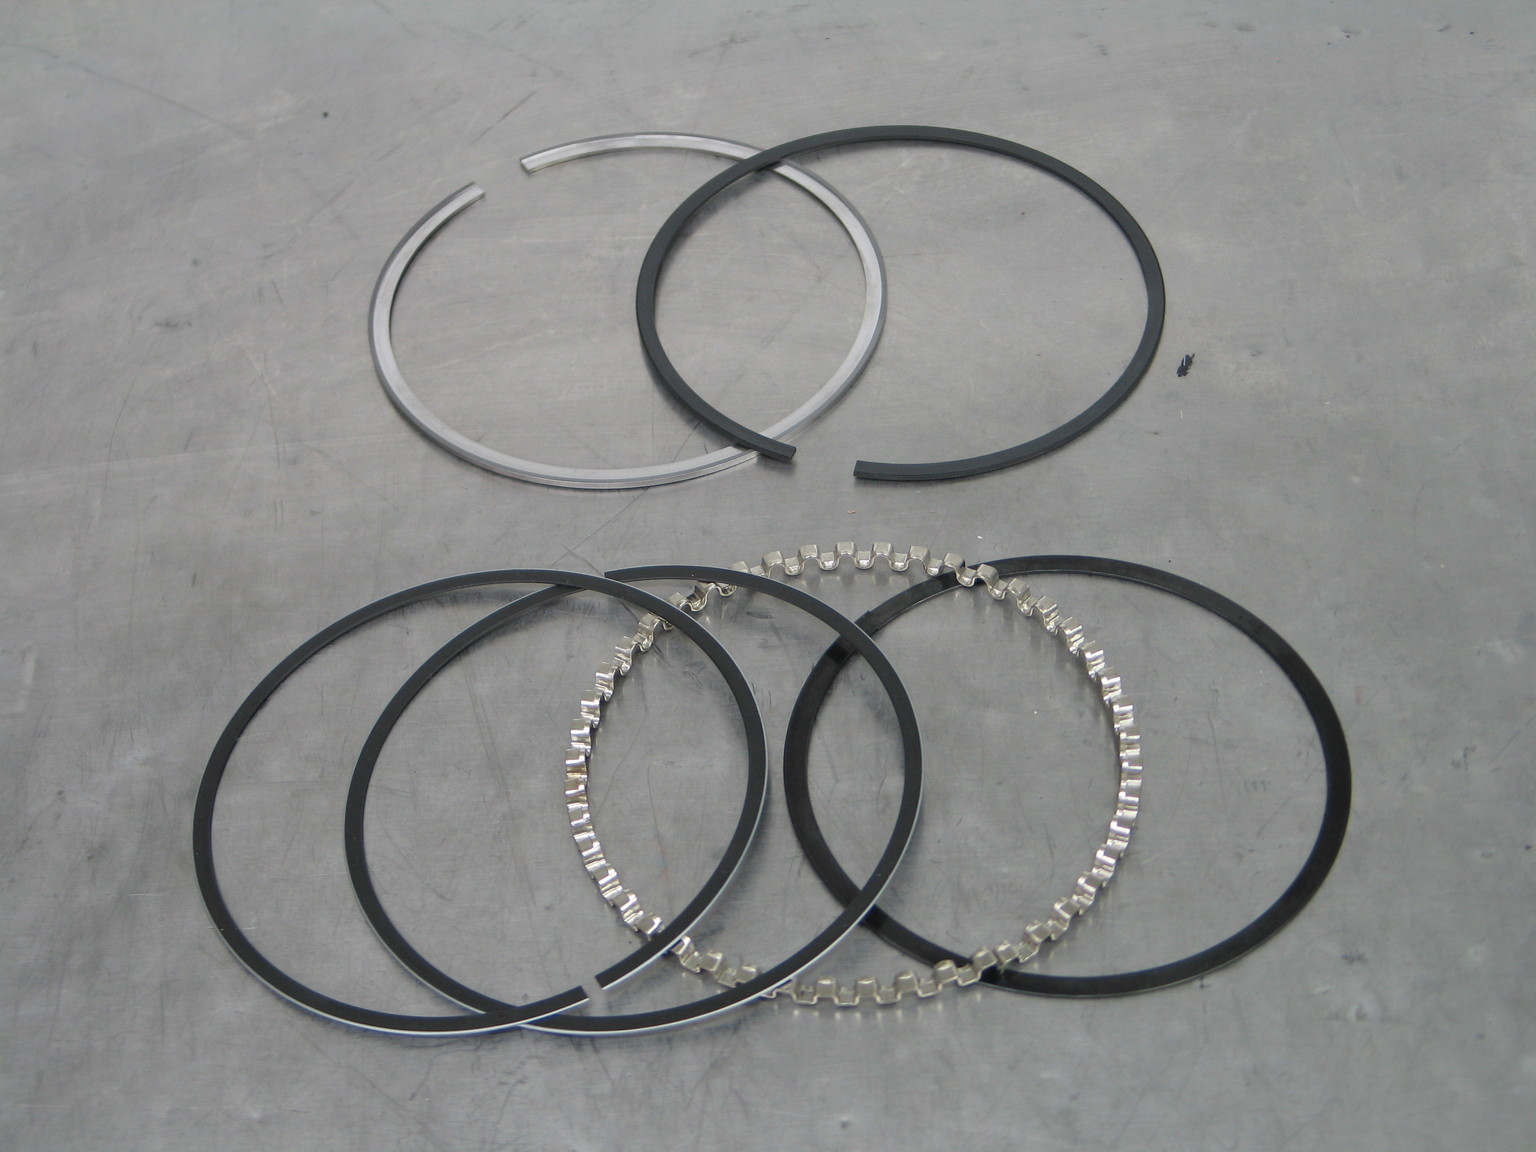
(Upper left) Fitting Total Seal's rings on the Ross slug. Most prominent is the 22-pound, 3/16-inch conventional oil ring. (Upper right) Determining proper ring gap is critical for proper ring function and seal. Too narrow can lead to piston damage, while too wide will result in sealing losses. (Lower left) A ring filer is a common tool found in any legitimate engine shop. The tool is used to obtain a proper gap that's squared to the ring face. (Lower right) Our final ring package consisted of Total Seal’s C33 stainless steel top ring in a .017-inch Dykes configuration. The second ring is a ductile iron, Napier-style .043-inch with a .140-inch radial thickness. As already noted, we used a fairly standard 22-pound, 3/16-inch conventional oil ring.
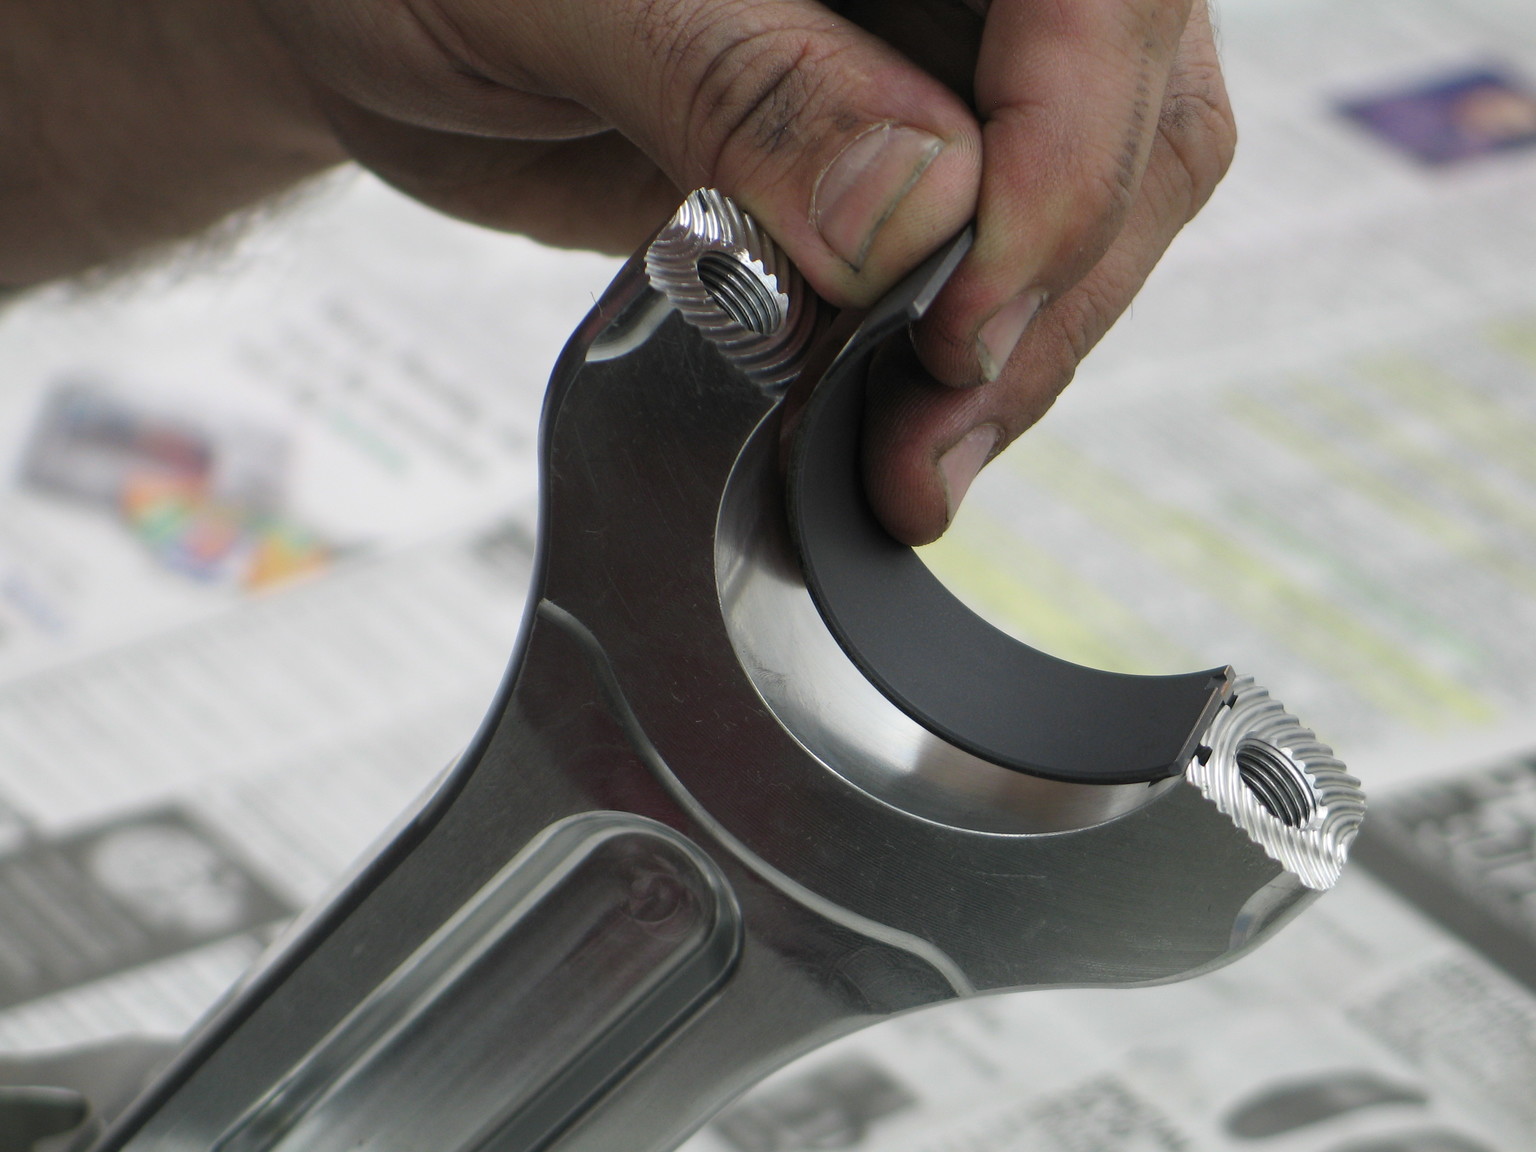
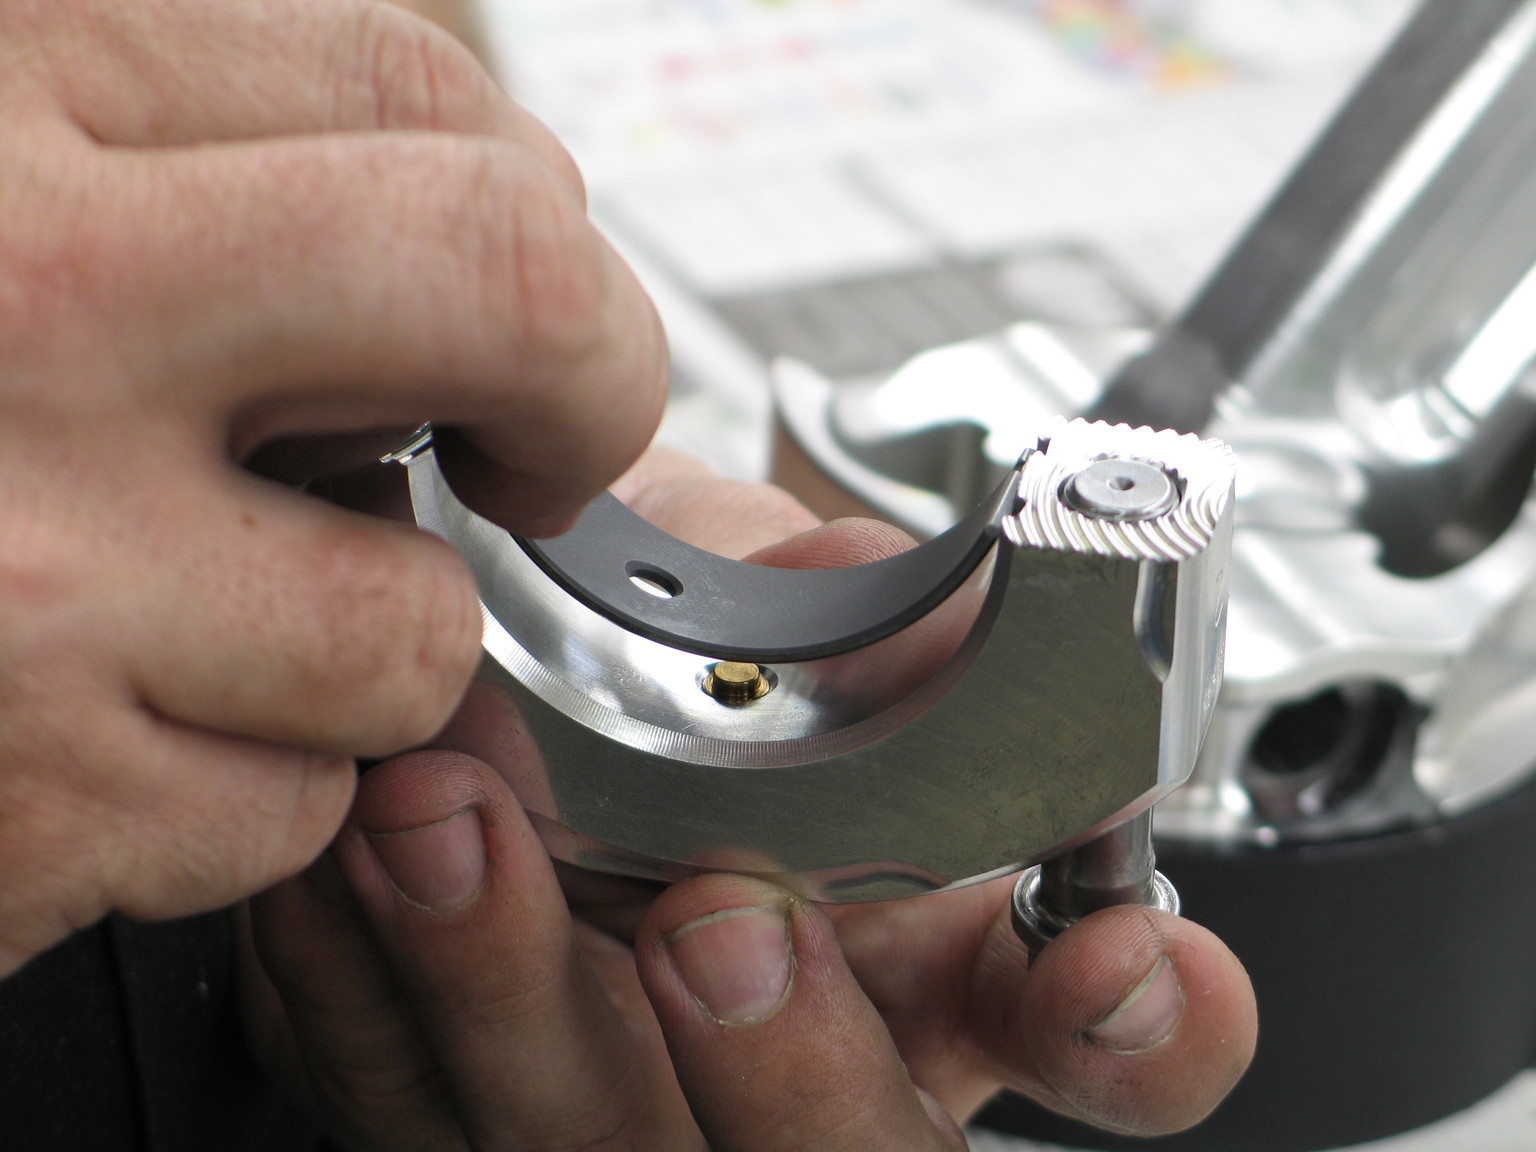
Clevite's TriArmor coated rod bearings (PN CB-745HXNDK) are dropped into the rods before the rods are fitted on the crank. We've personally seen positive results in other builds where the bearings come out looking almost new.
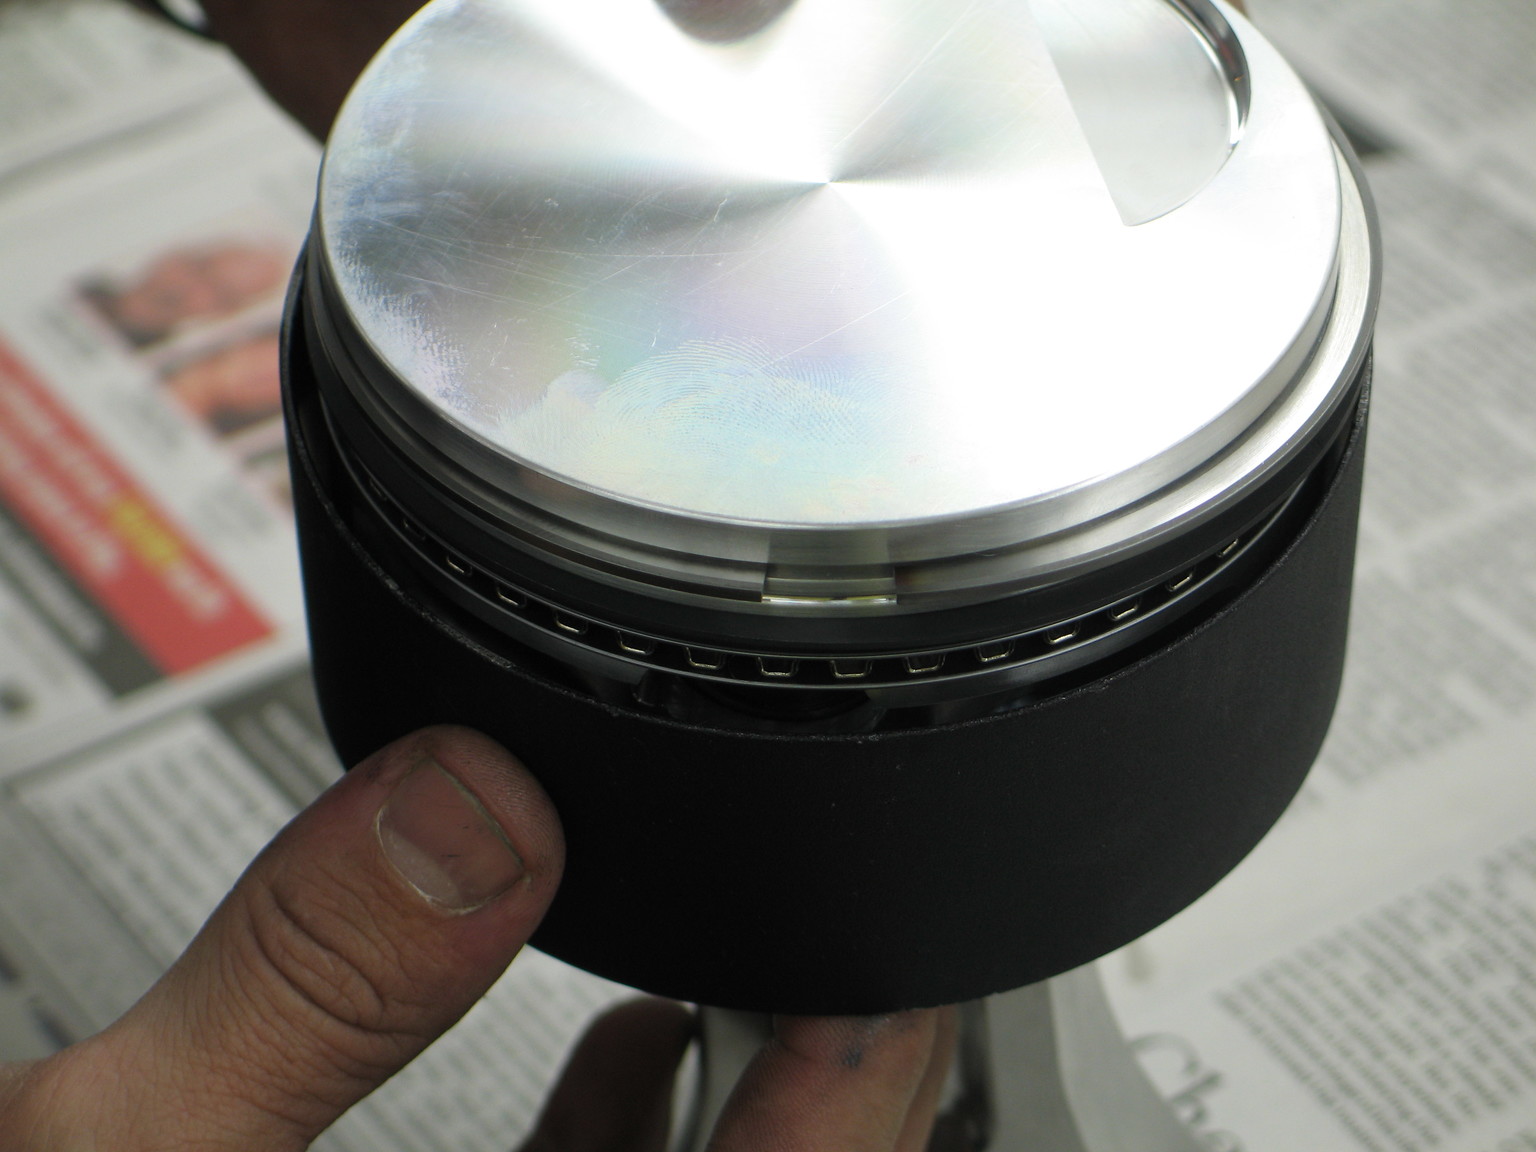
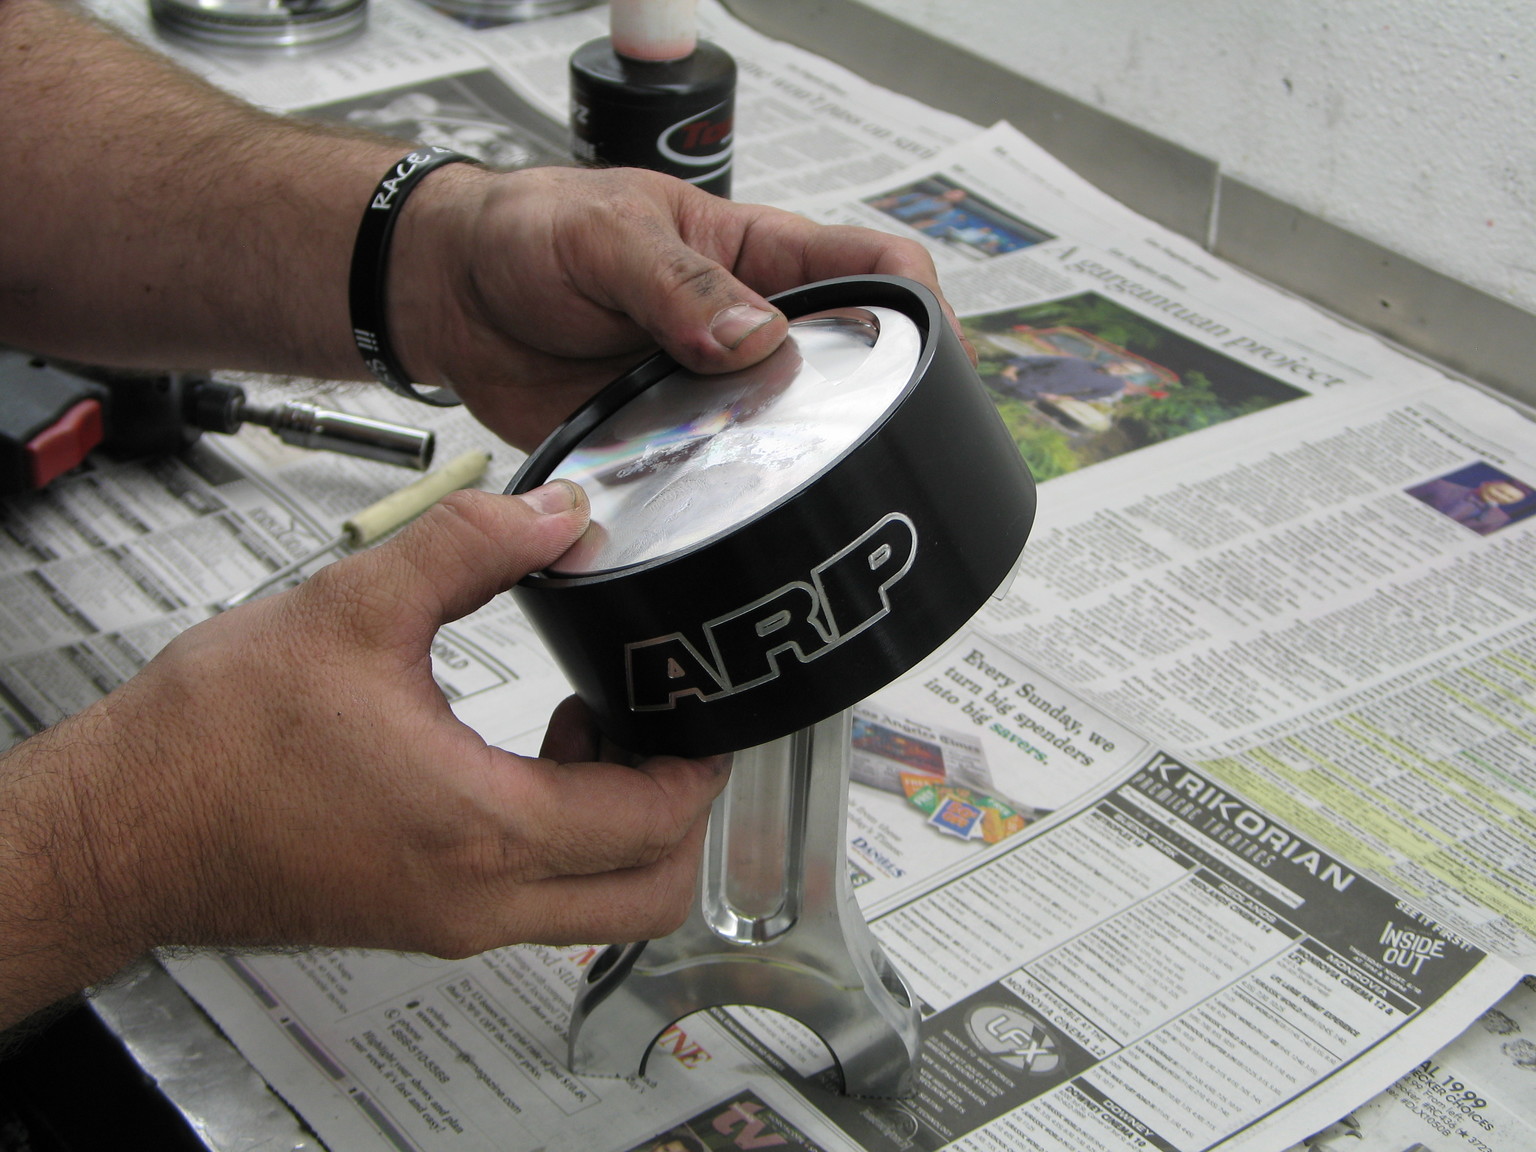
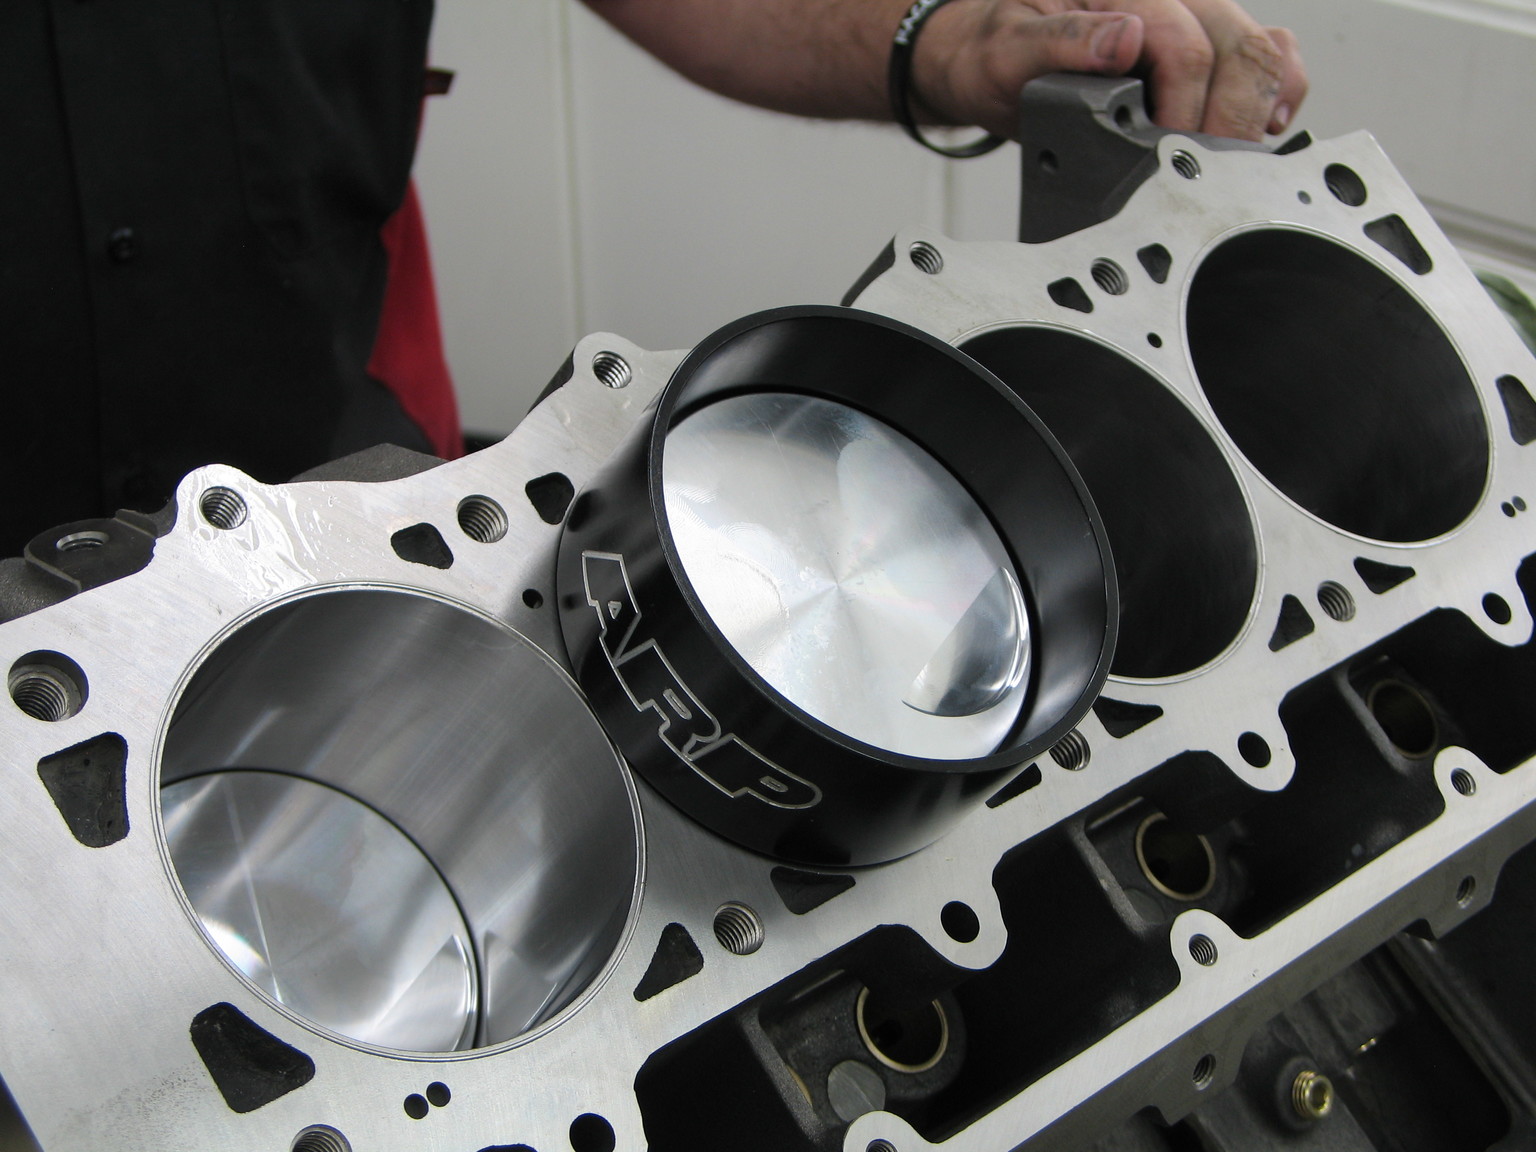
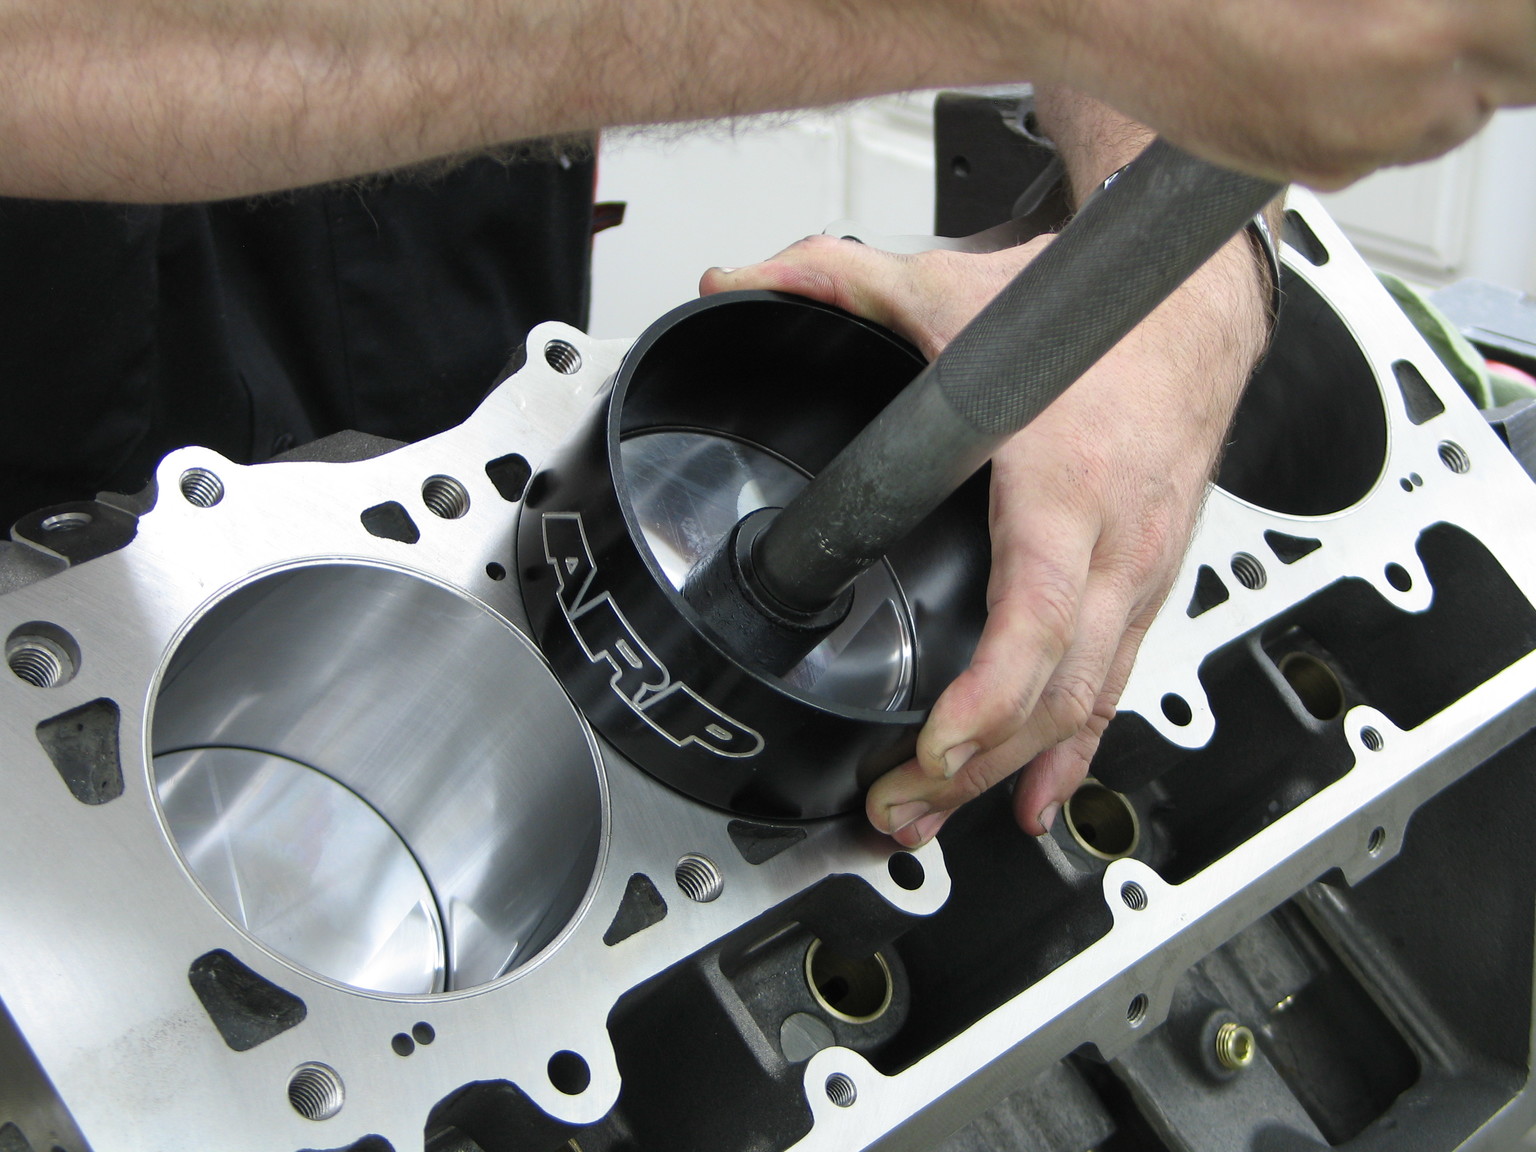
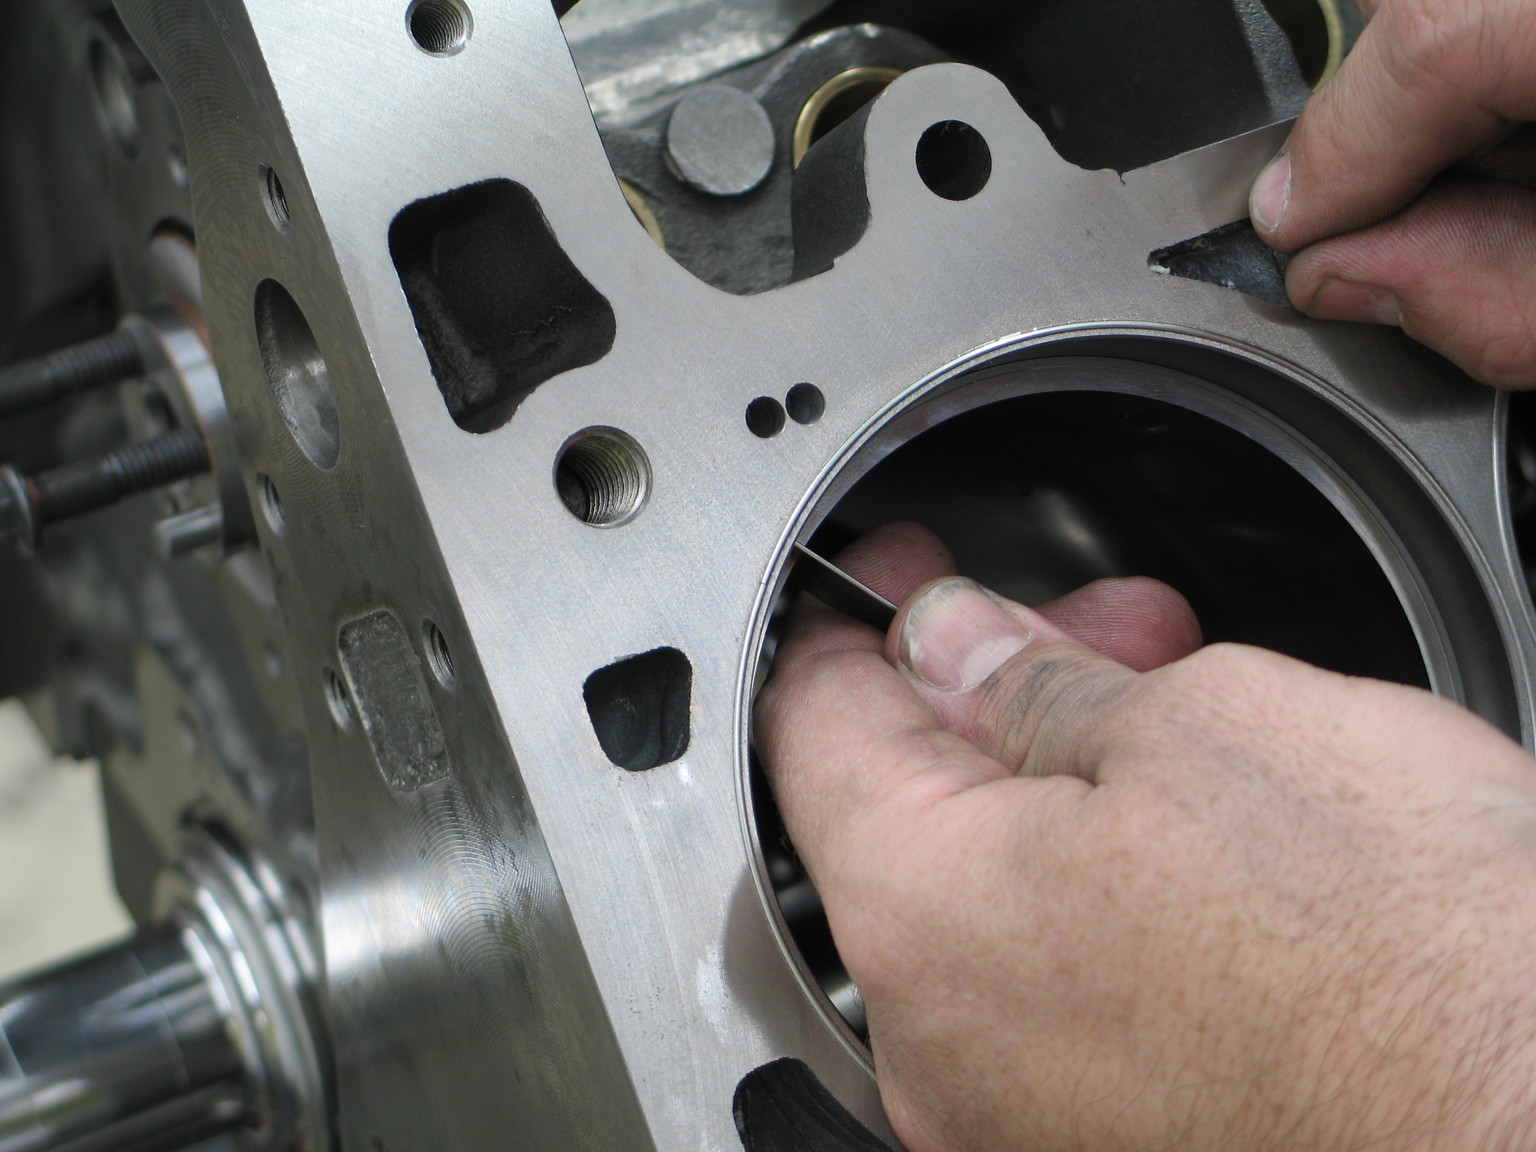
Here we see a series of images that show Consolo dropping the pistons and rods in the block. A ring compressor from ARP is used to position the pistons on the cylinder. A dowel is then used to help motivate the ring clad pistons into the bore.
The rod bearings are hit with assembly lube, the pistons dropped into the bore, and then the rods are torqued onto the billet crank. Assuming clearances and thrust check out, this is the final operation for the rotating assembly prior to the pan being installed.
Getting A Proper Heartbeat

Comp’s 60 mm core with as much as 0.515″ lobe lift and 300 degrees duration at 0.050 is massive
As we highlighted in our Induction Priorities story, Comp Cams set us up with a monster camshaft for this engine. The 60 mm core features 117-degree lobe separation, 0.515-inch lift with 281-degrees duration at 0.050-inch on the intake, and 0.510-inch lift with 300 degrees duration at 0.050-inch on the exhaust. The cam tunnel in the block was actually machined with the assumption that we would be using a 55 mm camshaft. However, after some persuasion, the camshaft was fitted into the block using a slider bearing for 60 mm cam cores. Ultimately, as mentioned earlier, we will most likely revert to a 55 mm core and roller bearings when it’s time to replace the rods.
Taking instructions from the camshaft are Comp Cams’ new Elite Series race lifters. The lifters feature a 0.904-inch REM-finished SAE 8620 steel alloy body and an 0.820-inch SAE 9310 steel alloy wheel that’s micro-polished and uses 52100 bearing steel needles. As mentioned previously, the lifters have removable cups so that the offset of each lifter is determined at the time of the build. We used a centered cup for the exhaust and a 0.180-inch left offset for the intake. Before sending us the block, Maskin bushed the block with bronze sleeves at Dart’s facility to make block prep easier. With his measurements being spot-on, QMP was able to drop the lifters in to wait for pushrods.
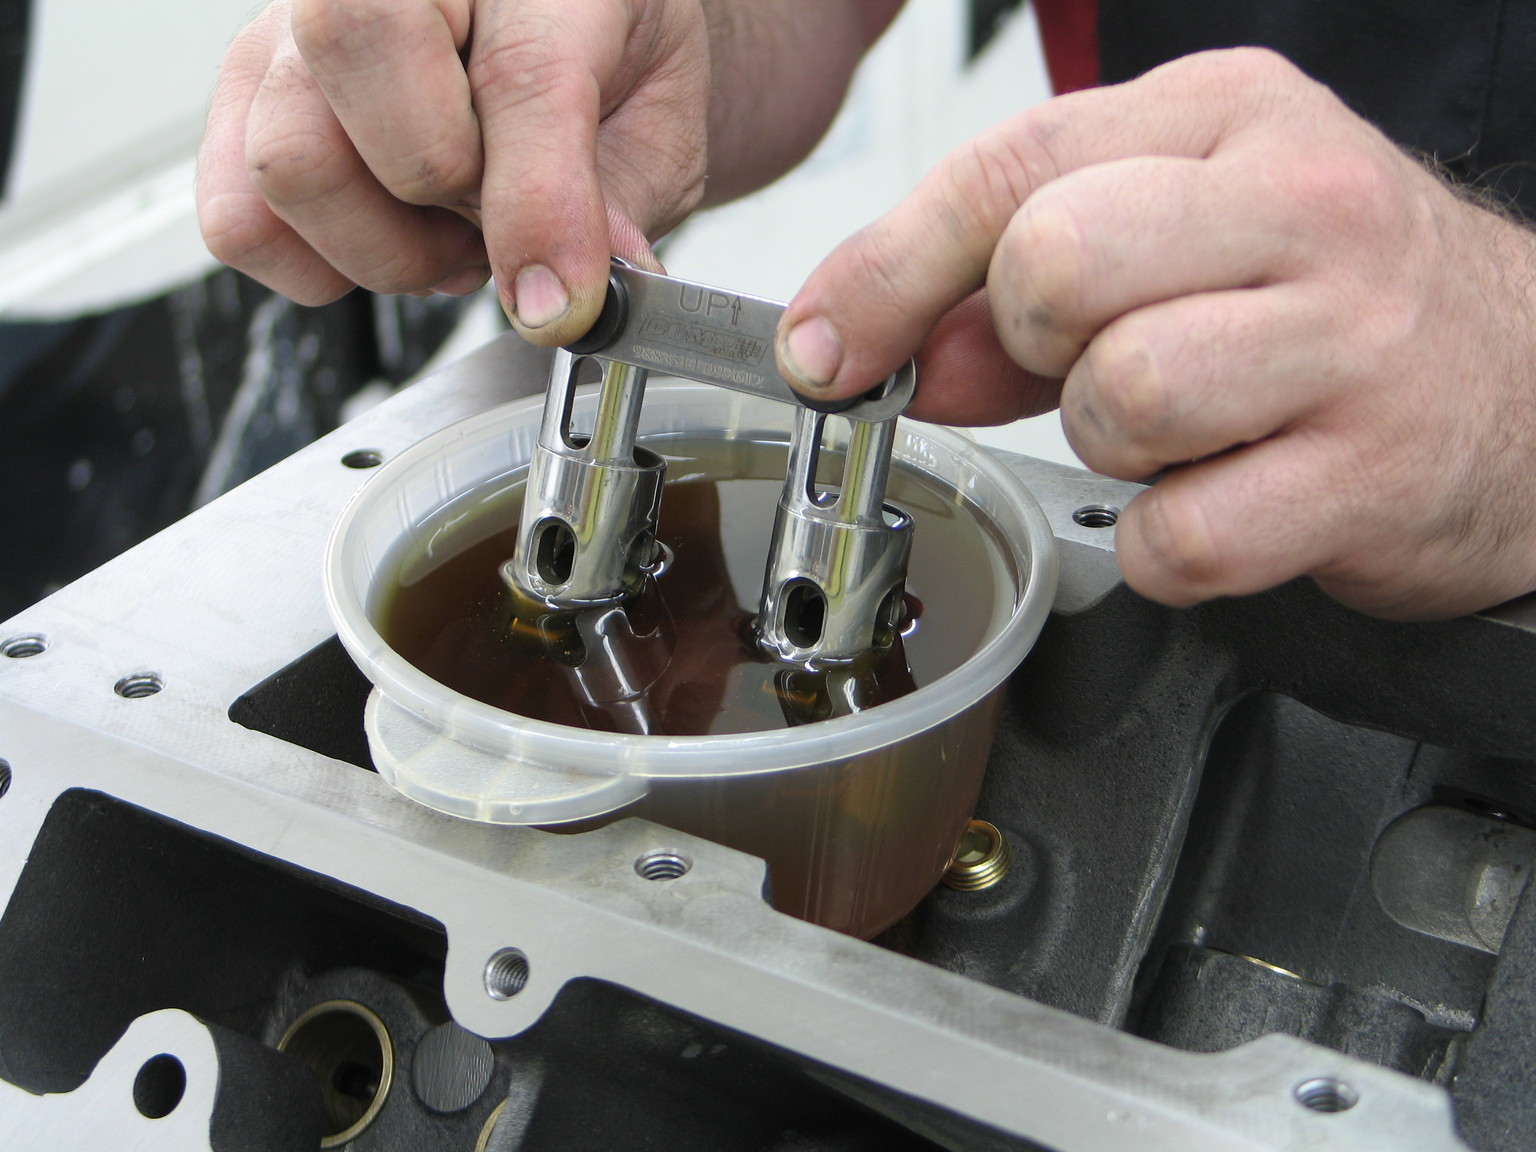
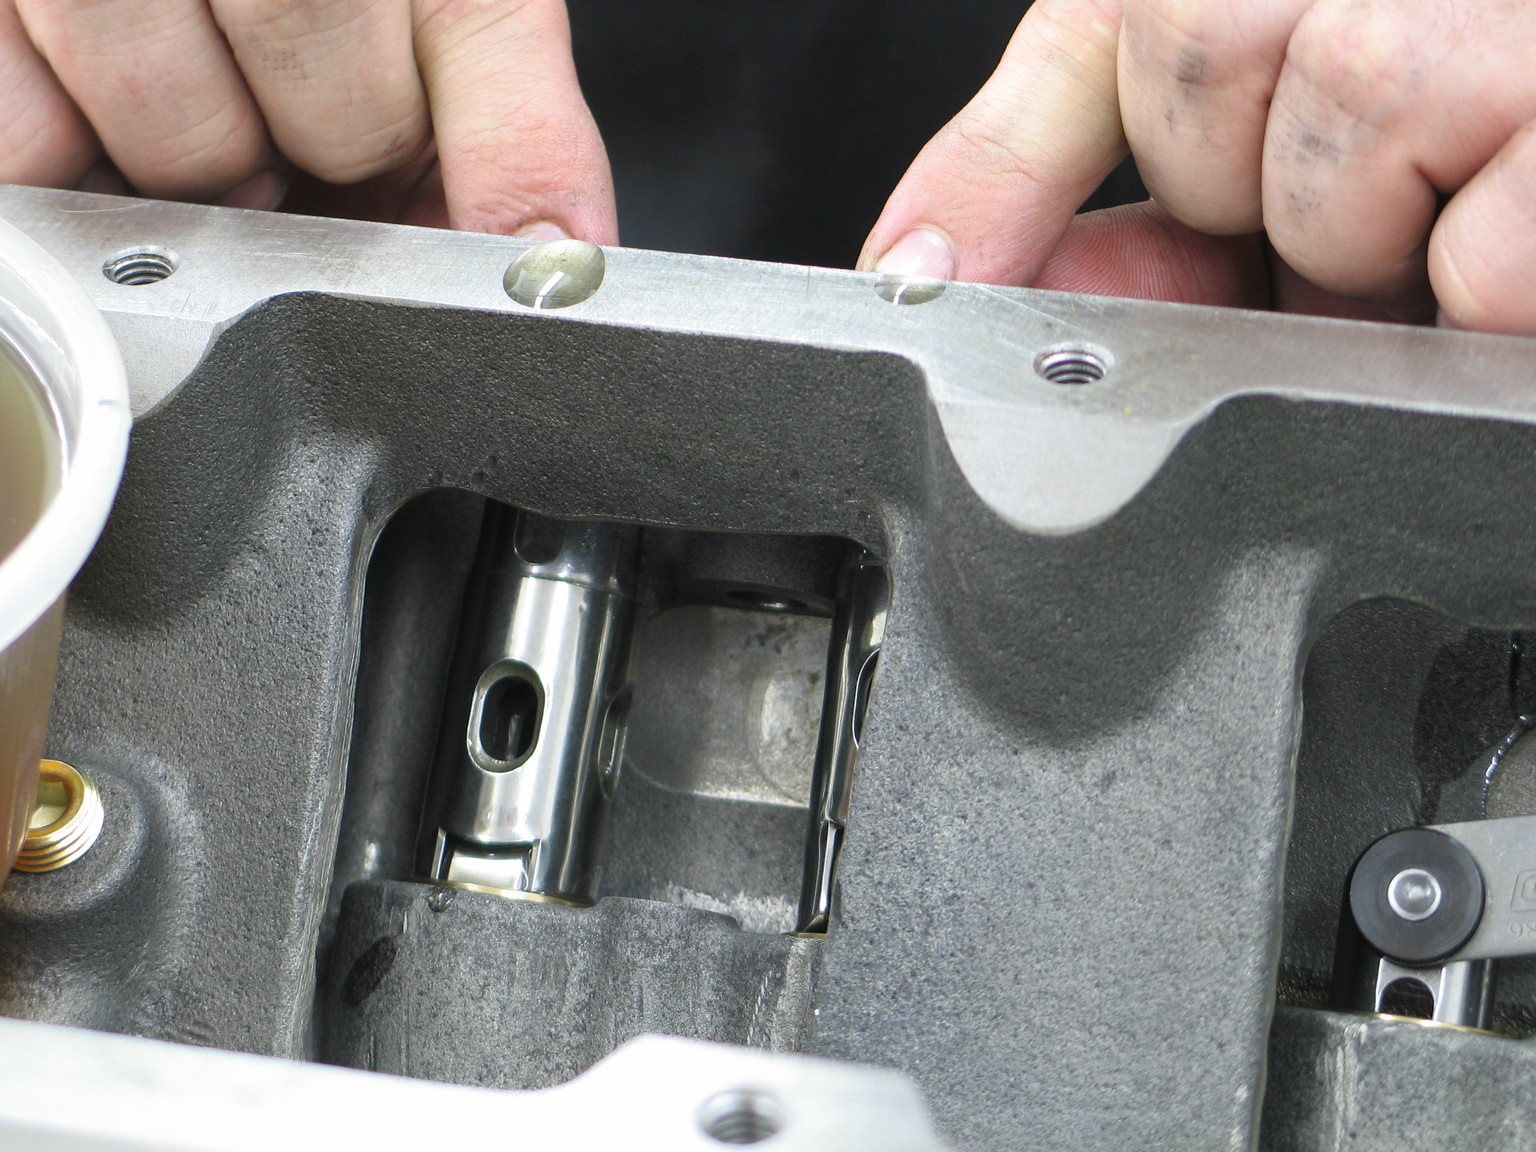
Oiling and then dropping Comp's Elite Series lifters into the LS Next's bushed bores prior to top end assembly.
Capping off the cam installation is Jesel’s belt drive setup. Jesel belt drives have become the standard for race applications. Our drive came with a pulley fitted for our dial keyway hub — a fully marked drive pulley for cam adjustments and a unique cam retainer with a steel paddle for ease of cam sync operation. This neat option from Jesel eliminates the need to hack the pulley with a drill, tap and steel stud for the cam sync pickup.
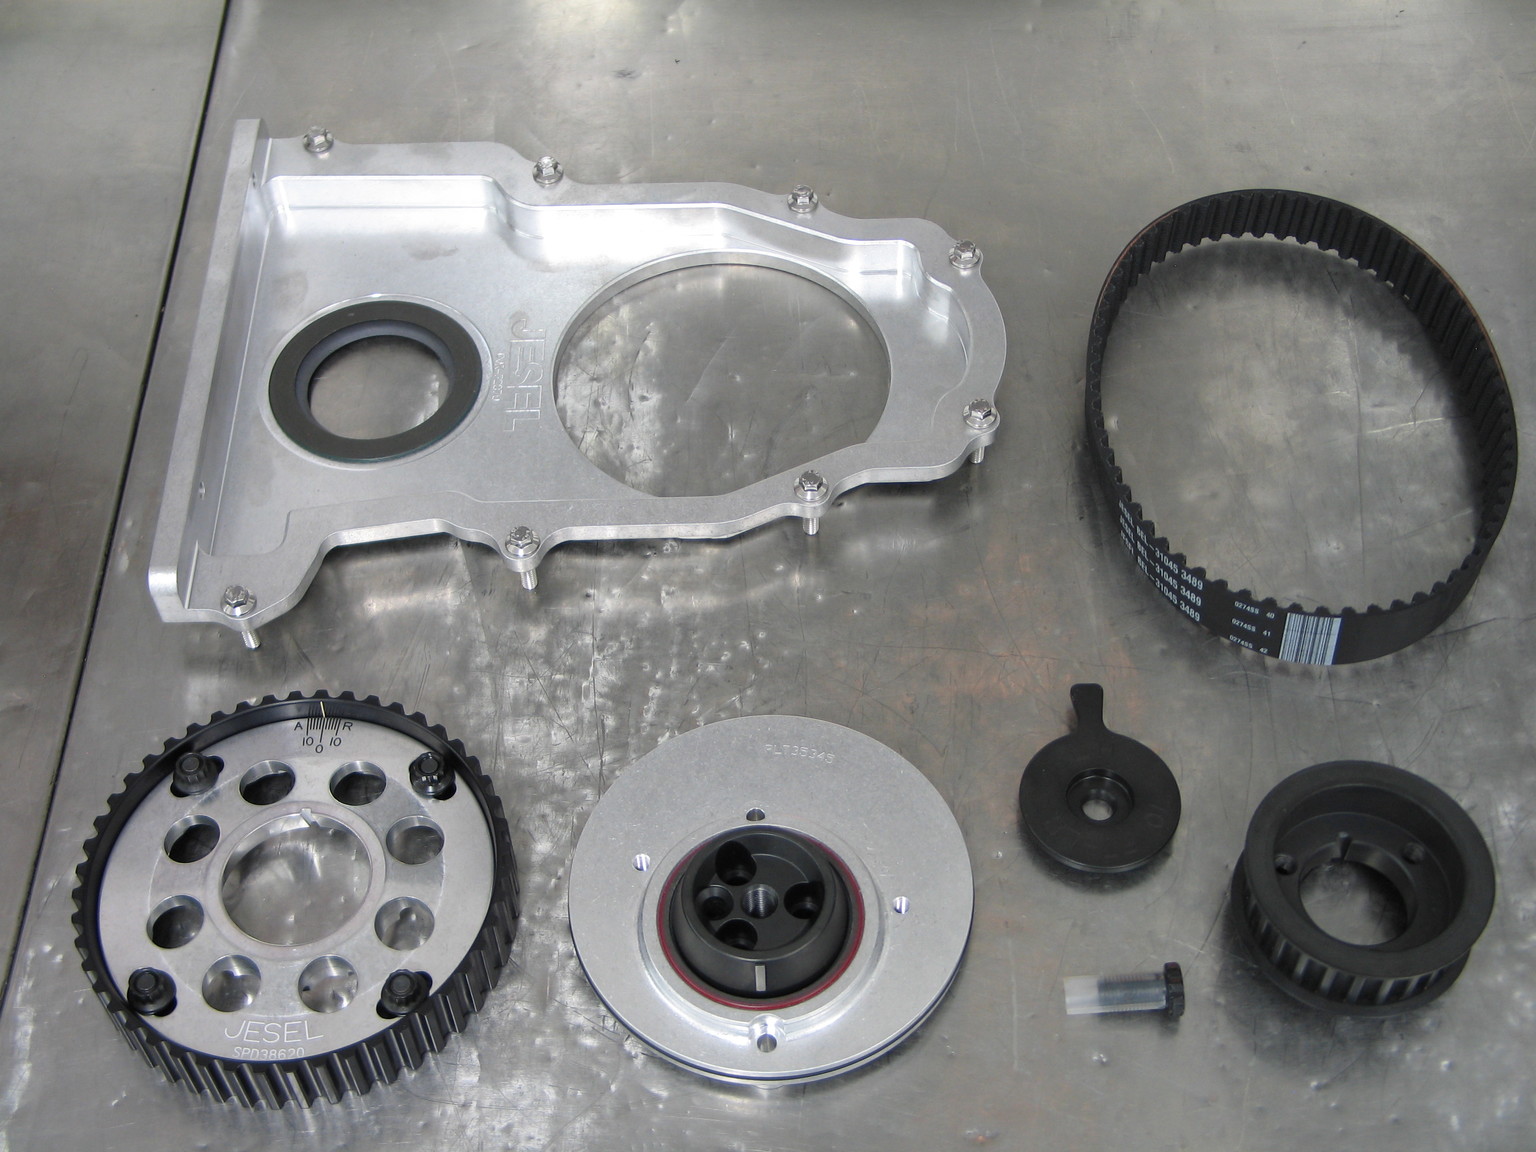
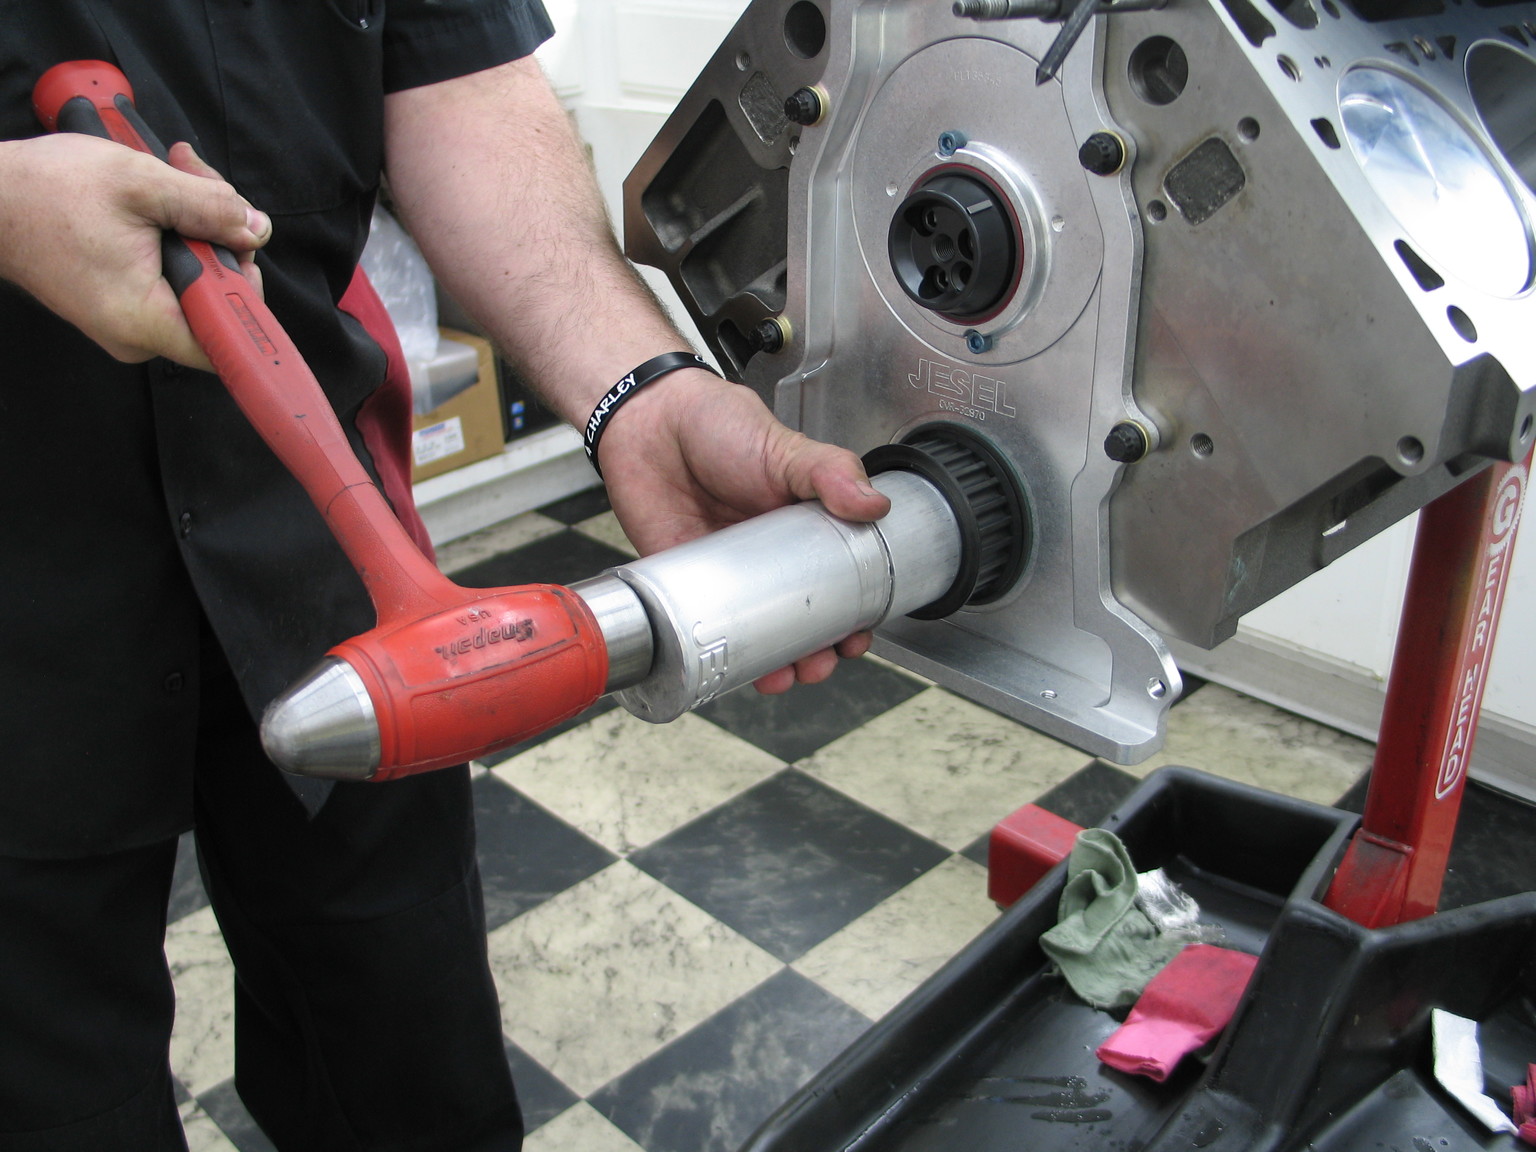
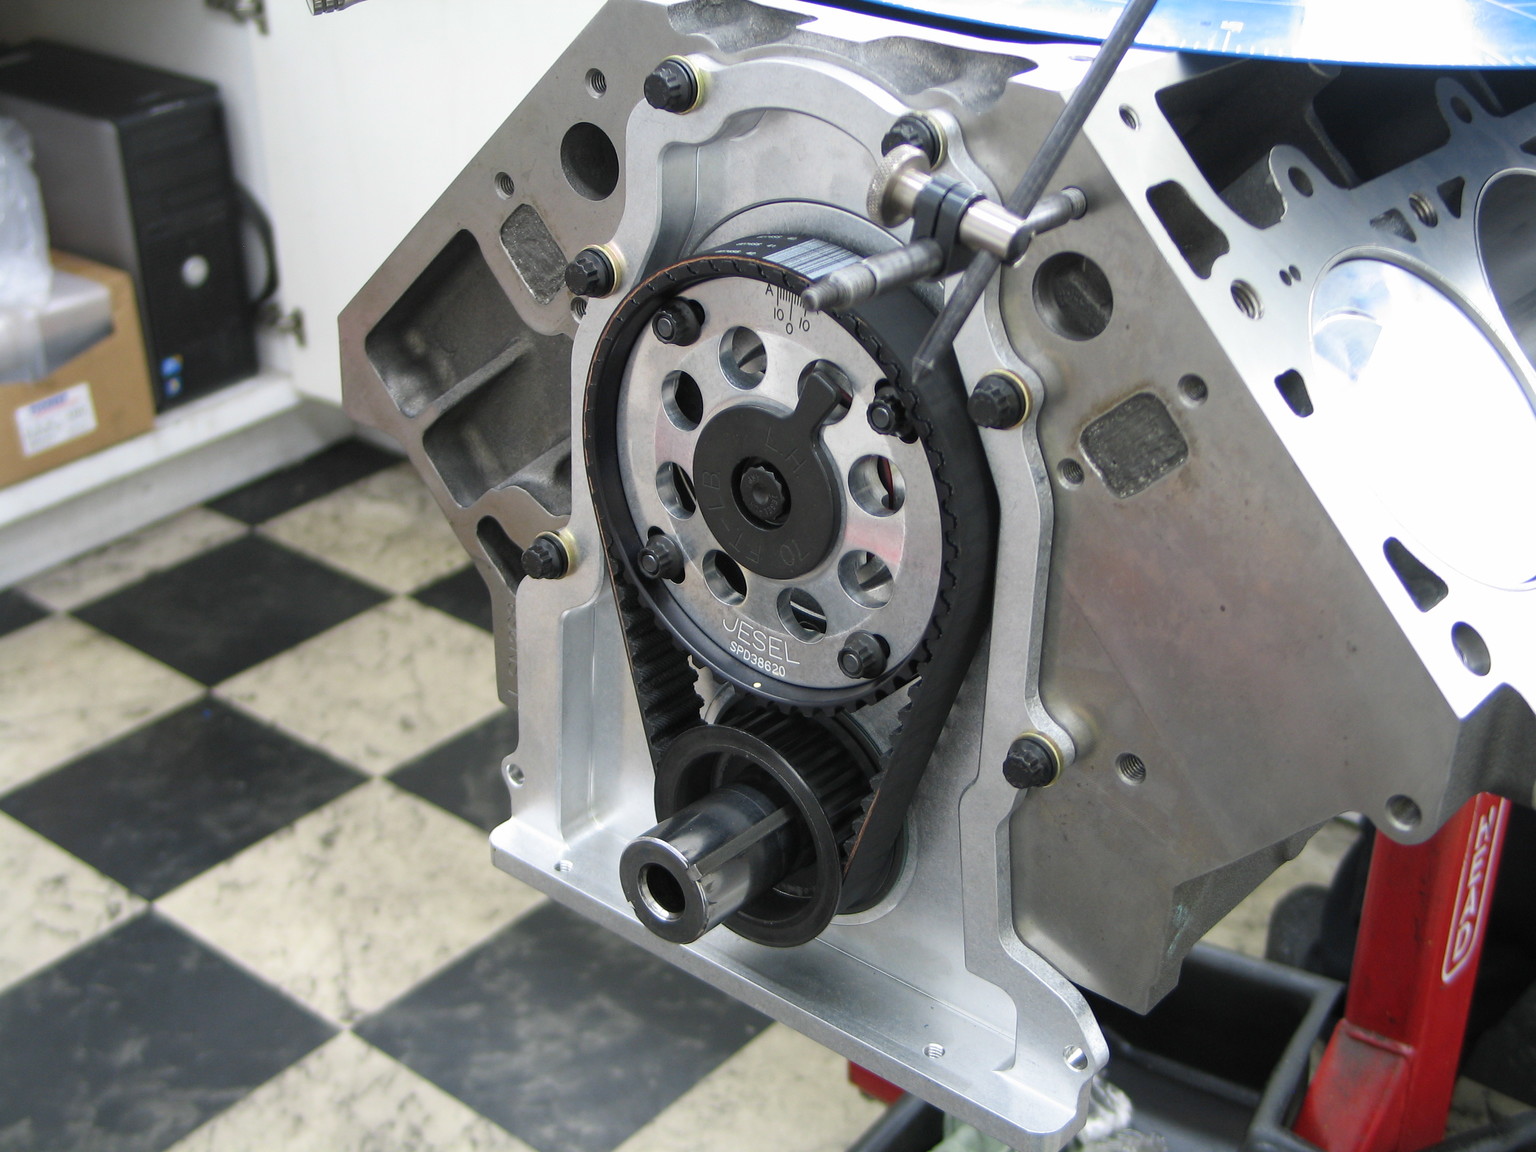
Installing the Jesel belt drive system (PN KBD-31660) on our LS Next. The kit allows for cam adjustments and cam sync operation in EFI equipped vehicles.
To recap, here’s a quick breakdown on the specs for our powerplant:
- Block: Dart LS Next, 9.240-inch deck height
- Crank: Winberg CCW Billet, BBC snout, 4 inch stroke
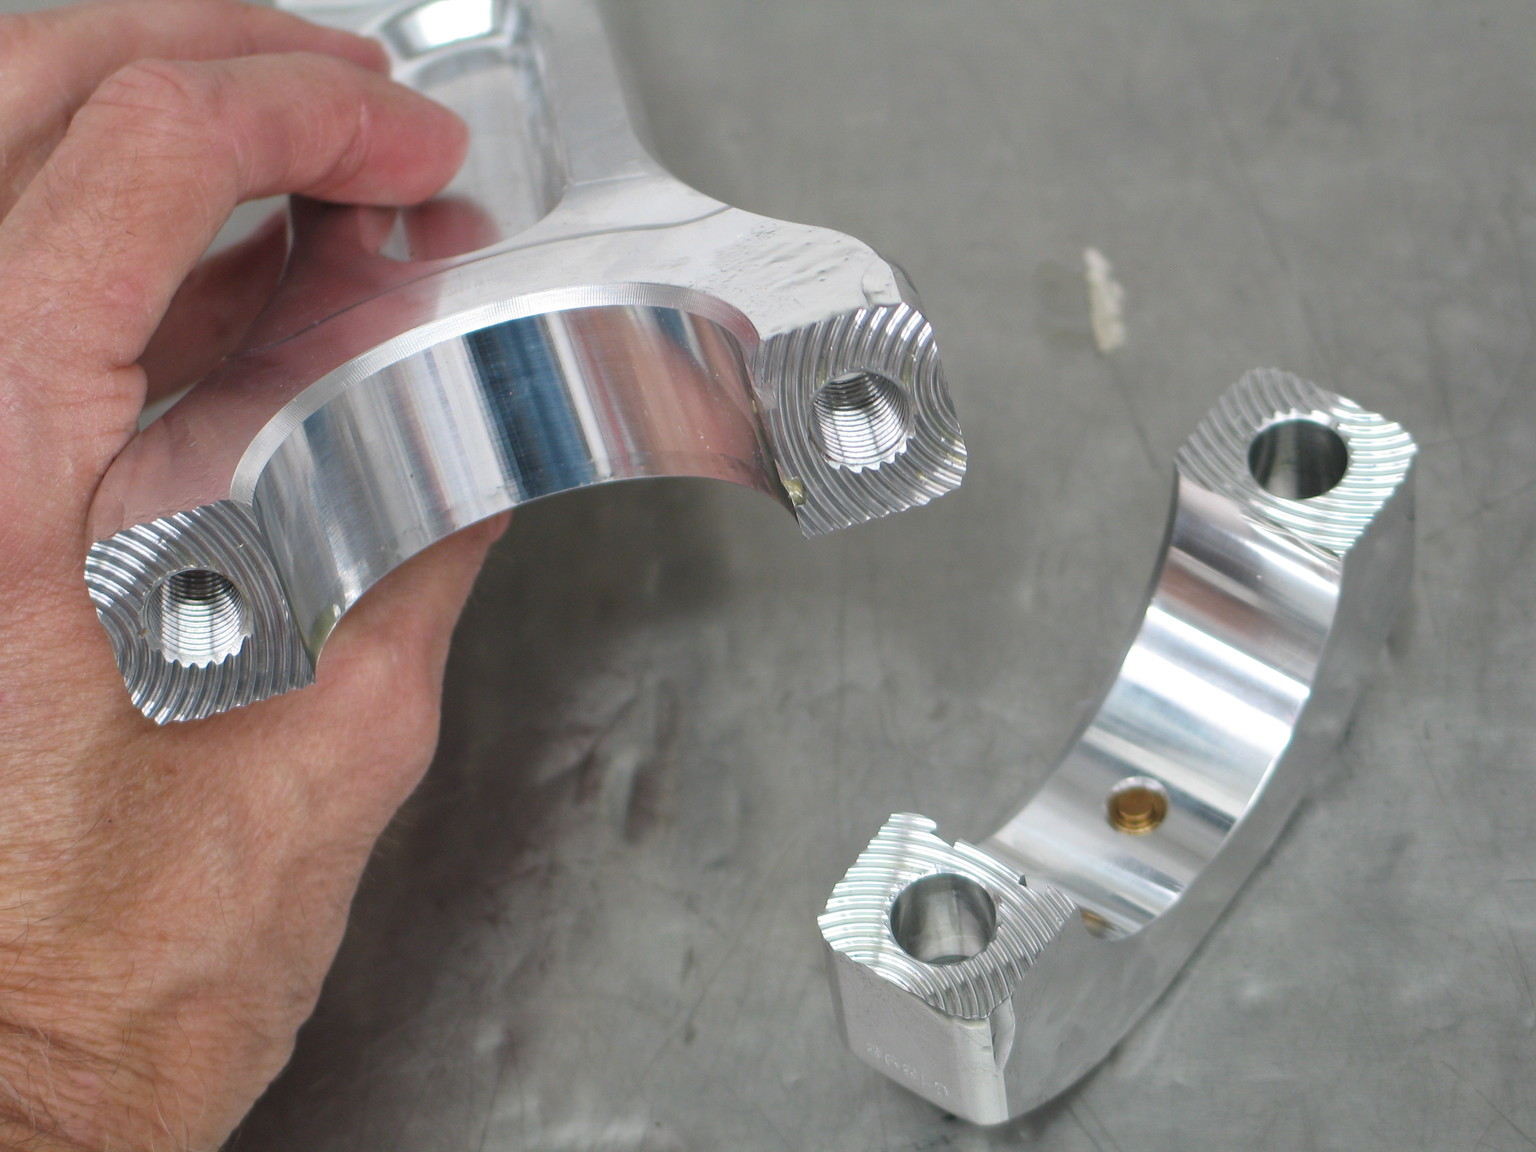
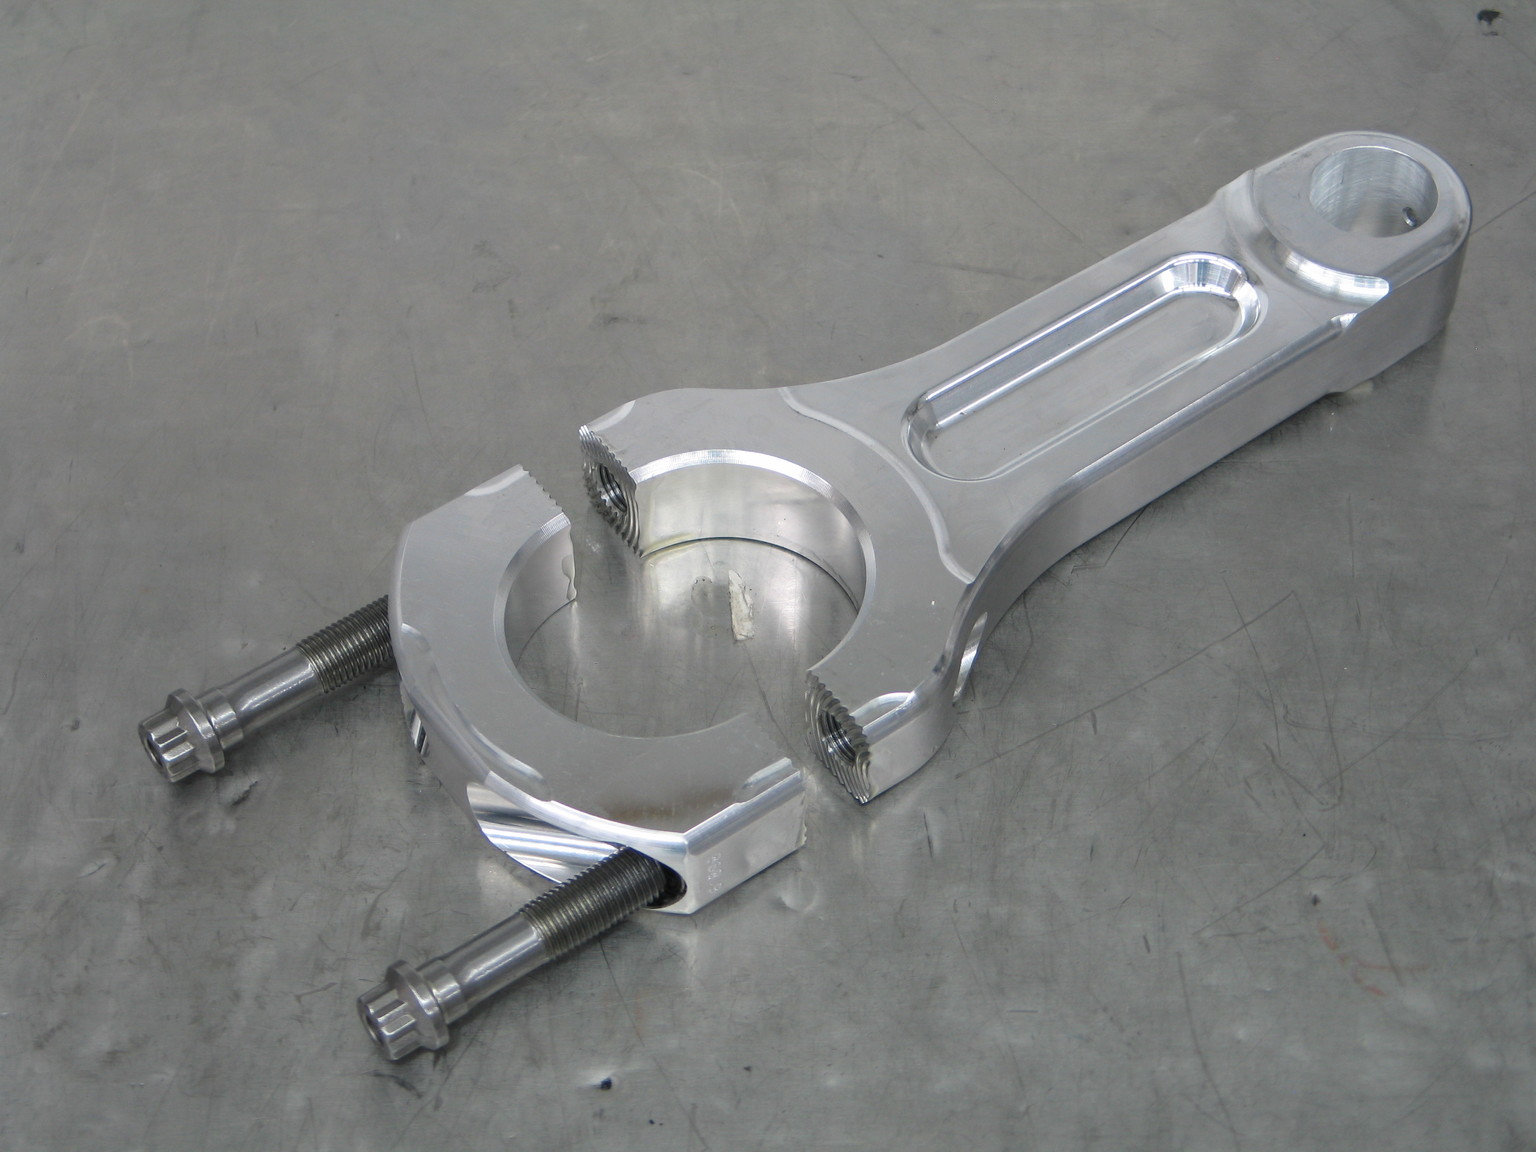
- Rods: GRP 1202 Pro Series Billet
- Bearings: Clevite TriArmor coated crank and rod bearings
- Pistons/Pins: Ross Racing flat top with 0.220 inch wall wrist pins
- Rings: Total Seal C33 stainless steel Dykes, Ductile iron Napier, 22-pound Oil ring
- Damper: ATI Racing four-magnet Super Damper
- Camshaft: Competition Cams 60 mm custom solid roller
- Camshaft Drive: Jesel LS Next belt-drive
- Lifters: Competition Cams Elite Race lifters
- Fasteners: ARP
- Head Gasket: SCE Custom Copper
Finally, Williams Performance provided us with some serious full sump oil pan bling to handle our dry sump scavenging duties.
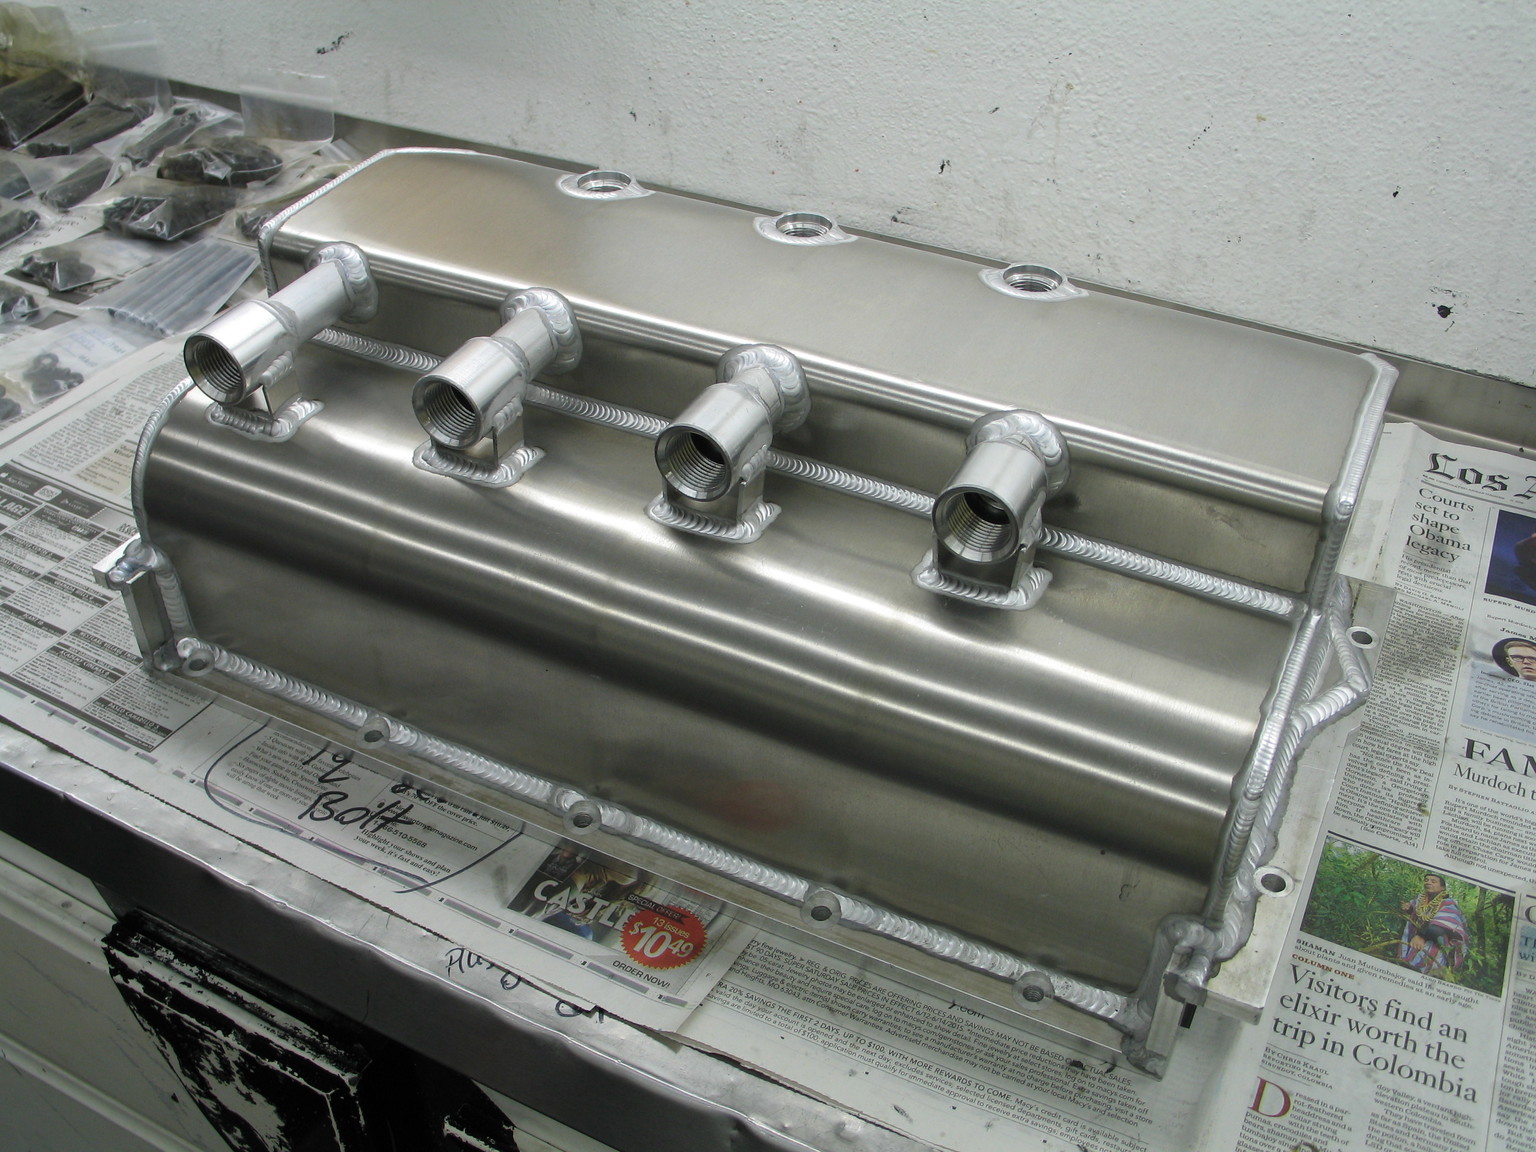
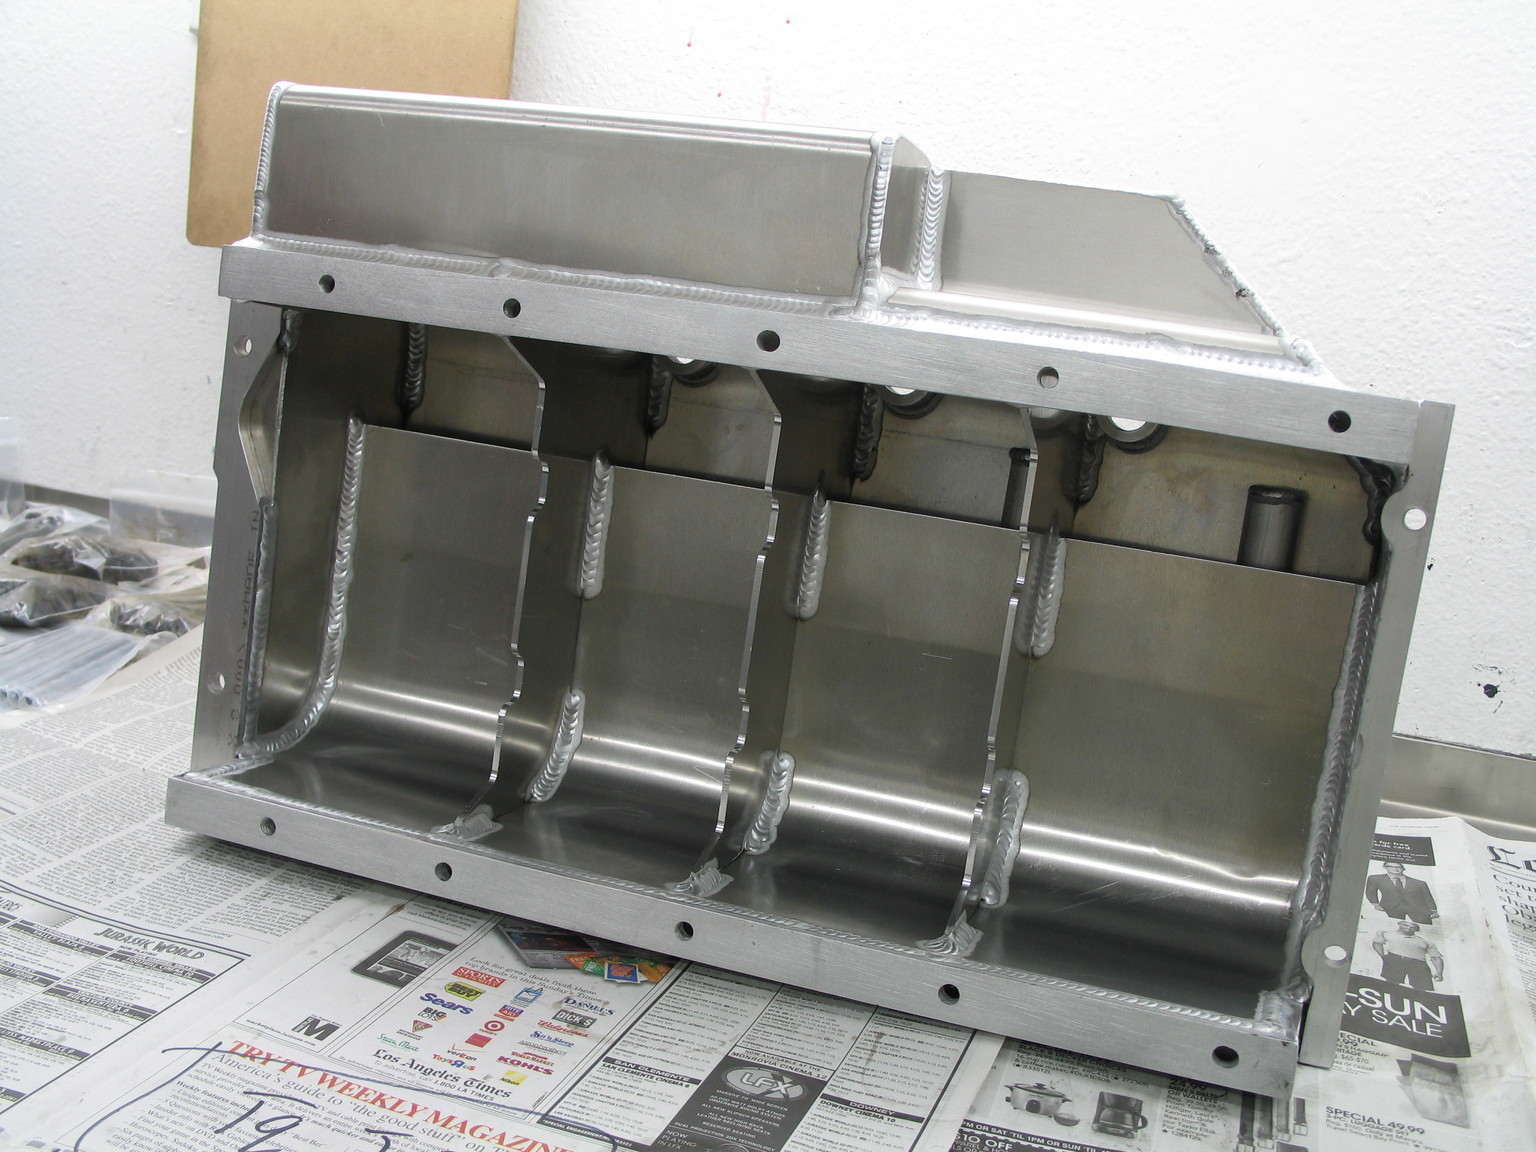
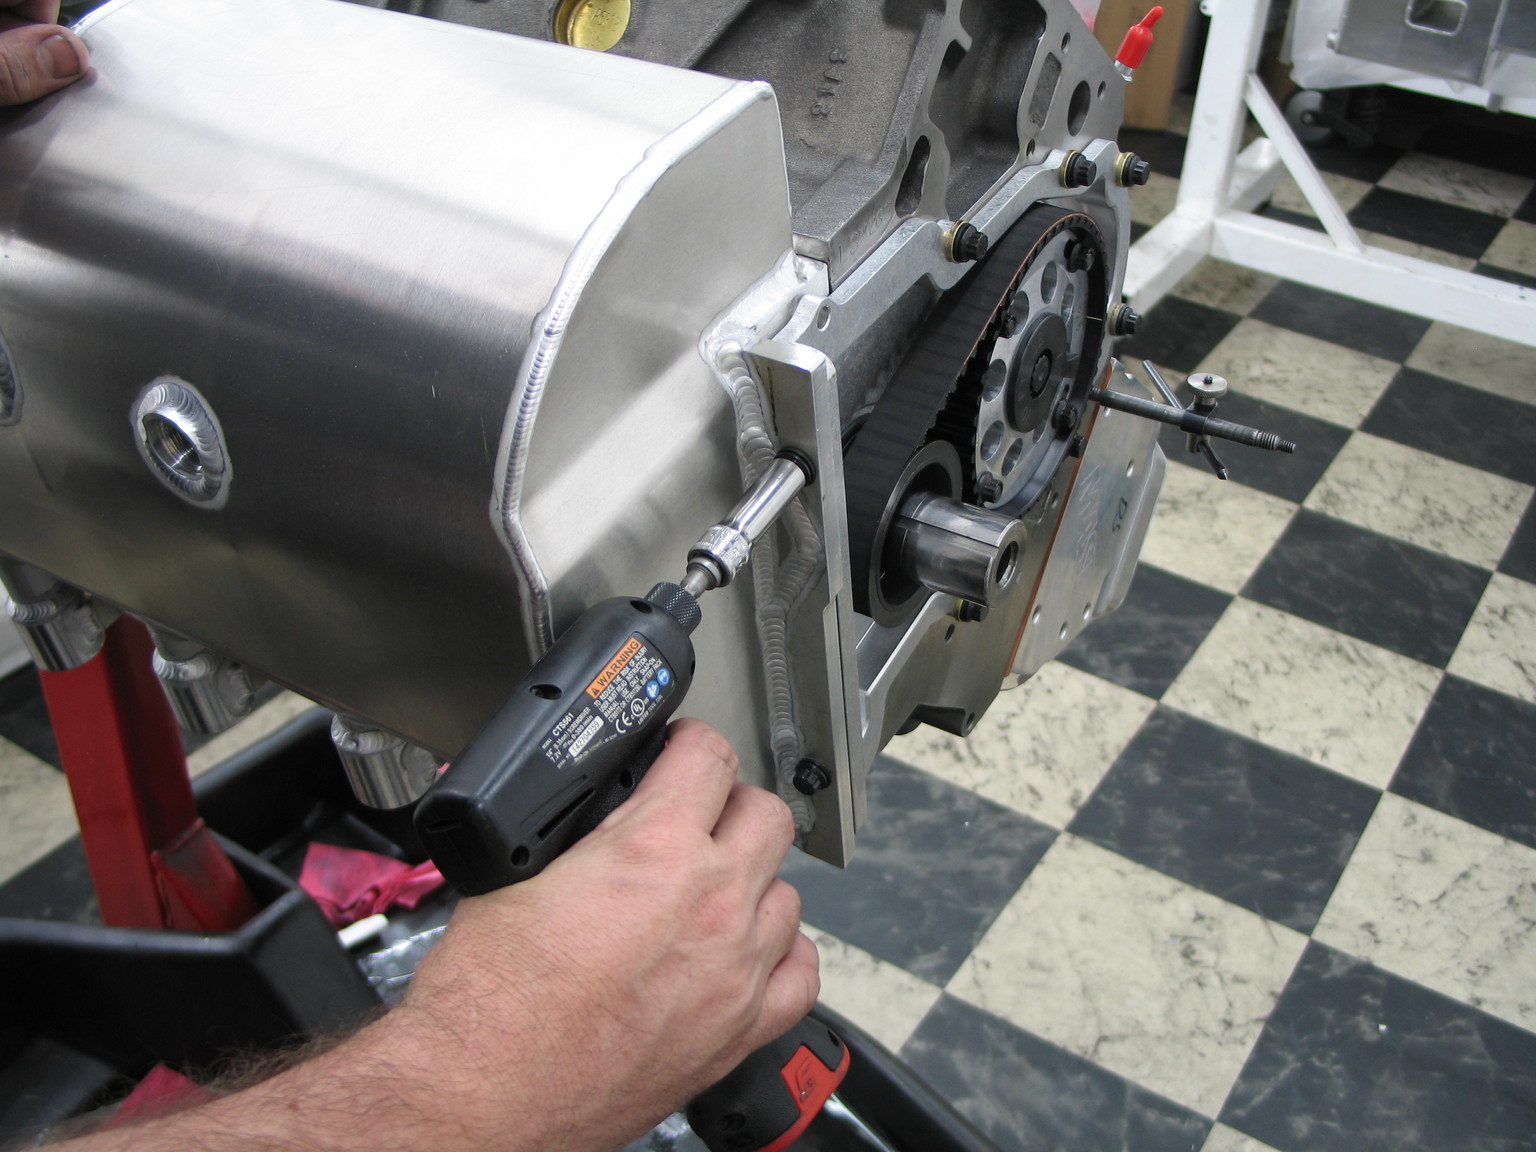
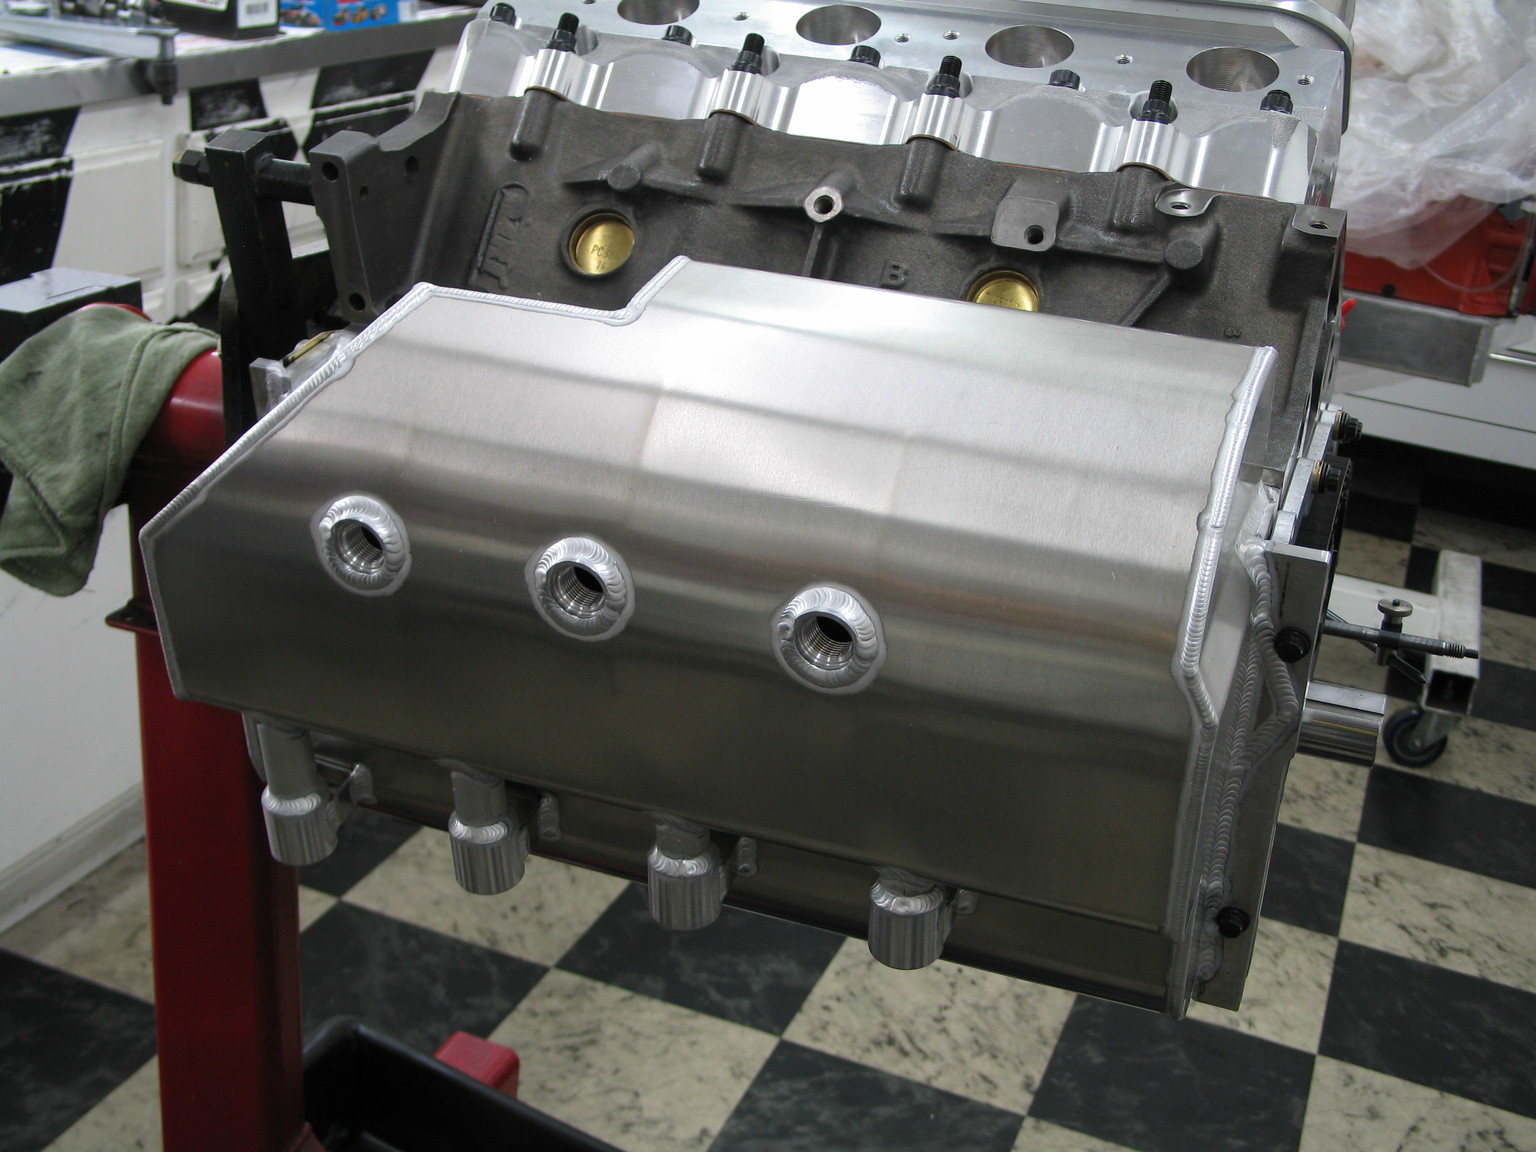
Williams Performance makes a really nice pan. Even if nobody gets to see it, we know there's something pretty under there.
It’s been a long road but with help from Consolo and the gang at QMP we have an excellent start to the closing stages of our build. Stay tuned as we bring you the next installment of the engine build-up, a closer look at our oiling system, the supercharger, and our on track testing with our Holley EFI setup.