

Airflow is a tricky thing for drag racers to deal with; without the ability to put a race car into a wind tunnel to truly see what’s happening at speed, improving aerodynamics becomes a measure of best practices determined over years of research and development by many chassis builders. Most racers don’t have the budget for research to fine-tune the airflow over every corner of a car like a Pro Stock or Top Fuel team might, but thankfully there’s one item that’s been a staple of drag racing since the sport first evolved from its Southern California roots all those years ago – a rear wing.
Our Project Biting The Bullitt 1965 Mustang has all of the necessary components to run sub-to-low nine-second elapsed times, from the Dart Iron Eagle-based 427 stroker engine and Paxton NOVI-2500 supercharger pushing around 16 pounds of boost to make nearly 1,000 horsepower at the crankshaft. Behind that is a strip-tough and street-friendly TCI Super Streetfighter 4L80E transmission to route the power to the wheels, and the suspension has been completely upgraded with a custom independent front suspension from Total Cost Involved Engineering, a Strange Engineering nine-inch rearend housing, and Calvert Racing leaf springs to handle the abuse on the dragstrip.
With the idea of improving downtrack stability on the Bullitt, we turned to the experts at Ed Quay Race Cars to determine the correct direction for our project’s next step, and they suggested one of their fabricated aluminum rear wings [PN 700-3070] and Strut Rod Kits to tune up the airflow around the backside of the Bullitt.
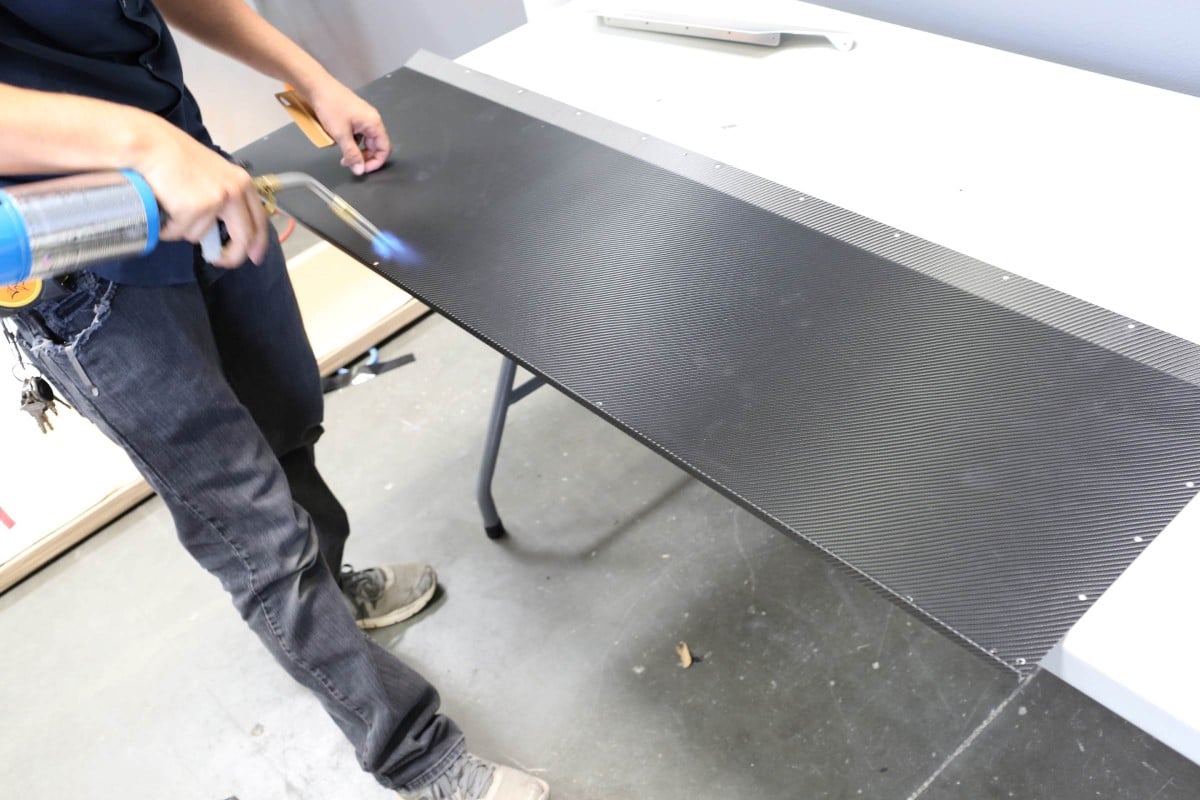
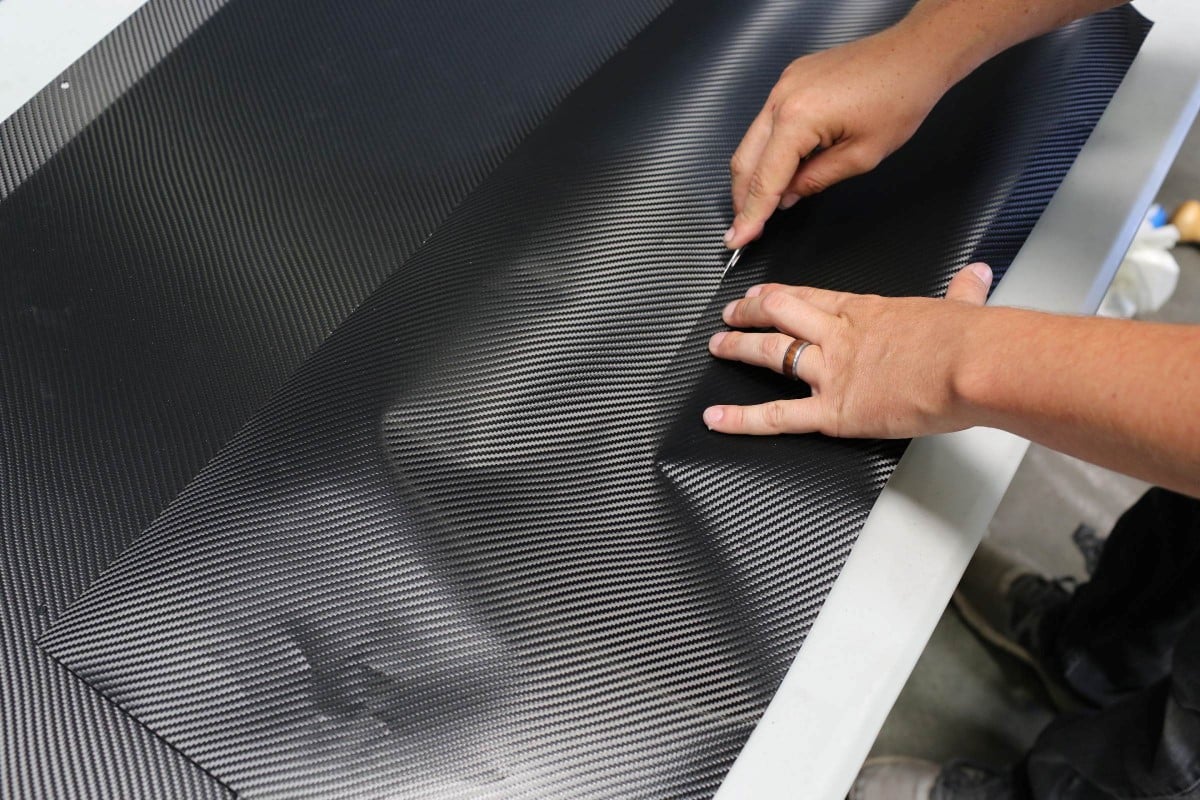
We had some leftover 3M carbon-fiber wrap from the stripes on the BlownZ project, so we went ahead and covered the wing in the material.
How It Works
One of the misconceptions about a rear wing for drag racing is that it provides more downforce to keep the tires planted on the track, but that’s not the case until the car is well into the single-digit range of elapsed times. The purpose of the wing for most vehicles is not to provide more downforce, but to direct the airflow over the rear of the car, keeping it more stable in the process.
Directing the airflow is what creates better stability on the top end. – Bob Overdorf, Ed Quay Race Cars

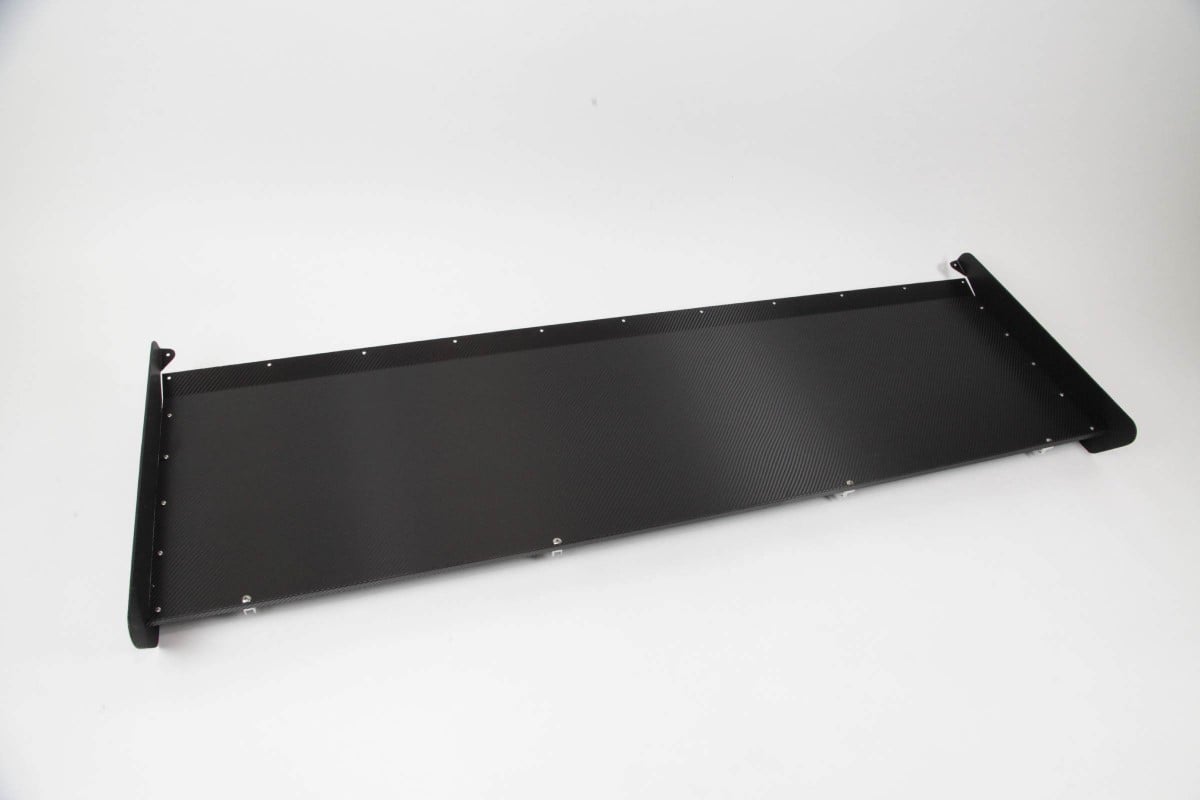
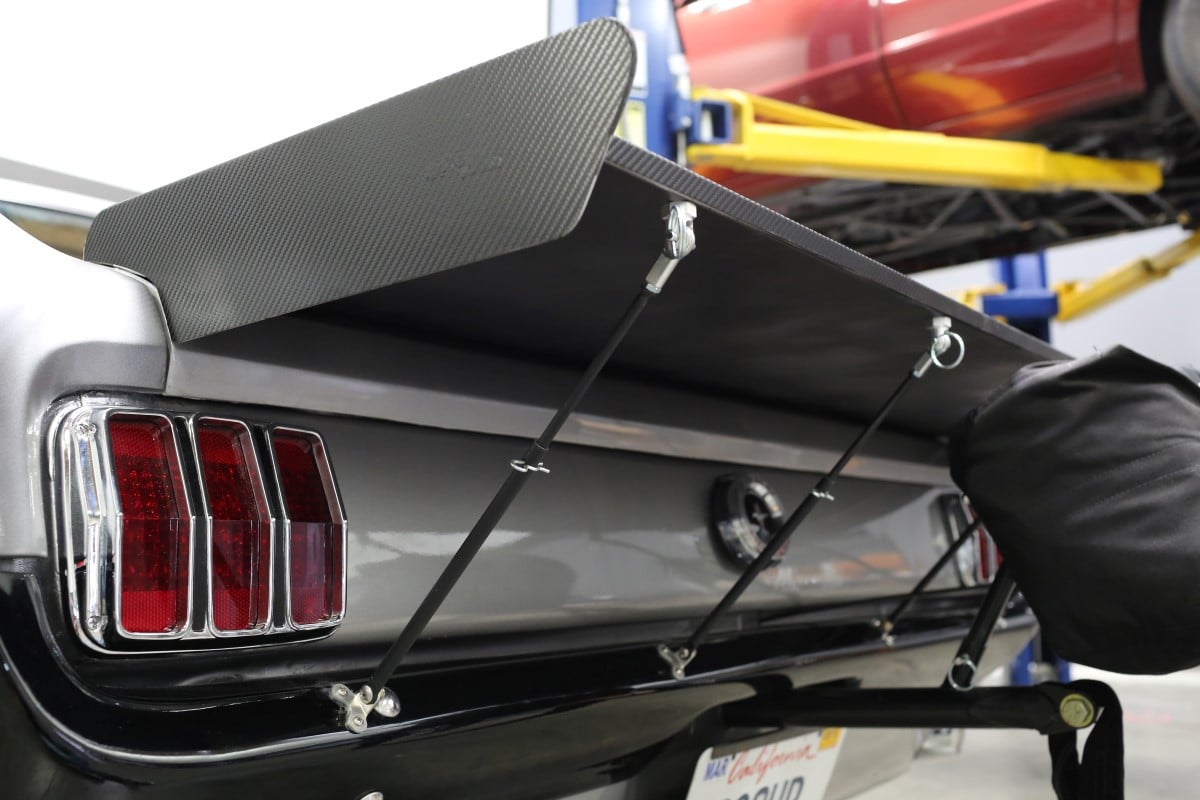
Racing spoilers like the one we selected have a flat center section that runs straight off the back of the car, rather than in an upward direction, and have a pair of spill plates – one at each end of the flat section – to help gather the air and point it in the right direction. Factory spoilers, on the other hand, do more to disturb the airflow than help it, and upset the vehicle’s stability in the process. The air that’s near the outside edges of a factory spoiler will either shoot up, or shoot out, but you really don’t know because you’re not collecting it.
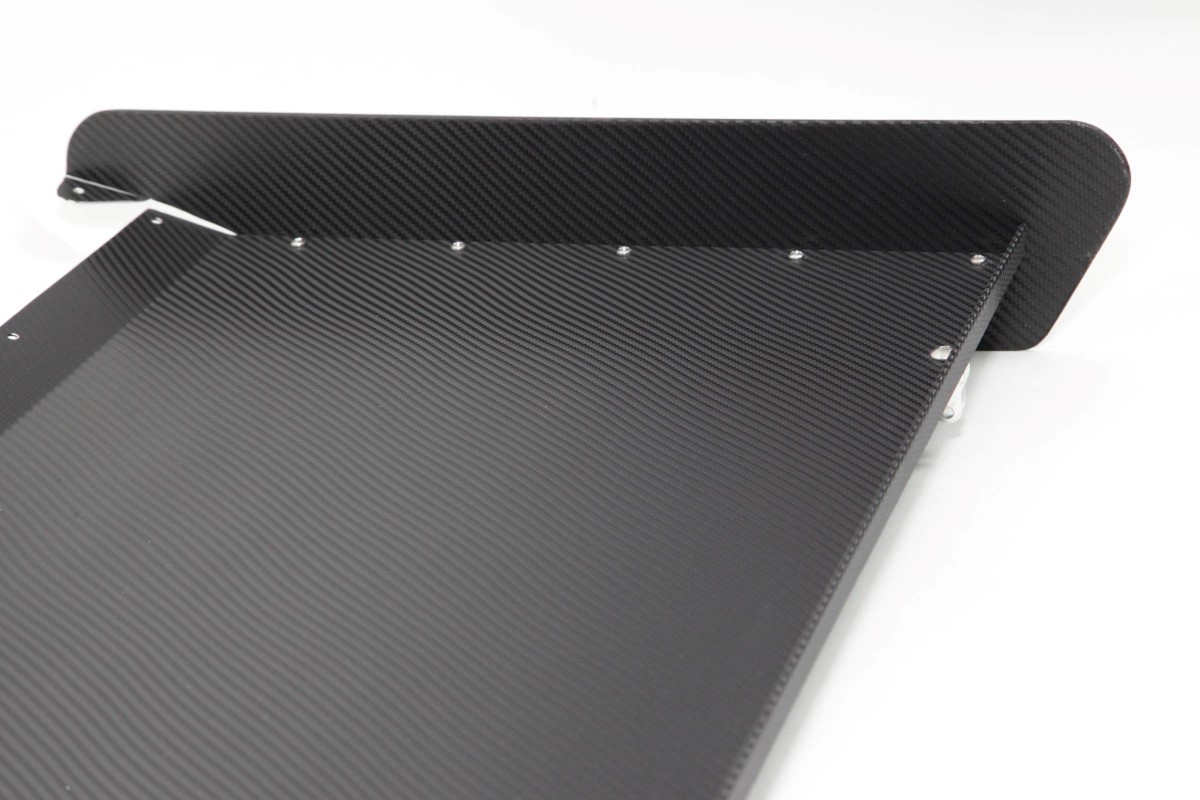
The wing has spill plates that are engineered to sit just at the edges of the decklid. This allows us to open the trunk and still receive the benefits of the wing. The spill plates bolt to the flat center section.
Gaining the ability to direct the airflow over the rear of the car, rather than letting it flow where it’s trying to go on its own based on the vehicle aerodynamics, is where the stability improvement comes into the picture.
How The Wickerbill Affects Performance
The company has worked closely with a lot of Comp Eliminator and Pro Stock-type cars over the years that are using adjustable wickerbills. “To go from 1/2-inch tall to one-inch tall, we just haven’t seen too much of a difference. There is definitely a difference between having one and not having one, but we haven’t seen a lot of performance change with altering the height,” Overdorf explains.
“Until you’re going 175 mph or faster, we don’t feel that the wickerbill angle comes into play too much. It’s there to break up the edge – some guys don’t run a wicker at all and go straight off the wing. We run the wicker on our products more for the stability and strength of the spoiler, to keep it flat – especially for the customers with street cars that are not running a strut rod support system. On a racecar they are a necessity.” he says.
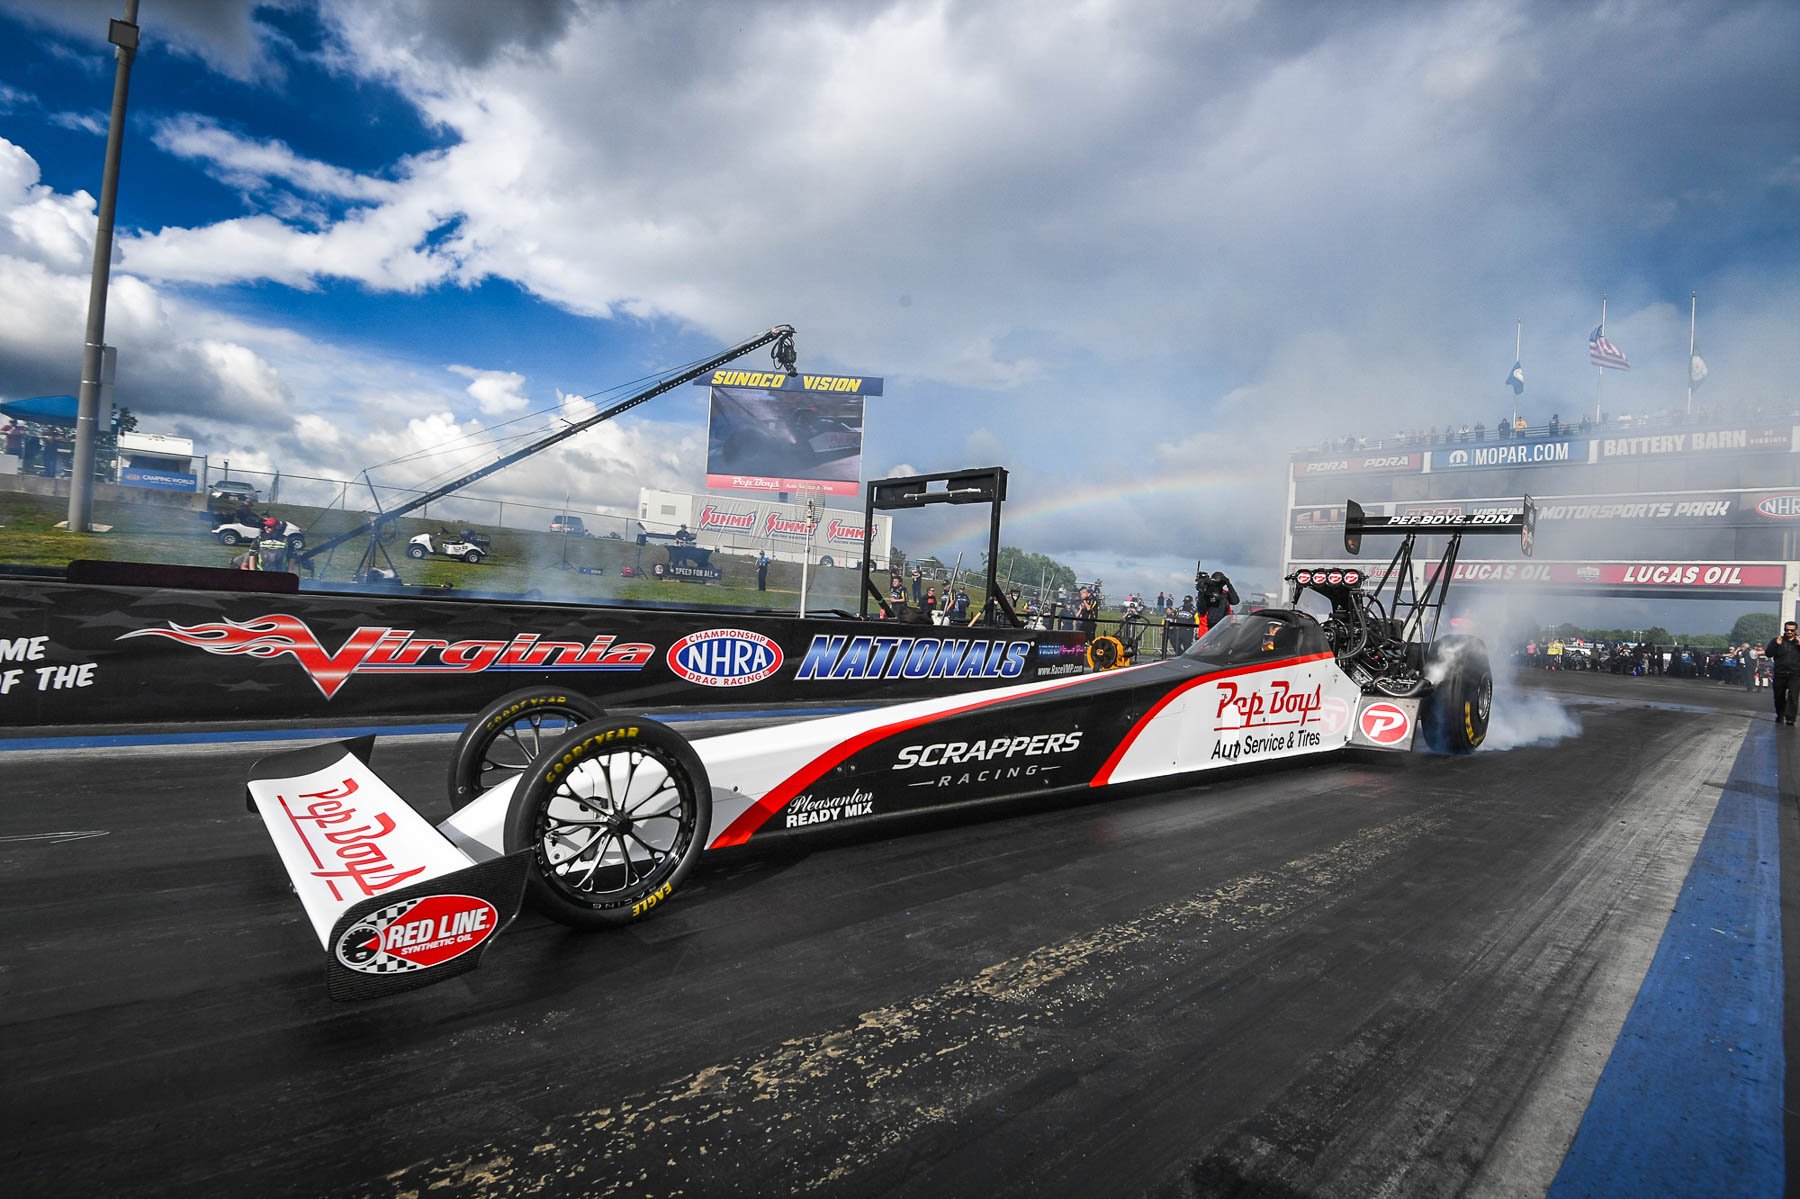
One point Overdorf mentioned during our conversation is that many customers think that their car is breaking loose at the finish line; unless the car is the most radical type of machine like an Outlaw Drag Radial car, that’s simply not possible.
“Until you get up over 175 mph, you’re not even going fast enough to create measurable amounts of downforce. The car has to be going pretty quickly for the wing to actually be pushing down on the car and creating downforce. Directing the airflow is what creates better stability on the top end,” he says.
The spoilers are built from .050-inch-thick aluminum for the flat section and the spill plates, although the spill plates are doubled at the top for strength. The wickerbill at the rear of the flat section is also folded-over to provide strength in this critical area.
The company has over 100 patterns in their database of vehicles, so the chances are they have something to fit your car. Some of the spoilers are decklid-width, like ours, and some are full-width – it just depends on the vehicle’s profile and what physically fits the car’s dimensions. Overdorf also explained that nearly any design can be modified to have larger or smaller spill plates and wing length, depending upon the customer’s individual needs.

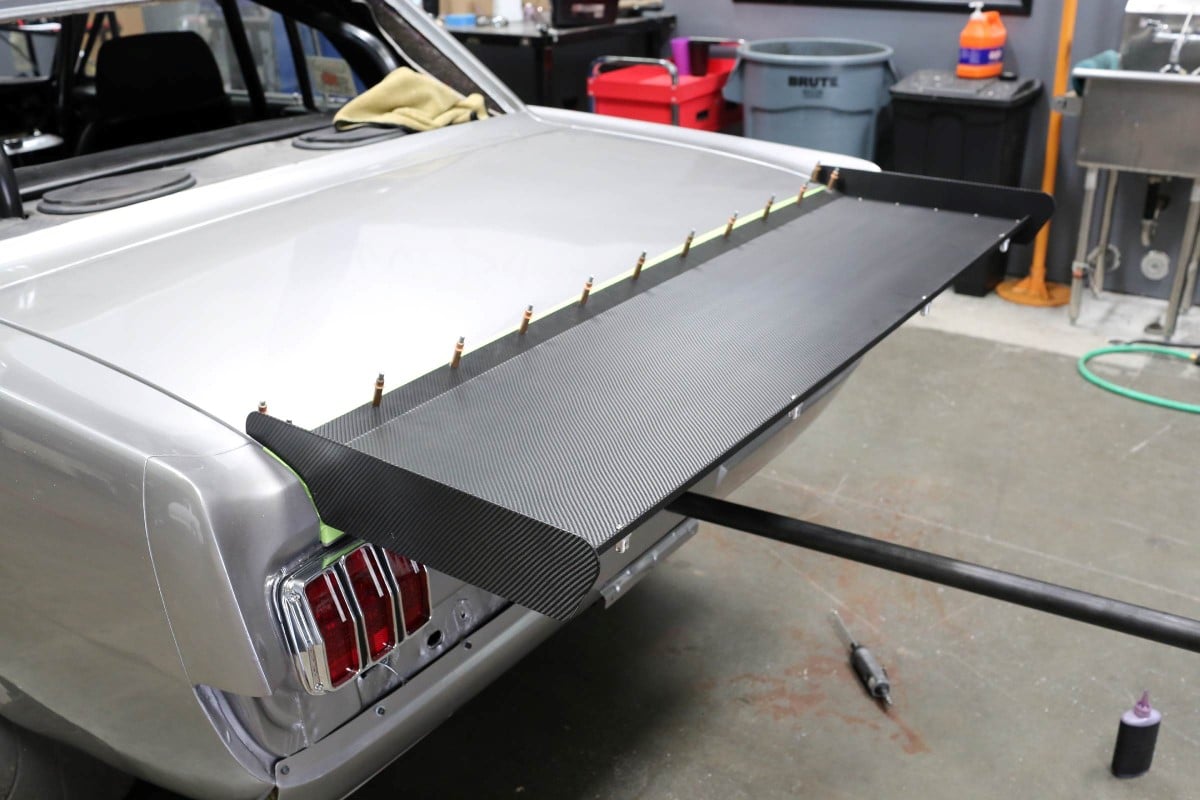

Left to right: Once we had the wing positioned on car, it was time to -- gasp! -- start drilling holes in our freshly-painted decklid. Measure ten times, mark the hole locations, and drill one time. This is where it's incredibly important to take your time to line everything up properly.

The other time-consuming part of the wing install is the strut installation. As with the holes you need to drill into the decklid, the holes at the bottom end of the struts should be measured multiple times until you're sure you have everything lined up the way you want it prior to drilling. We have a fresh fiberglass bumper on the Bullitt project, so we took plenty of time to get this all squared away.
Putting It On
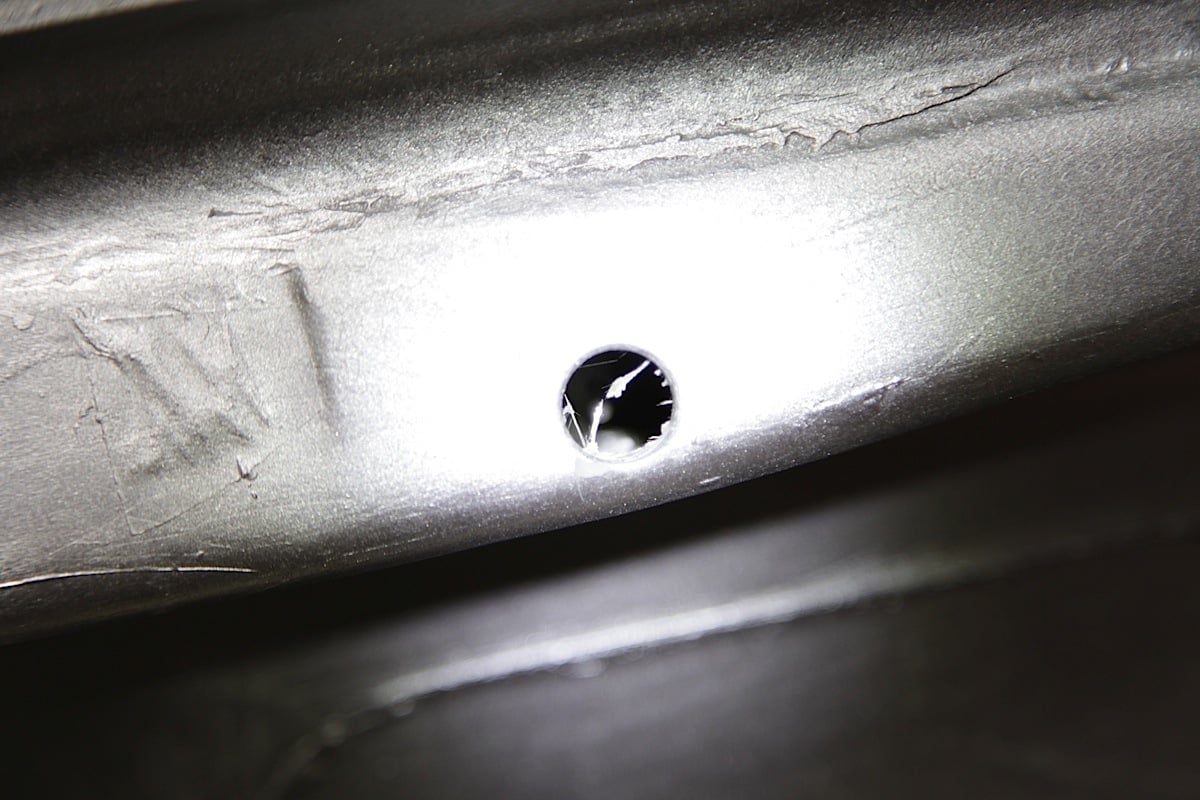
The company pre-marks the different pieces of the assembly. Partially bolt the spill plates onto the center section, center the spoiler on the decklid, and slide it forward until the spill plates contact the rear of the decklid. Mark the locations of the holes that have been pre-drilled into the spoiler onto the decklid of the car, center-punch each one, then drill them completely through the decklid.
If you are using a stock decklid with reinforcement sections underneath the outside skin, make sure you have a long drill bit of the specified dimension – this will allow you to go all the way through both sections of sheet metal in one step. They suggest using a larger bit (or a uni-bit) to drill out the hole in the reinforcing ribs so that you can get the correct socket into the hole that will be used to tighten the fasteners. Also recommended is to cover the decklid with painter’s tape in every spot where the spoiler will be placed on it during the initial mockup process, to prevent any scratches in the paint.
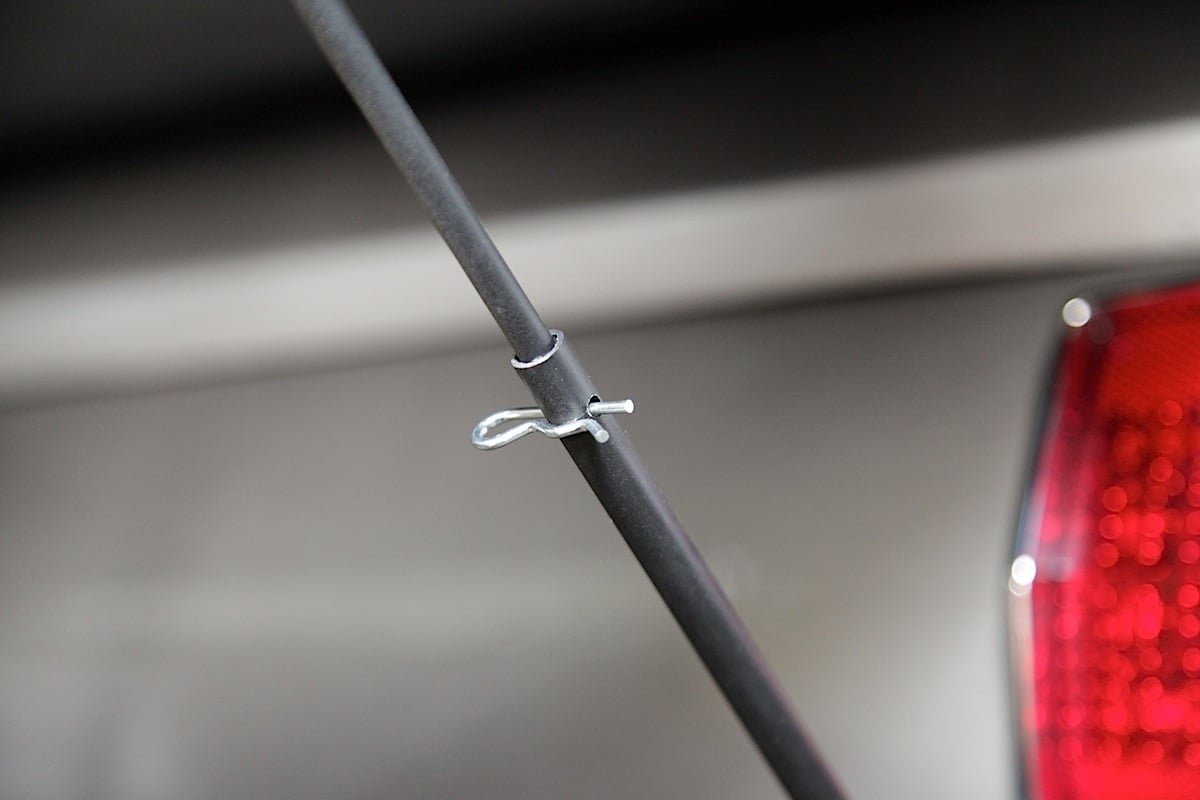

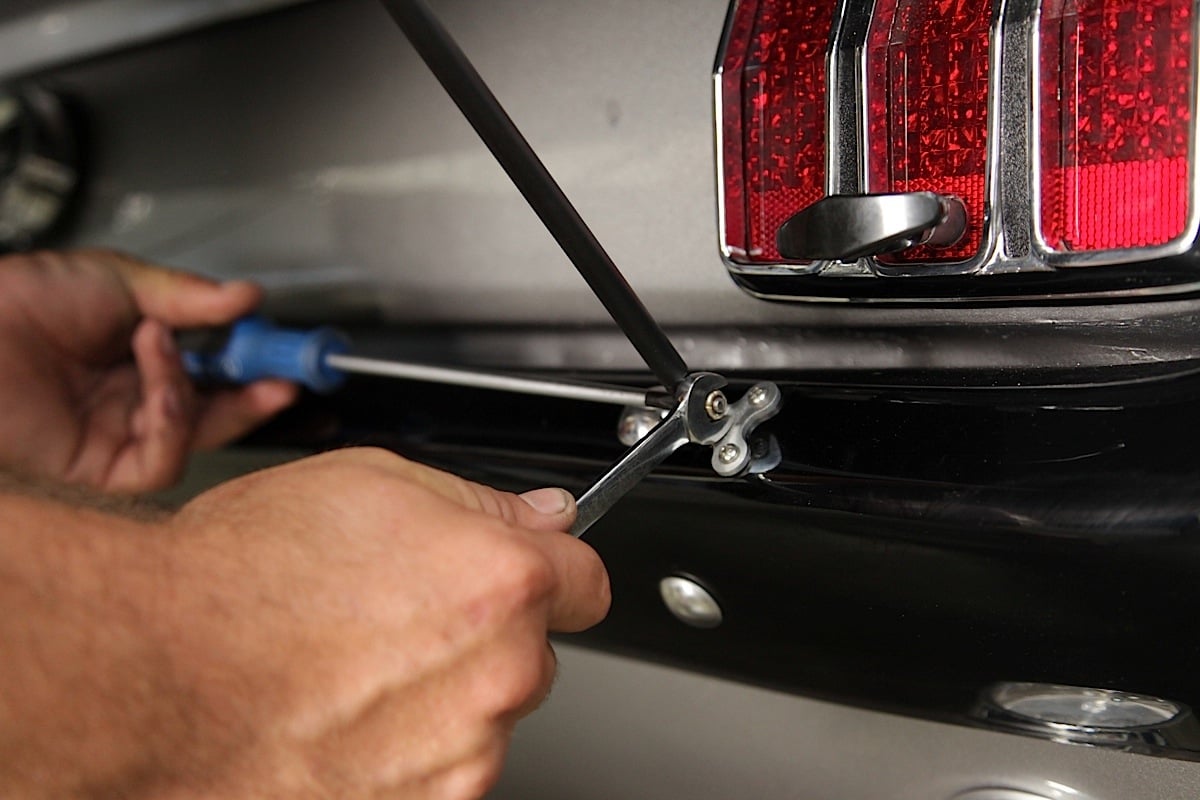
The last step in the strut install process is to drill the holes in the struts for the clips. Make sure you have the wing level at the rear before you drill anything here! Use the supplied bit, and when you're done, install the locking clips. The top side of the strut gets the quick-release pins, and you're all done.
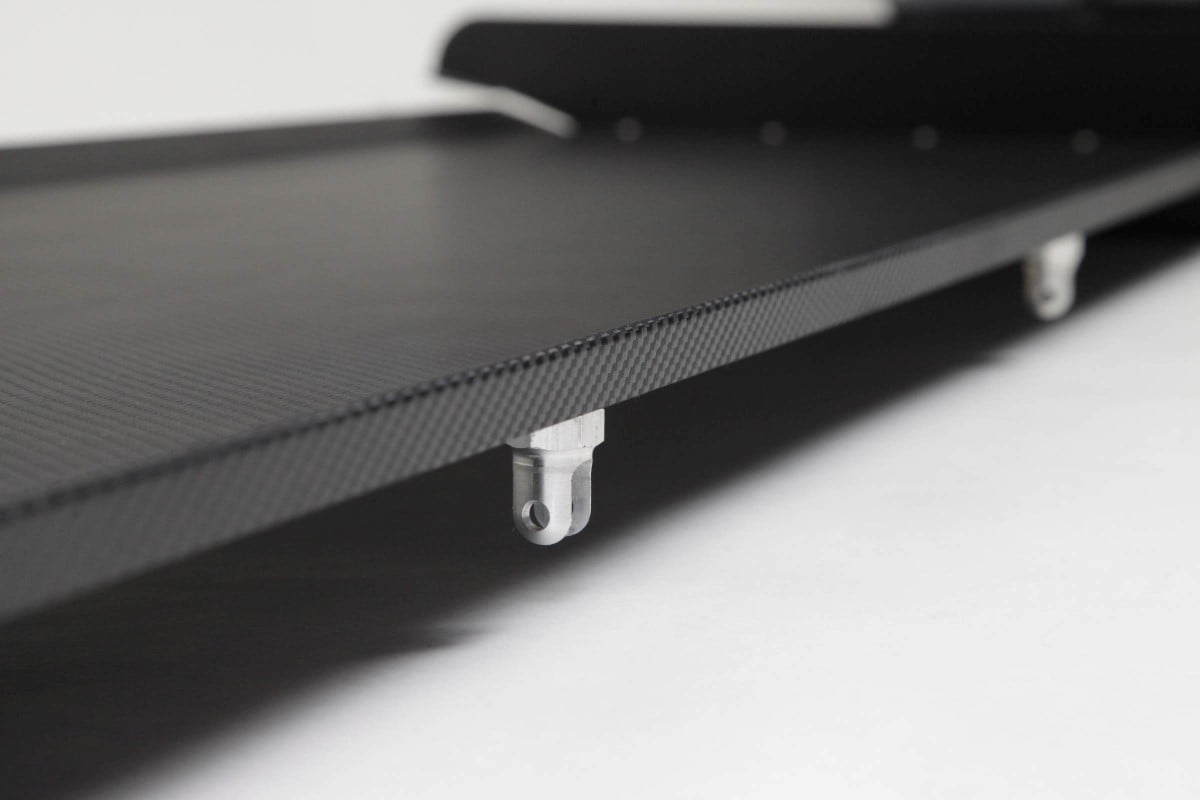
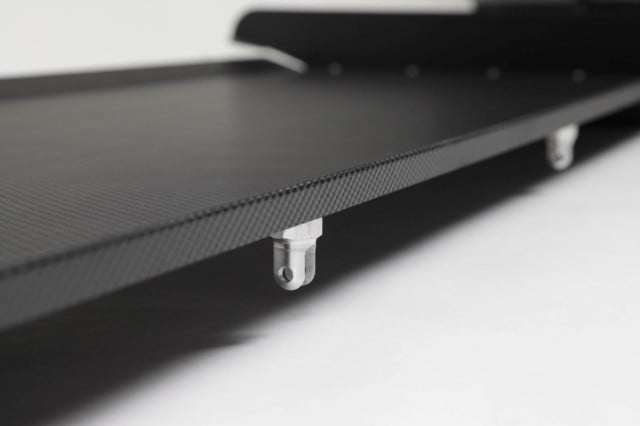
Once the spoiler is mocked up, it’s time to install our strut rod assemblies. The aluminum brackets supplied in the kit get bolted into the pre-drilled holes at the back edge of the spoiler. The jam nuts and clevises are then threaded onto the supplied aluminum threaded rods, and attached to the underside of the spoiler with the quick pins.
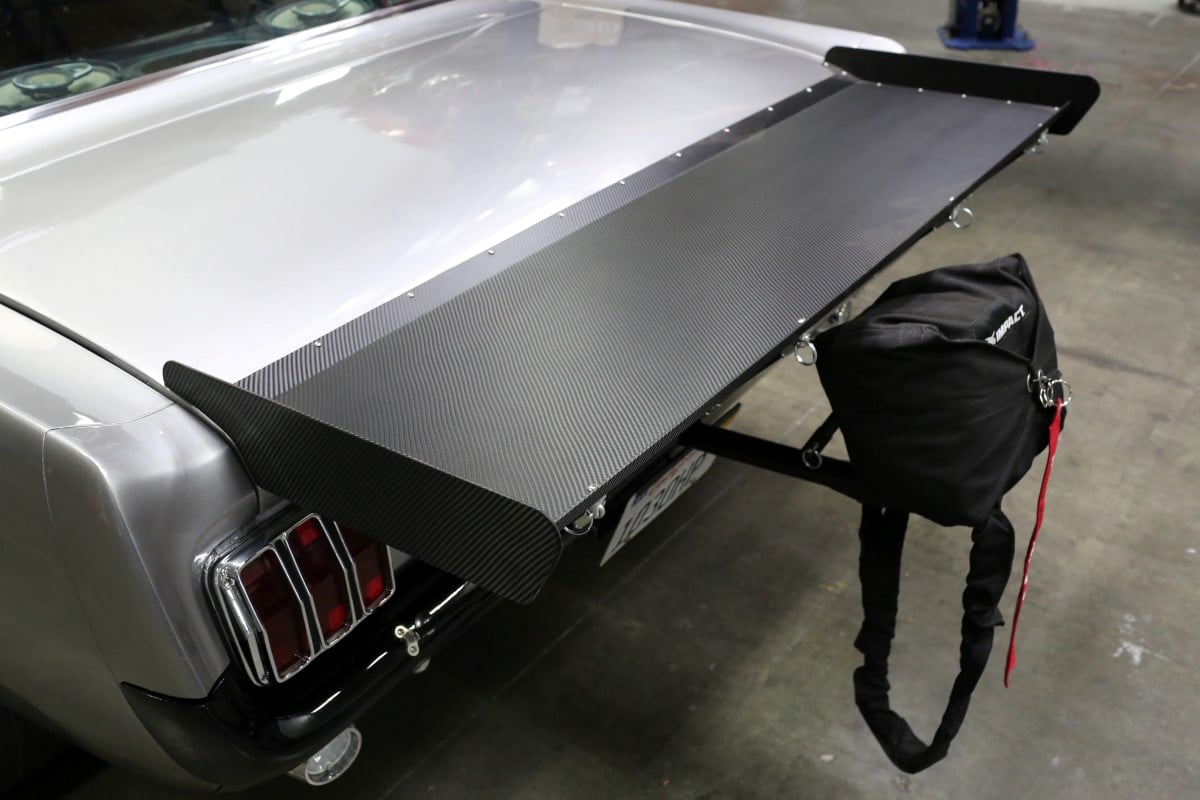
All finished up -- we can't stress enough how important it is to measure everything out and take your time with this install. That being said, it can be done over the course of a day as long as you don't have two left hands.
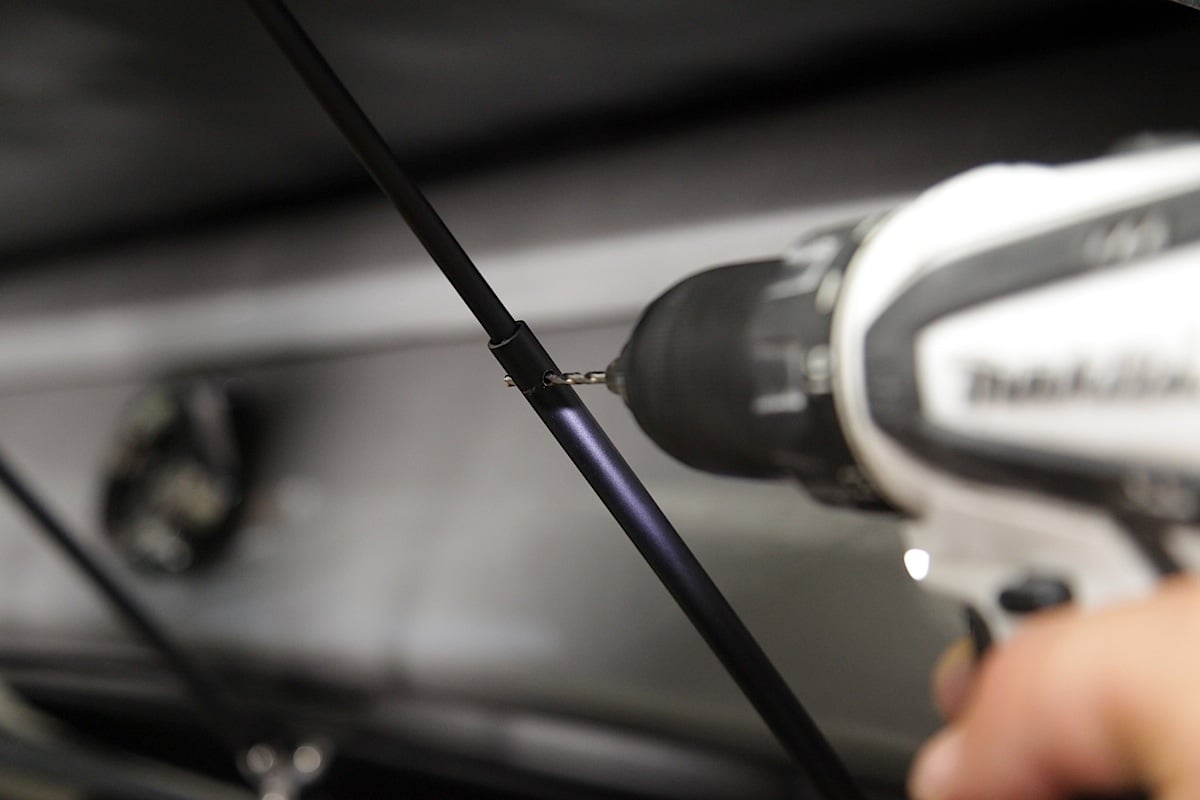
From there, it’s time to bolt the aluminum mounting brackets to the outer tubes (colored gold) and locate them to the body or bumper where they need to be. Cover the spots with painter’s tape, mark the hole locations, and drill them into the decklid or bumper. Once you have the brackets located, bolt them into place. Ed Quay supplies a drill bit to drill through the outer tube into the aluminum inner rod, then it’s time to insert the hitch pins and finish up the assembly. As with any fabrication project, measure ten times, and drill only once – the more care you take during the installation steps, the better your new wing will look once the process is complete.
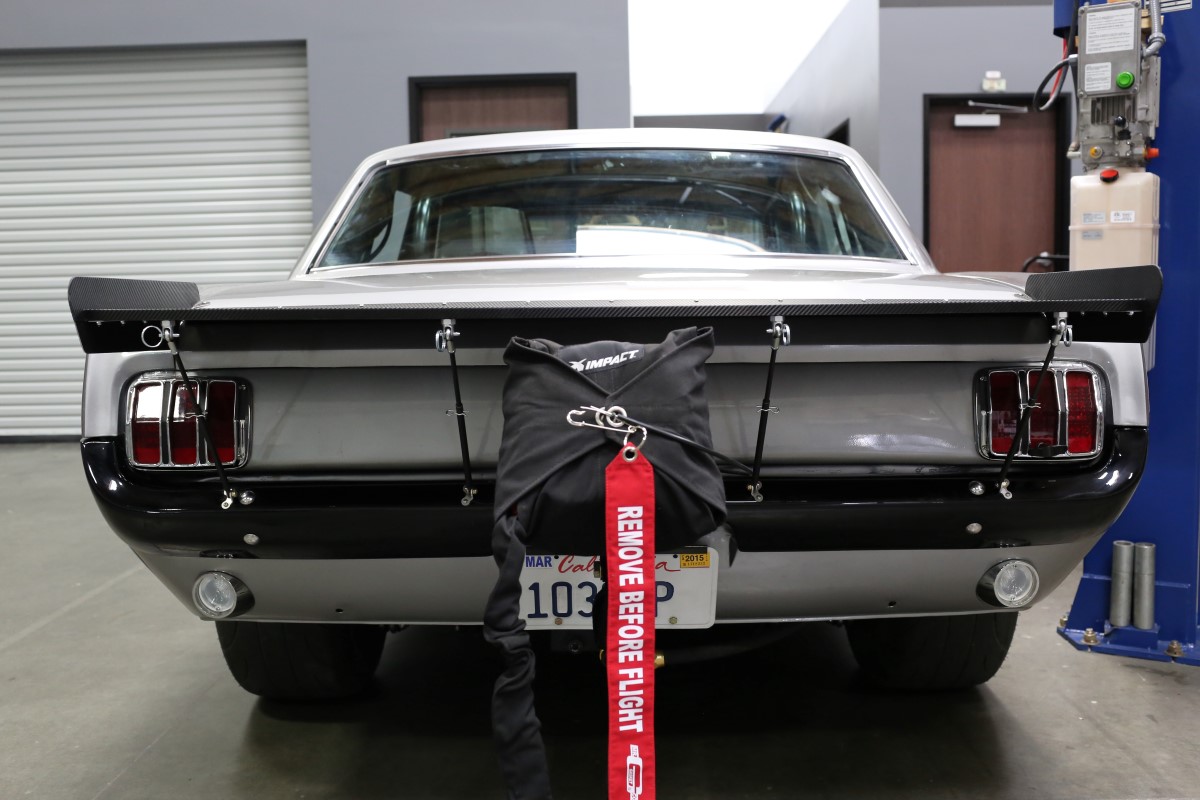
The view most everyone will see of Biting The Bullitt.


